
On this page
Start here
Quick answer
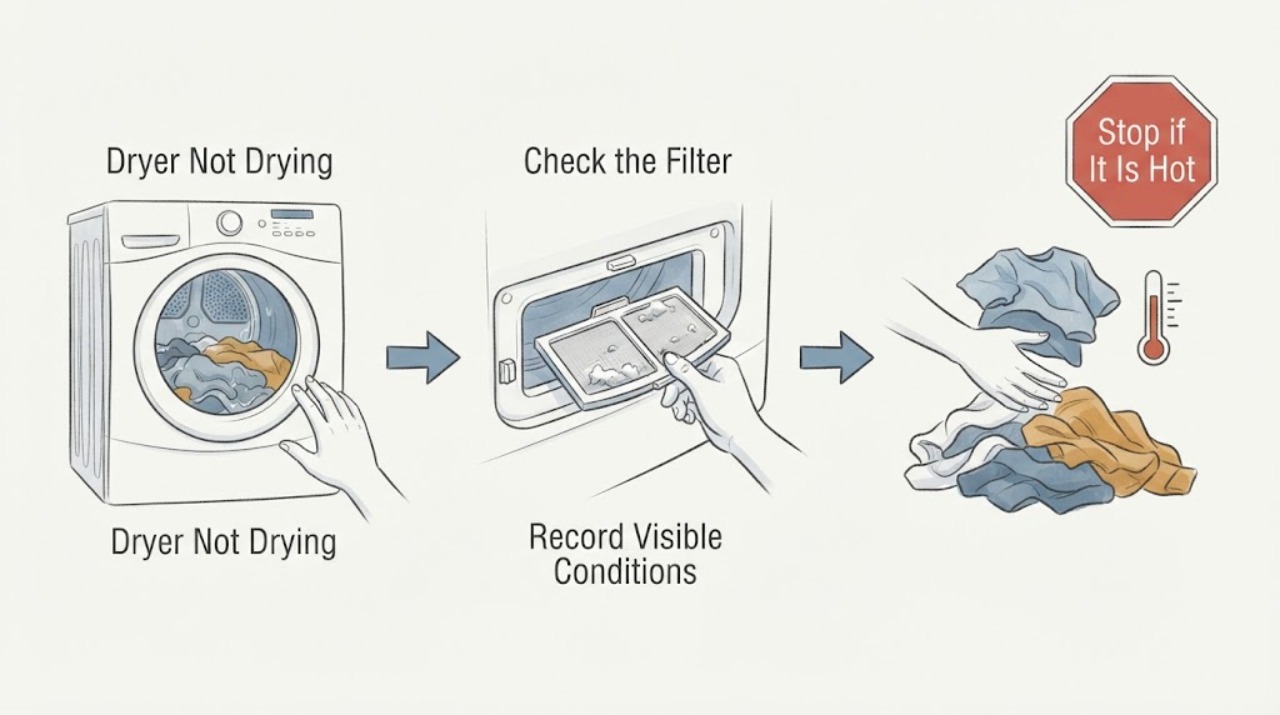
If a Siemens dryer leaves clothes damp, first separate a warm load from a true no-heat fault: warm laundry can feel wetter immediately after the programme, while a cold drum or a programme that stops early needs a different check. Stay within the load limit for the selected programme, use the correct dryness level or a longer time, clean the lint filter, keep the air inlet clear, and clean the moisture sensor as described for the exact model. On a heat-pump or condenser model, also check the condensate container and only the user-accessible condenser or heat-exchanger care described in its manual. Stop for smoke, a burning smell, sparking, abnormal heat, or a tripped circuit and arrange qualified service.
Work through in order
Diagnostic checks
Use only checks that match the exact appliance or system and its official guide.
-
Check 1
Run or review one affected programme and record the selected programme, dryness level or timed setting, load type, displayed warning, whether the programme reaches its end, and whether the drum and clothes are warm or cold.
Expected result: The load is warm but damp, the dryer is cold, the programme ends early, the time keeps extending, or the dryer stops with a warning.
Next step: Choose the matching branch below and stop immediately for smoke, a burning or electrical smell, sparks, abnormal heat, or a circuit that trips.
Why this matters
Why: Warm damp laundry points first to load, sensor, dryness-level, or airflow checks. A cold drum or an early stop can indicate a heating, power, control, or safety fault; a warning must be interpreted with the exact model manual.
-
Check 2
Remove and separate the load after the drum has stopped. Compare it with the maximum load for that programme in the model manual, untangle items that have formed a tight bundle, and try a smaller, similar load on the correct fabric programme.
Expected result: The smaller load dries more evenly, or the same items remain damp despite a suitable load size.
Next step: Keep loads within the programme limit and continue to the filter and sensor checks if the result remains poor.
Why this matters
Why: Improvement with a smaller, separated load supports overloading or poor circulation within the load. Persistent dampness with a suitable load makes sensor, airflow, condensate, heating, or control causes more likely.
-
Check 3
With the dryer off and cool enough to handle, clean the lint filter using the exact Siemens manual procedure and inspect the visible air inlet and surrounding clearance. Do not push tools into vents or dismantle ducting or panels.
Expected result: The filter is blocked or coated, the inlet is obstructed, or both are clear; note whether drying time or heat improves on one supervised test.
Next step: Use the manual's approved filter and inlet care, then run one supervised test. Do not keep testing if the cabinet becomes unusually hot or any burning smell appears.
Why this matters
Why: Lint restriction or a blocked inlet can reduce airflow and lengthen drying. If airflow surfaces are clear but the drum stays cold or drying remains poor, an internal heating or airflow fault needs service diagnosis.
-
Check 4
Inspect and gently clean the moisture sensor in the drum only as the exact model manual describes. Use the correct programme for the fabric and raise the dryness level or choose a longer programme only within the clothing-care instructions.
Expected result: The sensor has visible residue, the dryer ends with clothes still damp, or changing the programme produces a normal dry result.
Next step: If the sensor is clean and a suitable setting still gives the same result, continue to the condensate and heat-pump branch or arrange service for a no-heat fault.
Why this matters
Why: Residue can interfere with moisture sensing, while a short or low dryness setting can finish before the load is dry. A correct programme that still ends damp points away from a simple setting issue.
-
Check 5
If the appliance has a condensate container or drain connection, check the container indicator and empty the container only when the manual says it is user-accessible. For a heat-pump or condenser model, clean the user-accessible condenser, heat exchanger, or container filter only by the model's stated method.
Expected result: The condensate container is full, the filter or heat exchanger is visibly dirty, the air path is clear, or none of these conditions is present.
Next step: Do not remove sealed covers or wash a component unless the exact manual permits it. If the warning returns or the programme still stops, leave the dryer off and arrange qualified service.
Why this matters
Why: A full container can stop a condenser dryer before the programme finishes, and dirt in a condensate filter or heat exchanger can extend drying. The absence of an accessible blockage shifts the diagnosis toward sensing, heating, refrigeration, pump, or control service.
-
Check 6
After the safe external checks, supervise one small load on the model-recommended programme. Observe whether the drum turns, the air becomes warm, the programme advances, and the load finishes without a warning.
Expected result: The test completes normally, remains cold, ends early, runs excessively long, or reproduces the same warning.
Next step: Record the model, programme, warning, and observations for qualified service. Do not bypass a thermal or door safety device and do not open the cabinet.
Why this matters
Why: A normal test supports a load, setting, filter, sensor, or condensate issue. A repeat cold drum or repeat warning indicates a heating, heat-pump, fan, sensor, pump, or control problem that cannot be safely isolated from outside.
Use your observations
Decision map
Find the observation that best matches what you see, then follow the next safe action.
-
PATH 01Next step
What you see
The laundry is warm but still damp
Do this next
Check load size, tangled items, lint filter, moisture sensor, dryness level, and the selected programme in that order. Arrange service if a suitable small load still stays damp.
-
PATH 02Next step
What you see
The drum or clothes remain cold
Do this next
After confirming the programme and power are correct, stop testing and arrange service for a heating, fan, heat-pump, or control diagnosis.
-
PATH 03Next step
What you see
The programme ends early or shows a condensate warning
Do this next
Check the user-accessible condensate container and filter arrangement for the exact model. If the container is empty but the warning returns, arrange service.
-
PATH 04Next step
What you see
Drying time is unusually long
Do this next
Check lint, air inlet, room circulation, user-accessible condenser or heat-exchanger care, load size, and the moisture sensor. Do not remove sealed covers.
-
PATH 05Next step
What you see
Smoke, burning or electrical smell, sparks, abnormal heat, damaged wiring, or a repeated trip occurs
Do this next
Stop the programme, keep clear of the appliance, isolate power only if it can be done safely, and arrange qualified help. Do not restart the dryer.
-
PATH 06Next step
What you see
One supervised small-load test completes normally
Do this next
Return to the correct load and programme limits while monitoring the next load; arrange service if the incomplete-drying symptom returns.
Helpful context
Understand the symptom
Separate damp results from no heat
Before changing a setting, note whether the drum and laundry are warm at the end, whether the programme runs to its end, whether the display shows a warning, and whether the load is evenly spread. A warm load can feel damp until heat dissipates. A cold load, a cycle that ends unusually soon, or a cycle that runs much longer points toward airflow, sensing, condensate, programme selection, or a component fault.
Use model-specific care instructions
Siemens dryers differ in filter, condenser, heat-pump, and condensate arrangements. Use the full model number to open the matching user manual before removing a filter or cleaning a heat exchanger. Keep hands away from the drum while it moves and do not open the cabinet or make live electrical checks.
Safety boundary
Stop conditions
- Do not open the cabinet or perform live electrical checks.
- Do not bypass a door, thermal, or other safety device.
- Do not dismantle a heat-pump, sealed refrigerant, or powered assembly.
- Do not restart the dryer after smoke, burning smell, sparks, abnormal heat, or a repeated power trip.
Only after diagnosis
Potential parts
- lint filter
Consider only if the filter is damaged or cannot seal after cleaning and the exact model documentation identifies it as replaceable.
Confirm the complete model identifier and manufacturer fit information before ordering. - moisture sensor
Consider only when the sensor is clean, the programme and load are correct, and service diagnosis confirms a sensing fault.
Sensor assemblies vary by dryer design; verify the exact model and have service handle internal replacement. - condensate pump
Consider only for a model with a condensate system when the container and accessible path are clear but service confirms a pump or drain fault.
Confirm whether the dryer uses a pump, direct drain, or another arrangement before selecting a part.
When checks do not resolve it
Need a professional?
Use qualified service for a persistent no-heat condition, repeated warning, failed condensate handling, internal airflow concern, or a programme that still does not dry after safe external checks.
Have this ready
- full E-Nr or model number
- selected programme and dryness setting
- warning shown
- whether the drum and load were warm
- filter, sensor, load, and condensate checks already completed
Common questions
FAQ
Why is my Siemens dryer running but not drying clothes?
Check whether the load is warm. If it is warm but damp, start with load size, lint filter, moisture sensor, programme, and dryness level. If it stays cold, stop repeated tests and arrange service for a heating, fan, heat-pump, or control diagnosis.
Can an overloaded Siemens dryer leave clothes wet?
Yes. Exceeding the maximum load for a programme or allowing items to knot together can prevent even drying. Use the load limit in the exact model manual and try one smaller, separated load.
Why does my Siemens dryer take much longer than before?
A blocked lint filter, dirty user-accessible condenser or heat exchanger, restricted air inlet, poor room circulation, incorrect load, or condensate-filter issue can extend drying. Follow the exact model manual and arrange service if the external checks do not help.
Read the exact guide
Official sources
- Zo verbeter je de resultaten van je Siemens wasdrogerSiemens Home Appliances · Siemens tumble-dryer drying results, lint filters, moisture sensing, programmes, condenser or heat-exchanger care, air circulation, and condensate-container guidance; use the exact model manual for applicability.
Community feedback
Share a repair observation
Share a plain-text repair observation. Accepted observations are published automatically; this page may take a moment to update.