
On this page
Start here
Quick answer
A toaster oven that will not start should be checked at the outlet, plug, controls, timer, and crumb-tray/door area before service. Unplug and cool it before inspecting crumbs or accessories. Use the exact control sequence for the model; if the outlet works but the oven remains dead, trips protection, smells burnt, or the controls do not respond, leave it unplugged and arrange service.
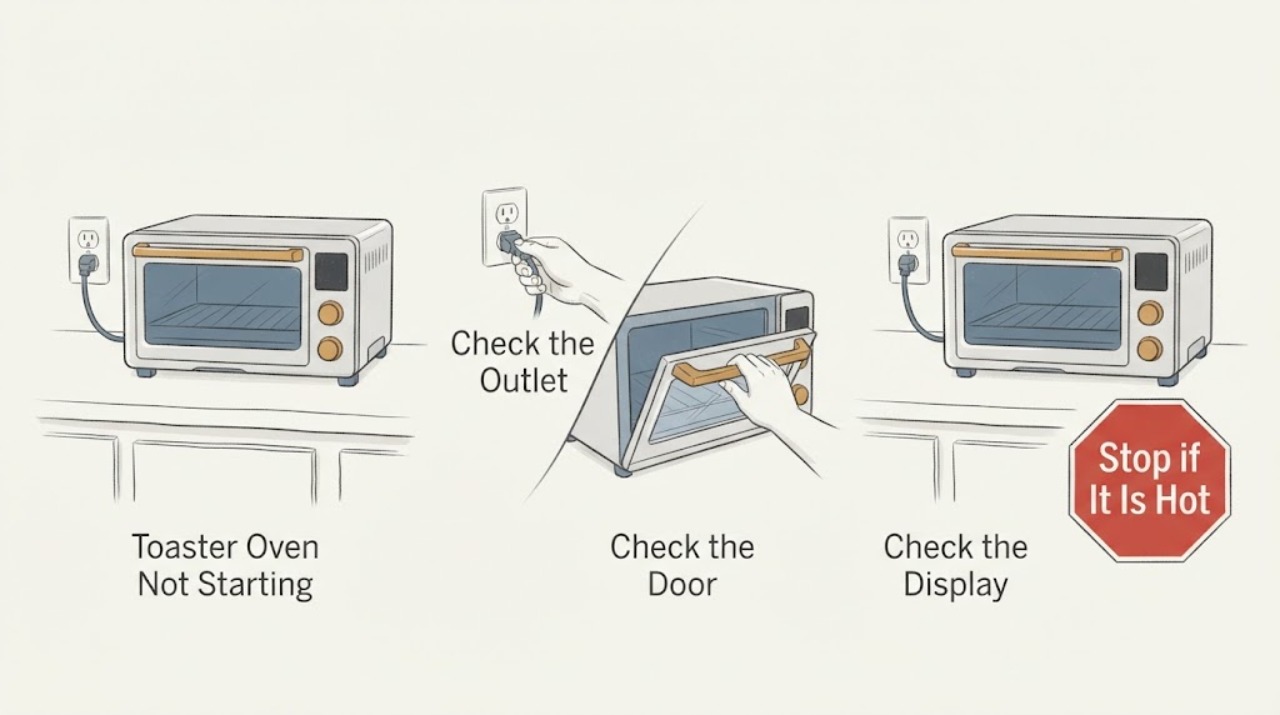
Work through in order
Diagnostic checks
Use only checks that match the exact appliance or system and its official guide.
-
Check 1
Check the outlet with a known-safe device and inspect the toaster-oven plug and cord from a dry position.
Expected result: The outlet is dead, the cord/plug is damaged, or power is present.
Next step: Restore household power safely or arrange electrical service; do not use a damaged cord or outlet.
Stop if: Stop for heat, scorch marks, smoke, or burning odor.
Why this matters
Why: A dead outlet is upstream; visible cord damage is unsafe; power present leaves controls and internal service in scope.
-
Check 2
With the oven unplugged and cool, confirm the crumb tray, rack, and door are seated as the model manual shows and remove only loose visible crumbs.
Expected result: A tray/rack/door was mis-seated, debris is present, or the accessible interior is clear.
Next step: Refit the approved accessories and wipe only accessible surfaces, then make one normal start attempt.
Stop if: Do not probe heating elements or operate without the required crumb tray.
Why this matters
Why: A mis-seated accessory or debris can interfere with safe operation or airflow; a clear setup does not prove an internal fault.
-
Check 3
Set the function and temperature controls, then engage the timer or Start control exactly as the manual specifies.
Expected result: The indicator lights and elements respond, or controls remain silent.
Next step: Stop after one normal attempt and arrange service for no response.
Stop if: Do not bypass a timer, switch, door feature, or thermal protector.
Why this matters
Why: A response indicates a control-sequence issue was possible; silence on a good outlet points to control, fuse, wiring, or thermal service.
-
Check 4
Observe one brief supervised start for indicator light, fan, element glow, or immediate shutdown.
Expected result: The oven starts and heats normally, or it clicks, trips, smokes, or stops immediately.
Next step: Turn controls off, unplug after cooling if safe, and provide the pattern to qualified service.
Stop if: Never continue a smoking, sparking, or overheating unit.
Why this matters
Why: Immediate shutdown or a protection trip is not a normal start and needs diagnosis; element cycling after startup can be normal on some models.
Use your observations
Decision map
Find the observation that best matches what you see, then follow the next safe action.
-
PATH 01Next step
What you see
The outlet is dead while other equipment also loses power.
Do this next
Resolve stable power safely before retesting the oven.
Why this path and its safety boundary
Why it matters: The household circuit is the first fault path.
-
PATH 02Next step
What you see
The outlet works and the oven starts only after the timer/function control is engaged.
Do this next
Use the exact manual’s sequence and monitor one cycle.
Why this path and its safety boundary
Why it matters: The appliance was in an unstarted control state rather than proven failed.
-
PATH 03Next step
What you see
The controls are engaged but there is no indicator, heat, or response.
Do this next
Keep the oven unplugged and arrange service.
Why this path and its safety boundary
Why it matters: A control, fuse, cord, or internal thermal fault is more likely.
-
PATH 04Next step
What you see
The oven trips protection, smokes, or smells burnt.
Do this next
Disconnect power if safe and seek qualified service; do not retry.
Why this path and its safety boundary
Why it matters: There is an electrical or fire risk.
Helpful context
Understand the symptom
What to check first
Toaster ovens may look dead because a timer or function dial is not engaged, while an outlet, control, or thermal fault can also stop heating. The Hamilton Beach manual shows outlet and control checks and warns that the crumb tray must be securely in place and that overheating/combustion requires a stop. It does not justify assuming every toaster oven has the same dial sequence.
When checks do not resolve it
Need a professional?
Arrange qualified appliance service when the safe checks do not resolve the symptom or when the exact model manual calls for service. Give the technician the model, observed pattern, and checks already completed. Do not open sealed, gas, high-voltage, or mains compartments.
Common questions
FAQ
Why does the timer matter?
Many toaster ovens require a timer or Start action in addition to selecting a function. Follow the exact model manual.
Can I operate without the crumb tray?
No. The cited manual requires the crumb tray securely in place, and crumbs can increase fire risk.
Should I keep trying different settings?
Make one documented start attempt. Repeated failure, trips, smoke, or odor requires service.
Read the exact guide
Official sources
- Hamilton Beach Toaster Oven (31523) - Use & CareHamilton Beach · Hamilton Beach toaster ovens
Community feedback
Share a repair observation
Share a plain-text repair observation. Accepted observations are published automatically; this page may take a moment to update.