
On this page
Start here
Quick answer
For a toaster oven that does not heat, first confirm a timed bake/toast mode, temperature, and timer are actually set, then test the outlet and inspect the accessible crumb tray and heating elements after unplugging and cooling. If neither element heats in the correct mode, or the cord, plug, control, or element is damaged, stop using it and arrange manufacturer service rather than opening the oven.
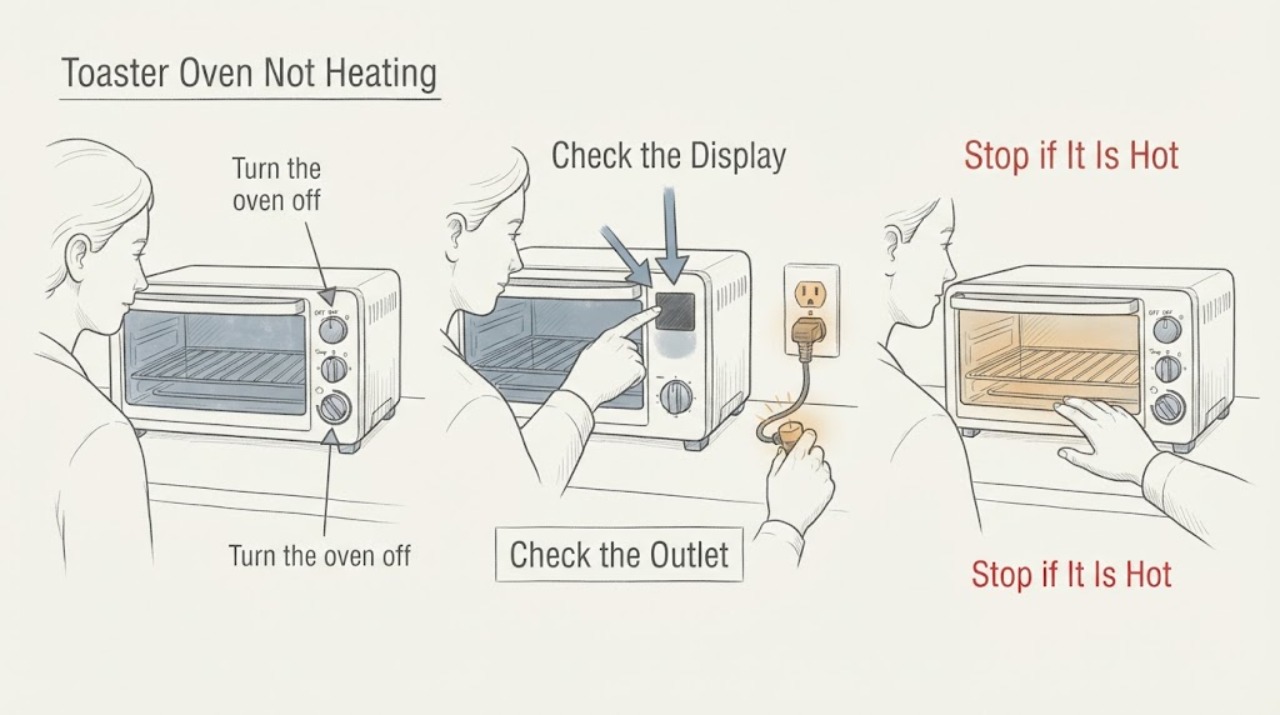
Work through in order
Diagnostic checks
Use only checks that match the exact appliance or system and its official guide.
-
Check 1
Turn the oven off and unplug it; check for smoke, a burning smell, melted plastic, a damaged cord or plug, or a visibly broken heating element.
Expected result: Any fire, electrical, or element damage is visible.
Next step: Keep it unplugged and arrange qualified appliance service; seek emergency help for active smoke or fire.
Stop if: Do not use a damaged toaster oven or touch a hot element.
Why this matters
Why: The fault is unsafe to diagnose by repeated heating cycles.
-
Check 2
With the oven cool, select the intended bake or toast function, set a temperature and timer, and verify the start/control indicators respond.
Expected result: The control does not start, the timer will not run, or the wrong function was selected.
Next step: Correct the setting using the manual; if the control still will not start, stop and request service.
Stop if: Do not bypass a timer, door/interlock, or thermal control.
Why this matters
Why: A mode, timer, or control setting can prevent the elements from being energized even when the oven has power.
-
Check 3
Test the outlet with another suitable appliance and inspect the toaster oven plug and cord without moving internal wiring.
Expected result: The outlet is dead, the breaker/GFCI has tripped, or the cord/plug is damaged.
Next step: Restore a known-good outlet only if the household circuit is safe; replace or service a damaged cord through the manufacturer.
Stop if: Do not use an extension cord or a damaged supply cord.
Why this matters
Why: The oven may not be receiving safe supply; a damaged cord is a service issue.
-
Check 4
After unplugging and cooling, remove loose crumbs from the user-accessible tray and look at the upper and lower elements for heavy debris or a break; do not scrape or bend them.
Expected result: Crumbs obstruct the tray area, or an element remains dark/broken during a correctly set test.
Next step: Clean only as the manual directs and make one supervised test; arrange service if the element still does not heat.
Stop if: Stop if cleaning would require removing the cabinet or if smoke/odor appears.
Why this matters
Why: Debris can create fire risk, while a failed element or control requires parts-specific diagnosis.
Use your observations
Decision map
Find the observation that best matches what you see, then follow the next safe action.
-
PATH 01Next step
What you see
The outlet is dead or the cord/plug is damaged
Do this next
Use a qualified electrician for the circuit or manufacturer service for the cord/plug.
Why this path and its safety boundary
Why it matters: Power delivery is the leading suspect and the oven should not be tested further.
-
PATH 02Next step
What you see
Controls run but one element stays dark or visibly broken
Do this next
Stop use and request model-specific service; do not bridge the element or open the case.
Why this path and its safety boundary
Why it matters: An element, selector, thermostat, or internal connection may have failed.
-
PATH 03Next step
What you see
Both elements glow and the oven warms in one mode but not another
Do this next
Follow the exact mode/timer sequence in the manual and monitor one supervised cycle.
Why this path and its safety boundary
Why it matters: The symptom is more consistent with function selection, timer, or mode control than a total power failure.
Helpful context
Understand the symptom
How to read the result
For a toaster oven that does not heat, first confirm a timed bake/toast mode, temperature, and timer are actually set, then test the outlet and inspect the accessible crumb tray and heating elements after unplugging and cooling. If neither element heats in the correct mode, or the cord, plug, control, or element is damaged, stop using it and arrange manufacturer service rather than opening the oven.
When checks do not resolve it
Need a professional?
Arrange appliance service when correct controls, a known-good outlet, and safe crumb/element checks do not restore heat, or immediately for smoke, burning odor, damaged cord, melted parts, or a broken element.
Common questions
FAQ
Is a dark heating element proof it is failed?
No. A selected mode may energize only one element or cycle it. Confirm the mode and timer first; a visibly broken element or no heat after correct setup needs service.
Can I open the toaster oven to test the element?
No. Unplug and perform only accessible checks; cabinet removal exposes energized and hot parts and should be left to qualified service.
Read the exact guide
Official sources
- Hamilton Beach Toaster Oven Use & Care Manual (840010100)Hamilton Beach · toaster oven heating and user troubleshooting
Community feedback
Share a repair observation
Share a plain-text repair observation. Accepted observations are published automatically; this page may take a moment to update.