
On this page
Start here
Quick answer
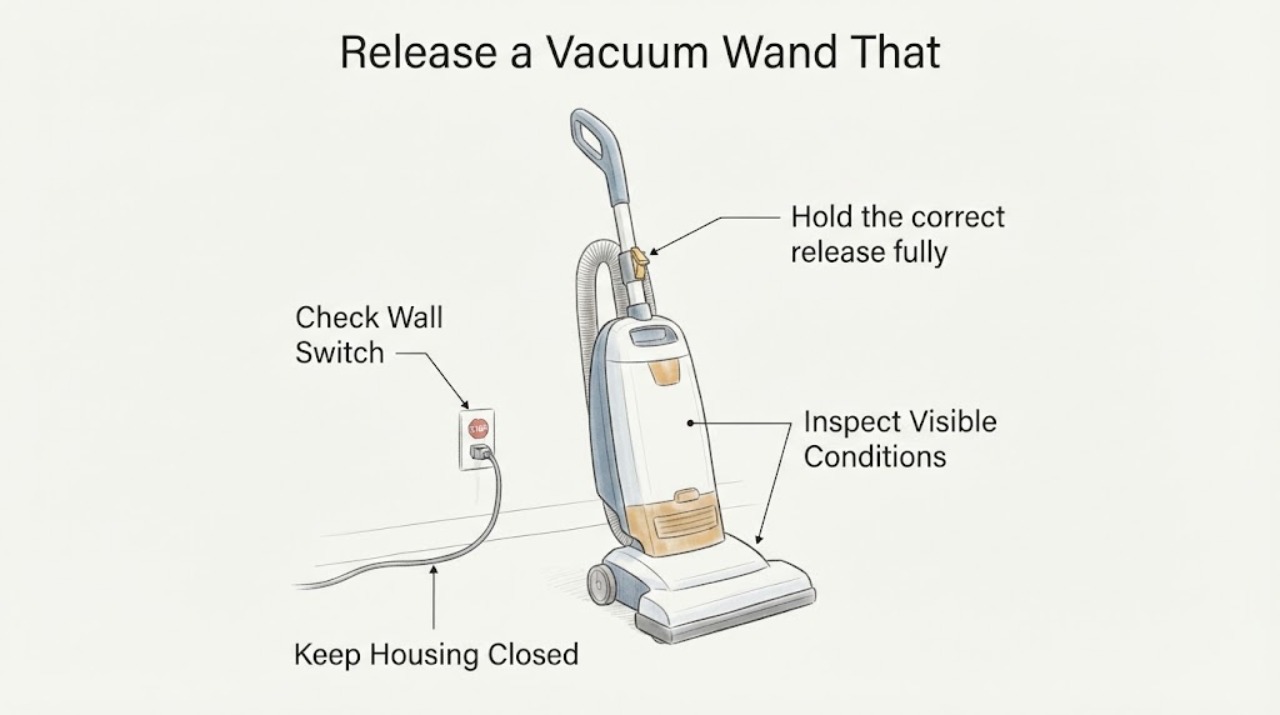
Turn the vacuum off and unplug it, or remove the battery if the model permits. Put the machine in the position specified by its manual, press the release button or lever for the connection that is stuck, and pull the wand straight without prying. Many vacuums have separate releases at the handle, hose or floor-nozzle end, so pressing the wrong button will not release the wand. If the button will not move, the wand will not slide after the correct release is held, or the collar is cracked or distorted, stop pulling and use the exact model manual or manufacturer service channel.
Work through in order
Diagnostic checks
Use only checks that match the exact appliance or system and its official guide.
-
Check 1
Switch the vacuum off and unplug it; on a cordless model, remove the battery only if the owner's instructions provide a normal battery release.
Expected result: The machine is disconnected and the brush, suction motor, and powered floor head cannot start while the wand is being handled.
Next step: If the vacuum cannot be switched off or the battery cannot be removed normally, leave the wand in place and contact the manufacturer or an authorized service provider.
Why this matters
Why: This removes the moving-part and unexpected-start hazard before you press a release or inspect the joint.
-
Check 2
Identify which joint is stuck: handle to wand, wand to hose or pod, or wand to floor nozzle. Look for the matching release button or lever at that joint rather than pressing a nearby bin, pod, or floor-head control.
Expected result: The button or lever is labeled for the wand connection, or the manual diagram shows a different release at the joint you are trying to separate.
Next step: Use the release named for that connection in the exact model guide before applying any pulling force.
Why this matters
Why: Separate connections can have separate releases; a button that releases the hand vacuum or pod may not release the wand from the nozzle.
-
Check 3
Hold the correct release fully depressed and pull the wand in the direction shown by the manual, keeping the tube aligned with the socket; use only a small straightening or rocking motion if the manual illustrates one.
Expected result: The wand clicks and slides out, or the release moves but the wand remains fixed.
Next step: If it does not release with light hand force, stop. Do not twist hard, strike the tube, pry the collar, or pull by the cord or hose.
Why this matters
Why: A click and smooth movement indicate a normal latch release. A moving button with no separation can indicate tension, a misaligned latch, debris at the collar, or damaged plastic.
-
Check 4
With the vacuum still disconnected, inspect the exposed collar and release opening for hair, grit, a lodged object, a shifted spring or button, a bent tube, or a crack; remove only loose debris that is plainly reachable without tools.
Expected result: Loose debris clears and the release returns normally, or the button remains stuck / the collar is cracked or deformed.
Next step: Refit the joint only if the manual shows the normal direction and it clicks securely; otherwise keep the vacuum out of service and arrange model-specific help.
Why this matters
Why: A reachable obstruction may have prevented the latch from moving. A damaged or permanently jammed latch is a parts or service issue, not a reason to bypass the catch.
-
Check 5
Read the full model number and locate the exact manual before trying another release sequence or ordering a latch, wand, hose, or floor-nozzle part.
Expected result: The manual identifies the stuck connection and release, or no exact manual is available for the model.
Next step: If the model guide cannot be found or the wand still will not release, provide the manufacturer or authorized service center with the model, connection location, and photographs of the latch.
Why this matters
Why: Release geometry and part compatibility vary between vacuum families; a different brand's procedure can damage the latch or leave the connection unsafe.
Use your observations
Decision map
Find the observation that best matches what you see, then follow the next safe action.
-
PATH 01Next step
What you see
The correct release moves and the wand slides out with light, straight hand pressure.
Do this next
Inspect the button and collar for cracks before reassembly, then refit the wand only until the model's normal click or lock is present.
Why this path and its safety boundary
Why it matters: The joint was likely latched normally or was held under minor alignment tension.
-
PATH 02Next step
What you see
A release button or lever moves but the wand remains fixed, or the wand moves only when pulled hard or twisted.
Do this next
Stop pulling, inspect only reachable loose debris with power disconnected, and escalate if the joint does not free with light hand pressure.
Why this path and its safety boundary
Why it matters: The latch may be obstructed, misaligned, or damaged; force can break the collar or leave the safety connection unreliable.
-
PATH 03Next step
What you see
The model is unknown, the release location is unclear, or the collar/button is cracked or missing.
Do this next
Keep the vacuum disconnected and obtain the exact model manual or manufacturer service guidance before disassembling the connection.
Why this path and its safety boundary
Why it matters: A cross-model release sequence or replacement part cannot be confirmed safely.
Helpful context
Understand the symptom
A vacuum can have more than one wand connection. Bissell’s PowerClean guide labels a hand-vac release button and a separate wand release lever, while a Dyson upright manual uses a wand cap and a release button at the machine connection. These are model-specific examples, so the release point on your vacuum must be confirmed from its own manual rather than guessed from another brand’s layout.
The checks below are external. They are intended to free a normally latched connection without damaging the tube or latch. Do not use pliers, a screwdriver, lubricant, heat, or a tool to defeat a release or safety catch.
When checks do not resolve it
Need a professional?
Stop and request manufacturer or authorized service if the release button is broken or seized, the collar or wand is cracked or bent, the wand cannot be removed with the correct release and light hand pressure, or freeing it would require tools, lubricant, heat, or opening the motor housing.
Common questions
FAQ
Why does pressing the release button not remove the wand?
You may be pressing the release for a different connection, or the latch may be under alignment tension or blocked. Confirm the exact joint in the model manual, hold its release fully, and use only light straight hand pressure. Stop if the button moves without release.
Can I use pliers or a screwdriver to pull the wand out?
No. Tools can split the collar or defeat the latch. Turn the vacuum off and disconnect it, inspect only reachable loose debris, and obtain model-specific service if the normal release does not work.
Do all vacuum wands release the same way?
No. Official guides show different layouts and separate release points. Use the full model number and its manual before trying another sequence or ordering a replacement part.
Read the exact guide
Official sources
- OPERATING MANUALDyson · Dyson DC33 upright vacuum operating and safety instructions; used for the model-scoped release sequence, unplugging, blockage inspection, and service boundary.
- PowerClean® | Getting Started With Your MachineBISSELL · BISSELL PowerClean 4173, 4172, 4194, 4174, 4271, and 4187 series assembly and release controls; used as a clearly scoped example of separate hand-vac and wand releases.
Community feedback
Share a repair observation
Share a plain-text repair observation. Accepted observations are published automatically; this page may take a moment to update.