
On this page
Start here
Quick answer
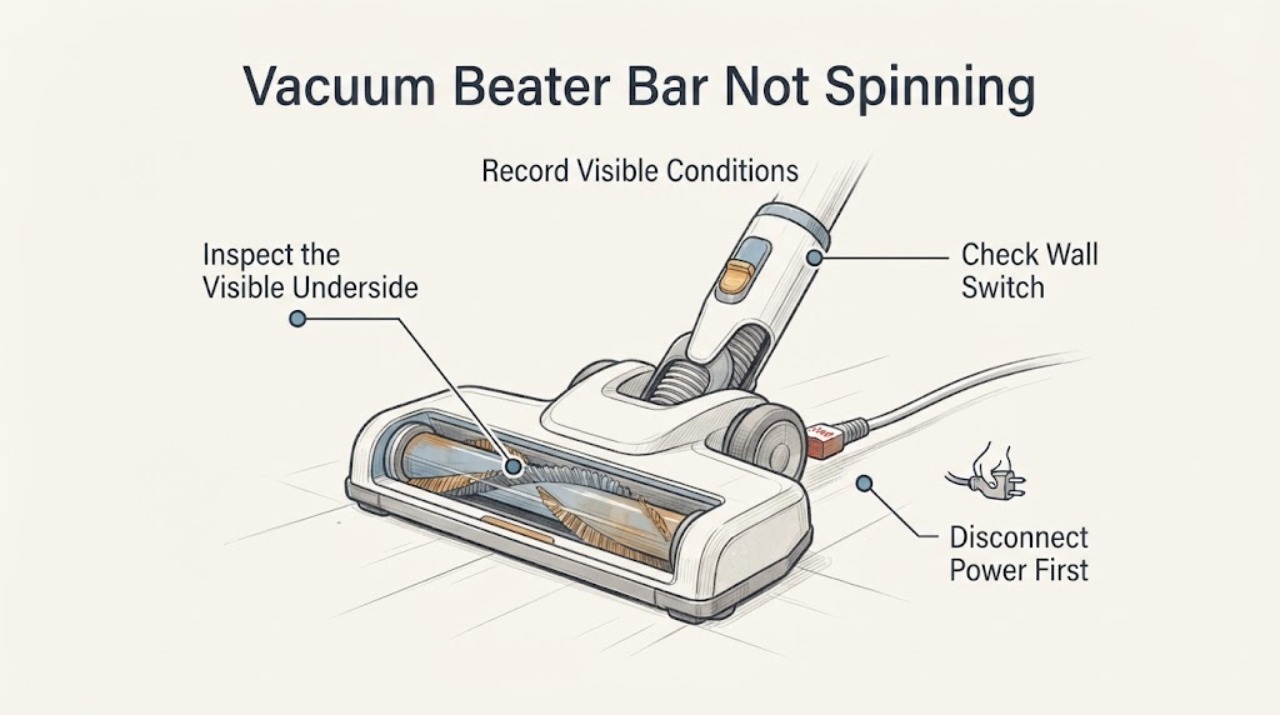
A non-spinning beater bar can be caused by a control setting, an upright or engagement interlock, an obstruction, or a model-specific cleaner-head fault. Because no brand or model is supplied, do not assume a belt, motor or replacement brush is the cause and do not copy another vacuum’s disassembly steps. First record the brand/model and whether the vacuum has power, then turn it off and unplug it before clearing only visible hair or debris from the accessible bar and nozzle. If the machine has a documented brush-control switch, floor-mode control or recline requirement, check that exact control. Stop if there is burning smell, heat, smoke, arcing or unusual noise, and use the manufacturer’s model-specific guide or service route.
Work through in order
Diagnostic checks
Use only checks that match the exact appliance or system and its official guide.
-
Check 1
Find and record the vacuum brand, full model or item number, serial number if present, vacuum type and cleaner-head name before choosing a repair procedure.
Expected result: The identity label is readable, or only a generic description such as “upright vacuum” or “beater bar” is available.
Next step: Use the manufacturer’s exact support/manual lookup for the recorded identity. If the identity is missing, keep the checks external and do not order parts or follow another model’s teardown.
Why this matters
Why: Brush controls, interlocks, access panels and drive systems vary by model. Without the identity, a belt, motor or replacement brush cannot be matched safely.
-
Check 2
With the vacuum switched off and unplugged, inspect the visible underside of the cleaner head, brush ends and nozzle opening for hair, string, carpet fibers or another obstruction; remove only material that is plainly accessible without opening an unverified housing.
Expected result: Debris is wrapped around the bar or packed at an end/air path, or the visible area is clear.
Next step: Clear the accessible obstruction and refit any user-removable cover only as the exact manual shows. If the head is clear, continue with model-specific controls rather than guessing an internal part.
Why this matters
Why: A jam can physically stop a brush bar, but a clear exterior does not prove that a belt, motor or electronics component has failed.
-
Check 3
Check only controls that are visibly present and documented for this vacuum: a brush-roll on/off switch, floor-type setting, or a handle/recline position that normally engages the bar.
Expected result: The bar spins after the documented control or recline condition is met, or it remains stopped despite the control being on and the vacuum being in the correct position.
Next step: If the bar works, use the correct floor setting. If it remains stopped, stop repeating tests and follow the exact model troubleshooting guide or contact the manufacturer. Do not copy a button sequence from another model.
Why this matters
Why: Some official vacuum designs intentionally stop the bar when the switch is off or the machine is upright; persistent failure after the correct condition points to a model-specific service path, not a confirmed belt or motor diagnosis.
-
Check 4
If the exact model guide permits removing the brush bar or cleaner-head cover, follow only that guide after power is disconnected; otherwise do not remove screws, covers, belts or the motorized head.
Expected result: The model-specific guide provides a matching removal method, or no matching method can be verified.
Next step: Use the matching guide if available and stop at the guide’s service boundary. If no matching guide is available, leave the head assembled and arrange manufacturer service.
Why this matters
Why: Bissell and Dyson publish different access methods for different heads. A generic screwdriver or belt instruction can damage a cover, wiring or safety interlock.
-
Check 5
Stop using the vacuum immediately if the head or body becomes unusually hot, smells burnt, emits smoke or sparks, makes a new grinding/ratcheting noise, or repeatedly stalls.
Expected result: A heat, odor, smoke, spark or abnormal-noise symptom is present, or the bar simply remains stopped with no external obstruction.
Next step: Switch off and unplug the vacuum when safe, keep hands and loose clothing away from the head, and contact the manufacturer or a qualified service provider with the model and symptom history.
Why this matters
Why: The symptom may involve an unresolved electrical or mechanical fault, and continued powered testing can worsen damage or create a safety hazard. It still does not identify which part failed.
Use your observations
Decision map
Find the observation that best matches what you see, then follow the next safe action.
-
PATH 01Next step
What you see
The bar starts once a documented brush switch is turned on or the handle is reclined.
Do this next
Use the manufacturer’s specified floor mode and engagement position; do not alter the drive system.
Why this path and its safety boundary
Why it matters: The original state was a control or engagement condition supported by that model, not proof of a failed part.
-
PATH 02Next step
What you see
Hair, string or fibers are visibly wrapped around the bar or its ends and the vacuum is safely unplugged.
Do this next
Remove only the accessible obstruction as the exact manual permits, then refit the head and stop if the bar still will not turn.
Why this path and its safety boundary
Why it matters: The visible obstruction can prevent rotation.
-
PATH 03Next step
What you see
The head is clear and the correct documented controls are active, but the bar remains stopped.
Do this next
Use the exact model support path or qualified service and do not order a guessed replacement part.
Why this path and its safety boundary
Why it matters: The symptom needs model-specific diagnosis; a belt, motor, bearing or board fault has not been established.
-
PATH 04Next step
What you see
There is burning smell, smoke, heat, sparking, liquid exposure or an abnormal grinding/ratcheting sound.
Do this next
Stop, unplug when safe, keep the vacuum out of service and arrange manufacturer or qualified service; do not repeat powered tests.
Why this path and its safety boundary
Why it matters: Continued operation may create an electrical, fire or mechanical hazard.
Helpful context
Understand the symptom
Why the missing model matters
“Beater bar” and “brush roll” describe the cleaning head, not one universal design. Official Bissell examples use a brush-roll switch and an upright-position lockout on some models, while Dyson directs users to select the exact machine before removing a blockage. Those examples support the decision points below, but they do not prove that an unknown vacuum has a belt, a user-removable roller, a particular switch or the same access screws.
Start with safe external checks
Confirm whether suction and the main vacuum motor still run, whether the bar is completely stopped or intermittent, and whether the failure began after hair, string, carpet fringe or a jam. Keep fingers, hair and clothing away from a powered head. Turn the vacuum off and unplug it before touching the bar or nozzle.
Do not turn a symptom into a parts diagnosis
A stationary bar does not by itself identify a failed belt, brush motor, circuit, bearing or control board. If an exact model guide does not authorize the access method, leave the housing closed and use the manufacturer’s support route. The model number is needed before ordering a brush, belt or cleaner head.
Common questions
FAQ
Is a broken belt the reason my beater bar is not spinning?
It is one possible model-specific cause, but the symptom alone does not prove it. Get the exact model and follow its official guide; do not open the head or order a belt based only on a generic description.
Why does the brush stop when I stand the vacuum upright?
Some upright designs intentionally stop the brush when upright. Bissell documents that behavior for one product family, so check whether your exact model has the same requirement before treating it as a fault.
Can I pull the brush out and clean it?
Only if the exact manual for your model shows that access method. Dyson and Bissell publish different cleaner-head procedures; turn the vacuum off and unplug it before any permitted blockage clearing.
When should I stop troubleshooting?
Stop for burning smell, heat, smoke, sparks, liquid exposure or new abnormal noise, and unplug when safe. If the head remains stopped after the documented external checks, use the manufacturer or qualified service route instead of guessing a part.
Read the exact guide
Official sources
- Brush Roll Not Spinning | How to Videos | Pet Hair Eraser® Lift-Off®BISSELL · Opened official Bissell support page used as a model-specific example only; the task has no brand or model, so its switch, recline and access steps are not presented as universal.
- Support | Brush bar not spinningDyson · Opened official Dyson support page used for the general obstruction and unplug-first boundary only; the task has no Dyson identity and no Dyson model procedure is transferred.
- Pet Hair Eraser® Canister Vacuum | Brush is Not TurningBISSELL · Opened official Bissell page used to show that controls, access and contact/service boundaries are model-specific; it does not diagnose an unknown vacuum.
Community feedback
Share a repair observation
Share a plain-text repair observation. Accepted observations are published automatically; this page may take a moment to update.