
On this page
Start here
Quick answer
When a Whirlpool microwave does not complete a cycle, record whether it stops at the same time, responds to the door, shows a code, loses the display, or simply ends with Timer Complete. Whirlpool manuals state that opening the door stops heating and the fan, while a programmed stop time ends cooking automatically. Check the exact function, door closure, control lock, and power supply once. Stop using the microwave for arcing, smoke, burning odor, repeated breaker trips, or a door/interlock problem; internal microwave repairs require qualified service.
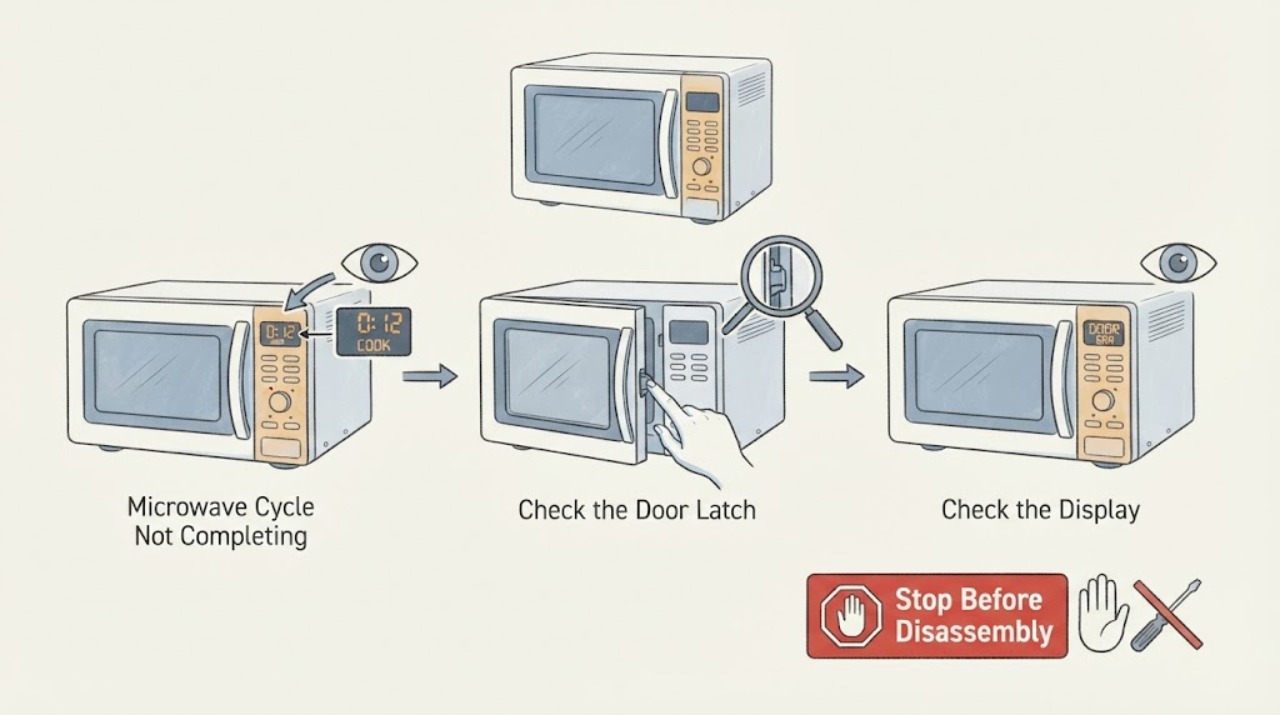
Work through in order
Diagnostic checks
Use only checks that match the exact appliance or system and its official guide.
-
Check 1
Stop the program with the documented Cancel/Off control, remove the container, and check for smoke, arcing, burning odor, or unusual heat.
Expected result: A safety symptom is present or the cavity is normal.
Next step: Unplug if safe and do not use the microwave for a safety symptom; arrange service.
Why this matters
Why: Arcing or smoke changes the task from cycle diagnosis to immediate safe shutdown.
-
Check 2
Record the selected cooking method, power level, set time, and whether the display says Timer Complete or another status.
Expected result: The unit reaches a documented completion state or stops early.
Next step: Repeat only one short, supervised manual-cook test after the door and power checks.
Why this matters
Why: Timer Complete indicates normal programmed completion, while an early stop indicates a control, door, or supply branch.
-
Check 3
Check that the door closes fully, the seal and latch area are clean, and no rack or container obstructs closure.
Expected result: The door is misaligned, obstructed, or closes normally.
Next step: Clear only visible obstruction and retest once; never bypass the door switches.
Why this matters
Why: Opening the door stops heating and fan operation; an unreliable interlock can terminate a cycle.
-
Check 4
Check for a control lock, demo mode if fitted, or a second active timer/function and use the exact manual cancellation sequence.
Expected result: A lock or competing function is active, or controls are normal.
Next step: Perform one documented cancel or unlock operation and start a short manual cycle.
Why this matters
Why: A control state can interrupt or prevent the intended program without a failed magnetron.
-
Check 5
Verify the outlet and breaker, and note whether the display resets or goes dark at the same point in the cycle.
Expected result: Power drops, breaker trips, or display stays stable.
Next step: Restore one obvious supply condition only; service a repeat trip or recurring reset.
Why this matters
Why: Power loss points to the circuit or appliance supply; stable power shifts suspicion to interlock, control, sensor, or thermal protection.
-
Check 6
Apply the stop boundary after one supervised test: check for repeated early stop, abnormal fan, hot cabinet, smoke, arcing, or failure of the door interlock.
Expected result: The cycle completes or the failure returns.
Next step: Stop use and arrange qualified Whirlpool service with the mode, time, display, and symptoms.
Why this matters
Why: A repeated incomplete cycle requires internal control, interlock, thermal, or power diagnosis.
Use your observations
Decision map
Find the observation that best matches what you see, then follow the next safe action.
-
PATH 01Next step
What you see
The display says Timer Complete at the programmed stop time and no hazard is present.
Do this next
Review the selected time or function in the manual rather than treating normal completion as a fault.
Why this path and its safety boundary
Why it matters: The microwave completed its programmed cycle normally.
-
PATH 02Next step
What you see
The cycle stops when the door opens or the latch does not register closed.
Do this next
Clear visible obstruction and service a door or interlock that remains unreliable.
Why this path and its safety boundary
Why it matters: The door interlock behavior is controlling the cycle.
-
PATH 03Next step
What you see
The display resets, goes dark, or the breaker trips before completion.
Do this next
Stop repeated tests and arrange service for recurring power loss.
Why this path and its safety boundary
Why it matters: Supply, thermal protection, or control power is implicated.
-
PATH 04Next step
What you see
The unit stops early with smoke, arcing, burning odor, or an unusually hot cabinet.
Do this next
Disconnect power if safe and obtain qualified service.
Why this path and its safety boundary
Why it matters: A safety fault overrides routine cycle troubleshooting.
Helpful context
Understand the symptom
First record the mode, set time, actual stop point, display, fan and light state, and whether opening and closing the door changes the behavior. Sensor, manual, timer, and keep-warm functions have different end states.
Use the exact Whirlpool manual for control-lock, cancel, and model-specific diagnostics. Do not remove covers: microwave high voltage can remain hazardous even after unplugging.
Only after diagnosis
Potential parts
- door interlock switch
Only after a technician confirms unreliable latch/interlock behavior.
Match exact model and switch arrangement; never bypass it.
When checks do not resolve it
Need a professional?
A technician may test door switches, control board, thermal cutouts, power supply, fan, sensor circuitry, and high-voltage components. Provide model, mode, stop time, display, and safety observations.
Common questions
FAQ
Why does my Whirlpool microwave stop before the time ends?
Record mode, time, display, door, and power behavior. A door interlock, control state, power loss, thermal protection, or wrong function can stop the cycle; recurrence needs service.
Is Timer Complete a failure?
No. Whirlpool manuals use Timer Complete when a programmed stop time is reached. Verify the cooking time and function before troubleshooting a fault.
Does opening the door stop a Whirlpool microwave?
Yes. The manual states that opening the door stops heating and the fan. A door that fails to latch reliably requires service.
Can I remove the microwave cover to diagnose it?
No. Internal microwave components can remain hazardous. Use external checks only and arrange qualified service.
Read the exact guide
Official sources
- MICROWAVE OVENWhirlpool · Use for Whirlpool microwave cycle symptoms; exact controls and functions vary by model.
- Whirlpool Manuals & LiteratureWhirlpool · Use to identify exact model instructions before reset or service.
Community feedback
Share a repair observation
Share a plain-text repair observation. Accepted observations are published automatically; this page may take a moment to update.