
On this page
Start here
Quick answer
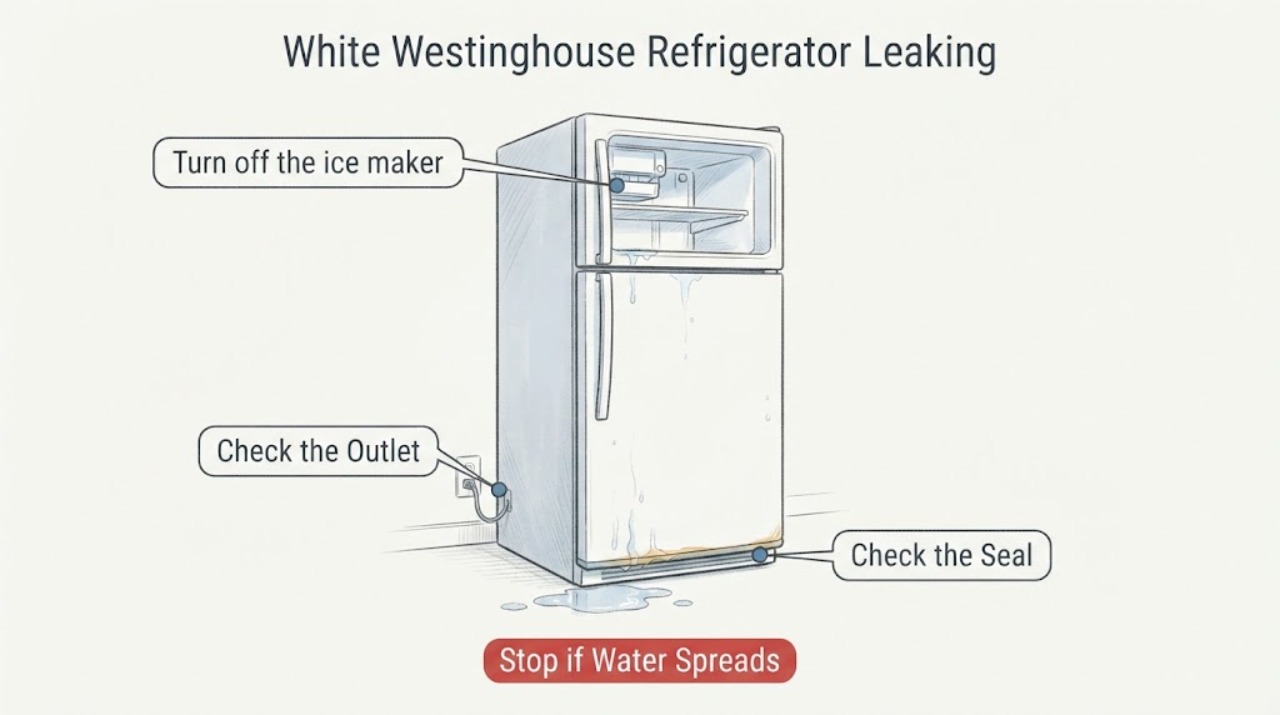
For a White Westinghouse refrigerator leak, protect the floor and close the water supply if fitted, then trace the highest wet point. Official White-Westinghouse-compatible guidance identifies a clogged or frozen defrost drain, damaged door gasket, water tank, inlet valve, filter head, and filter housing as possible sources. Do not open sealed panels or glue a leaking tank. A recurring leak, cracked tubing, or water near electrical parts requires service.
Work through in order
Diagnostic checks
Use only checks that match the exact appliance or system and its official guide.
-
Check 1
Turn off the ice maker and close the accessible water valve when water is actively flowing; isolate power for water near electrics.
Expected result: Flow stops or continues.
Next step: Dry and trace the highest wet point.
Why this matters
Why: Supply pressure versus residual condensate is distinguished by timing.
-
Check 2
Inspect the accessible defrost-drain outlet and freezer floor for ice or debris.
Expected result: Drain is blocked/frozen or clear.
Next step: Use only the manual-safe thaw method and service recurrence.
Why this matters
Why: A blocked defrost drain can overflow into the cabinet and floor.
-
Check 3
Check door gasket for tears, twists, gaps, and food preventing closure.
Expected result: Seal leaks or closes normally.
Next step: Clear obstructions and arrange a model-specific gasket if damaged.
Why this matters
Why: Warm humid air can create condensation and leakage.
-
Check 4
Inspect visible water tank, inlet valve, filter head, housing, and tubing for cracks or damp fittings.
Expected result: A water component is wet or visibly sound.
Next step: Close supply and service cracked parts; do not glue tanks.
Why this matters
Why: A pressurized water path can leak even when the floor puddle is elsewhere.
-
Check 5
Check cabinet level and bin or shelf loading for water redirection.
Expected result: Unit is tilted or obstructed, or level and clear.
Next step: Correct only accessible placement/loading and monitor.
Why this matters
Why: Level and closure affect drain flow and condensation.
-
Check 6
Stop and arrange service for recurring leak, cracked tubing, water near wiring, or source behind a panel.
Expected result: Leak resolves or returns.
Next step: Keep water off and provide photos and model.
Why this matters
Why: Persistent leakage requires drain, valve, tank, gasket, or control diagnosis.
Use your observations
Decision map
Find the observation that best matches what you see, then follow the next safe action.
-
PATH 01Next step
What you see
Water follows defrost and the drain is iced or blocked.
Do this next
Use the manual-safe thaw path and service recurrence.
Why this path and its safety boundary
Why it matters: Defrost drainage is likely.
-
PATH 02Next step
What you see
Leak follows dispensing or ice making and a fitting, tank, valve, or filter is wet.
Do this next
Close valve and obtain model-specific service.
Why this path and its safety boundary
Why it matters: Water-supply path is likely.
-
PATH 03Next step
What you see
Door gasket has a gap and condensation appears.
Do this next
Clear obstruction and service a damaged gasket.
Why this path and its safety boundary
Why it matters: Warm-air entry is likely.
-
PATH 04Next step
What you see
Leak persists with supply closed or reaches wiring.
Do this next
Disconnect power if safe and obtain service.
Why this path and its safety boundary
Why it matters: Internal drain or safety fault is present.
Helpful context
Understand the symptom
Dry the floor only after documenting the leak and note whether it follows defrost, dispensing, or ice making. Water can travel under shelves and emerge far from the source.
Use the exact owner guide for drain and water-system access. Never remove sealed refrigeration or energized electrical panels.
Only after diagnosis
Potential parts
- defrost drain or door gasket
Only after leak origin and exact manual confirm the component.
Match exact model and door/water configuration.
When checks do not resolve it
Need a professional?
Service may inspect defrost drain, tank, inlet valve, filter head, tubing, gasket, pan, and level.
Common questions
FAQ
What commonly causes a White Westinghouse refrigerator leak?
Possible sources include a clogged defrost drain, gasket, water tank, inlet valve, filter head, or housing. Trace the wet point rather than replacing a part by symptom.
Can a door gasket cause floor water?
Yes. A poor seal admits humid air, which can create condensation and leakage.
Can I glue a leaking water tank?
No. Use model-specific replacement or service; the guidance says not to attempt tank repair with glue.
Should I close the refrigerator water valve?
Yes, when water is actively pooling or follows dispensing/ice making, until the source is repaired.
Read the exact guide
Official sources
- White-Westinghouse Use & Care ManualWhite-Westinghouse · Use for owner-safe access and exact model details.
- White-Westinghouse Refrigerator leaking waterElectrolux/Frigidaire appliance parts support · Brand-compatible troubleshooting; exact models and parts must be verified in the owner's manual.
Community feedback
Share a repair observation
Share a plain-text repair observation. Accepted observations are published automatically; this page may take a moment to update.