
On this page
Start here
Quick answer
A dryer cycling thermostat normally switches the heater off and on to control drum-air temperature; that heat cycling is not the same as ending the entire cycle. A sensor or automatic cycle can end early when the dryer decides the load is dry, while a timed cycle should run for its selected time. First determine whether only heat stops or the drum, timer, and controls stop too. Clean the lint filter, check the visible vent path and outside airflow, and clean accessible moisture-sensor bars if an automatic cycle ends with damp clothes. If the whole dryer stops, only restarts after cooling, becomes unusually hot, has weak exhaust, produces a burning smell, trips power, or has no heat on a timed cycle, stop using it and arrange qualified appliance service; do not bypass the cycling thermostat or another safety device.
Before you begin
Safety first
- Do not remove the dryer cabinet, probe live circuits, bypass or jumper the cycling thermostat, thermal cutoff, high-limit device, door switch, or other safety control. Leave the dryer off for smoke, burning odor, sparks, a hot cabinet, damaged wiring or cord, or repeated power trips.
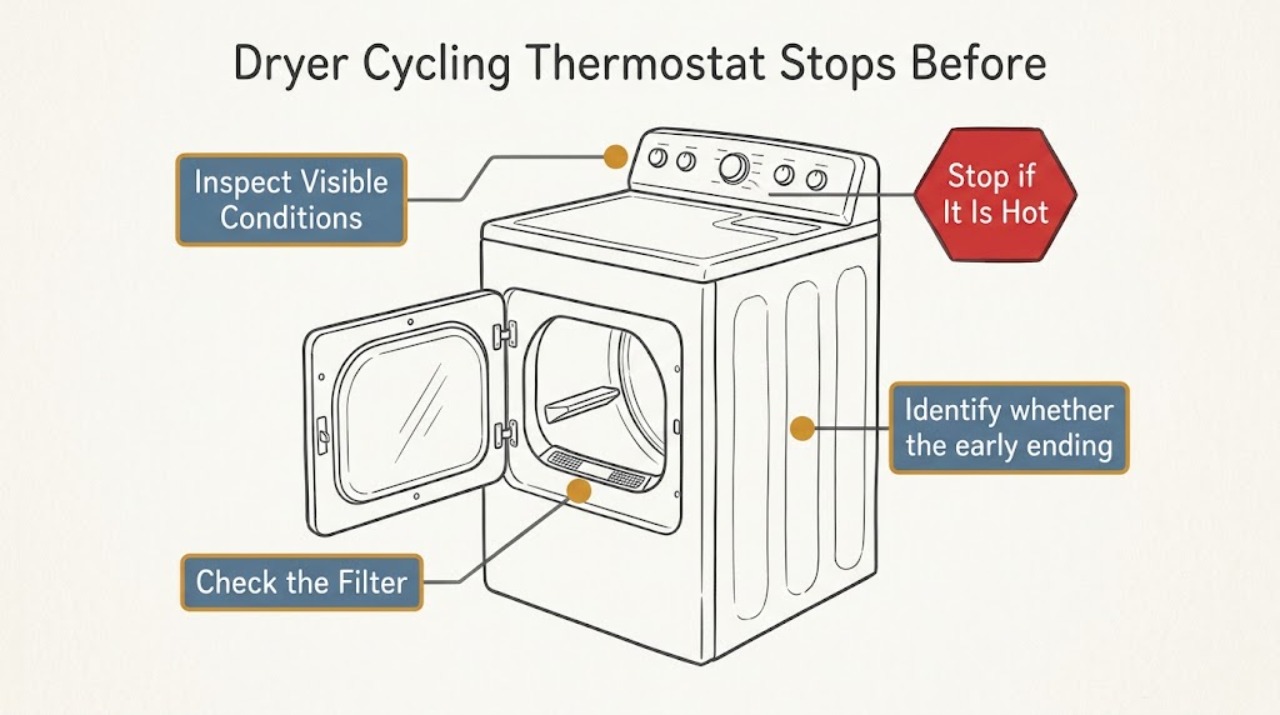
Work through in order
Diagnostic checks
Use only checks that match the exact appliance or system and its official guide.
-
Check 1
Run one user-facing heated Timed Dry cycle, if that cycle is available for the dryer, and observe from outside the cabinet whether the drum tumbles, the timer or display advances, and the exhaust air changes between warm and cooler periods. Do not open a panel or reach into the moving drum.
Expected result: The drum and controls continue while heat cycles, the drum stops with the controls still on, or the whole dryer and display stop before the selected time.
Next step: If only heat cycles, continue with the load and airflow checks. If the complete dryer stops, record the remaining time and whether the display is blank, then stop repeated tests and use the service boundary below.
Stop if: Stop immediately for smoke, a burning smell, sparking, an unusually hot cabinet, a damaged cord, or a repeated power trip.
Why this matters
Why: A tumbling drum with alternating heat is consistent with normal temperature regulation. A full stop is not explained by ordinary heater cycling alone and shifts attention to the selected cycle, power, motor, door, control, or safety system.
-
Check 2
Identify whether the early ending occurs only on an Automatic or Sensor cycle or also on Timed Dry, and note the load type and size. Keep the load within the owner's manual guidance and avoid judging a mixed load from one lightweight item alone.
Expected result: Only an automatic cycle ends early with heavier items still damp; both automatic and timed cycles stop; or the timed cycle reaches its selected time while the heat turns on and off normally.
Next step: For an automatic-only symptom, clean the accessible sensor bars and review the model's dryness setting. For a timed-cycle stop, do not substitute a sensor cleaning for service diagnosis.
Why this matters
Why: An automatic-only early finish makes moisture sensing, sensor contact, dryness selection, or load composition more likely than a cycling thermostat fault. A timed-cycle full stop is a separate machine-operation symptom. Normal timed completion with heat cycling supports the thermostat doing its temperature-control job.
-
Check 3
With the dryer off and the drum cool, inspect the accessible moisture-sensor bars near the lint-filter area or front of the drum. If the owner's instructions identify them, wipe them gently with a soft cloth and a little mild soap, then dry them completely before the next normal cycle.
Expected result: The bars have a dull or sticky film from dryer sheets or residue, or they are clean and dry; after cleaning, the automatic cycle runs longer or still ends with damp items.
Next step: Use the model's recommended dryness level and a suitable load for one retest. If the automatic cycle still ends early, record the load and result and arrange service rather than replacing a thermostat by guesswork.
Stop if: Stop if the sensor area is damaged, wet inside a seam, hot, or inaccessible without removing a panel or using a tool.
Why this matters
Why: Residue can interfere with the sensor's contact with damp fabric and make an automatic cycle stop too soon. Clean bars that do not change the symptom make a load, dryness-setting, control, or another fault more likely; this check does not test a cycling thermostat.
-
Check 4
Before a retest, clean the lint filter and inspect only the visible vent hose, wall connection, and outside hood for lint, crushing, kinks, or a blocked flap. During a brief normal run, observe whether warm exhaust exits freely; do not run the dryer without its lint filter or leave a vent disconnected.
Expected result: The filter or vent is restricted, the outside airflow is weak or absent, the dryer feels hotter than usual, or the exhaust path is clear with normal airflow.
Next step: Correct only visible lint or a safely accessible kink according to the manual, and arrange qualified vent cleaning when the run is obstructed or the outside hood remains weak. If airflow is normal but the dryer still stops or overheats, stop using it and arrange appliance service.
Stop if: Stop for scorching, smoke, a burning smell, a hot cabinet, damaged ducting, or any need to open the cabinet or disconnect concealed venting.
Why this matters
Why: Restricted airflow can raise dryer temperature and make safety thermostats remove heat; it can also leave moisture in the drum and distort cycle behavior. Normal visible airflow makes a vent restriction less likely but does not prove the cycling thermostat or internal safety chain is good.
-
Check 5
Record the exact failure pattern over one normal, supervised cycle: whether heat is absent, alternates normally, or becomes excessive; whether the drum and display stay on; whether the dryer restarts only after cooling; and whether an error or vent alert appears. Do not keep restarting it to collect more examples.
Expected result: The drum continues with no heat, the dryer becomes hot and stops, the whole machine loses power, the same stop returns after cooling, or the cycle completes normally after the visible checks.
Next step: If the pattern is anything other than normal completion, leave the dryer off and give the technician the model, selected cycle, load, time remaining, heat behavior, airflow result, and any display message. Do not bypass a safety device or order a thermostat until compatibility and diagnosis are confirmed.
Stop if: Stop using the dryer for repeated stops, overheating, no heat with a fault indication, burning odor, smoke, sparks, damaged wiring or cord, or a power trip.
Why this matters
Why: No heat, excessive heat, a repeat-after-cooling stop, or a full power loss can involve the cycling thermostat, heater, thermal cutoff or high-limit protection, motor, controls, wiring, or power supply. The observation narrows the handoff but cannot identify a failed part without model-specific service tests.
Use your observations
Decision map
Find the observation that best matches what you see, then follow the next safe action.
-
PATH 01Next step
What you see
The drum and timer continue, while the exhaust alternates between warm and cooler air and the timed cycle completes.
Do this next
Use the correct load and cycle, keep the filter and exhaust path clear, and monitor drying performance. Investigate further only if the dryer later stops, overheats, or loses heat entirely.
Why this path and its safety boundary
Why it matters: That pattern is consistent with the cycling thermostat regulating heat rather than stopping the cycle. A thermostat replacement is not supported by heat switching alone.
-
PATH 02Next step
What you see
An Automatic or Sensor cycle ends early with damp heavy items, especially after a small or mixed load, while a Timed Dry cycle does not fully stop.
Do this next
Clean the accessible sensor bars, use the model's recommended load and dryness setting, and arrange service if the symptom persists with suitable loads.
Why this path and its safety boundary
Why it matters: Moisture-sensor contact, residue, dryness selection, or load composition is more likely than the cycling thermostat. Lighter fabric can satisfy the sensor before heavier items are dry.
-
PATH 03Next step
What you see
The dryer feels unusually hot or has weak outside exhaust, a restricted filter or vent, a vent alert, or longer-than-normal drying before the stop.
Do this next
Stop the cycle, clean the lint filter, correct only visible restrictions, and arrange qualified vent cleaning or appliance service if airflow remains weak. Do not keep running the dryer to force a result.
Why this path and its safety boundary
Why it matters: Restricted airflow is more likely than a standalone cycling-thermostat failure because poor exhaust can raise temperature and interfere with moisture removal; safety thermostats may then remove heat.
-
PATH 04Next step
What you see
The drum and controls stop entirely before a timed cycle ends, or the dryer runs again only after it cools or sits for a while.
Do this next
Leave the dryer off and arrange qualified appliance service with the exact timing and temperature pattern. Do not repeatedly restart it or bypass a thermostat, thermal cutoff, or high-limit device.
Why this path and its safety boundary
Why it matters: This is not ordinary heat cycling. A thermal protection, motor, power, door, control, or wiring issue is possible, and the cycling thermostat cannot be identified as the failed part from this symptom alone.
-
PATH 05Next step
What you see
The drum tumbles on a heated Timed Dry cycle but never produces warm exhaust, even after the lint filter and visible vent path are clear.
Do this next
Stop using the dryer and arrange qualified service; provide the model, fuel type, selected cycle, and no-heat observation. Do not open the cabinet or test live circuits.
Why this path and its safety boundary
Why it matters: The heater, cycling thermostat, thermal protection, gas or electric supply, or control path may need model-specific diagnosis. A clean vent does not prove any one component has failed.
Helpful context
Understand the symptom
What the cycling thermostat can and cannot explain
The cycling thermostat is part of the dryer's heat-control system. It can make the heater alternate between warm and cooler periods while the drum keeps turning. That audible or temperature change is expected in many dryers. A complete stop before the selected cycle ends is a different symptom: automatic cycles may intentionally finish from moisture or temperature sensing, while a timed cycle, power path, motor, door switch, or heat-safety problem needs a separate check. The exact control design varies by model, so use the owner's manual for cycle names and any model-specific test mode.
Keep user checks outside the cabinet
The checks below use the controls, lint filter, sensor bars, and visible exhaust path only. Do not remove the cabinet, probe energized wiring, jumper a thermostat or thermal fuse, or keep restarting a dryer that is hot or smells burned. A replacement thermostat is conditional on model-specific diagnosis; a part that looks similar is not proof of compatibility.
Only after diagnosis
Potential parts
- cycling thermostat
Consider this part only if model-specific service diagnosis shows the cycling thermostat does not switch at its specified operating conditions after airflow and load causes have been addressed.
Confirm the exact dryer model, fuel type, terminal arrangement, and manufacturer fit information before ordering; do not substitute by appearance or bypass the original safety design. - thermal cutoff or high-limit thermostat
Consider this category only when a qualified diagnosis links the repeated overheat or no-heat symptom to that model's protective device; a restricted vent or another fault must be ruled out first.
Use the exact model documentation and rated component specification. A protective device must not be bridged, substituted, or treated as a generic cycling thermostat.
When checks do not resolve it
Need a professional?
Stop using the dryer and arrange qualified appliance service for a complete mid-cycle stop, a repeat-after-cooling stop, no heat on a timed cycle, excessive heat, weak exhaust that remains after safe visible cleaning, burning odor, smoke, sparks, damaged cord or wiring, or repeated power trips. The cycling thermostat should be replaced only after model-specific diagnosis; never bypass it or another safety device.
Safety scope: Do not remove the dryer cabinet, probe live circuits, bypass or jumper the cycling thermostat, thermal cutoff, high-limit device, door switch, or other safety control. Leave the dryer off for smoke, burning odor, sparks, a hot cabinet, damaged wiring or cord, or repeated power trips.
Common questions
FAQ
Does a cycling thermostat normally stop the dryer before the cycle ends?
Normally it switches the heat source off and on to regulate air temperature while the drum continues. A complete early stop points to the selected cycle or another machine, power, motor, control, or safety symptom rather than proving the cycling thermostat is bad.
Why does an automatic dryer cycle end while clothes are still damp?
Moisture-sensor residue, poor sensor contact, a small or mixed load, or the dryness setting can make the dryer decide the load is dry before heavier items are finished. Clean the accessible sensor bars and use the model's load and setting guidance before considering a part.
Should I replace the cycling thermostat first?
No. First separate normal heat cycling from a full stop, then check the user-accessible load, sensor, filter, and visible exhaust conditions. A cycling thermostat is a conditional part only after a qualified, model-specific diagnosis rules out airflow and other causes.
Read the exact guide
Official sources
- AF or "Check Vent" - DryerWhirlpool · Dryer lint screen, vent, outside hood, and airflow symptoms
- Clothes are not dry after using Samsung dryerSamsung · Sensor Dry cycle that ends early with damp laundry
- Dryer - Timer Stops During the CycleGE Appliances · Dryer that appears to stop or has a timer that stops during a cycle
- Dryer - Explanation of Dryer TemperaturesGE Appliances · Dryer heat regulation and restricted-airflow temperature symptoms
- CPSC Publication 5022 - Overheated Clothes Dryers SAfety AlertU.S. Consumer Product Safety Commission · Household clothes dryer lint and exhaust safety
- Using Auto Dry, Timed Dry and EcoBoostWhirlpool · Whirlpool dryer automatic moisture and temperature sensing versus timed drying
- Dryer - Benefits of the Automatic Dry CycleGE Appliances · Dryer automatic and thermostat-controlled drying behavior
Community feedback
Share a repair observation
Share a plain-text repair observation. Accepted observations are published automatically; this page may take a moment to update.