
On this page
Start here
Quick answer
A soft or spongy bathroom floor is a warning sign, not a flooring finish to cover up. Moisture from a plumbing or tub/shower leak can swell or weaken moisture-sensitive floor materials, but movement can also come from the tile assembly or its support. From a safe standing position, document where the floor feels soft, look for visible moisture clues, and note any recent leak or remodeling work. Do not probe, lift flooring, remove fixtures, or attempt structural repair. Stop using a leaking fixture or an unsafe area and arrange a plumbing, water-damage, flooring, or structural assessment based on what you find.
Before you begin
Safety first
- Do not probe, lift or cut the floor, remove a toilet or tub, perform structural repair, or clean suspected mold or contaminated water as a way to diagnose this problem. Keep people away from an unstable area.
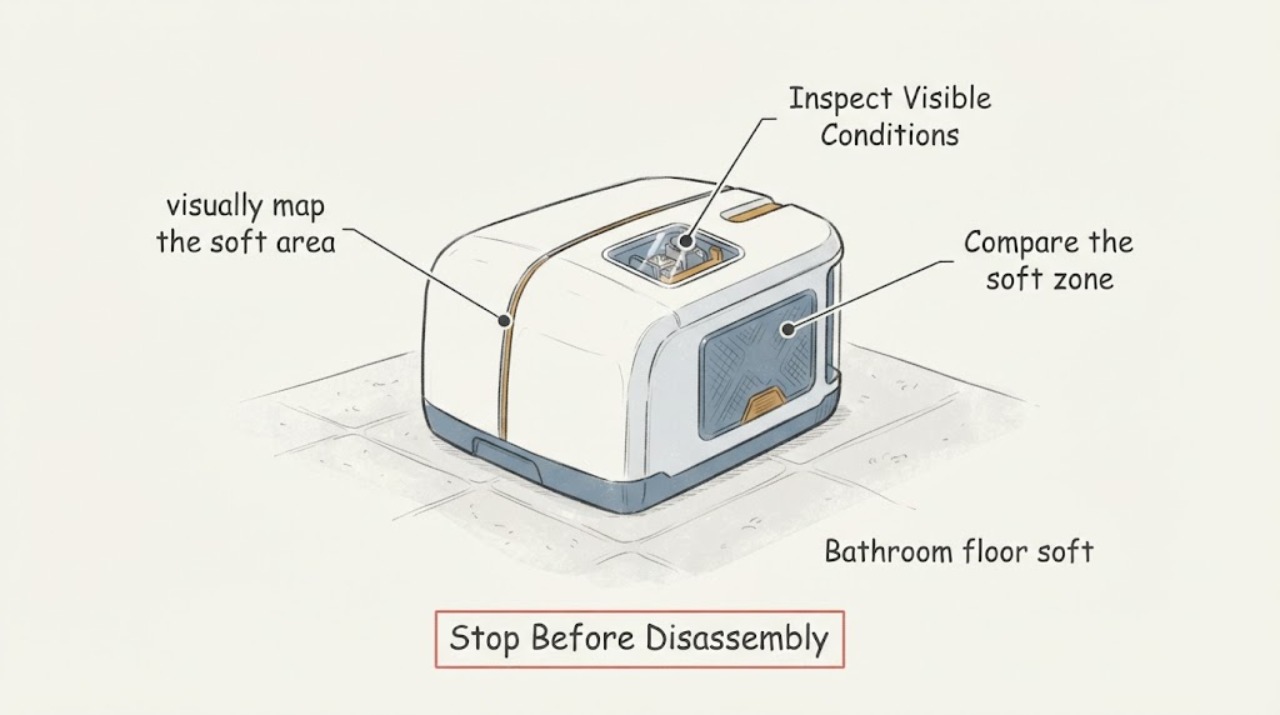
Work through in order
Diagnostic checks
Use only checks that match the exact appliance or system and its official guide.
-
Check 1
From a stable standing position, visually map the soft area without probing it or repeatedly loading it. Note whether the symptom is a single small spot or a wider zone, and whether nearby tile, grout, sheet flooring, trim, or the floor line looks cracked, lifted, stained, or dipped.
Expected result: A sharply localized soft spot suggests a localized support or moisture problem; a broad, worsening, sinking, or visibly distorted area raises the urgency and can indicate that the floor assembly is not reliably supporting normal loads.
Next step: Photograph the area from several angles, mark its approximate location on a simple room sketch, and continue only with non-invasive visual checks.
Stop if: Stop walking across the area and keep others out if the floor deflects noticeably, sinks, opens, or feels unsafe under ordinary standing.
Why this matters
Why: Use the size and change over time to decide whether to keep the area out of service and whether the first call should include a structural or water-damage assessment.
-
Check 2
Inspect the floor perimeter and adjacent walls, ceiling below if already visible without moving anything, and the outside of the toilet, tub, shower, vanity, and exposed supply or drain connections. Look for active droplets, dampness, discoloration, swollen trim, peeling finishes, or a musty odor; do not touch suspected mold or remove caulk, trim, or fixtures.
Expected result: Fresh wetness or a recurring damp or musty clue near a fixture supports an active or recurring moisture path. A dry-looking surface does not prove that the concealed floor layers are dry.
Next step: Record which fixture or wall is nearest, when the clue appeared, and whether it follows showering, toilet use, or another event. If water is active, stop using the suspected fixture and arrange service.
Stop if: Stop immediately if sewage, contaminated water, extensive visible mold, or a ceiling or wall below that is bulging or damaged is involved; keep people away and call the appropriate professional.
Why this matters
Why: An active or likely plumbing or bathing-water source needs prompt source control and professional inspection before cosmetic flooring work; a dry surface with no clues still leaves hidden moisture or support movement possible.
-
Check 3
Compare the soft zone with neighboring floor areas only during normal, careful movement, without lifting tile, cutting sheet flooring, drilling, pulling baseboards, or disturbing an older unknown floor covering. Note whether softness is confined to the wet-area edge, follows a seam or room perimeter, or continues across the room.
Expected result: A spot that follows a fixture edge or seam points the professional toward a moisture boundary or assembly joint; softness that continues across multiple areas suggests a broader support or moisture issue. Neither pattern identifies the failed layer by itself.
Next step: Add the boundaries and any progression to the photos and room sketch. Do not make a repair decision based only on the visible finish.
Stop if: Stop the comparison if the floor movement increases, a crack opens, a tile shifts, or ordinary standing becomes uncomfortable or unsafe.
Why this matters
Why: The extent changes the likely inspection scope: a localized check may start near the reported source, while widespread movement warrants keeping the room out of use until the support is assessed.
-
Check 4
Write down the timeline and known history: the first day the floor felt soft, any leak, overflow, shower or toilet change, cleaning spill, prior remodeling, or earlier flooring repair. Gather existing photos and receipts without opening the floor or moving heavy fixtures.
Expected result: Softness that follows a known water event supports a moisture investigation; gradual change without a known event still warrants inspection because hidden plumbing, condensation, or support movement can be difficult to see.
Next step: Give the timeline, location map, photos, suspected fixture, and any known floor materials to the service professional. Ask what areas they will inspect before any removal is authorized.
Stop if: Do not attempt demolition, mold cleanup, structural repair, or fixture removal to answer an uncertain question; escalate the assessment instead.
Why this matters
Why: A concise history helps the plumber, water-damage specialist, flooring professional, or structural assessor choose a safe inspection path and avoid unnecessary disturbance of the assembly.
Use your observations
Decision map
Find the observation that best matches what you see, then follow the next safe action.
-
PATH 01Next step
What you see
The floor is actively wet, the suspected fixture is leaking, or water returns after use.
Do this next
Stop using the suspected fixture, isolate its water supply only if the shutoff is clearly accessible and safe, protect people from the area, and call a licensed plumber or water-damage professional. Do not test the leak by adding more water.
-
PATH 02Next step
What you see
The soft area is broad, worsening, visibly sinking, or unsafe to cross, even without visible water.
Do this next
Keep the bathroom out of service and arrange an urgent flooring, water-damage, or structural assessment. Provide the mapped extent and photos; do not load the floor to see how much it can take.
-
PATH 03Next step
What you see
The soft spot is localized, there is no active wetness, and the floor is stable enough to leave undisturbed.
Do this next
Schedule a professional inspection rather than covering or caulking the symptom. A localized area can still involve concealed moisture, a failed support layer, or movement in the floor assembly.
-
PATH 04Next step
What you see
The area includes suspected mold, sewage or other contaminated water, an unknown older floor covering, or damage in the room below.
Do this next
Do not disturb, clean, probe, or remove the material yourself. Keep occupants away as appropriate and ask a qualified remediation or building professional to define the safe scope.
Helpful context
Understand the symptom
Why a soft bathroom floor deserves prompt attention
A floor can feel soft because water has reached a subfloor or other support material, because a tile or underlayment assembly is moving, or because a previous repair did not provide stable support. A visible stain or musty odor can support a moisture concern, but the absence of a stain does not rule out moisture below a finish. The safe homeowner role is to document the symptom and the likely source; opening the assembly or testing its load capacity belongs to a qualified professional.
Keep the area and any suspected source controlled
If water is actively entering, close the fixture's water shutoff only if it is plainly accessible and safe to operate, and keep people away from the affected area. Do not create a leak test by flooding the floor, repeatedly jumping or stomping on the soft spot, or moving heavy bathroom fixtures. If water may be contaminated, if mold is extensive, or if the floor is unsafe, use a qualified water-damage or remediation professional rather than disturbing the materials yourself.
Only after diagnosis
Potential parts
- moisture-meter
Only consider this as a supplementary inspection tool after a professional identifies an appropriate accessible surface; a reading can support a moisture investigation but cannot establish the failed layer or make a soft floor safe.
Readings depend on the meter, floor finish, substrate, and a comparable control area. Confirm the material and method with the inspecting professional before relying on a result.
When checks do not resolve it
Need a professional?
Call promptly for any active leak, recurring dampness, musty odor with suspected hidden moisture, worsening or widespread softness, visible sinking, suspected contaminated water or mold, or a floor that no longer feels safe. Even a stable dry-looking soft spot should be assessed before flooring is covered or replaced.
Safety scope: Do not probe, lift or cut the floor, remove a toilet or tub, perform structural repair, or clean suspected mold or contaminated water as a way to diagnose this problem. Keep people away from an unstable area.
Have this ready
- Provide the room sketch, photos, approximate soft-area boundaries, timeline, nearest fixture or wall, water or mold clues, prior remodeling history, and whether the symptom changes after showering or toilet use.
Common questions
FAQ
What usually makes a bathroom floor feel soft?
Possible causes include moisture-damaged floor materials, a plumbing or tub/shower leak, a weakened support layer, or movement within the flooring assembly. The sensation alone cannot identify which layer failed, so document the area and arrange an inspection rather than covering it.
Can I keep using the bathroom while the floor is soft?
Do not use a fixture that may be leaking, and do not use an area that is worsening, sinking, or unsafe. If the area is stable and dry-looking, limit traffic while arranging an assessment; do not deliberately load the floor to test it.
Should I lift a tile or cut the flooring to look underneath?
No. Lifting, cutting, probing, or removing fixtures can spread contamination, damage a waterproofing assembly, expose unknown older materials, or turn a safe observation into a repair. Give the professional your photos, map, and timeline instead.
What information should I give the professional?
Share the approximate soft-area boundaries, photos, when it began, any leak or overflow, the nearest fixture or wall, whether it changes after use, visible moisture or odor clues, and the floor's remodeling history. Mention any suspected mold, sewage, or damage visible in the room below before anyone disturbs the area.
Read the exact guide
Official sources
- A Brief Guide to Mold, Moisture and Your HomeU.S. Environmental Protection Agency · Used for the moisture and mold cautions, prompt leak response, hidden-mold disturbance warning, and professional escalation boundaries in this general bathroom-floor triage article.
- Moisture Problems in Manufactured Homes: Understanding Their Causes and Finding SolutionsU.S. Department of Housing and Urban Development · Used only as a general moisture-mechanism reference for why repeated wetting can weaken floor materials; the document's manufactured-home examples are not assumed to describe every bathroom floor.
- MoldCenters for Disease Control and Prevention · Used for the visible or musty mold clues, moisture-source connection, and conservative advice not to disturb a potentially moldy or contaminated area.
Community feedback
Share a repair observation
Share a plain-text repair observation. Accepted observations are published automatically; this page may take a moment to update.