
Repair service
Bathroom Remodeling Guides
Showers, tubs, vanities, and bathroom upgrades.
Published bathroom remodeling guides
Choose the guide that best matches the service and problem you are seeing.
-
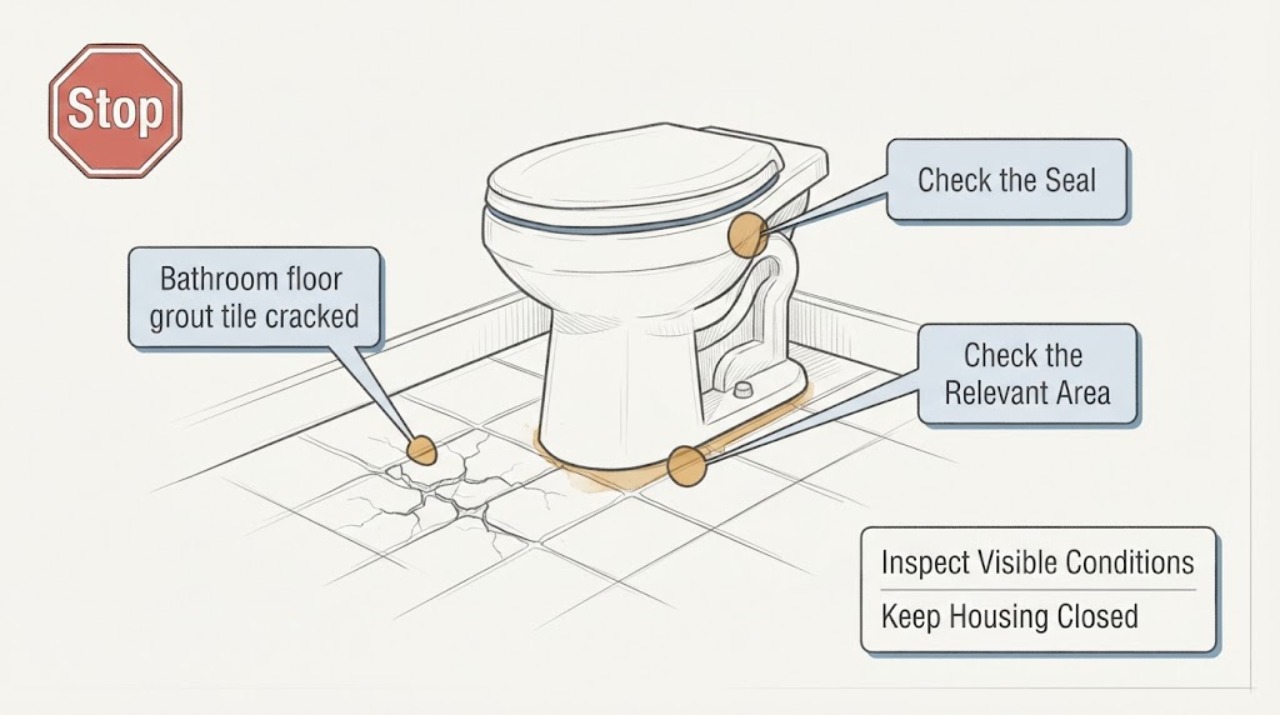
Bathroom floor grout tile cracked: What to Check and What to Do Next
A cracked bathroom-floor grout joint may be a limited surface defect, but it can also reflect tile movement, substrate movement, moisture, loose tile, or a failed movement joint. First determine whether the crack is only in the grout or continues through a tile, map whether it is isolated or recurring, and look for movement, water marks, soft areas, and trip or slip risk.
-
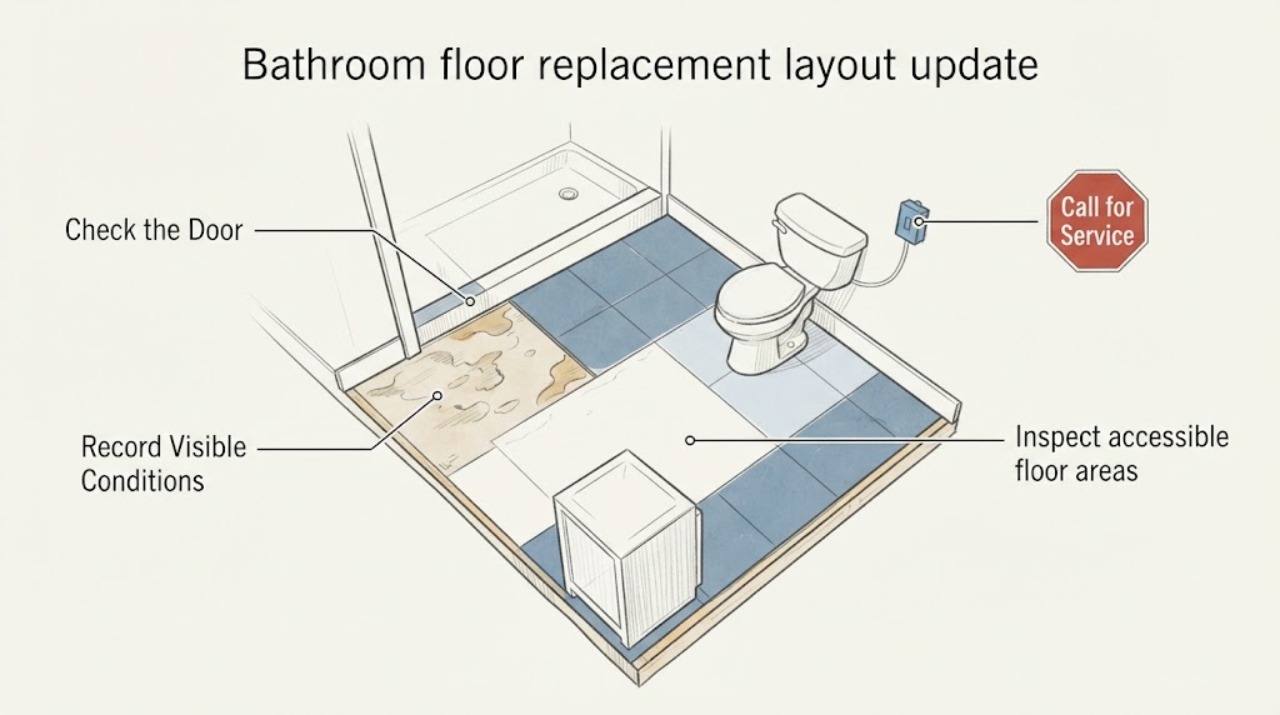
Bathroom floor replacement layout update: What to Check and What to Do Next
Plan a bathroom-floor replacement layout around the finished room and every fixed element, not just the tile pattern. Document the room shape, door swing, toilet/vanity/tub or shower footprints, drain and supply locations, existing transitions, finished-floor height, and substrate condition before any removal.
-
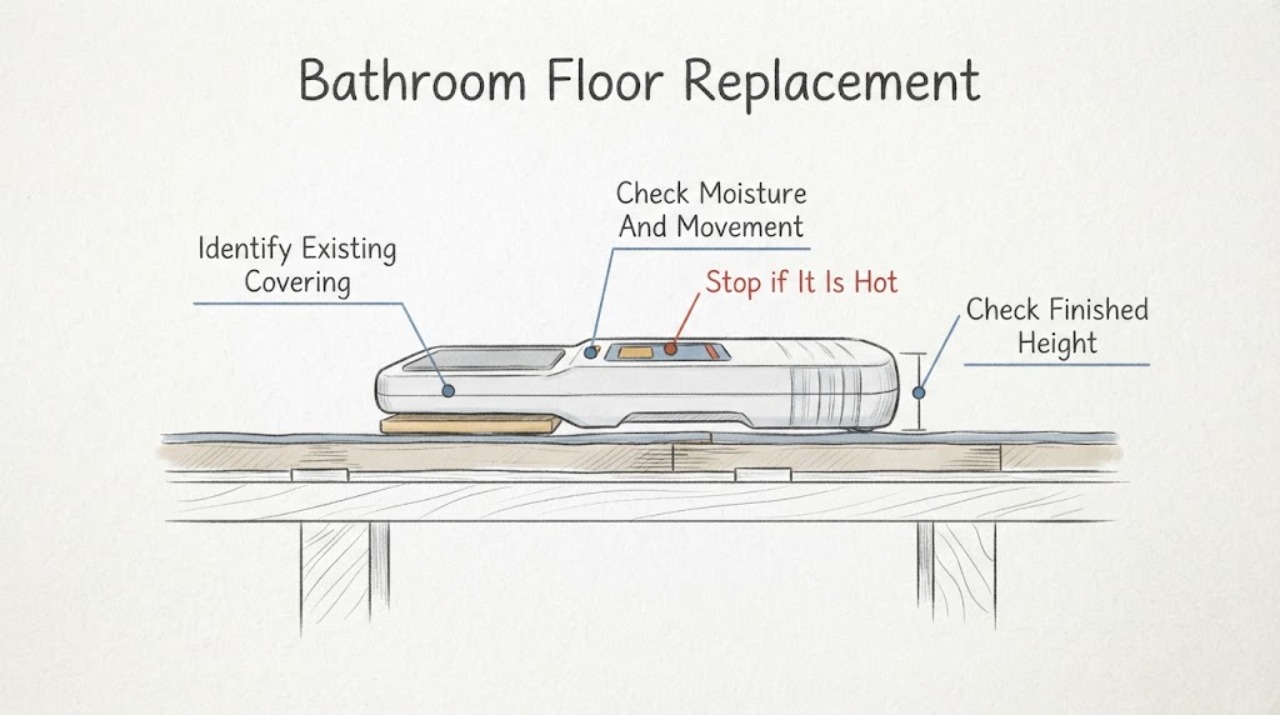
Bathroom Floor Replacement for an Outdated Finish: What to Check and What to Do Next
An outdated bathroom floor finish does not by itself mean the floor must be demolished. First identify the existing covering, check for movement or moisture, and confirm the finished height around the door and toilet.
-
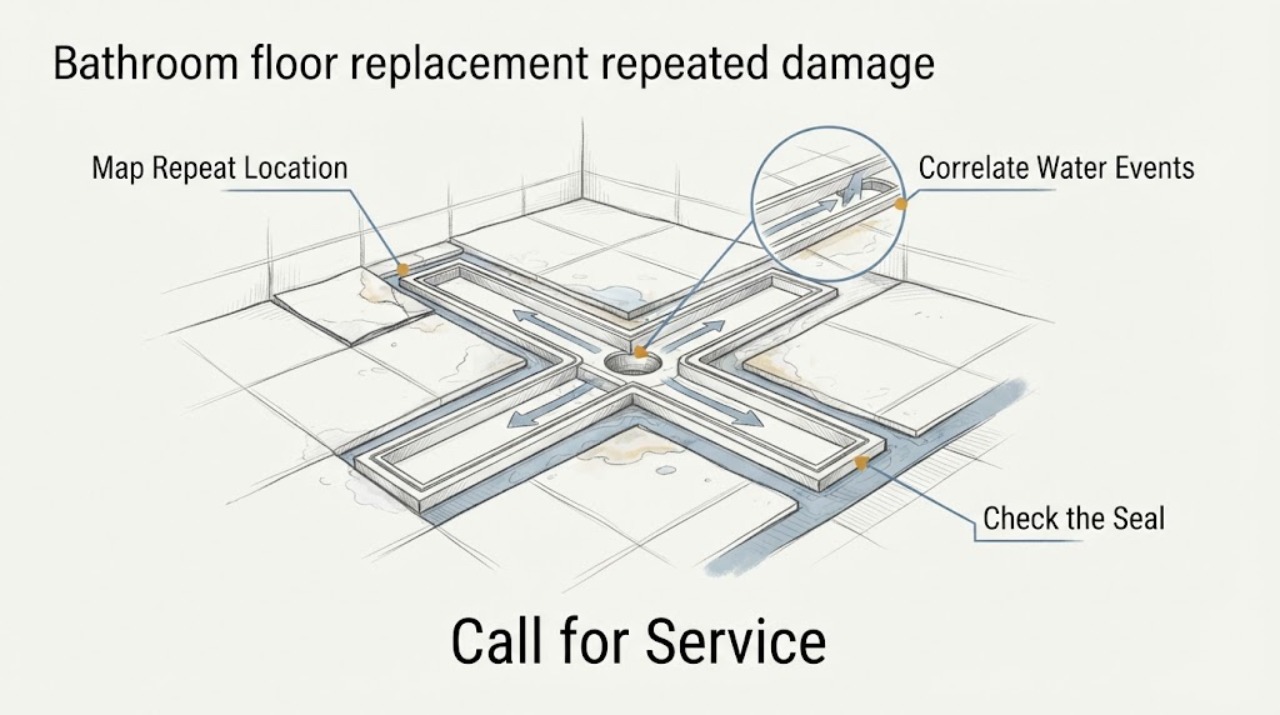
Bathroom floor replacement repeated damage: What to Check and What to Do Next
Repeated damage after a bathroom floor replacement is usually a moisture-management, movement, substrate, installation, or transition problem rather than a reason to replace the visible finish again. From safe dry positions, document where damage returns, whether it follows a shower, toilet, sink, or plumbing event, grout or joint opening, hollow or lifted areas, staining below, and the timing after cleaning or use.
-
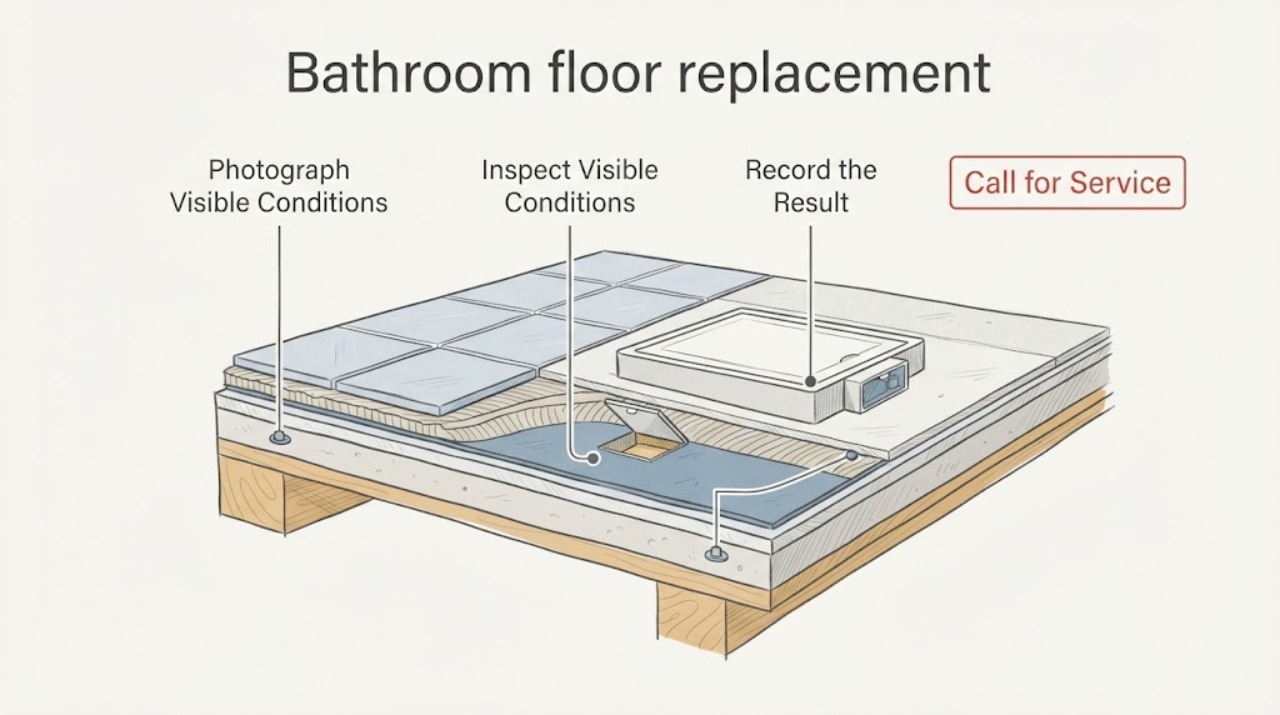
Bathroom floor replacement: What to Check and What to Do Next
Before arranging a bathroom floor replacement, determine whether you are dealing with surface wear, movement or softness, or an active moisture problem. A few low-risk observations can make the quote more useful: map the visible damage, check whether moisture returns after fixtures are used, confirm that bathroom ventilation is actually moving air, and document the room, fixtures, floor type, and transitions.
-
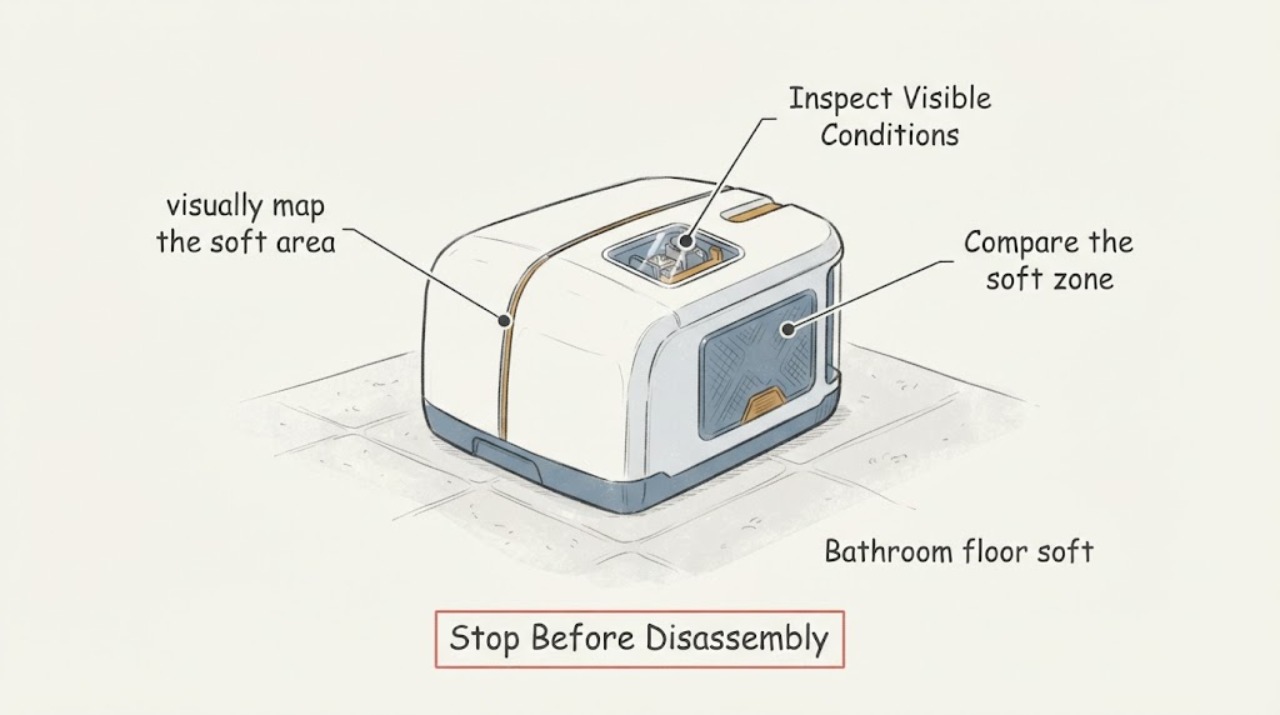
Bathroom floor soft: What to Check and What to Do Next
A soft or spongy bathroom floor is a warning sign, not a flooring finish to cover up. Moisture from a plumbing or tub/shower leak can swell or weaken moisture-sensitive floor materials, but movement can also come from the tile assembly or its support.
-
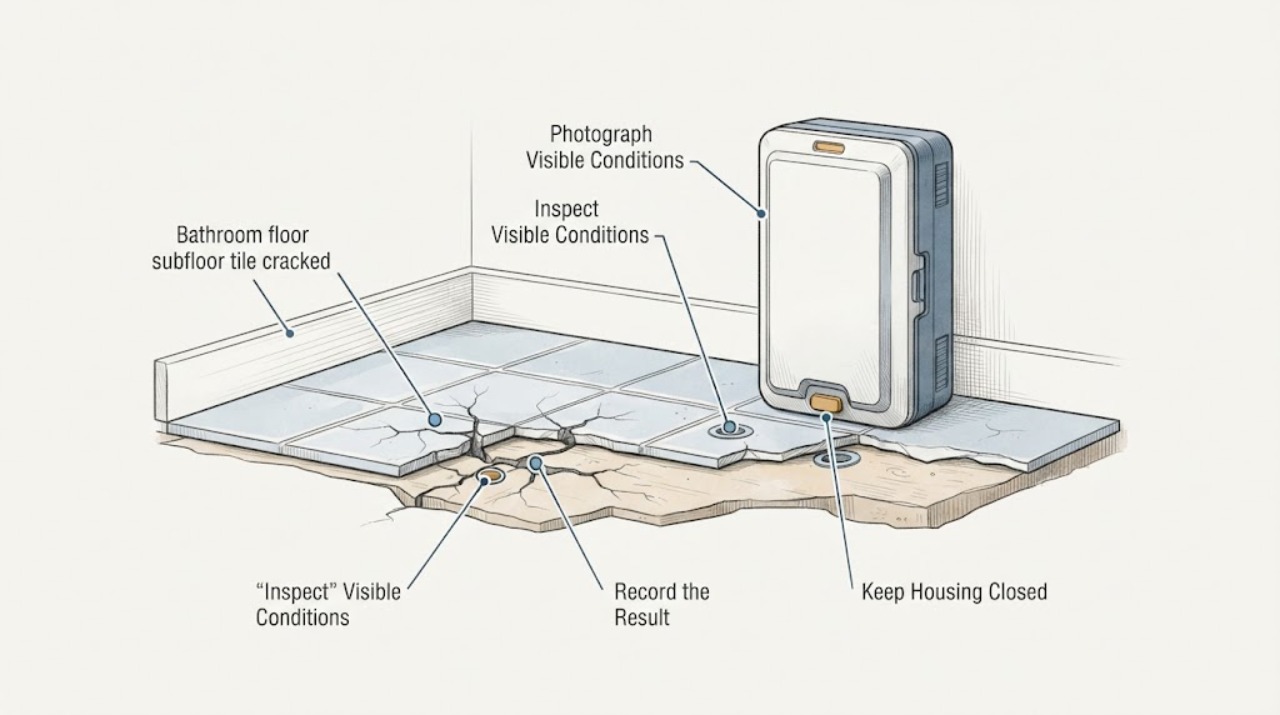
Bathroom floor subfloor tile cracked: What to Check and What to Do Next
A cracked bathroom floor tile may be a surface defect, movement in the tile assembly, or a sign of moisture or subfloor movement. Start with safe observation: map the crack, look for tile or grout movement, note soft or uneven areas without pressing hard, and check for moisture or plumbing-related timing.
-
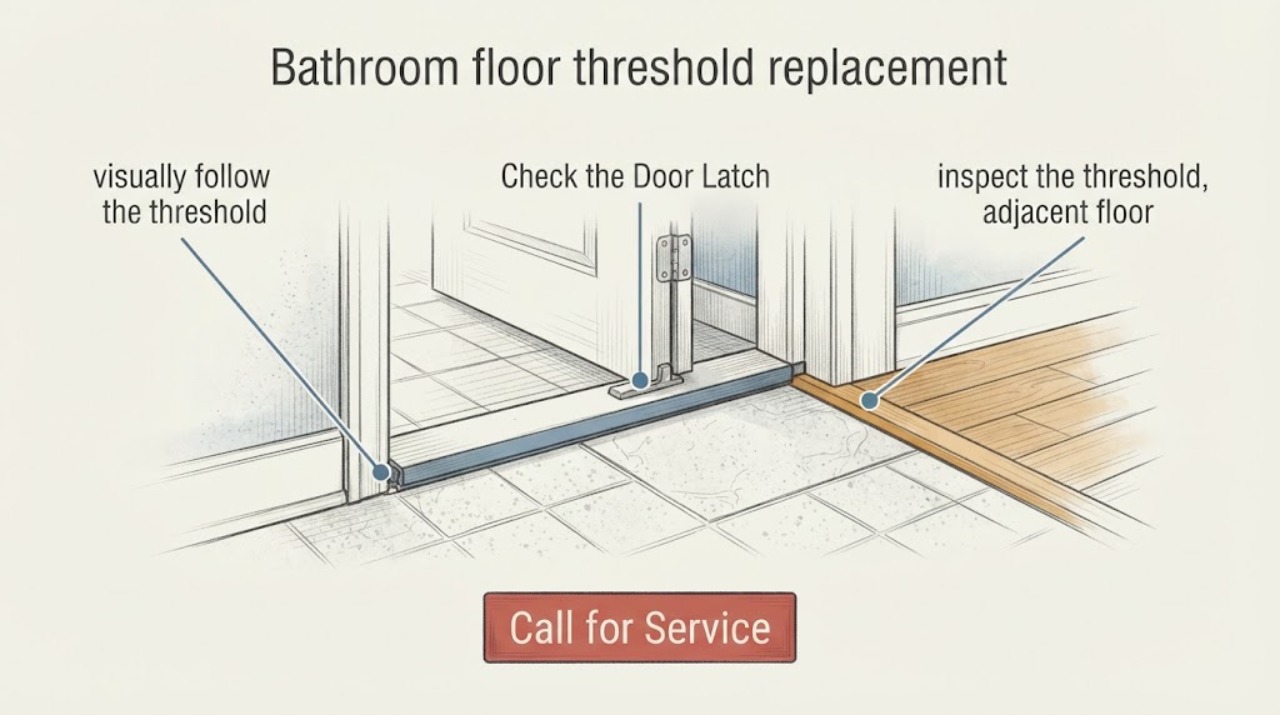
Bathroom floor threshold replacement: What to Check and What to Do Next
Do not pry up or cut out a bathroom floor threshold just because it looks worn. From a dry, standing position, document the transition height and edges, whether the door clears and latches normally, any visible moisture or soft-looking flooring, and whether the change catches a foot or mobility aid.
-
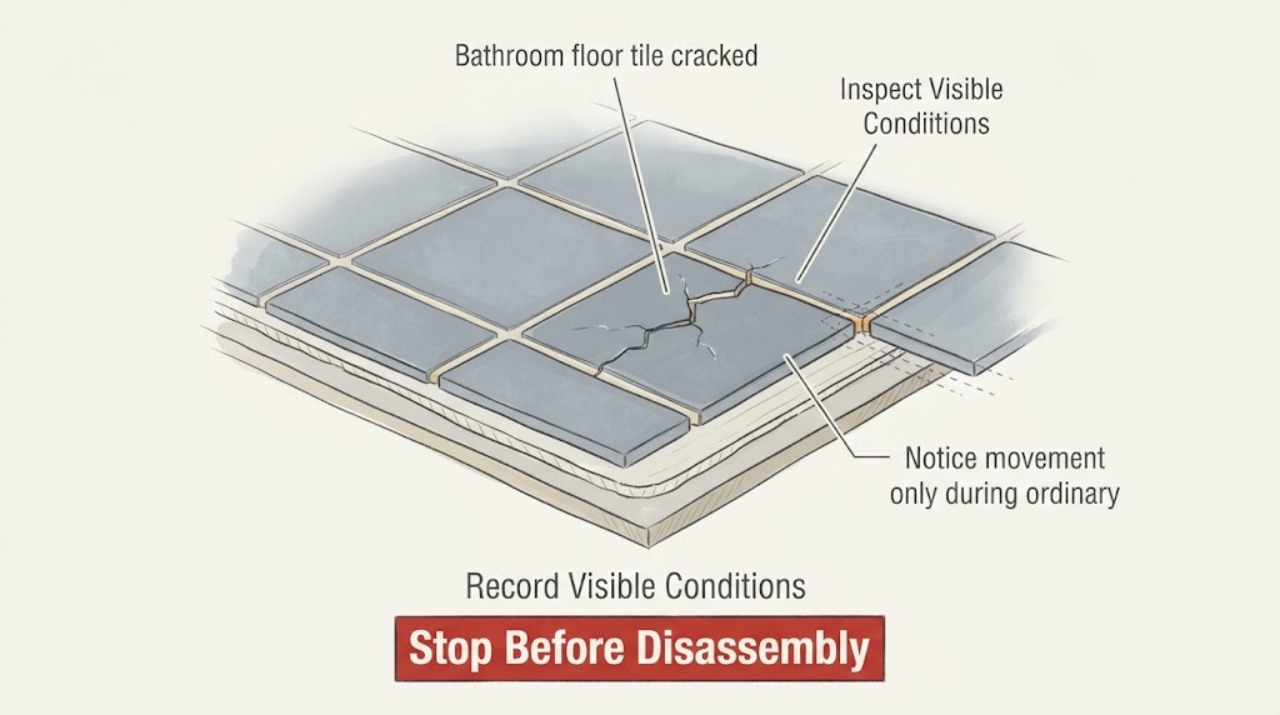
Bathroom floor tile cracked: What to Check and What to Do Next
Treat a cracked bathroom floor tile as an observation and moisture-triage issue first. From a safe standing position, document the crack pattern, notice whether the tile feels loose during ordinary use, and look for dampness, staining, odor, or recurring wet grout near the shower, tub, toilet, or sink.
-
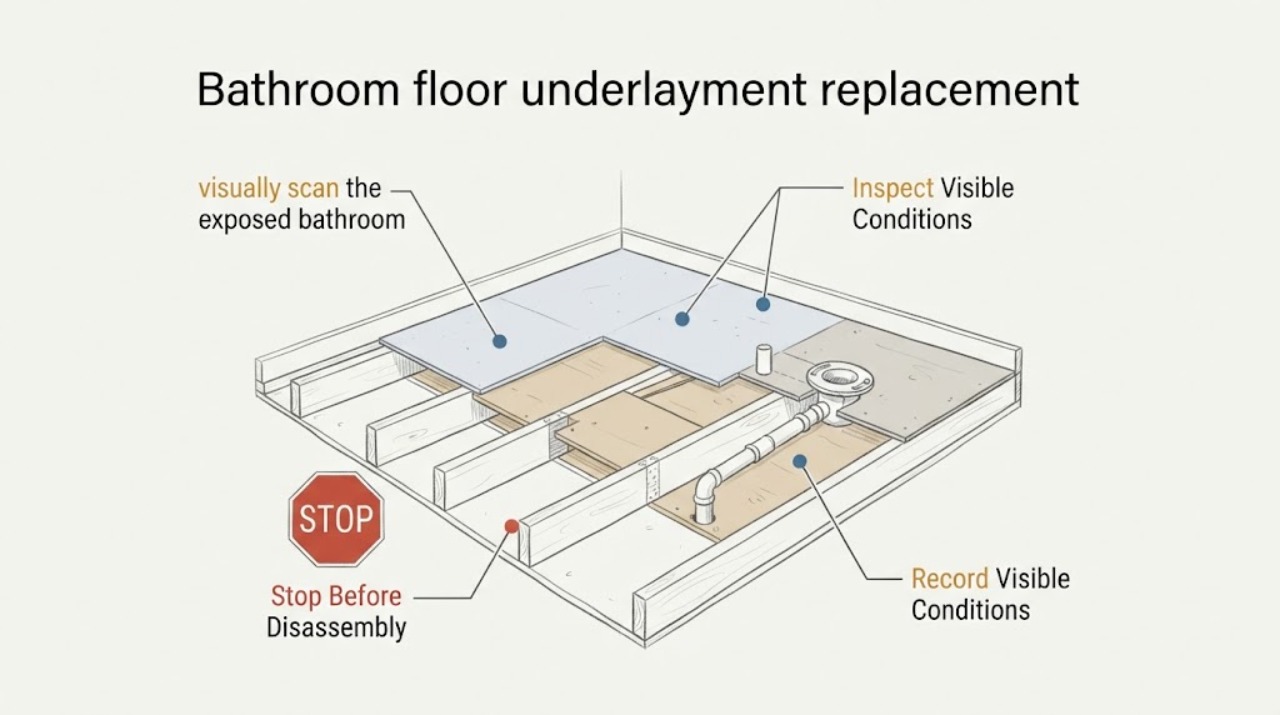
Bathroom floor underlayment replacement: What to Check and What to Do Next
A bathroom floor underlayment should be evaluated for replacement when the finished floor moves, feels soft, stays damp, or shows damage that may extend below the visible surface. Those signs do not identify the failed layer by themselves.
-
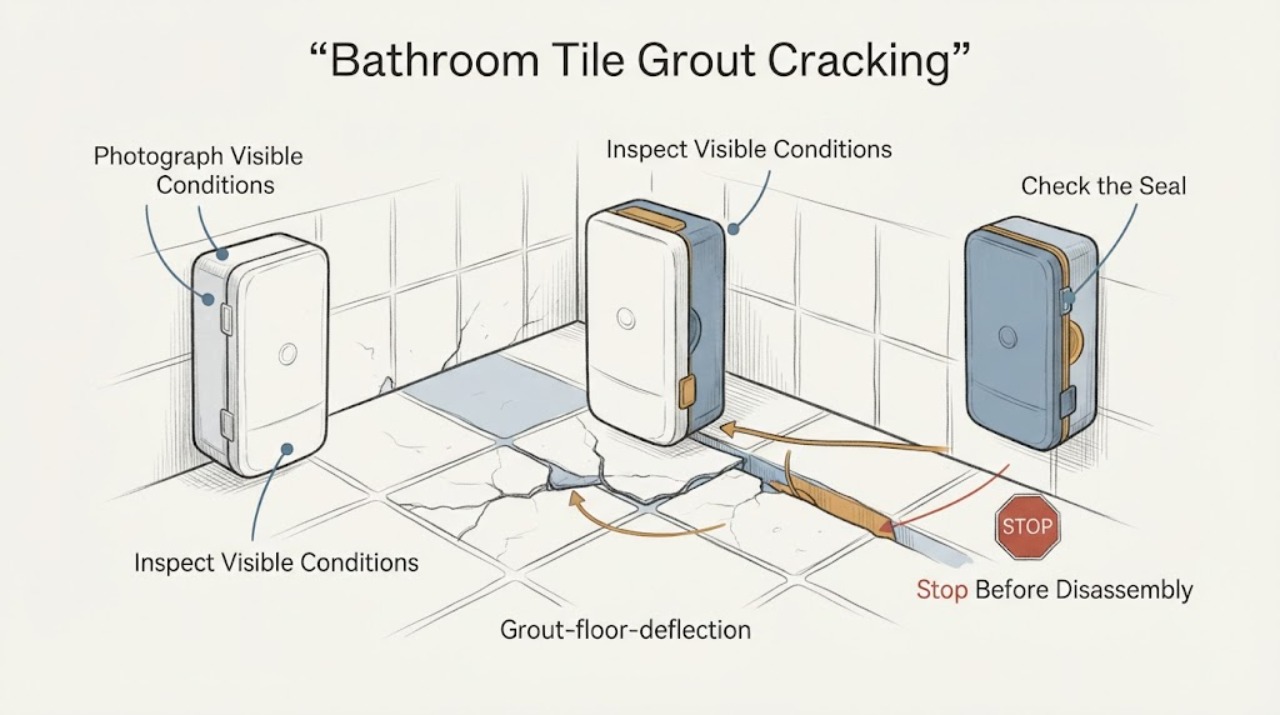
Bathroom Tile Grout Cracking with Floor Deflection: Diagnose Movement Before Regrouting
Repeatedly cracking grout in a bathroom floor, especially when the floor flexes under normal walking or the cracks follow several joints, is a movement problem until proven otherwise. A bouncing or unstable wood floor can crack grout and loosen tile, while a crack at a change of plane may need flexible sealant rather than rigid grout.
-
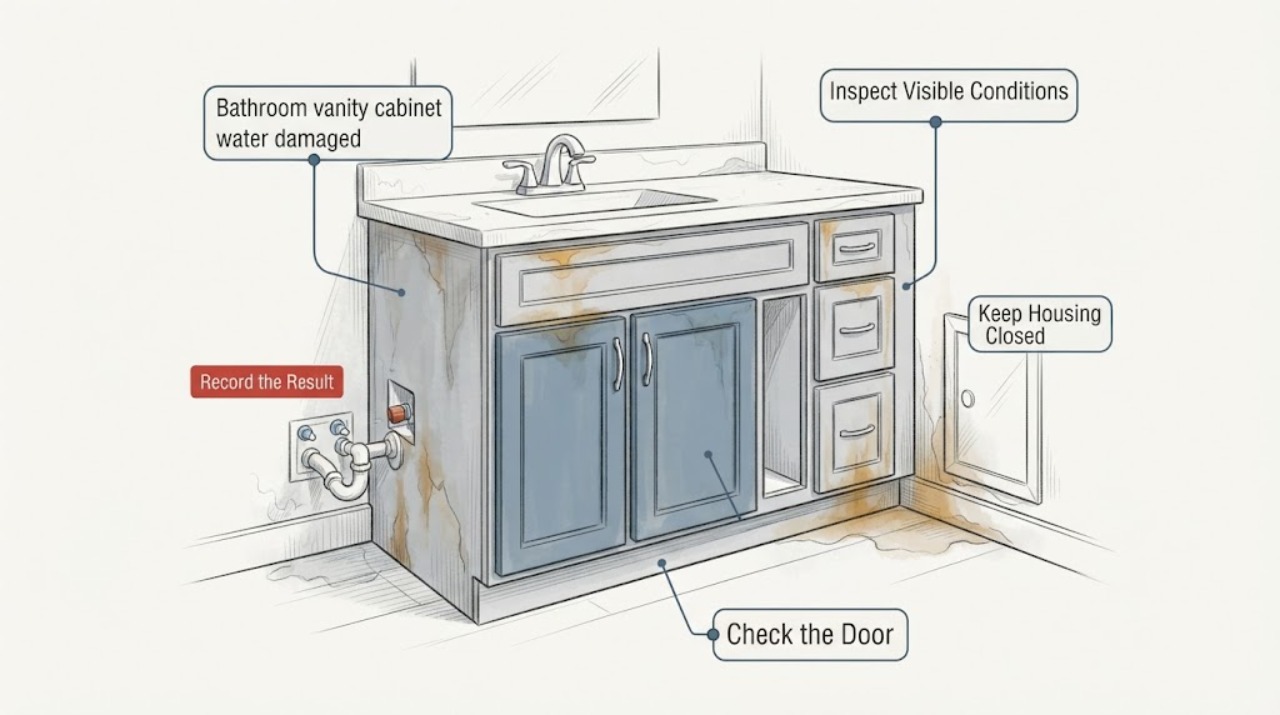
Bathroom vanity cabinet water damaged: What to Check and What to Do Next
Treat a water-damaged bathroom vanity as a source-and-extent problem before a cabinet replacement decision. From outside the cabinet or from an already open, safe access area, photograph active moisture, identify whether it is near the sink, drain, wall, floor, or a fixture, and note swelling, delamination, odor, visible growth, soft spots, door misalignment, or loss of stability.
-
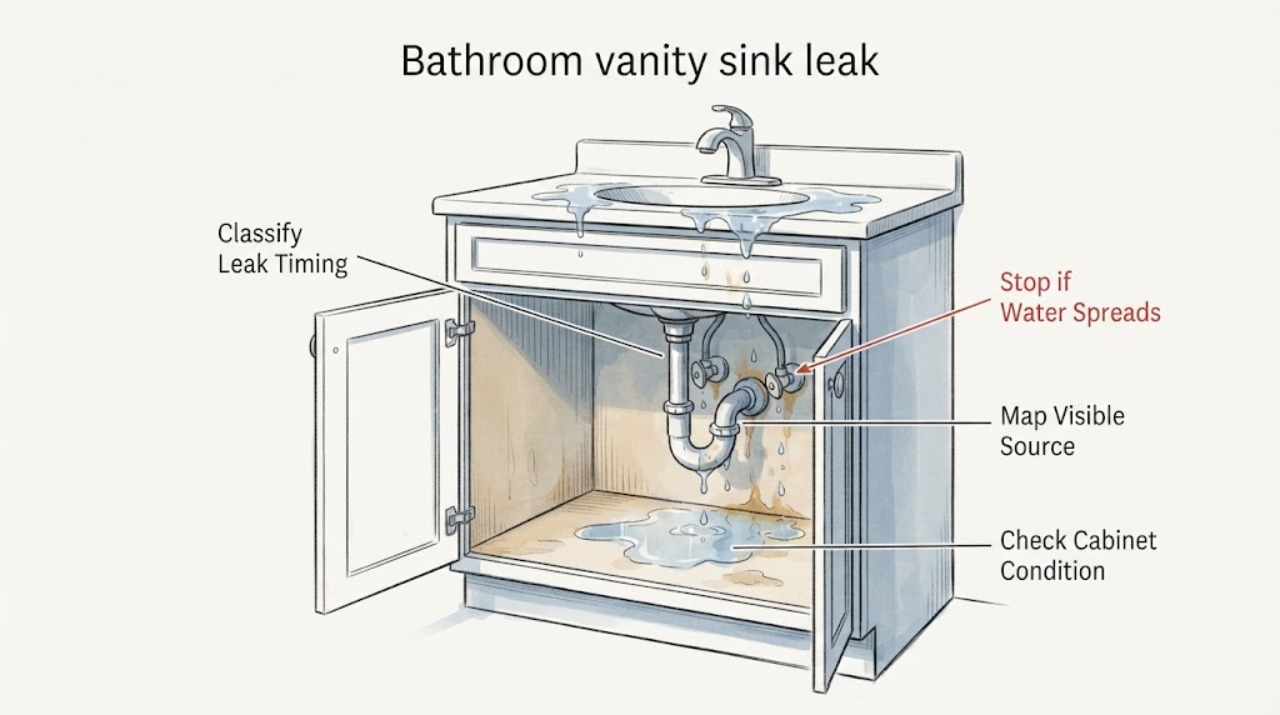
Bathroom vanity sink leak: What to Check and What to Do Next
Treat a vanity sink leak as a source-identification and water-control problem first. From a dry, safe position, note whether water appears only while the faucet runs, only while the basin drains, or while everything is idle.
-
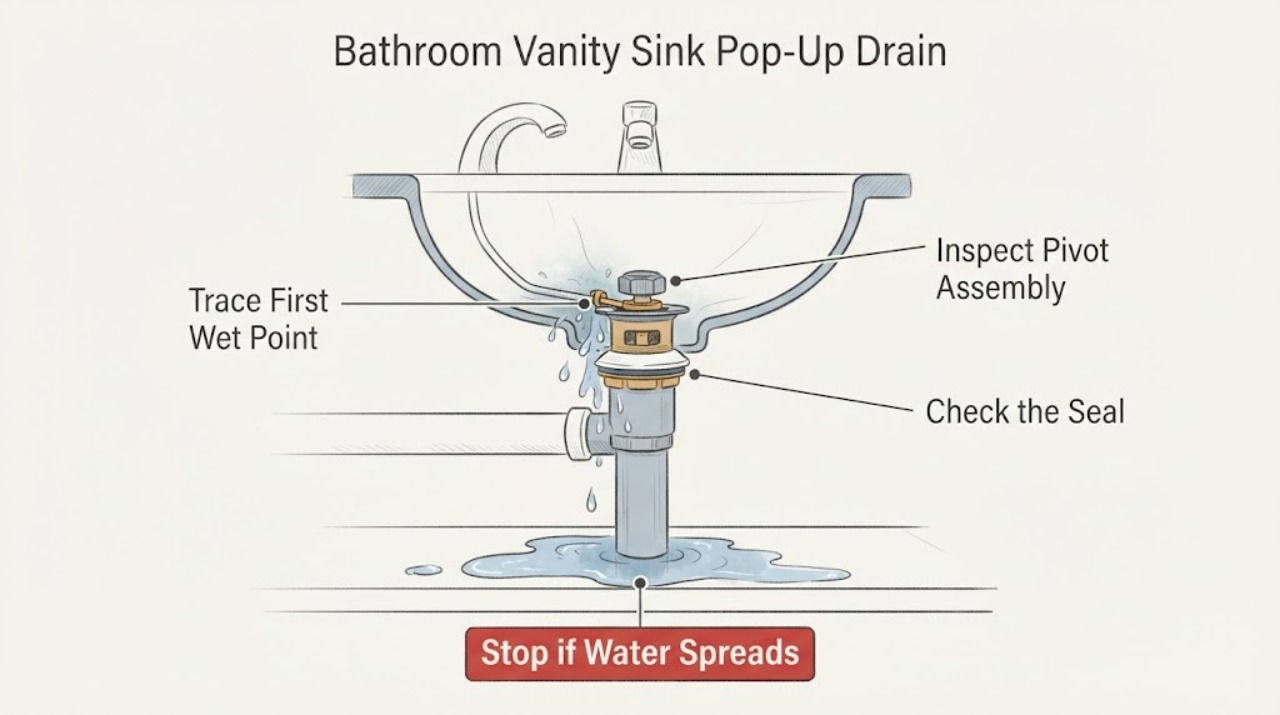
Bathroom Vanity Sink Pop-Up Drain Leaking at the Pivot Rod Gasket
A leak at the small nut where a vanity sink pop-up drain's horizontal pivot rod enters the drain body usually points to the pivot gasket or pivot seat being damaged, misplaced, or no longer sealing; a leak from the flange, tailpiece, or P-trap is a different joint. Dry the area, place a container below it, and identify the exact leak without over-tightening or forcing the rod.
-
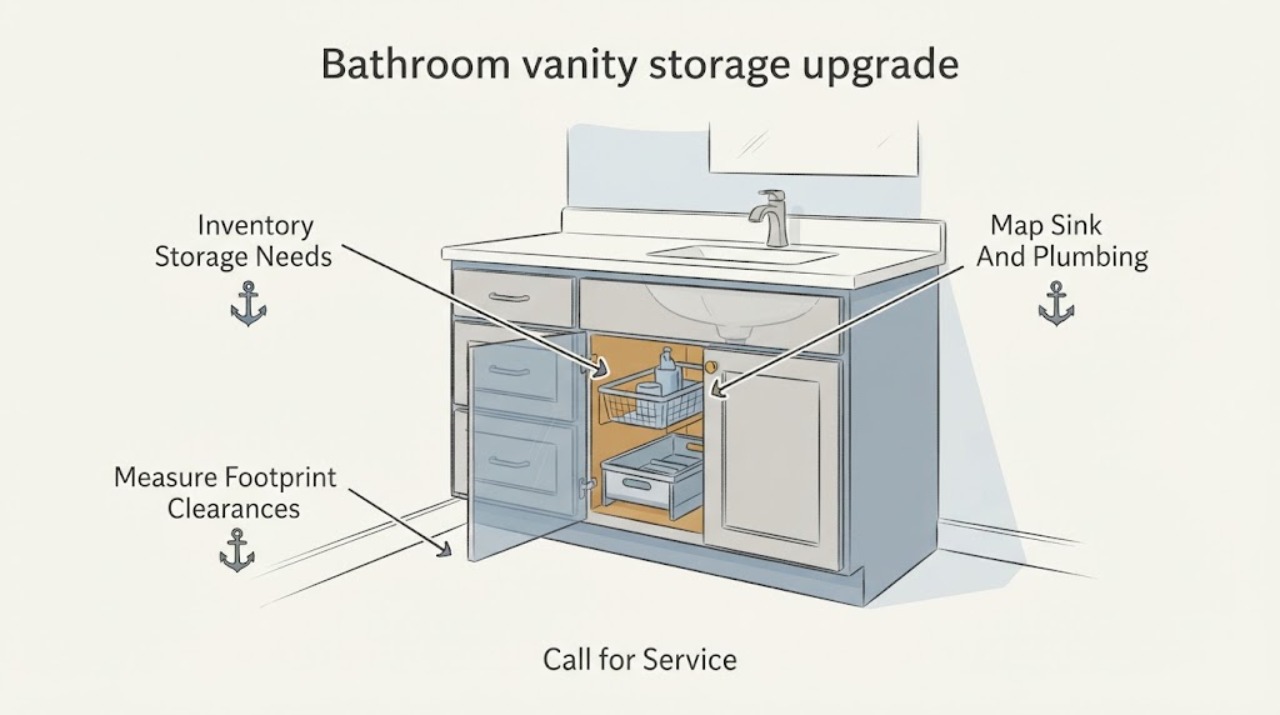
Bathroom vanity storage upgrade: What to Check and What to Do Next
Plan a vanity storage upgrade as a fit-and-scope decision before choosing organizers or a new cabinet. Inventory what must be stored and who needs to reach it, then measure the existing footprint, door and drawer clearances, sink and faucet arrangement, plumbing route, moisture condition, floor and wall condition, and any nearby electrical or lighting.
-
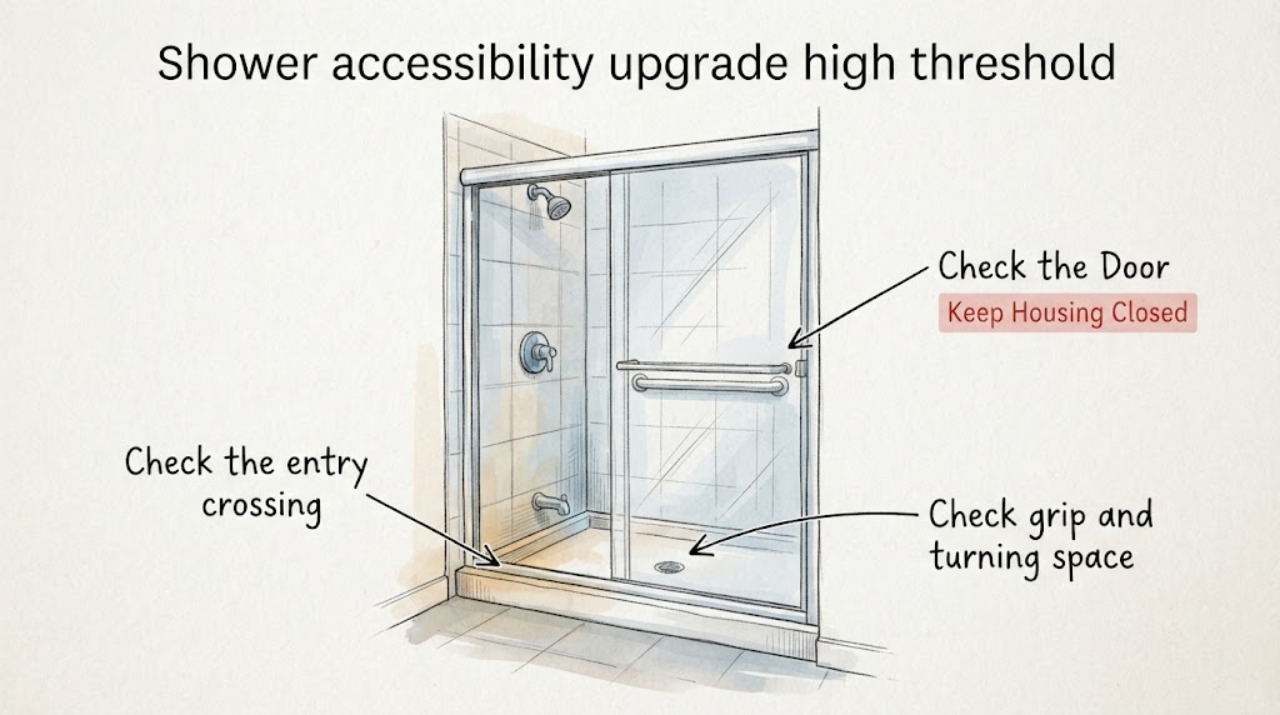
Shower accessibility upgrade high threshold: What to Check and What to Do Next
For a shower accessibility upgrade with a high threshold, first document the step-over entry, approach and turning or transfer space, grip and seat needs, door or enclosure clearance, visible drain and floor transitions, and any existing structure or utility limits. A lower threshold may affect drain slope, waterproofing, adjacent-room water protection, wall backing, and the floor assembly, so do not demolish, cut, re-pipe, install waterproofing, or alter structure as a test.
-
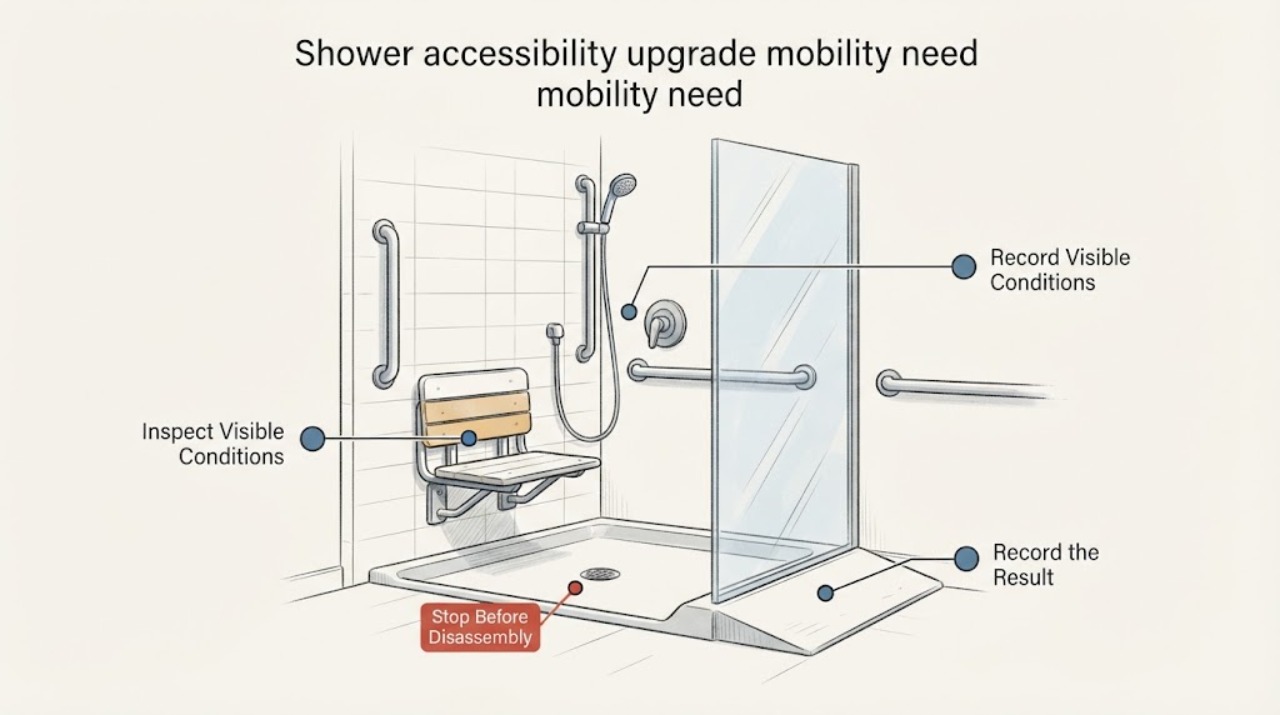
Shower accessibility upgrade mobility need: What to Check and What to Do Next
For a shower accessibility upgrade driven by a mobility need, first map how the actual user enters, transfers, reaches, grips, sits, controls water, and exits from a dry, stable position. Measure the clear entry width, threshold or curb height, clear floor and turning or transfer space, seat and grab-point locations, and control or hand-shower reach; note door or screen swing and caregiver clearance.
-
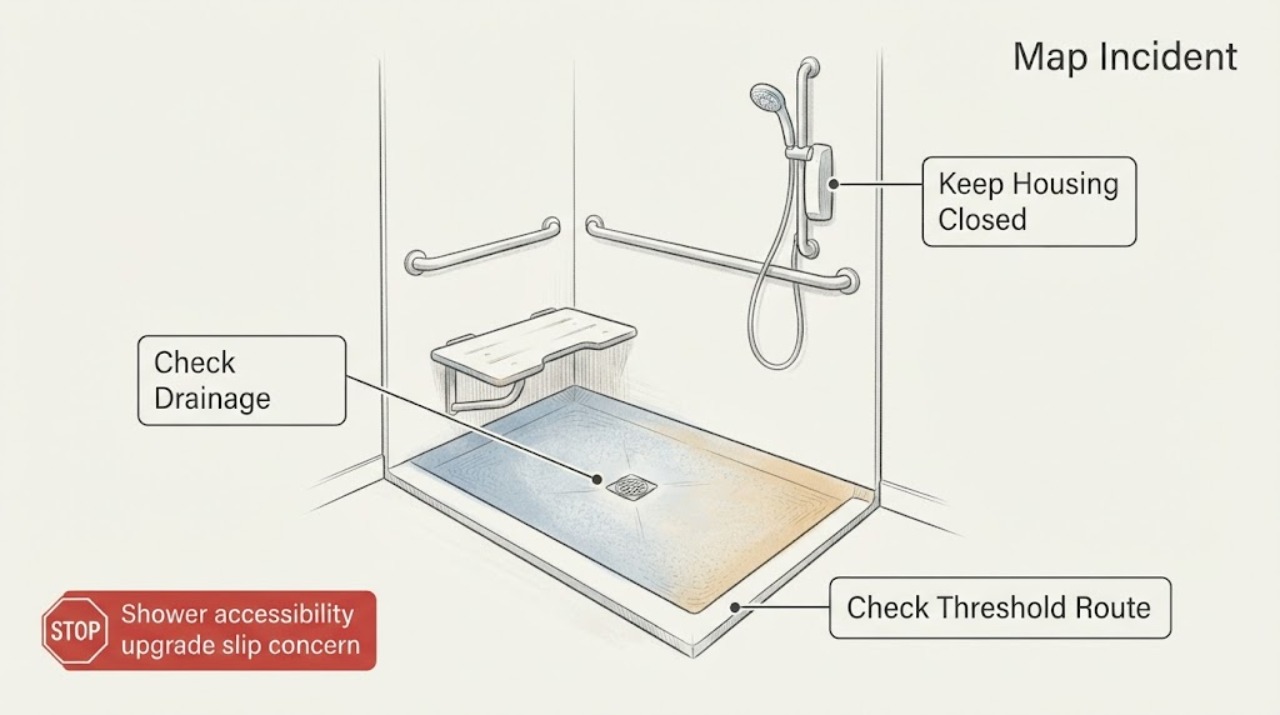
Shower accessibility upgrade slip concern: What to Check and What to Do Next
For a shower accessibility upgrade after a slip concern, first map the actual loss-of-balance location and movement: entry, threshold, turning, transfer, standing, reaching, or exit. Separately observe wet or soapy surfaces, standing water and drain behavior, threshold and door route, support and seat availability, and lighting or glare.
-
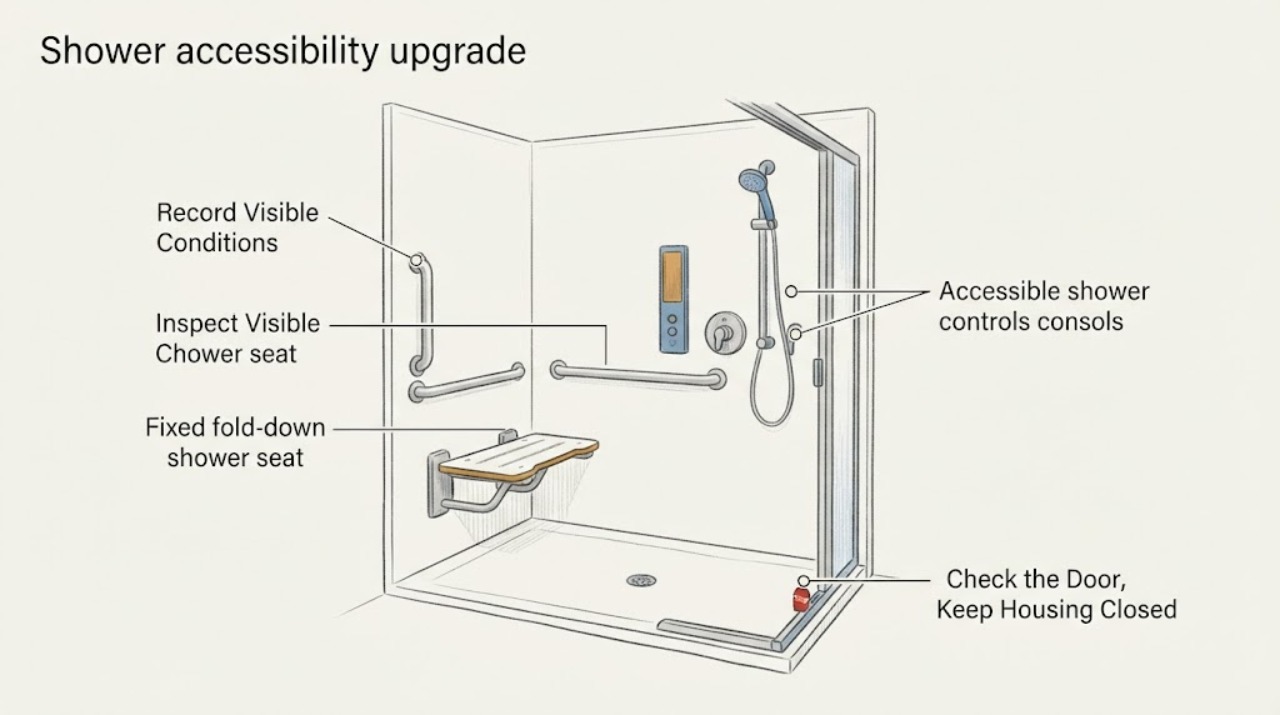
Shower accessibility upgrade: What to Check and What to Do Next
Plan an accessibility upgrade around the actual user's entry, standing, transfer, seating, reach, and caregiver needs before choosing a grab bar, seat, mat, or shower conversion. Observe the entry threshold, clear approach, door and fixture conflicts, wall and plumbing constraints, and current moisture or drainage behavior.
-
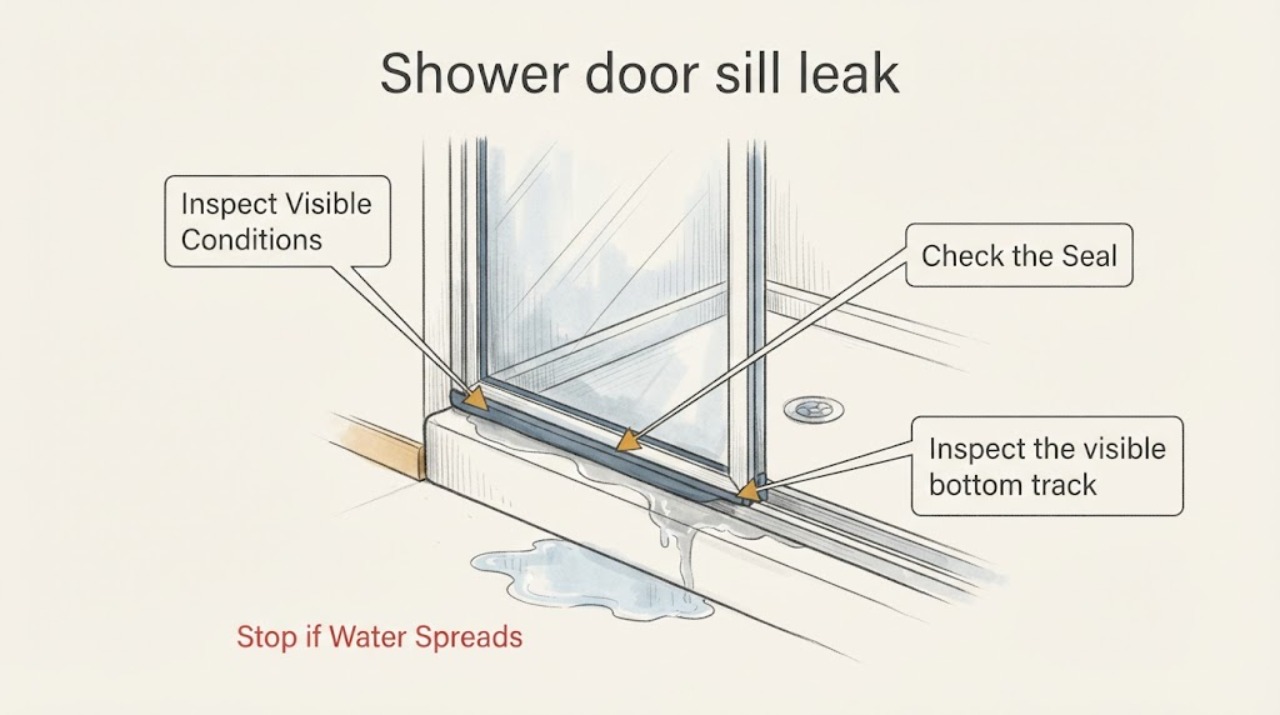
Shower door sill leak: What to Check and What to Do Next
First identify where water crosses the shower door sill: under the bottom sweep, at a corner or jamb, around the track, or beyond the shower base. From outside the enclosure, inspect the visible seal, track, door alignment, caulk, and nearby floor or wall for damage; do not remove glass, drill, scrape waterproofing, or open a wall.
-
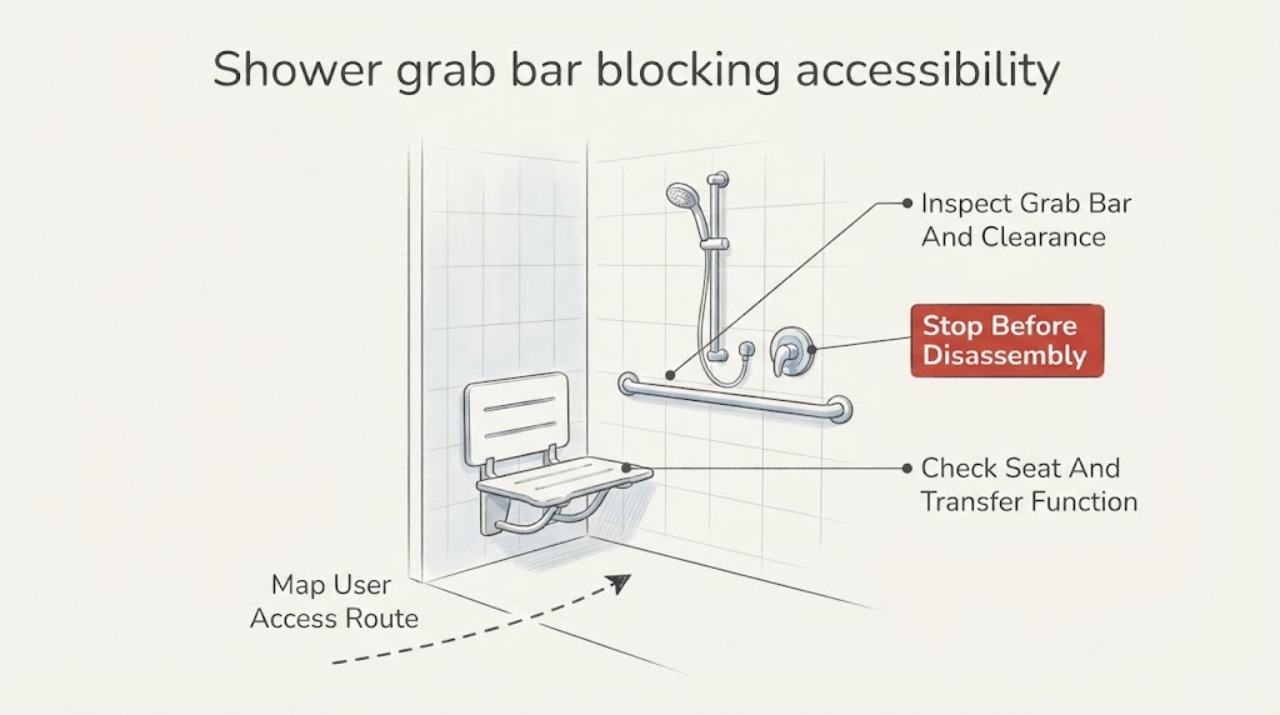
Shower grab bar blocking accessibility upgrade: What to Check and What to Do Next
Do not remove, relocate, or cut around a shower grab bar just because it blocks a planned accessibility upgrade. First map the user's actual entry, transfer, seat, control, and caregiver path from a dry, stable position; note whether the bar, enclosure, fixtures, threshold, or a proposed seat leaves any part of that path blocked or hard to reach.
-
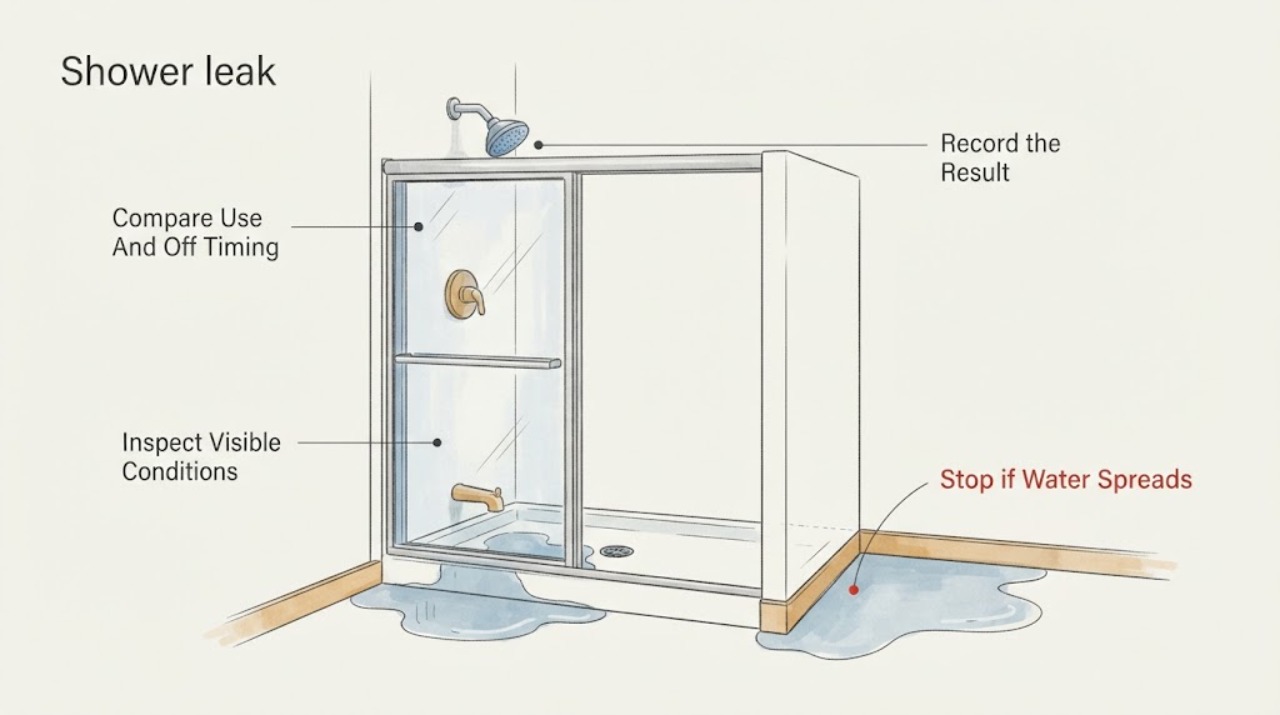
Shower leak: What to Check and What to Do Next
First separate a leak that appears only during shower use from one that continues while the shower is off. During ordinary brief use only if the bathroom is safe, observe from a dry position whether water escapes at the showerhead, door, rim, threshold, wall, or floor; then stop and observe whether moisture continues after the water is off.
-
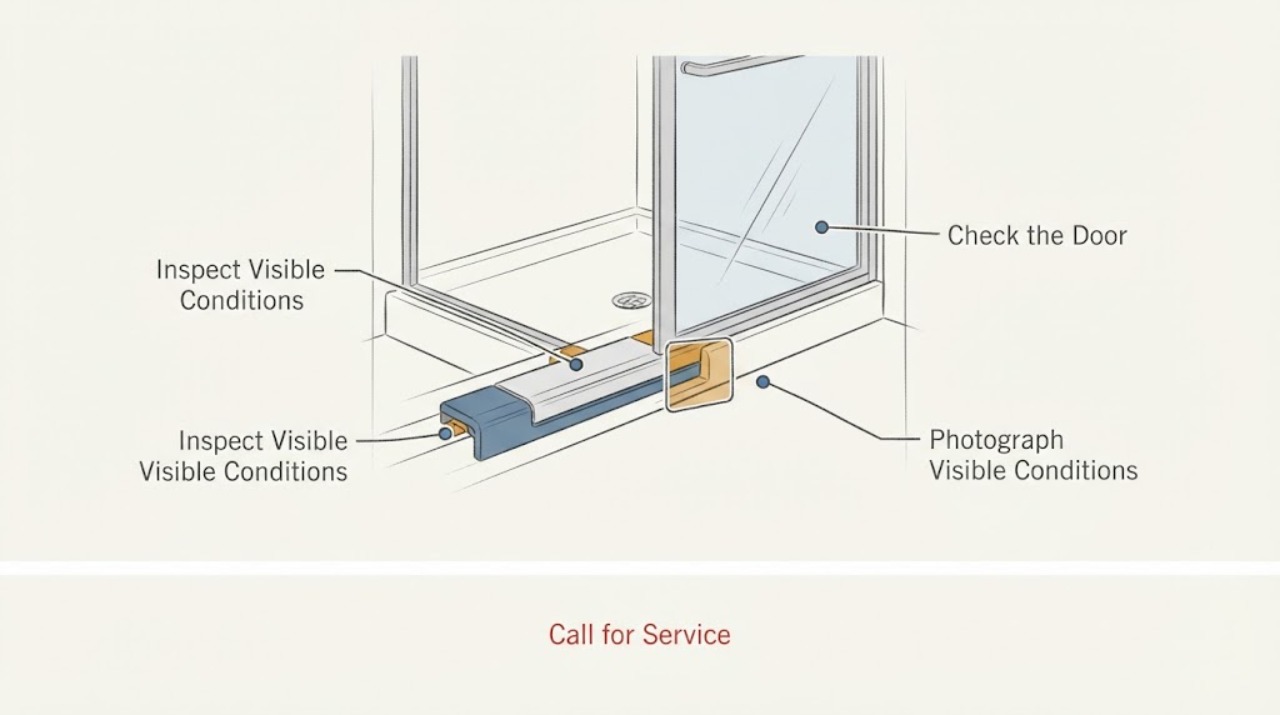
Shower threshold accessibility upgrade: What to Check and What to Do Next
Treat a shower threshold accessibility upgrade as a complete access and water-management project, not simply a curb-removal job. First document whether the user needs a transfer shower or a roll-in path, then measure the existing threshold, entry, clear floor space, drain, slope, enclosure, controls, and available wall support from a safe, dry position.
-
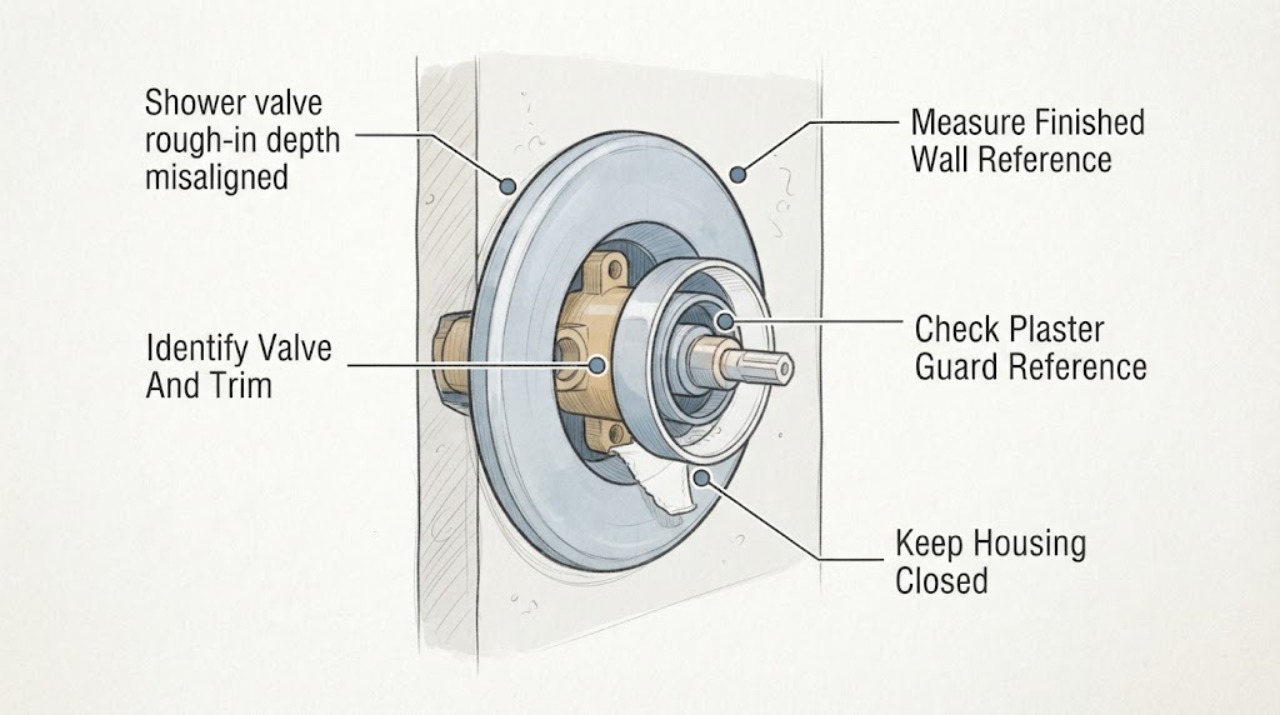
Shower valve rough-in depth misaligned with escutcheon: What to check
When a shower valve rough-in depth does not let the escutcheon sit correctly, do not start with a generic extender or move concealed plumbing by guesswork. Identify the exact valve body and trim, measure from the framing reference to the actual finished wall—including backer, waterproofing, mortar, tile, or surround—and compare that measurement with the valve maker's installation sheet.
-
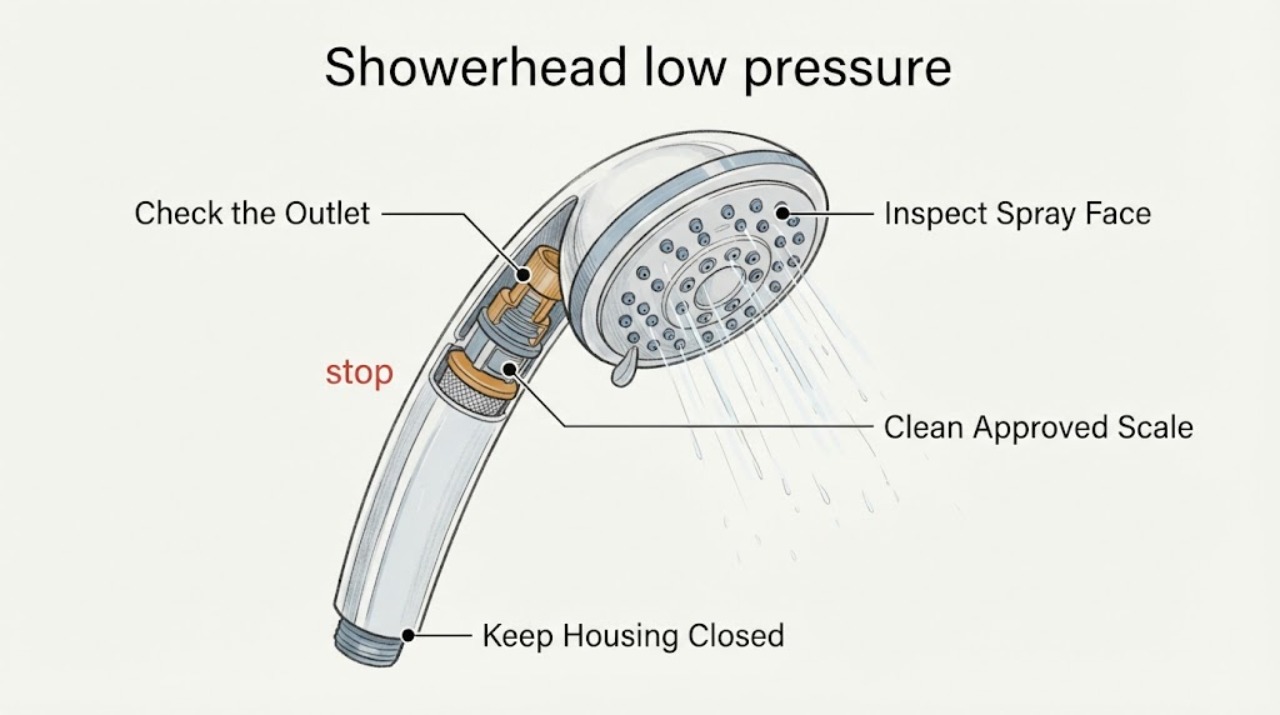
Showerhead low pressure: Clean mineral scale without altering the flow restrictor
Low shower flow can come from mineral scale or debris at the spray face, inlet screen, washer, or another part of the shower system, but a flow restrictor is not a clog to drill out or remove by guesswork. First compare the showerhead with another outlet, inspect the spray face and inlet from ordinary safe access, and clean scale only with a method allowed by the installed manufacturer's instructions.