
On this page
Start here
Quick answer
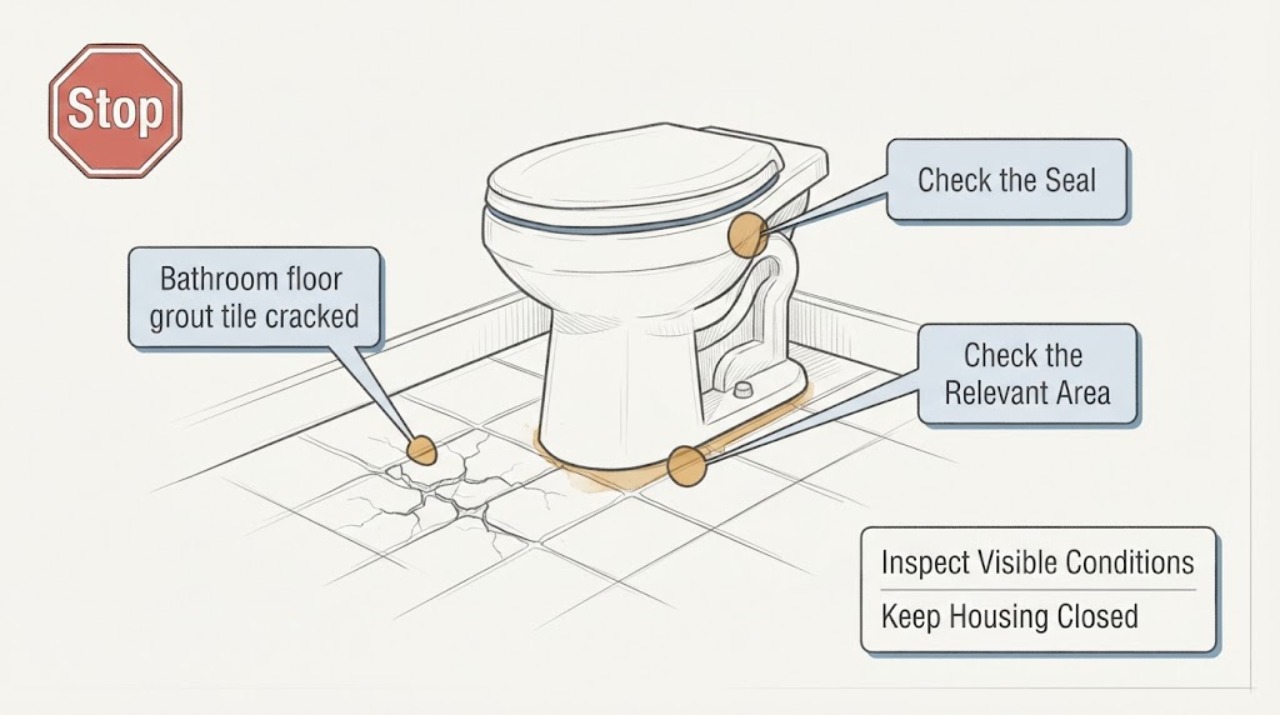
A cracked bathroom-floor grout joint may be a limited surface defect, but it can also reflect tile movement, substrate movement, moisture, loose tile, or a failed movement joint. First determine whether the crack is only in the grout or continues through a tile, map whether it is isolated or recurring, and look for movement, water marks, soft areas, and trip or slip risk. Keep the floor dry and avoid scraping, regrouting, removing tile, opening the floor, or changing plumbing. A tile or bathroom-remodeling professional should decide the repair scope when cracks repeat, tiles move, water is present, or safety is affected.
Work through in order
Diagnostic checks
Use only checks that match the exact appliance or system and its official guide.
-
Check 1
In good light, visually follow the crack without scraping, probing, pressing hard on the joint, or lifting a tile.
Expected result: Record whether the line stays within grout, reaches a tile edge, crosses the tile surface, widens at a corner, or includes missing or powdery grout.
Next step: Photograph the crack with nearby tile edges visible and note its location relative to walls, fixtures, and the doorway.
Stop if: Stop if the tile edge is sharp, the floor feels unsafe, the crack exposes a void or wet layer, or inspecting it would require a tool or removal.
Why this matters
Why: A joint-only crack can be a localized grout symptom, while a line through the tile or a damaged edge raises concern about tile or substrate movement and needs broader assessment.
-
Check 2
Map the cracked joint across the bathroom floor without moving fixtures or opening the floor.
Expected result: Note whether it is one isolated joint, a line across several tiles, a perimeter or doorway pattern, a ring around a fixture, or one of multiple unrelated cracks.
Next step: Mark the locations on a simple sketch and provide the pattern to a tile or bathroom-remodeling professional.
Stop if: Stop if cracks are expanding quickly, several tiles are affected, the floor is separating, or a transition creates a trip edge.
Why this matters
Why: A repeated or aligned pattern can indicate movement, a joint condition, or a broader floor-assembly issue rather than a single damaged grout spot. Pattern alone does not identify the underlying layer.
-
Check 3
During normal, careful walking only, observe whether the tile or nearby floor flexes, clicks, rocks, or feels different from adjacent tiles; do not jump, press with a tool, pry, or lift anything.
Expected result: Record movement, hollow or changing sounds, lippage, a tile corner that sits higher, or no noticeable movement at all.
Next step: Restrict traffic around the area and request a professional floor assessment before any grout or tile product is selected.
Stop if: Stop walking across the area if a tile rocks, drops, shifts, exposes a sharp edge, or could cause a fall.
Why this matters
Why: Movement or a changed sound near cracked grout increases concern for a loose tile, substrate movement, or loss of support. No movement does not prove the joint is only cosmetic.
-
Check 4
Inspect accessible surfaces around the crack for water marks, darkening, soft trim, persistent dampness, mold-like growth, or a change after bathing or cleaning, without removing fixtures or probing the floor.
Expected result: Note whether water appears to come from a shower or tub edge, toilet, sink, doorway, supply area, or an unknown location, and whether the crack stays dry between uses.
Next step: Keep the area dry, document the timing and location, and use an appropriate plumbing or building professional for any active or concealed leak.
Stop if: Stop if water is active, the floor or subfloor feels soft, there is extensive mold-like growth, water is near electrical equipment, or a fixture would need removal.
Why this matters
Why: Moisture can weaken surrounding materials or travel below the tile, while a dry crack can still have a movement cause. Visible moisture is a reason to address the source before cosmetic repair.
-
Check 5
Compare the crack with older photos or a dated mark on a safe dry reference area without touching the grout or adding a filler.
Expected result: Record whether the crack is stable, longer, wider, returning after a prior repair, or accompanied by new tile movement or water.
Next step: Give the timeline and prior repair history to the professional and avoid applying grout, caulk, sealer, or adhesive while the cause remains uncertain.
Stop if: Stop if the condition is worsening, the crack exposes an opening, the tile becomes loose, or the floor becomes slippery or unsafe.
Why this matters
Why: A progressing or recurring crack is more likely to need cause-focused professional assessment than a one-time appearance change. A stable hairline is not automatically safe to cover if moisture or movement is present.
-
Check 6
Confirm whether the bathroom floor remains safe to use without stepping on a loose, sharp, wet, or unstable area.
Expected result: Answer yes only when the cracked area is dry, stable, and not a trip or slip hazard; answer no if the tile moves, the edge is sharp, water is active, or the route cannot be avoided.
Next step: Keep people away, isolate the affected path without creating another trip hazard, and contact a tile, bathroom-remodeling, or plumbing professional as indicated by the observations.
Stop if: Stop all use of the affected area for a fall risk, active leak, soft floor, electrical proximity, or suspected structural damage.
Why this matters
Why: A no result changes the priority from cosmetic repair to immediate isolation and professional assessment. Do not keep using the area to test it.
Use your observations
Decision map
Find the observation that best matches what you see, then follow the next safe action.
-
PATH 01Next step
What you see
One dry grout joint has a stable hairline crack, with no tile movement, water, sharp edge, or repeated pattern.
Do this next
Document it and request a professional opinion before choosing a compatible grout repair; do not fill it blindly.
-
PATH 02Next step
What you see
The crack crosses a tile, several joints align, tiles move, or the condition returns after an earlier repair.
Do this next
Arrange a tile or bathroom-remodeling assessment of the tile, mortar, substrate, movement joints, and moisture conditions; do not demolish or remove the floor.
-
PATH 03Next step
What you see
Water marks, active dampness, soft material, or fixture-related moisture is present.
Do this next
Prioritize safe water-source assessment and plumbing or building service, then address the tile assembly; do not seal over active moisture.
-
PATH 04Next step
What you see
The tile is loose, rocking, sharp, uneven, or creates a trip or slip hazard.
Do this next
Isolate the area and request professional service; do not press, pry, lift, or walk repeatedly on the tile.
-
PATH 05Next step
What you see
The crack is progressing quickly or the floor is separating or softening.
Do this next
Stop using the area and seek prompt bathroom-remodeling or building assessment for a potentially broader floor-assembly issue.
Helpful context
Understand the symptom
A grout crack is a symptom, not a repair diagnosis
Tile and grout are part of an assembly that can respond to movement, moisture, settlement, and changing loads. A small crack in one joint can have a different implication from a crack that crosses a tile, follows a perimeter, returns after prior repair, or accompanies a loose or damp floor. The safe homeowner role is to document the pattern and protect the area while a professional evaluates the assembly.
Keep water and disturbance out of the investigation
Bathroom floors are exposed to water, but a cracked joint should not be treated by filling or sealing it before the cause is understood. Do not use the crack as an access point, disturb waterproofing, remove fixtures, or attempt plumbing work. Keep the area as dry as practical and record when water or movement is noticed.
Only after diagnosis
Potential parts
- tile-repair-kit
Consider only after a professional confirms that the damage is a compatible superficial tile or grout defect and that a localized product will not conceal movement or moisture.
Match tile material, color, surface finish, joint type, wet-area suitability, and manufacturer instructions before ordering. - grout-repair
Consider only when the joint is confirmed stable, dry, and structurally suitable for a localized repair; recurring cracks need cause assessment first.
Confirm grout type, joint width, color, cure requirements, wet-area suitability, and compatibility with the existing installation. - silicone-caulk
Consider only when a professional identifies a suitable movement or perimeter joint and confirms that flexible sealant belongs there; it is not a universal grout-crack filler.
Match the joint location, substrate, moisture exposure, color, and product instructions; do not cover an active leak or structural crack.
When checks do not resolve it
Need a professional?
Call a tile or bathroom-remodeling professional for aligned or recurring cracks, cracks through tile, loose or rocking tiles, movement, soft flooring, active moisture, missing grout, or a trip or slip hazard. Use a plumbing professional when the observations point to a concealed or active water source.
Have this ready
- Provide crack photos, a room sketch, whether the crack is grout-only or crosses tile, movement or sound observations, water timing and location, progression history, prior repairs, and any fixture or doorway relationship.
Common questions
FAQ
Does a cracked grout line mean the tile must be replaced?
Not always. A stable joint-only crack may be localized, but cracks through tile, aligned cracks, movement, moisture, or recurrence require assessment of the whole tile assembly before choosing a repair.
Can I just fill the cracked grout?
Do not fill it until the area is confirmed dry, stable, and suitable for a localized repair. Covering a movement or moisture problem can make the underlying issue harder to identify.
What observations should I give a tile professional?
Provide photos, the crack pattern, whether it crosses tile, any movement or changing sound, water timing, nearby fixtures, progression history, and prior repair information.
When is a bathroom-floor grout crack urgent?
Treat it as urgent when a tile rocks, the edge is sharp, the floor is soft or wet, cracks are progressing, there is active water, or the area creates a slip or trip hazard. Isolate it and request professional service.
Read the exact guide
Official sources
- SikaTile-200 Fracture Guard RapidSika · Manufacturer explanation that substrate movement can transfer cracks through tile or grout; the article does not instruct the reader to install a membrane.
- SikaTile-815 Secure GroutSika · Manufacturer product guidance used to explain why excess water, joint design, and movement matter; it is not a DIY repair instruction for an existing bathroom floor.
- Frequently Asked QuestionsCustom Building Products · Manufacturer FAQ used for general mechanism context; exact repair suitability depends on the existing floor assembly and professional inspection.
Community feedback
Share a repair observation
Share a plain-text repair observation. Accepted observations are published automatically; this page may take a moment to update.