
On this page
Start here
Quick answer
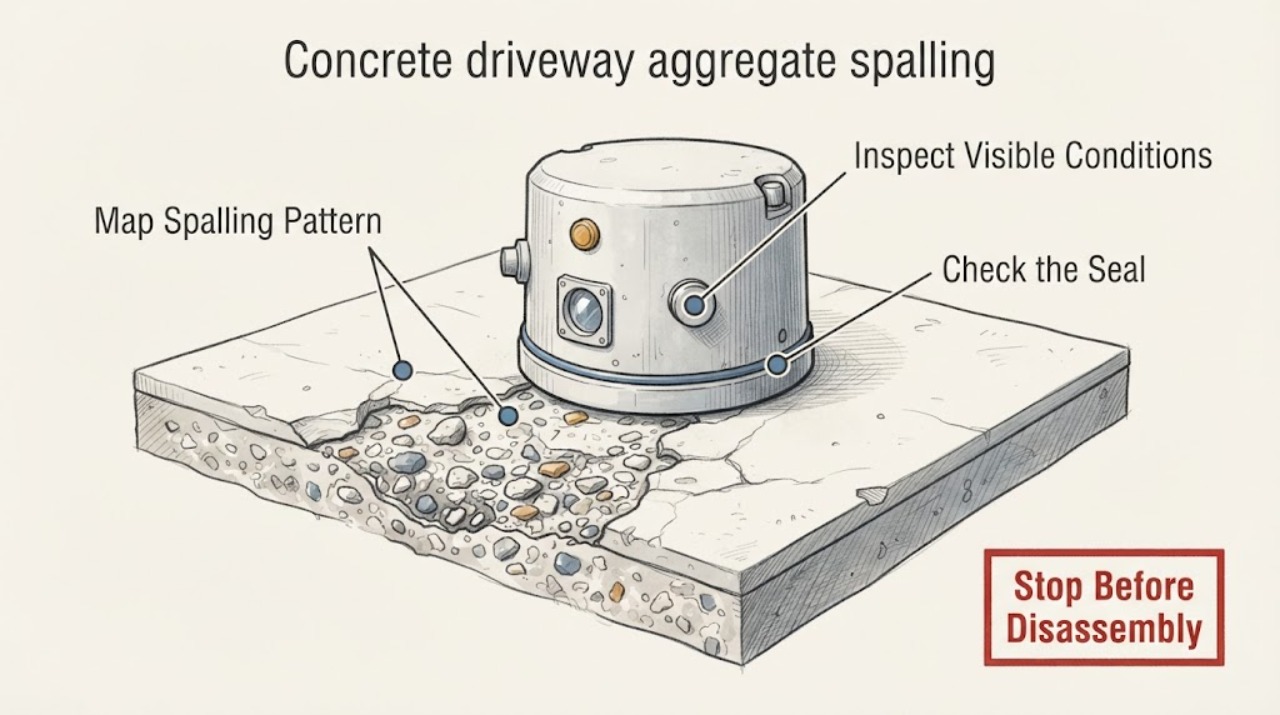
Aggregate spalling on a concrete driveway is a surface distress pattern in which mortar breaks away and coarse stone becomes exposed or loose. From stable ground, map the affected areas, photograph the exposed aggregate and loose fragments, note the approximate surface depth without probing, and record water, drainage, freeze-thaw, deicer, joint, and trip hazards. Do not chip, grind, cut, demolish, pressure-test, or apply a patch or sealer before the cause and extent are assessed. Isolate a dangerous walking or driving area and arrange a concrete professional when spalling is spreading, deep, near a joint or edge, exposing steel, creating a trip hazard, or allowing water to pond.
Work through in order
Diagnostic checks
Use only checks that match the exact appliance or system and its official guide.
-
Check 1
From stable ground, photograph the full driveway and mark the locations of exposed aggregate, loose fragments, scaling, cracks, joints, edges, and any discolored areas without stepping on the damaged patches.
Expected result: Record whether the distress is isolated around individual stones, concentrated at joints or edges, arranged as map-like cracks, or spread across multiple slab areas.
Next step: Keep people and vehicles away from loose or unstable areas and include the map and dated photos in a concrete service request.
Stop if: Stop if a fragment moves under ordinary foot pressure, the surface is unstable, or walking the driveway would create a fall or trip risk.
Why this matters
Why: Pattern and location help a professional separate a localized popout from a joint, surface, moisture, or broader deterioration pattern; the pattern alone is not a diagnosis.
-
Check 2
From the side of the driveway and without touching the concrete, visually compare intact surface texture with the spalled area and place a ruler or other scale beside—not inside—the damaged area for a photograph.
Expected result: Record whether mortar loss only exposes aggregate, whether pieces are loose, and the approximate surface extent and apparent depth relative to the intact surface.
Next step: Send the scale photo to the concrete professional and do not insert a tool, scrape the void, or remove any fragment.
Stop if: Stop if the edge crumbles, the void is deep or undermines a wheel path, or the scale cannot be placed without entering an unsafe area.
Why this matters
Why: Exposed aggregate with surface flaking is consistent with surface distress, while deep loss, continuing voids, or widespread loose material increases the need for professional evaluation; visual depth is not a structural measurement.
-
Check 3
Visually inspect the nearest driveway joints, slab edges, and visible reinforcement or metal stains from a safe position without cleaning, probing, or breaking the surface.
Expected result: Note spalling along a joint or edge, rust-colored staining, exposed metal, displaced joint material, or damage that crosses a wheel path.
Next step: Photograph the clue and ask the concrete professional to assess depth, drainage, joints, and any reinforcement before selecting a repair method.
Stop if: Stop and isolate the area if concrete is delaminating, metal is exposed, an edge is breaking away, or a vehicle could worsen the damage.
Why this matters
Why: Joint or edge concentration can indicate a joint or load-related issue, while rust staining or exposed steel requires professional assessment rather than a surface patch.
-
Check 4
From the driveway perimeter, observe where water, snowmelt, or deicer residue collects and review recent weather, freeze-thaw, salting, drainage, and irrigation history without changing the surface or applying chemicals.
Expected result: Record pooling near the spalled area, runoff that crosses a joint, repeated wetting, winter exposure, or deicer use that coincides with progression.
Next step: Share the history and photos with the professional and ask for drainage and water exposure to be considered alongside surface repair.
Stop if: Stop if water is actively flowing, the driveway is icy or slippery, or the observation requires walking through a damaged or pooled area.
Why this matters
Why: Moisture and freeze-thaw or deicer exposure can aggravate surface and aggregate distress, but the history must be interpreted with the concrete mix, construction, and site conditions.
-
Check 5
From a safe position, identify whether the spalled area lies in a normal walking line, at a door threshold, across a vehicle wheel path, or near a drainage edge.
Expected result: Record the trip, wheel, child, or mobility concern and whether the damaged area is growing, shedding fragments, or changing after rain or winter conditions.
Next step: Keep people and vehicles off the affected area using a safe visible boundary that does not create a new trip hazard, then arrange concrete service.
Stop if: Stop ordinary use immediately if a person could trip, a wheel could drop into a void, or fragments are falling away.
Why this matters
Why: A location in a travel path raises the immediate safety priority even if the damage is shallow; progression or loose material supports prompt professional assessment.
Use your observations
Decision map
Find the observation that best matches what you see, then follow the next safe action.
-
PATH 01Next step
What you see
Spalling creates a trip hazard, a wheel drop, loose fragments, or an unstable slab edge.
Do this next
Keep people and vehicles off the area, mark the boundary without creating another obstruction, and arrange prompt concrete service.
-
PATH 02Next step
What you see
The void appears deep, the damage is spreading, aggregate or steel is exposed, or the surface continues to shed material.
Do this next
Stop disturbing the concrete and request a professional depth and cause assessment before patching, sealing, or resurfacing.
-
PATH 03Next step
What you see
Spalling follows a joint, slab edge, crack, or wheel path.
Do this next
Tell the professional the exact pattern and ask for joint, drainage, load, and underlying deterioration to be considered.
-
PATH 04Next step
What you see
Damage repeats in a wet area or follows winter wetting, freezing, thawing, or deicer exposure.
Do this next
Share the weather and site history and request a moisture and durability assessment; do not add a sealer before the cause is reviewed.
-
PATH 05Next step
What you see
The distress is isolated, stable, and outside a travel path with no visible metal, deep loss, or pooling.
Do this next
Schedule a normal concrete professional assessment and keep monitoring with dated photos from the perimeter.
Helpful context
Understand the symptom
What aggregate spalling can mean
A rough patch with exposed coarse aggregate may be a localized popout, surface scaling, joint spalling, freeze-thaw distress, deicer damage, or a deeper deterioration mechanism. The same appearance can have different causes. FHWA guidance treats visual patterns as a starting point and notes that confirmation of some aggregate-related mechanisms requires professional or laboratory examination. A homeowner inspection should document condition and hazards, not assign a structural diagnosis.
Keep the surface undisturbed
Do not scrape, pry, chip, grind, saw, drill, pressure-wash, or break away the driveway surface. Do not fill the void or seal the whole driveway before the professional identifies the cause. Loose concrete and dust can injure people, and a cosmetic patch can hide active deterioration or moisture. Use photographs and a clear exclusion area instead.
Document extent and water pattern
Photograph the overall driveway and close views from a stable position. Note whether the damage is isolated around individual stones, follows joints or edges, forms map-like cracking, or is widespread. Record pooling, runoff, snow or ice exposure, and deicer history. Those observations help a concrete professional decide whether the next step is a localized assessment, a broader pavement evaluation, or a drainage review.
Only after diagnosis
Potential parts
- concrete-patch
Only consider this category after a concrete professional confirms that the damage is suitable for a compatible patch and that the underlying cause is not progressive.
Confirm substrate condition, repair depth, traffic, weather, and product system requirements; do not apply a patch over loose or active deterioration. - concrete-sealer
Only consider this category after the surface condition, moisture, drainage, and repair status have been assessed and a professional confirms sealing is appropriate.
Confirm concrete age, moisture condition, finish, exposure, and manufacturer instructions; a sealer does not repair spalling or eliminate its cause. - concrete-cleaner
Only consider this category if a professional confirms that cleaning is needed and the surface is stable enough to avoid dislodging deteriorated material.
Confirm the cleaner's compatibility with the concrete, coatings, runoff rules, and surrounding landscaping; do not use pressure or aggressive abrasion on spalled concrete.
Common questions
FAQ
Is exposed aggregate automatically a structural problem?
No. A localized popout may be cosmetic, while widespread scaling, joint spalling, deep loss, moisture-related deterioration, or exposed steel can be more serious. A professional must assess the pattern and depth.
Can I fill the holes or seal the driveway now?
Do not patch or seal before the cause, moisture, and extent are assessed. A surface product can hide active deterioration or fail if the underlying concrete is unstable.
How do I measure spalling depth safely?
Use a scale beside the damaged area in a photograph and describe the apparent surface loss without probing or scraping. Actual repair depth and underlying condition are professional assessments.
When should I keep vehicles and people off the driveway?
Keep traffic off when loose material, a void, a deep or spreading area, an unstable edge, or a trip or wheel-drop hazard is present. Mark the boundary without creating a new obstruction and arrange service.
Read the exact guide
Official sources
- Section 2 - Guidelines for Detection, Analysis, and Treatment of Materials-Related Distress in Concrete PavementsFederal Highway Administration · Supports documenting visible aggregate exposure, scaling, stains, cracks, joints, and the limits of visual diagnosis.
- Popouts or popoffs?American Concrete Institute · Supports distinguishing exposed aggregate surface distress from a confirmed cause and directing root-cause evaluation to qualified analysis.
- Selection of Candidate Projects - Partial-Depth RepairsFederal Highway Administration · Supports professional assessment before partial-depth repair and the importance of moisture, joints, reinforcement, and deterioration depth.
Community feedback
Share a repair observation
Share a plain-text repair observation. Accepted observations are published automatically; this page may take a moment to update.