
On this page
Start here
Quick answer
A crack that follows an existing control joint is often the joint doing its intended job, but an open joint can still admit water or create a trip hazard. From a stable position, document whether the crack stays in the joint, whether either slab edge is higher, whether the opening is widening or spreading into the patio, and whether water collects or washes the adjacent ground. Do not cut, grind, pry, chip, or demolish the concrete. Keep people off an unsafe area, use a temporary visual barrier for a trip hazard, and ask a concrete professional to assess movement, drainage, and the appropriate joint treatment if the edges are displaced, the crack is expanding, or water is undermining the patio.
Before you begin
Safety first
- User observation only: remain on stable dry surfaces, do not cut, grind, chip, pry, demolish, pressure-wash, or excavate the patio, and do not use impact or heavy equipment to test it. Do not force material into the joint. Keep people and wheels away from unstable, slippery, undermined, or raised edges.
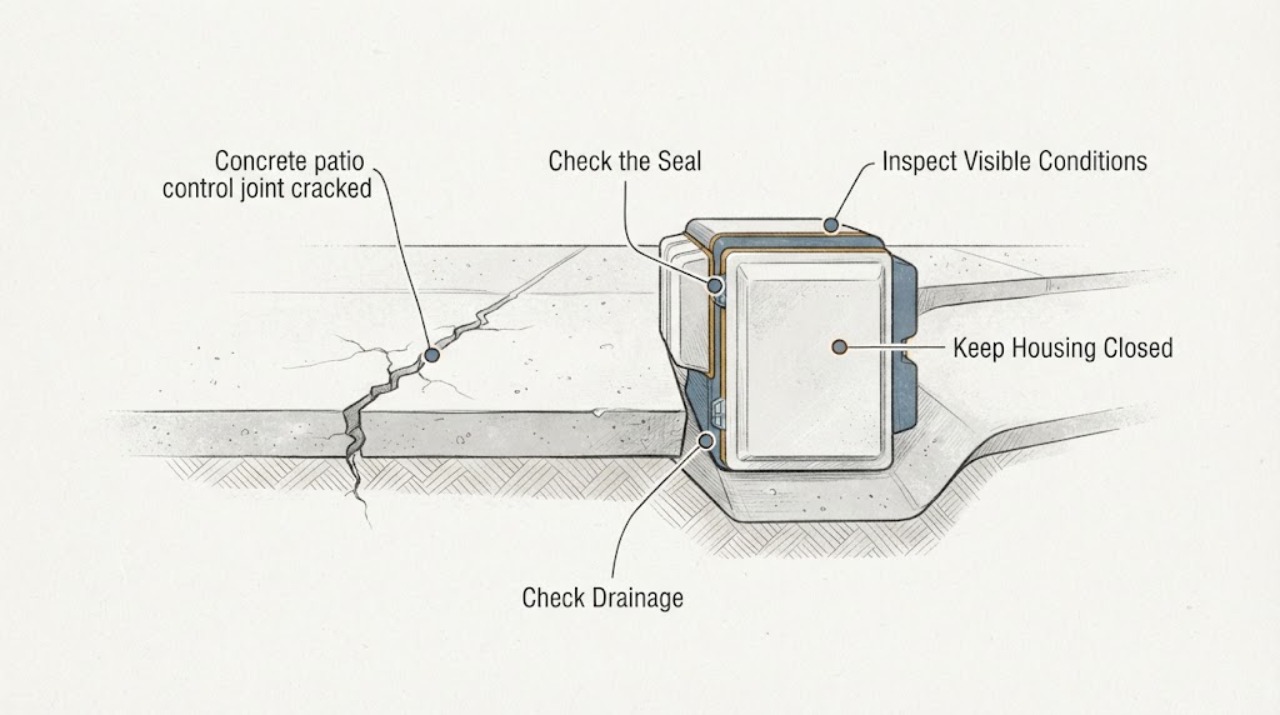
Work through in order
Diagnostic checks
Use only checks that match the exact appliance or system and its official guide.
-
Check 1
From a stable walking position, visually trace the opening along the patio control joint without scraping, prying, cutting, or inserting anything into it.
Expected result: Record whether the opening stays within the existing joint line, stops at the joint, or branches away and crosses a concrete panel. Photograph the full line and a close view with a ruler placed beside it, not inside it.
Next step: Label the photo with the location and date, then compare it with older photos or recheck only from a safe position after normal weather.
Stop if: Stop if the edge crumbles under ordinary foot traffic, the opening is a trip hazard, or safe footing cannot be maintained.
Why this matters
Why: A crack confined to the planned joint is consistent with movement being concentrated there, while a branch into a panel is a different pattern that deserves closer professional assessment.
-
Check 2
Look across the joint from the side and along the walking path; use a straightedge only if it can be laid down and lifted without forcing the concrete or placing your body near an unstable edge.
Expected result: Note whether the adjoining patio panels appear flush, slightly offset, tilted, or separated, and whether the difference is continuous or limited to one spot. Do not lift a slab or test it by jumping or striking it.
Next step: Keep the route clear, photograph the offset from several angles, and request a professional evaluation if the difference affects walking, furniture, drainage, or a door threshold.
Stop if: Stop using the area if an edge rocks, moves, feels hollow or unstable under normal walking, or creates a clear fall risk.
Why this matters
Why: An apparent height difference or localized tilt may indicate settlement, heave, curling, or loss of support rather than a surface-only joint opening.
-
Check 3
From a dry, stable position after ordinary weather has passed, inspect the joint, adjacent patio edge, downspout discharge area, and surrounding soil for water patterns without digging or redirecting water.
Expected result: Record persistent dampness, pooling, washed soil, sediment at the joint, moss or staining, or water that repeatedly travels toward the crack. Compare the pattern after rain rather than creating a hose test.
Next step: Keep water and foot traffic away from the affected area where practical, document the weather and flow direction, and share the record with a concrete or drainage professional.
Stop if: Stop if water is flowing quickly, soil is collapsing, the patio edge is undermined, or standing water makes the walking surface slippery.
Why this matters
Why: Recurring water beside or beneath a joint can contribute to movement or erosion and may mean the drainage source needs attention; it does not prove the joint itself caused the water problem.
-
Check 4
Make a dated photo from the same safe position and compare the crack pattern over time; do not mark, widen, or clean the joint to make a comparison.
Expected result: Note whether the opening, branch cracks, edge spalling, or panel offset is unchanged, gradually becoming more pronounced, or suddenly worse after freezing weather, heavy rain, impact, or nearby work.
Next step: Send the dated comparison and event history to the service provider; do not assume a cosmetic seal will address an active movement or support issue.
Stop if: Stop and restrict access if progression creates loose fragments, a raised edge, a hole, or a worsening trip hazard.
Why this matters
Why: Stable appearance supports monitoring, while progression or a new crack away from the joint increases the need for professional diagnosis of movement, drainage, or concrete distress.
-
Check 5
Walk around the affected joint only on a clear, dry path and observe how it affects normal passage, chairs, wheels, drainage, and nearby doors without dragging heavy items over it.
Expected result: Record whether the opening catches footwear or wheels, prevents a door from clearing, holds debris or water, or has sharp/spalled edges. Note whether children, older adults, or mobility-device users use this route.
Next step: Use a visible temporary barrier or reroute people and equipment away from the hazard, then arrange an appropriate concrete assessment and repair plan.
Stop if: Stop using the route if anyone could fall, the surface shifts, or the crack is beside a drop, step, or other hazard.
Why this matters
Why: A joint can be functionally unsafe even without major structural movement; an accessible route needs a stable, predictable surface, and a trip concern should not wait for cosmetic worsening.
Use your observations
Decision map
Find the observation that best matches what you see, then follow the next safe action.
-
PATH 01Safety boundary
What you see
The opening follows the existing control joint, the adjacent panels appear level, there is no recurring water or loose edge, and the dated photos show no progression.
Do this next
Treat it as a potentially stable joint condition while monitoring it rather than cutting or filling it blindly.
Why this path and its safety boundary
Safety stop: Do not turn monitoring into DIY cutting, grinding, pressure cleaning, or demolition.
-
PATH 02Safety boundary
What you see
A crack branches away from the control joint or crosses a panel.
Do this next
Schedule a concrete professional to evaluate the broader crack pattern and possible movement or support conditions.
Why this path and its safety boundary
Safety stop: Do not widen the crack or apply a surface product before the cause and movement are assessed.
-
PATH 03Safety boundary
What you see
The joint edges are offset, rocking, spalling, sharp, or hazardous to walkers or wheels.
Do this next
Restrict access with a visible temporary barrier and arrange professional service with normal-to-prompt urgency depending on the risk.
Why this path and its safety boundary
Safety stop: Do not strike, lift, pry, or chip the slab to test its stability.
-
PATH 04Safety boundary
What you see
Water repeatedly pools at the joint, washes adjacent soil, or appears to move beneath an edge.
Do this next
Arrange concrete and, if needed, drainage assessment before sealing the opening.
Why this path and its safety boundary
Safety stop: Keep away from collapsing soil, slippery standing water, and any undermined edge.
-
PATH 05Safety boundary
What you see
The crack or panel condition worsens suddenly, a void or drop appears, or a person cannot safely use the patio route.
Do this next
Stop using the area, isolate it, and request prompt professional evaluation.
Why this path and its safety boundary
Safety stop: Do not attempt a temporary structural repair or use the patio as a test surface.
Helpful context
Understand the symptom
A control-joint crack is not automatically a failed patio
Control or contraction joints are planned weak planes intended to concentrate some shrinkage and temperature-related movement. The National Ready Mixed Concrete Association describes joints as planned locations for cracks and explains that concrete changes volume with moisture and temperature. A crack confined to the joint can therefore be different from a new diagonal crack crossing a panel. The visual pattern alone cannot confirm whether the supporting base, drainage, or slab capacity is sound.
Make observations without disturbing the slab
Use daylight from a stable, dry walking position. A ruler or coin can be placed beside an opening for a photograph, but do not force anything into the joint or scrape out its contents. Record the date, weather, location, and changes over time. Do not use a saw, grinder, pressure washer, chemical filler, or heavy equipment as an exploratory test.
When a professional assessment is worthwhile
Arrange concrete service when one panel has settled or lifted, the joint edges are breaking away, water is washing soil from below, the crack leaves the joint and crosses a panel, or the condition is progressing. A professional can decide whether the issue is limited to joint maintenance or reflects movement, drainage, subgrade, or a broader slab problem.
Only after diagnosis
Potential parts
- concrete crack filler
Consider only after a professional confirms the opening is a suitable, stable surface-maintenance condition and not active movement, drainage loss, or a broader slab defect.
Confirm the product's joint use, movement capability, substrate condition, weather limits, and compatibility with the existing concrete before selection. - concrete sealer
A sealer may be relevant only after the source of moisture and the joint condition are assessed; sealing a moving or wet joint can hide progression without correcting it.
Match the sealer to the concrete finish, exposure, moisture condition, and any existing coating according to the manufacturer's instructions or the professional's specification.
When checks do not resolve it
Need a professional?
Request concrete service when the crack extends beyond the control joint, the panels are offset or unstable, water is undermining the edge, the condition is progressing, or a repair product's suitability is uncertain.
Have this ready
- Provide the patio location, dated full and close photos, whether the crack remains within the control joint, any offset or spalling, weather and water history, trip impact, and nearby drainage or construction changes.
Common questions
FAQ
Is a crack in a concrete patio control joint normal?
It can be. A control or contraction joint is intended to concentrate some shrinkage and temperature-related cracking. Normal appearance is not a guarantee of sound support, so check whether the crack stays in the joint, the panels remain level, and the condition is stable.
How can I tell whether the crack is more than a joint issue?
Look for a branch that crosses a panel, slab-edge offset, rocking, spalling, recurring water, washed soil, or clear progression in dated photos. These signs justify professional assessment rather than a cosmetic filler decision.
Should I fill a cracked control joint right away?
Not before checking movement and moisture. Filling may be appropriate for a stable, suitable joint condition, but it will not correct settlement, heave, drainage, or an active crack pattern. A concrete professional can match the treatment to the joint and exposure.
What should I do if the cracked joint is a trip hazard?
Reroute people and equipment and use a visible temporary barrier until the area can be assessed. Do not chip, pry, cut, or grind the concrete to make it safer yourself, especially if an edge is loose or displaced.
Read the exact guide
Official sources
- CIP 6—Joints in Concrete Slabs on GradeNational Ready Mixed Concrete Association · Industry education on concrete contraction, isolation, and construction joints
- Chapter 3: Actions to Increase the Safety of Pedestrians Accessing TransitFederal Highway Administration · Official pedestrian-safety guidance on stable surfaces, clear paths, and hazards from gaps, cracks, joints, and heaved pavement
- 224R-01 Control of Cracking in Concrete StructuresAmerican Concrete Institute · Technical reference on concrete cracking mechanisms, drying shrinkage, and crack-control principles
Community feedback
Share a repair observation
Share a plain-text repair observation. Accepted observations are published automatically; this page may take a moment to update.