
On this page
Start here
Quick answer
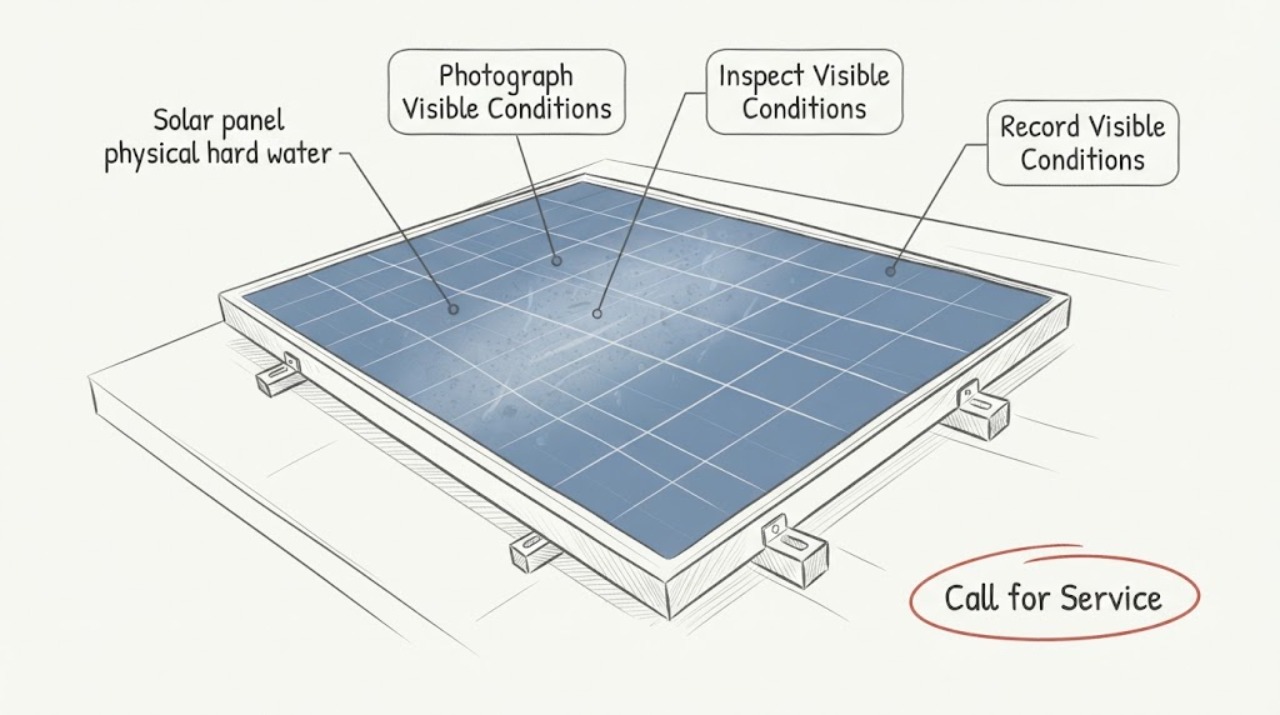
White spots, rings, or streaks on a solar panel may be mineral residue from hard water, irrigation, runoff, or a previous wash, but a visual mark alone cannot establish its source or impact. From the ground, photograph the residue pattern, identify nearby water sources, and compare the system's normal monitoring history with similar weather and shading conditions. Do not climb onto a roof, touch or scrape a module, use acids or chemicals, pressure-wash, or perform electrical tests. Have a qualified solar O&M provider inspect and clean the array according to the module maker's instructions, especially when residue is widespread, output changes, glass is damaged, or access is not ground-level.
Work through in order
Diagnostic checks
Use only checks that match the exact appliance or system and its official guide.
-
Check 1
From the ground or another already safe viewing position, photograph the affected module area without touching the array. Note whether the residue appears as isolated spots, rings, vertical streaks, a lower-edge band, or a broad film, and whether it appears on one module or many.
Expected result: The pattern may be localized to a drip or edge, repeated across a row, concentrated on modules below a source, or spread across the array without an obvious pattern.
Next step: Keep the photos with the date and module location if the array map is available. Send them to the solar installer or qualified O&M provider and ask whether an in-person surface inspection is needed.
Stop if: Stop if viewing would require a ladder, roof access, leaning on a structure, or contact with the module or racking.
Why this matters
Why: A repeated droplet or edge pattern supports a water-deposit hypothesis, while an irregular or localized mark could have another cause. The pattern also helps the provider plan an inspection without assuming every mark is hard-water residue.
-
Check 2
From the ground, observe nearby water sources and the timing of the marks. Note sprinkler direction, roof runoff, gutters or downspouts, irrigation overspray, washing activity, rain events, and whether residue appears after a particular source or season.
Expected result: Residue may align with irrigation or runoff, appear after a wash, follow a dry period with repeated droplets, or have no clear connection to a water source.
Next step: Photograph the source and its relationship to the array. Ask the provider to consider source control and manufacturer-approved maintenance together, without changing irrigation or climbing to inspect it yourself.
Stop if: Do not approach the array to redirect a sprinkler, clear a drain, touch a cable, or alter a mounting or roof component.
Why this matters
Why: A repeatable source can explain why deposits recur and may be more useful to the provider than a guess about water hardness. No visible source means the provider should assess other causes rather than promise that cleaning will solve it.
-
Check 3
Review the owner's monitoring app or production record without changing system settings. Compare the residue's onset with clear and cloudy days, shading, snow or rain, inverter messages, and the output trend of similar periods; record observations rather than calculating a guaranteed loss.
Expected result: Output may be stable, vary with weather and shade, show a new alert, or change at the same time residue became visible.
Next step: Give the provider the date range, screenshots, weather context, and any visible residue locations. Do not reset the inverter or perform live DC or AC measurements to test the theory.
Stop if: Stop monitoring at the equipment if there is smoke, arcing, a burning smell, damaged glass, exposed wiring, water inside electrical equipment, or a persistent fault alert; keep away and request qualified service.
Why this matters
Why: Weather, shade, equipment status, and normal aging can affect production, so a timing match is a clue rather than proof that residue caused an output change. An alert or unexplained trend requires system diagnosis separate from surface cleaning.
-
Check 4
Observe the residue after ordinary weather from a safe location. Note whether rain changes its appearance, whether it remains as a hard-looking outline, whether new deposits form at the same edge, and whether the surrounding frame or roof surface shows staining or corrosion.
Expected result: The mark may fade with rain, remain after rain, recur at a runoff edge, or coexist with frame, seal, roof, or racking discoloration.
Next step: Add the weather and recurrence notes to the service request. Ask the provider to evaluate the module surface and adjacent water path using the manufacturer's maintenance and warranty guidance.
Stop if: Do not scrape, rub dry deposits, apply acid or other chemical, pressure-wash, or touch a module to check whether the residue is hard.
Why this matters
Why: Persistence and recurrence can help distinguish a removable deposit from a surface, frame, water-management, or module-condition issue. Visible frame or seal concerns should not be treated as a cleaning problem alone.
-
Check 5
Record the array access type and visible surroundings from ground level: roof-mounted or ground-mounted, approximate height, safe viewing distance, nearby trees or dust sources, and whether a professional vehicle can reach the array without crossing a hazard.
Expected result: The array may be ground-accessible, roof-mounted, obstructed, near a steep or slippery surface, or located where access would require special equipment or a controlled work zone.
Next step: Tell the O&M provider the access constraints and ask for a quote that separates inspection, approved cleaning, source control, and any electrical or module diagnosis.
Stop if: Do not climb, use a ladder, walk on the roof, stand on the array, or move equipment near the panels or wiring.
Why this matters
Why: Access difficulty changes the safe cleaning method, provider qualifications, and service scope. A ground-level view cannot certify panel condition or safe roof access.
Use your observations
Decision map
Find the observation that best matches what you see, then follow the next safe action.
-
PATH 01Safety boundary
What you see
Residue follows a repeated drip, runoff, or sprinkler pattern and the system has no new warning.
Do this next
Document the source and request manufacturer-guided professional cleaning or source-control advice. Do not assume a DIY wash is compatible with the module coating.
Why this path and its safety boundary
Safety stop: Do not access the roof or touch the modules to verify the deposit.
-
PATH 02Safety boundary
What you see
Residue is widespread, remains after rain, recurs quickly, or appears with frame, seal, glass, or racking discoloration.
Do this next
Request an in-person solar O&M inspection that evaluates surface condition, water path, and possible warranty implications before cleaning or material selection.
Why this path and its safety boundary
Safety stop: Do not scrape, abrade, use acid or chemicals, pressure-wash, or make a claim about module performance from appearance alone.
-
PATH 03Safety boundary
What you see
Monitoring shows a new alert or an unexplained output change at the same time as the residue.
Do this next
Provide monitoring records and residue photos to a qualified solar technician for separate electrical and surface diagnosis. Leave system settings unchanged.
Why this path and its safety boundary
Safety stop: Do not perform live electrical testing, reset repeatedly, open equipment, or touch wiring.
-
PATH 04Safety boundary
What you see
The array is roof-mounted, high, steep, slippery, or otherwise not safely reachable from the ground.
Do this next
Use a qualified solar O&M provider with the appropriate access and fall-protection plan. Ground photographs and the access description are sufficient for the initial request.
Why this path and its safety boundary
Safety stop: Do not climb, use a ladder, walk on the roof, or lean on a module or racking.
-
PATH 05Safety boundary
What you see
There is smoke, arcing, burning odor, exposed wiring, damaged glass, water inside electrical equipment, or an urgent fault warning.
Do this next
Keep people away and contact qualified emergency or solar electrical service as appropriate. Do not approach the equipment to investigate the source.
Why this path and its safety boundary
Safety stop: Do not touch, wash, reset, disassemble, or continue operating damaged equipment until qualified personnel assess it.
Helpful context
Understand the symptom
Confirm the pattern before choosing a cleaning service
Mineral residue often follows droplets, runoff paths, sprinkler arcs, or the lower edge of a tilted surface, but similar-looking marks can be dust, bird deposits, salt, coating wear, or glass damage. The safest homeowner contribution is a ground-level record that lets an O&M provider compare the mark with water sources, weather, system layout, and monitoring history.
Cleaning is an equipment and access task
PV modules are electrical equipment and can be damaged by abrasive contact, unsuitable water, pressure, or cleaning products. Manufacturer instructions control the permitted method, and roof access creates a separate fall risk. A residue report should lead to an inspection plan, not a DIY chemical or scraping experiment.
Only after diagnosis
Potential parts
- solar-panel-cleaning-brush
Only consider a cleaning tool if the module manufacturer or qualified O&M provider specifies that it is appropriate for the exact module surface and the provider confirms safe access.
Confirm the module model, surface coating, material compatibility, and approved cleaning method; the tool is not a reason to climb or contact a panel. - solar-panel-wash-tool
Only consider a wash tool after the water source, module instructions, access plan, and need for professional cleaning are established.
Confirm water quality, pressure limits, electrical-safety controls, and warranty requirements with the module maker or qualified O&M provider before selection.
When checks do not resolve it
Need a professional?
Call a qualified solar O&M provider when residue is widespread, persistent, recurring, near the module edge or frame, associated with a monitoring change, or visible only from an unsafe roof or ladder position.
Common questions
FAQ
Are white spots on a solar panel definitely hard-water residue?
No. Spots can also be dust, salt, bird deposits, coating wear, or glass damage. A ground-level pattern, nearby water-source record, and an O&M inspection are safer than scraping or assuming the cause.
Can I remove mineral spots from rooftop panels myself?
Do not climb or use a ladder to clean rooftop panels. Do not scrape, use acids or chemicals, or pressure-wash. Ask a qualified O&M provider to follow the actual module maker's cleaning and access instructions.
Can residue reduce solar production?
Soiling can be one factor in PV performance, but weather, shade, equipment alerts, age, and other conditions also matter. Compare monitoring history with similar conditions and have a technician assess the array before attributing a change to residue.
What information should I send to a solar cleaning or inspection provider?
Send dated ground photos, the pattern and module locations, sprinkler or runoff sources, rain or washing timing, monitoring screenshots, weather and shading context, access constraints, and any visible glass, frame, wiring, or inverter warning.
Read the exact guide
Official sources
- Optimizing Solar Photovoltaic Performance for LongevityU.S. Department of Energy Federal Energy Management Program · General photovoltaic performance and maintenance guidance; it does not diagnose a particular residue or promise a cleaning result.
- Customer Support: Module Cleaning and Water QualityCanadian Solar · Canadian Solar's published module guidance; use the actual module manufacturer's instructions for a different brand or model.
- Life Cycle of Photovoltaic Systems: Operate and Maintain an Existing Photovoltaic SystemU.S. Department of Energy Federal Energy Management Program · General PV O&M planning and monitoring guidance; residential systems and module-specific cleaning remain manufacturer-dependent.
Community feedback
Share a repair observation
Share a plain-text repair observation. Accepted observations are published automatically; this page may take a moment to update.