
On this page
Start here
Quick answer
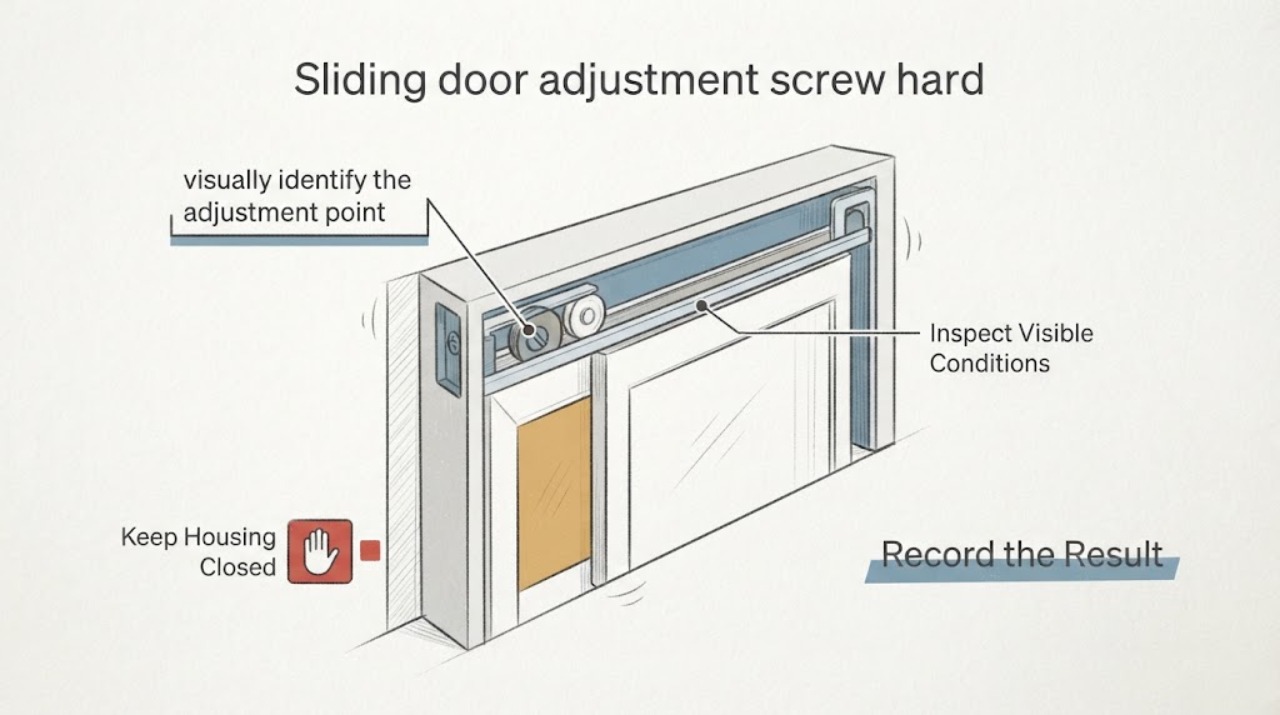
A sliding-door adjustment screw that resists movement may be corroded, damaged, the wrong screw for the adjustment point, or loaded by a misaligned panel or roller. Do not force it, use an impact tool, remove the door panel, lift the glass, or treat a generic screw as a universal adjustment. From a safe standing position, identify the screw and its condition, observe the panel-to-frame gap and door movement, and look for visible track or roller obstruction without disassembly. If the screw head is stripped, the door binds, the panel is unstable, the glass is damaged, or adjustment would require lifting or removal, stop and request qualified sliding-door service.
Work through in order
Diagnostic checks
Use only checks that match the exact appliance or system and its official guide.
-
Check 1
From a stable standing position, visually identify the adjustment point and inspect the screw head, surrounding plug, frame, and visible hardware without inserting a tool or forcing the screw.
Expected result: Record whether the head is intact, filled with debris, corroded, painted over, visibly stripped, recessed, or different from the nearby attachment hardware; note whether the screw location is uncertain.
Next step: Photograph the screw and door hardware, record the door brand or model only if it is safely readable, and ask a qualified technician to identify the correct adjustment before any tool use.
Stop if: Stop if the screw head is stripped, the frame is cracked, the area is wet or corroded, or identification would require removing a plug, trim, glass, or panel.
Why this matters
Why: A damaged or unidentified adjustment point can be harmed by the wrong bit or extra torque. It may also indicate that the visible fastener is not the roller adjustment screw at all.
-
Check 2
Open the sliding panel only as far as it moves normally and observe the vertical side gap from top to bottom without forcing, lifting, or repeatedly cycling the door.
Expected result: Note whether the gap is approximately even, narrows at one end, changes as the panel moves, or is accompanied by rubbing, binding, scraping, or a panel that will not stay aligned.
Next step: Keep the panel in a safe position, document the gap with a photo, and provide the result to a sliding-door repair professional rather than forcing the adjustment screw.
Stop if: Stop moving the door if it binds, jumps, tilts, rattles, leaves the track, or requires two-handed force, lifting, or contact with the glass.
Why this matters
Why: An uneven gap can be evidence of panel or roller misalignment, but it does not identify a safe adjustment direction or prove that the screw is serviceable. A binding or unstable panel increases the risk of glass or hardware damage.
-
Check 3
Look at the accessible track and lower door edge from outside the travel path without removing the panel, reaching under it, scraping the track, or applying lubricant.
Expected result: Record visible dirt, stones, bent track sections, loose trim, detached weatherstripping, a visibly damaged roller area, or an obstruction that could explain resistance.
Next step: Photograph the track and report the observation; leave the obstruction and hardware undisturbed until the technician confirms a safe service method.
Stop if: Do not reach under the panel, remove track components, lift the door, scrape forcefully, or continue if glass, rollers, or the track appear damaged.
Why this matters
Why: A visible obstruction or damaged track can make a roller adjustment appear stuck or load the mechanism. Clearing or repairing it may require model-specific access, and a hidden roller fault cannot be ruled out visually.
-
Check 4
Observe the door's lock, latch alignment, and weather seal during one normal open-and-close attempt without slamming, forcing, or adjusting lock hardware.
Expected result: Note whether the lock aligns, the panel contacts weatherstripping evenly, the latch requires lifting or pushing, or the door leaves a visible gap or rub point.
Next step: Include the lock and seal result with the adjustment-screw photo so the technician assesses the whole panel alignment rather than one fastener in isolation.
Stop if: Stop if the door cannot secure, the lock jams, the panel moves unexpectedly, or the weather seal or glass is damaged.
Why this matters
Why: Lock or weather-seal misalignment can accompany a roller-height or panel-position issue, but changing the lock may not correct a loaded or damaged roller mechanism.
-
Check 5
Check the immediate safety of the door area and its normal route without touching the glass or attempting to stabilize the panel yourself.
Expected result: Look for cracked or shattered glass, a loose panel, exposed sharp edges, a raised track, a trip hazard, children or pets near the travel path, or a door that cannot be secured.
Next step: Keep people and pets away, isolate the doorway without attaching anything to the door or track, and arrange prompt professional service.
Stop if: Stop all door operation immediately for damaged glass, a loose or falling panel, sharp fragments, or a door that has left its track.
Why this matters
Why: These conditions are more urgent than a stiff screw and can make continued operation unsafe. A loose or damaged panel may require controlled professional handling.
Use your observations
Decision map
Find the observation that best matches what you see, then follow the next safe action.
-
PATH 01Safety boundary
What you see
The screw head is intact, the panel gap is even, and the door operates normally except for screw resistance.
Do this next
Do not force the screw; provide the hardware photo and model information to a technician to identify whether service is needed.
Why this path and its safety boundary
Safety stop: Do not apply escalating torque, impact tools, heat, or a generic replacement screw.
-
PATH 02Safety boundary
What you see
The panel gap is uneven, the door rubs or binds, or the lock and weather seal are misaligned.
Do this next
Keep door use to a minimum and request qualified sliding-door adjustment service for the panel and roller system.
Why this path and its safety boundary
Safety stop: Do not lift, remove, disassemble, or force the door panel.
-
PATH 03Safety boundary
What you see
The screw is stripped, corroded, unidentified, or surrounded by damaged hardware.
Do this next
Stop tool use and request a technician who can identify the door system and assess the adjustment mechanism without unsafe improvisation.
Why this path and its safety boundary
Safety stop: Do not drill the screw, pry the frame, remove trim, or substitute a fastener based only on appearance.
-
PATH 04Safety boundary
What you see
The track, roller area, glass, panel, or surrounding frame appears damaged or unstable.
Do this next
Keep people away from the travel path and arrange urgent professional inspection and controlled repair.
Why this path and its safety boundary
Safety stop: Do not operate, lift, remove, or attempt to re-seat the panel.
-
PATH 05Safety boundary
What you see
The doorway is safe and the only concern is a suspected visible obstruction that does not require reaching under the panel.
Do this next
Photograph the obstruction and ask the technician whether model-specific cleaning or track service is appropriate.
Why this path and its safety boundary
Safety stop: Do not scrape, pry, lubricate, or remove track parts as a substitute for assessment.
Helpful context
Understand the symptom
Why a hard screw is not a cue to apply more force
On many gliding patio doors, roller height affects the panel's alignment and operation. Andersen's guidance says a stiff operating panel can drag when the panel is out of alignment and uses the top-to-bottom side gap as an observation for whether adjustment may be needed. That guidance is model-specific; a hard screw can also reflect corrosion, a damaged head, a seized mechanism, or a load that requires professional access.
Keep the door and glass supported
A sliding glass panel is heavy and can become unsafe if it is lifted, removed, or forced while misaligned. The public checks below are intended to document the condition for a service professional, not to reproduce an installation or roller-replacement procedure.
Only after diagnosis
Potential parts
- sliding-door-roller
Consider this category only if a qualified technician confirms a failed or worn roller after identifying the door system; a hard adjustment screw alone does not prove the roller needs replacement.
Match the door series, panel, roller geometry, and adjustment interface; replacement may require controlled panel handling and is not a user-observation step. - track-cleaner
Consider this only if the technician confirms that an accessible track obstruction is the cause and that the tool can be used without reaching under or lifting the panel.
Confirm the track material and the manufacturer's cleaning guidance; do not use a tool on bent, damaged, or unstable track. - silicone-lubricant
Consider this only after the door manufacturer or technician confirms the exact compatible location and that lubrication will not mask a damaged roller, track, seal, or adjustment mechanism.
Follow the door-specific product guidance and keep lubricant away from glass, weather seals, locking surfaces, and areas where it could attract debris.
When checks do not resolve it
Need a professional?
Request qualified sliding-door service when the adjustment screw is hard to move, unidentified, stripped, or corroded; when the panel gap is uneven or the door binds; or when the lock, track, roller area, frame, or glass appears damaged.
Have this ready
- Provide the door brand/model if safely visible, adjustment-screw photos, panel-gap observations, travel symptoms, track and weather-seal observations, lock alignment, and any history of impact or prior adjustment. Do not remove the panel to prepare for the visit.
Common questions
FAQ
Should I force a hard sliding-door adjustment screw?
No. Extra torque can strip the head or damage the adjustment mechanism, especially when the screw is loaded by a misaligned panel. Photograph it and have the door system identified by a qualified technician.
Does a stiff sliding door prove the adjustment screw is bad?
No. A stiff panel can relate to alignment, rollers, track condition, weather seals, or another hardware problem. Observe the side gap and travel symptoms without lifting or disassembling the door.
Can I remove the sliding glass panel to reach the screw?
Not under this observation-only guidance. Do not lift or remove the panel or glass. Sliding-door panels are heavy and can become unsafe when unsupported; request professional service.
What should I send the door technician?
Send the hardware and screw photos, door brand/model if safely visible, panel-gap pattern, whether the door rubs or binds, track and weather-seal observations, lock alignment, and any history of impact or prior adjustment.
Read the exact guide
Official sources
- Gliding Patio Door Hardware Adjustment and Replacement GuideAndersen Windows & Doors · Explaining why model identification and professional handling matter when an adjustment screw is difficult
- Adjust Operating Panel on Andersen Gliding Patio DoorsAndersen Windows & Doors · Interpreting an uneven panel gap or stiff operation without prescribing generic screw force
Community feedback
Share a repair observation
Share a plain-text repair observation. Accepted observations are published automatically; this page may take a moment to update.