
On this page
Start here
Quick answer
First determine whether the water is on the room-side glass as condensation, at the glass edge or sash seal, or entering around the frame, sill, trim, or wall. Wipe the area dry, note the weather and the first place that becomes wet, and check that the window closes and locks without blocking exterior drainage openings. Water between insulated glass panes is a failed glazing seal, while rain entering at the sill or trim can involve weeps, flashing, sealant, or installation. Do not drill glass, caulk over weep holes, pressure-wash the window, or seal a suspected drainage path shut. If water reaches electrical components, the frame is loose or rotten, glass is cracked, or the leak persists after safe accessible checks, stop and use a qualified window or building-envelope professional.
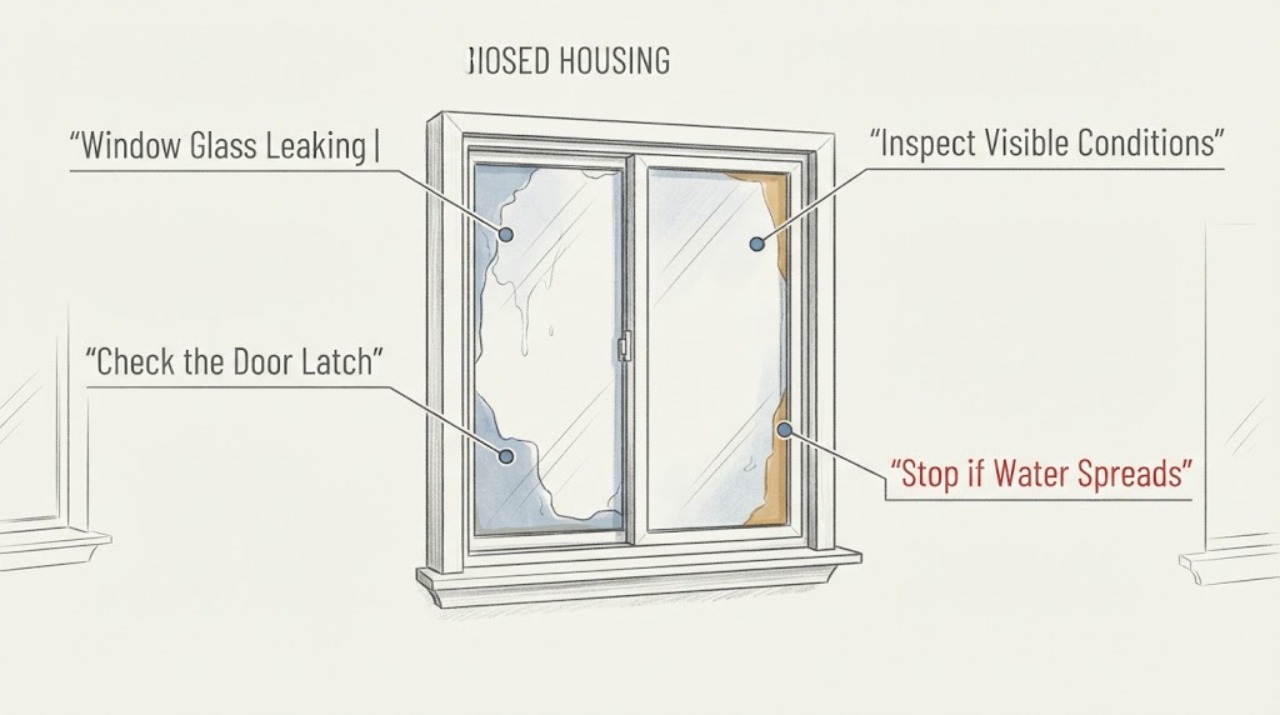
Work through in order
Diagnostic checks
Use only checks that match the exact appliance or system and its official guide.
-
Check 1
Wipe the room-side glass, sash, sill, and nearby trim completely dry, then record whether moisture returns on the glass surface, between the panes, at the sash-to-frame joint, or at the frame, trim, or wall; note rain, wind, indoor humidity, and whether the window was closed and locked.
Expected result: Moisture forms uniformly on the interior glass, appears between insulated panes, starts at a corner or sash edge, or first appears at the sill, trim, or wall.
Next step: Photograph the first wet location and continue with the matching glass, sash, drainage, or exterior-path check; do not apply sealant before the path is known.
Stop if: Stop if glass is cracked or loose, the frame moves, water reaches an outlet or wiring, or the inspection requires unsafe exterior access.
Why this matters
Why: Uniform surface moisture can be condensation, moisture between panes points to a failed insulating-glass seal, and water at a joint or wall points toward a sash seal, drainage, flashing, sealant, or installation path.
-
Check 2
Inspect the visible glass perimeter and glazing area from indoors without removing stops or panes; look for cracked glass, a separated gasket, damaged sealant, fogging between panes, or water that tracks from the glass edge into the sash.
Expected result: The glass is intact and dry between panes, there is persistent fog or water between panes, the edge gasket is visibly separated, or water is coming from the frame rather than the glass perimeter.
Next step: Record the glass and window identification information and arrange model-specific glazing service for a failed seal or damaged pane; do not drill, pry, or inject sealant into the glass unit.
Stop if: Stop for cracked, shattered, loose, or bowed glass, sharp exposed edges, or a glazing repair that requires removing the pane.
Why this matters
Why: A failed insulating-glass seal or damaged glazing edge is a glazing-unit issue, while a dry glass unit with water at the frame points toward sash, sill, drainage, or installation causes.
-
Check 3
Operate the window through one open-close-lock cycle and inspect the accessible sash weatherstrip and lock contact for tears, gaps, flattening, missing sections, or uneven compression; verify that the sash closes squarely and latches without force.
Expected result: The sash does not latch, weatherstrip is damaged or missing, contact is uneven at one corner, or closure and weatherstrip are continuous and even.
Next step: Clean only accessible debris and use the exact window instructions for any adjustment; replace weatherstrip only after its profile and series are identified, then retest closure and water behavior.
Stop if: Stop if the sash drops, the lock binds, the weatherstrip repair prevents latching, or sash removal or exterior access is required.
Why this matters
Why: An unsecured or misaligned sash can allow wind-driven water through the moving joint even when the glass is sound. An intact, evenly compressed seal shifts attention toward the sill, weeps, flashing, or concealed installation.
-
Check 4
From a safe position, inspect the interior and exterior sill for pooled water, dirt, paint, sealant, or debris covering designed drainage openings; clear only loose, visible debris using the exact window instructions and never seal the sill channel or weeps shut.
Expected result: Exterior weep openings are visibly blocked, water pools in the sill during rain, the path drains normally, or water appears to bypass the sill and enter the wall or trim.
Next step: Restore only the documented accessible drainage condition and observe the next controlled rain event; arrange an envelope assessment if water enters behind trim or the drainage path is concealed.
Stop if: Stop for water near electrical equipment, rot or mold, a blocked path that cannot be safely reached, pressure-washing temptation, or unsafe exterior work.
Why this matters
Why: Blocked drainage can force water inward, while normal weeps with water entering behind trim suggest flashing, sealant, cladding, or rough-opening problems. Condensation on the interior glass is a separate moisture mechanism.
-
Check 5
During or immediately after ordinary rain, observe from the ground or another safe location whether water is directed at the window head by a roof, gutter, siding joint, missing drip cap, or failed exterior sealant; compare the wet area with the interior first-wet point and do not spray the window at high pressure.
Expected result: Water arrives from above or the side, the exterior sealant has cracks or voids, cladding directs water behind the frame, the sill sheds water outward, or no exterior source is visible.
Next step: Photograph the exterior path and keep the interior dry; have a qualified window or building-envelope professional inspect flashing and the rough opening before any invasive repair.
Stop if: Stop for roof or ladder work, loose siding, high wind, concealed rot, lead-paint renovation risk, or any repair that could trap water in the wall.
Why this matters
Why: A roof, gutter, drip-cap, flashing, or cladding path can make a sound glass unit appear to leak. A hidden rough-opening or flashing failure cannot be confirmed by adding a bead of surface caulk.
-
Check 6
Arrange qualified window, glazing, or building-envelope service when water persists after safe checks, reaches the wall, the insulated glass seal has failed, the frame is damaged, or the repair requires sash or glass removal; provide photos, window type, label information, weather conditions, and the first-wet location.
Expected result: The leak is repeatable, intermittent with wind or rain, associated with a failed gasket or pane, hidden behind trim, or accompanied by frame movement, staining, rot, or mold.
Next step: Keep the window closed and latched when practical, protect nearby finishes, document recurrence, and let the professional determine whether glazing, weatherstrip, flashing, or installation repair is appropriate.
Stop if: Stop use or DIY repair for cracked glass, structural movement, active wall damage, electrical contact, unsafe access, or any need to remove a heavy sash or pane.
Why this matters
Why: The remaining fault may be glazing, sash alignment, flashing, drainage, sealant compatibility, or rough-opening installation. The visible drip point may be downstream from the actual entry point.
Use your observations
Decision map
Find the observation that best matches what you see, then follow the next safe action.
-
PATH 01Next step
What you see
Moisture appears on the interior glass surface without a perimeter leak, especially during cold weather or high indoor humidity.
Do this next
Arrange qualified service and follow the exact model guidance.
Why this path and its safety boundary
Why it matters: Treat it as a condensation and indoor-humidity investigation, improve room air circulation, and do not replace the glass or weatherstrip solely from surface moisture.
-
PATH 02Next step
What you see
Water or persistent fogging is between insulated glass panes, or the glass perimeter or gasket is visibly damaged.
Do this next
Arrange qualified service and follow the exact model guidance.
Why this path and its safety boundary
Why it matters: Arrange model-specific glazing or sash service; do not drill the pane or inject generic sealant.
-
PATH 03Next step
What you see
Water starts at a moving sash edge or meeting rail and the weatherstrip, lock, or closure is damaged or uneven.
Do this next
Arrange qualified service and follow the exact model guidance.
Why this path and its safety boundary
Why it matters: Use the exact window instructions for identification and adjustment or weatherstrip replacement, then verify safe latching and even contact.
-
PATH 04Next step
What you see
Water pools at the sill or exterior weep openings are blocked, while the glass and sash seal are intact.
Do this next
Arrange qualified service and follow the exact model guidance.
Why this path and its safety boundary
Why it matters: Restore only the accessible documented drainage path; never caulk over weeps or the sill channel.
-
PATH 05Next step
What you see
Water enters at trim, wall, head flashing, cladding, or the rough opening, or returns despite clear weeps and a sound sash seal.
Do this next
Arrange qualified service and follow the exact model guidance.
Why this path and its safety boundary
Why it matters: Stop surface patching and arrange a qualified window or building-envelope assessment of flashing, sealant, and drainage integration.
-
PATH 06Next step
What you see
Active water reaches electrical equipment, the glass or frame is unsafe, or work requires a ladder, sash removal, or concealed structural access.
Do this next
Arrange qualified service and follow the exact model guidance.
Why this path and its safety boundary
Why it matters: Stop DIY work, disconnect or protect equipment only when safe, and obtain qualified urgent assistance.
Helpful context
Understand the symptom
Water on glass does not identify the leak path
Rainwater on the room side, water trapped between panes, and condensation on the interior surface can look similar at first. Dry the whole area and watch where moisture returns during the next wet or cold period. A leak that starts at a corner, sash edge, or sill calls for a different check than water appearing uniformly on cold glass.
Keep the window's drainage system working
Many window units are designed to collect incidental water and drain it through exterior openings. Do not fill the sill channel, weep holes, or the bottom of a frame with sealant. Do not use a pressure washer or high-pressure hose, and do not remove a heavy sash or insulated glass unit without the model instructions and suitable help.
Safety boundary
Stop conditions
- Water reaches electrical equipment, outlets, wiring, or other energized components.
- Glass is cracked, loose, shattered, fogged between panes, or has sharp exposed edges.
- The frame or sash moves, is rotten, cannot latch, or could fall during operation.
- Weep holes, sill channels, or flashing would need to be sealed over to stop the leak.
- The repair requires removing glass or a heavy sash, exterior access, a ladder, or pressure washing.
- Water intrusion has caused concealed damage, mold, lead-paint renovation risk, or structural concerns.
Only after diagnosis
Potential parts
- window sash weatherstrip or gasket
Consider only when water is localized to a moving sash joint and the existing strip is damaged or missing.
Match the exact window series, operating type, profile, orientation, and length; do not use a strip that prevents latching or drainage. - insulated glass unit or glazing gasket
Consider only when moisture is between panes or the glazing edge is visibly damaged and a professional confirms a failed sealed unit or gasket.
Verify exact dimensions, glazing specification, and safe installation through qualified glazing service; do not drill or pry the pane. - window lock or latch hardware
Consider only when the sash is sound but cannot latch or compress the weatherstrip after documented cleaning or adjustment.
Confirm exact window type and handing; hardware substitution can affect closure, security, and water resistance. - drip cap, sill flashing, or compatible sealant
Consider only after a qualified assessment identifies a failed exterior water-management or installation component.
Do not seal weep openings or create a reverse lap; match the window, cladding, and water-resistive-barrier instructions.
When checks do not resolve it
Need a professional?
Water persists after the glass, closure, weatherstrip, sill, and accessible drainage checks., Moisture is between insulated glass panes or the glazing edge is damaged., Water enters behind trim, at flashing, from a roof or gutter path, or through the rough opening., The frame is loose, out of square, rotten, moldy, or unsafe to operate., The repair requires glass or sash removal, exterior access, concealed flashing, or building-envelope work.
Common questions
FAQ
Why is my window leaking only when it rains?
Rain can expose a blocked sill drain, failed sash seal, cracked exterior sealant, missing head flashing, gutter or roof discharge, or a rough-opening installation path. Find the first interior wet point and compare it with the exterior path before sealing anything.
Is water between window panes a leak?
Persistent moisture or fogging between insulating glass panes usually indicates that the sealed glass unit has lost its seal, not that room rainwater is simply sitting on the surface. Arrange glazing service instead of drilling or caulking the pane.
Can I caulk around a leaking window?
Only after the entry path is identified and the compatible material and location are known. Caulk at a stationary joint may address an air or water gap, but sealing a sill channel, weep opening, or drainage route can trap water in the wall.
Why does my window leak even though the weatherstrip looks good?
The water may be entering at the sill, flashing, trim, roof or gutter above the window, or the rough opening rather than the moving sash joint. A sound weatherstrip does not rule out a concealed installation or drainage problem.
When should I call a window professional for a leak?
Call when water reaches the wall or electrical equipment, glass is cracked or fogged between panes, the frame moves or is rotten, the leak persists after accessible checks, or the repair requires sash or glass removal, exterior access, flashing, or concealed air and water sealing.
Read the exact guide
Official sources
- Winterize Windows to Keep the Cold at BayPella · Official manufacturer guidance used for accessible sash, weatherstrip, lock, and sealant checks; it is not a substitute for the assigned window's instructions.
- Applying Plastic Over Windows ProjectENERGY STAR / U.S. Environmental Protection Agency · Government guidance used for locating air movement with a paper or smoke test; it is not evidence that a water leak should be covered without tracing the water path.
- Residential Windows, Doors, & SkylightsENERGY STAR / U.S. Environmental Protection Agency · Government efficiency guidance used for condensation context, air and water leak location, and professional installation boundaries.
- Window install mistakesAndersen Windows and Doors · Official manufacturer installation guidance used for diagnosing exterior water paths and escalation boundaries; it does not identify a specific window's repair detail.
- Window and Patio Door Maintenance TipsAndersen Windows and Doors · Official manufacturer maintenance guidance used to distinguish condensation from leaks and to support checks of weatherstrip, locks, sealant, and exterior drainage. Exact window designs vary.
Community feedback
Share a repair observation
Share a plain-text repair observation. Accepted observations are published automatically; this page may take a moment to update.