
On this page
Start here
Quick answer
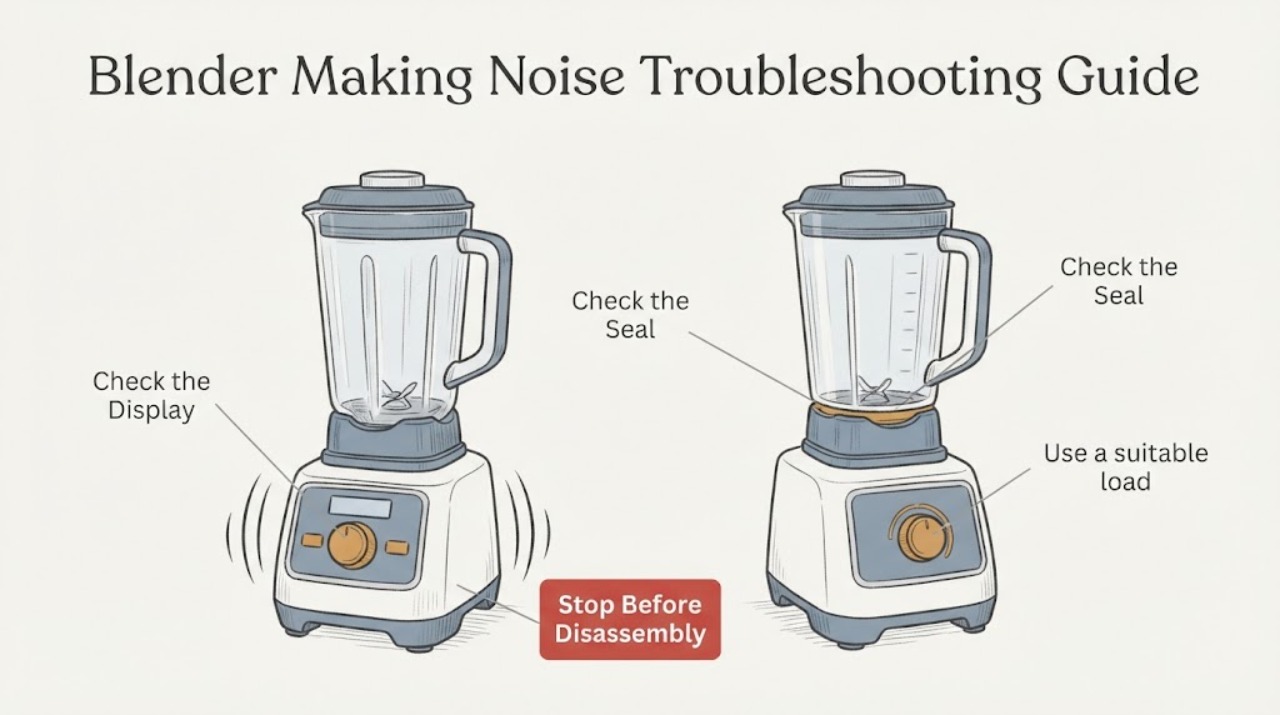
A blender with making noise should be checked with power disconnected before inspecting the container, gasket, coupling, and blade area. Confirm container seating and load, allow overload protection to reset after a demanding blend, and stop for damage, smoke, sparks, or a burning smell.
Work through in order
Diagnostic checks
Use only checks that match the exact appliance or system and its official guide.
-
Check 1
Check power, controls, and container seating: Place the blender on a stable dry surface, confirm power and the control state, and ensure the container is seated exactly as the model requires before pressing a control.
Expected result: The outlet or control is inactive, the container is not recognized, or the machine responds but the symptom remains.
Next step: Do not bypass the container interlock.
Why this matters
Why: A missing container signal or control state can prevent starting; power with the container recognized shifts attention to the load, blade assembly, or thermal protection.
-
Check 2
Inspect the jar and blade area externally: Unplug the blender, remove the container, and inspect the outside of the jar, lid, gasket, base coupling, and visible blade assembly for cracks, displacement, or residue.
Expected result: A crack, loose seal, damaged coupling, or foreign material is visible; or the parts appear intact.
Next step: Keep hands away from sharp blades and replace or service damaged assemblies.
Why this matters
Why: Damage or a compromised seal can explain leaks, noise, or poor motion; an intact assembly shifts attention to recipe load or motor protection.
-
Check 3
Use a suitable load and circulation: With the appliance unplugged while loading, check that ingredients and liquid are within the model instructions and that thick material is not packed around the blades.
Expected result: The load is unusually thick, trapped, empty, or otherwise outside the manual guidance; or it is suitable.
Next step: Use the supplied tamper only as the manual permits and never insert utensils while running.
Why this matters
Why: A stalled or poorly circulating load can cause weak blending, noise, or overload protection; a suitable load points toward the machine.
-
Check 4
Allow a thermal stop to reset: If the motor stopped after a demanding blend or feels hot, switch it off and allow the overload protection to cool or reset before trying again.
Expected result: The blender restarts after cooling, or it remains stopped or smells burnt.
Next step: Keep it off and contact the manufacturer for persistent thermal or electrical symptoms.
Why this matters
Why: A restart after cooling supports overload protection; persistent failure or a burning smell needs service.
-
Check 5
Run one controlled retest: Reassemble the intact container, use a small normal load, and run one short test while watching for leaks, abnormal noise, failure to spin, or a warning display.
Expected result: The blender works normally, or the same symptom returns.
Next step: Stop for smoke, sparks, damaged insulation, exposed blades, or repeated shutdowns.
Why this matters
Why: A normal test supports an external loading or seating cause; recurrence points toward a component or control fault.
Use your observations
Decision map
Find the observation that best matches what you see, then follow the next safe action.
-
PATH 01Next step
What you see
The control is inactive, paused, delayed, or showing an error or lockout.
Do this next
Record the display and follow the exact owner or equipment manual reset or cycle procedure.
Why this path and its safety boundary
Why it matters: The appliance may be waiting for a documented control action or reporting a model-specific fault rather than a generic component failure.
-
PATH 02Next step
What you see
An accessible supply, seal, filter, hose, container, load, or airflow path is visibly restricted or damaged.
Do this next
Correct only the accessible condition described by the source or model manual, then perform one controlled retest.
Why this path and its safety boundary
Why it matters: An external operating or maintenance condition is more likely than an internal component failure.
-
PATH 03Next step
What you see
Power and accessible paths are normal but the same symptom returns during a controlled retest.
Do this next
Stop using the appliance when damage or overheating is possible and contact the manufacturer or a qualified technician with the recorded observations.
Why this path and its safety boundary
Why it matters: The remaining possibilities include an internal pump, heater, motor, sensor, valve, burner, drive, or control fault that requires model-specific service tools.
Helpful context
Understand the symptom
This guide keeps the blender diagnosis at external checks supported by an authoritative safety or manufacturer source. Work in order and use each observation to choose the next branch.
When checks do not resolve it
Need a professional?
Stop and contact the manufacturer, site supervisor, or a qualified technician if the symptom persists, a safety control or interlock is involved, there is smoke, fire, gas odor, sparks, burning smell, water near electrical parts, abnormal heat, or any internal sealed, electrical, gas, heating, motor, or control work is needed.
Common questions
FAQ
What should make me stop immediately?
Stop for gas odor, uncontrolled flame, smoke, sparks, burning smell, damaged wiring, water near electrical parts, repeated breaker trips, or excessive heat. Isolate the appliance safely and use qualified service.
Why is the exact model or equipment manual important?
Control sequences, filters, safety interlocks, reservoirs, vents, and service procedures vary by model. Record the identification label and any displayed code before ordering a part or attempting a repair.
When is a replacement part justified?
Only after the model manual or a qualified technician connects the observed result to that part. A similar symptom alone does not establish fit or compatibility.
Read the exact guide
Official sources
- Frequently Asked QuestionsVitamix · countertop blenders
Community feedback
Share a repair observation
Share a plain-text repair observation. Accepted observations are published automatically; this page may take a moment to update.