
On this page
Start here
Quick answer
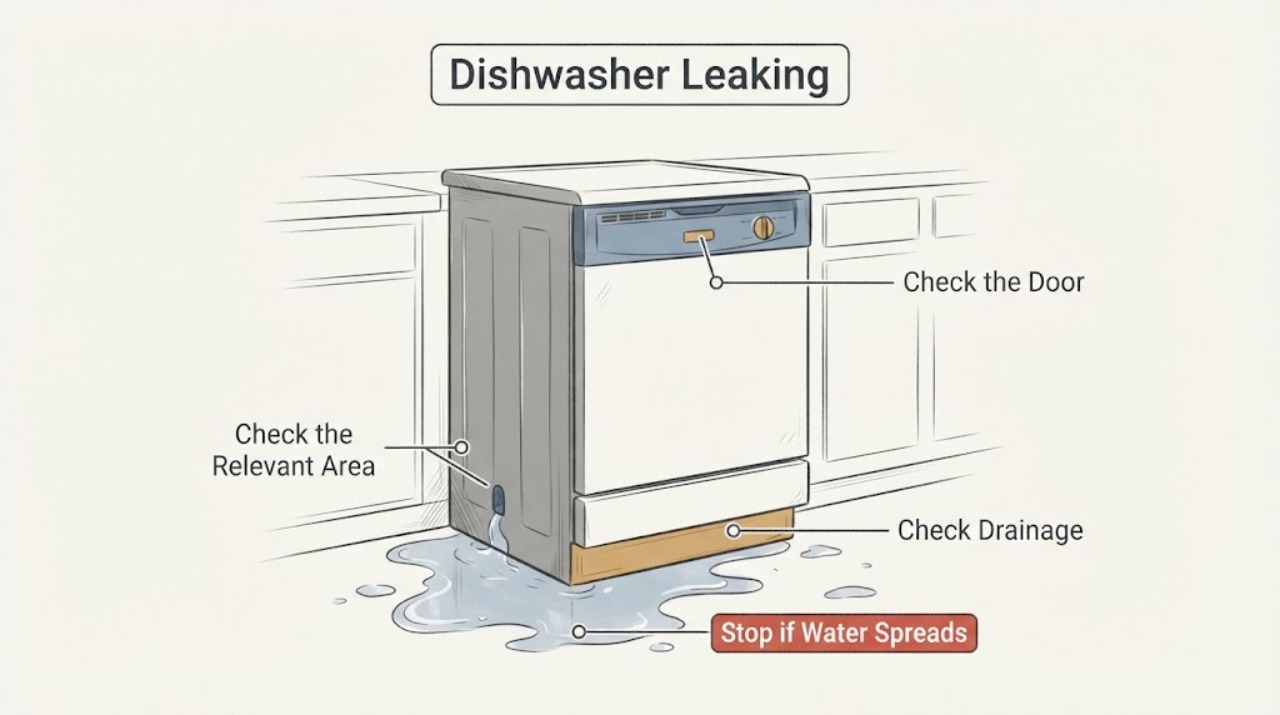
Stop a leaking dishwasher and locate where water first appears: door edge, tub bottom, inlet connection, drain route, or underneath. Whirlpool guidance points to gasket/door loading, suds, filter/drain path, leveling, and supply or drain connections. Turn off power and water when safe; persistent under-cabinet leaks, overfill, or electrical symptoms need service.
Work through in order
Diagnostic checks
Use only checks that match the exact appliance or system and its official guide.
-
Check 1
Stop the cycle and locate the first wet point from a dry position: door edge, dispenser, tub bottom, under front, rear connection, or sink/drain.
Expected result: The first wet point is more diagnostic than the puddle’s final location; active water near electricity is hazardous.
Next step: Turn off power and close the water valve only if safe.
Why this matters
Why: This observation narrows the likely cause but does not identify an internal part by itself.
-
Check 2
Inspect the door gasket, latch area, dishes protruding into the seal, and visible suds after the unit is cool and isolated.
Expected result: Torn/dirty gasket, poor closure, over-sudsing, or loading can send water over the front.
Next step: Remove only a loose obstruction and clean accessible residue; service damage or recurring leaks.
Why this matters
Why: This observation narrows the likely cause but does not identify an internal part by itself.
-
Check 3
Check the filter, sump opening, spray-arm clearance, and drain path only as the model manual permits; do not reach into standing water or pump parts.
Expected result: Debris or blocked drainage can retain water and contribute to overflow.
Next step: Leave it off if water remains or the path is inaccessible; arrange service.
Why this matters
Why: This observation narrows the likely cause but does not identify an internal part by itself.
-
Check 4
From outside inspect visible inlet/drain connections, hose kinks, and cabinet level; do not pull a built-in unit or loosen a full connection.
Expected result: A wet connection or unlevel cabinet keeps plumbing/installation causes in scope; no visible issue does not clear internal seals.
Next step: Close the valve and call qualified service for inaccessible or damaged connections.
Why this matters
Why: This observation narrows the likely cause but does not identify an internal part by itself.
-
Check 5
Record leak timing, first location, suds, gasket/filter condition, water level, model/serial, and whether it leaks while idle.
Expected result: These details distinguish door, drain, supply, overfill, and internal seal paths.
Next step: Provide them to qualified appliance service.
Why this matters
Why: This observation narrows the likely cause but does not identify an internal part by itself.
Use your observations
Decision map
Find the observation that best matches what you see, then follow the next safe action.
-
PATH 01Next step
What you see
Water appears at the door edge with suds or a dish blocking closure.
Do this next
Stop, clean/remove the accessible obstruction, use only automatic dishwasher detergent, and monitor one corrected cycle.
Why this path and its safety boundary
Why it matters: Front sealing/foam/loading cause is more likely.
-
PATH 02Next step
What you see
Water appears under the center/rear or while filling/draining.
Do this next
Keep power/water off and arrange service; do not dismantle the base.
Why this path and its safety boundary
Why it matters: Supply, drain, inlet, sump, pump, or seal path is more likely.
-
PATH 03Next step
What you see
Water remains in the tub with a blocked filter/drain path.
Do this next
Use only model-authorized filter access; service persistent water.
Why this path and its safety boundary
Why it matters: Drain restriction or pump issue is more likely.
-
PATH 04Next step
What you see
Leak continues while idle, reaches electrical parts, or causes trips.
Do this next
Close water and isolate power only if safe, then call qualified service.
Why this path and its safety boundary
Why it matters: Active plumbing/electrical safety boundary.
Helpful context
Understand the symptom
Location and timing matter: front leaks suggest gasket, loading, suds, or spray direction; under/behind leaks keep hoses, inlet valve, sump, and seals in scope.
Do not choose a gasket, pump, or hose from a puddle alone. Model-specific access and parts require the owner manual.
When checks do not resolve it
Need a professional?
Call qualified dishwasher service for recurring leaks, under-cabinet water, overfill, damaged gasket/tub/hoses, drain failure, or electrical symptoms.
Common questions
FAQ
Why does a dishwasher leak from the door?
A gasket, latch, blocked loading path, spray direction, suds, or leveling can contribute. Locate the first wet point and stop recurring leaks.
Should I run another cycle to locate the leak?
No. Locate what you can safely from outside; repeated operation can spread water into cabinets and electrical areas.
Can I replace the pump from a leak location?
No. A puddle does not identify a pump. Use model-specific service for under-cabinet leaks.
Read the exact guide
Official sources
- Leaking - Underneath - DishwasherWhirlpool · Dishwasher leaks underneath: water supply/drain connections, suds, safe stop, and service.
- Dishwasher Leaking Troubleshooting GuideWhirlpool · Dishwasher leak source, gasket, suds, filter/drain, leveling, connections, water shutoff, and service guidance.
Community feedback
Share a repair observation
Share a plain-text repair observation. Accepted observations are published automatically; this page may take a moment to update.