
On this page
Start here
Quick answer
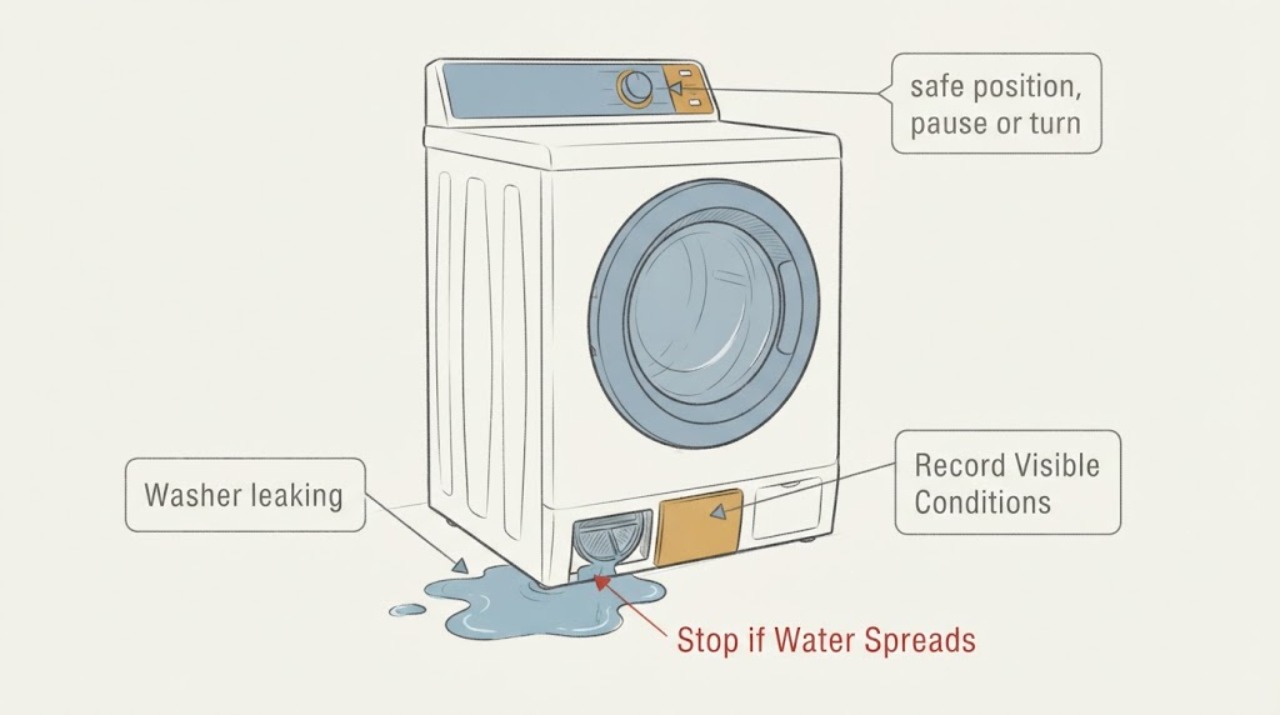
For a new GE PTW600BSR1WS top-load washer that leaks every other load, stop using it until the first wet point is documented safely. Record whether water first appears while filling, agitating, draining or spinning, and whether it is a front overflow or suds pattern, a rear hose or standpipe problem, or water from underneath. GE says to pause or turn the washer off for a substantial leak, not unplug while standing in water, and turn off the household water once power is safely off. Because this is a new installation and the symptom is intermittent, have the installer or GE warranty service check the hose connections, drain installation and machine before anyone guesses a valve, pump or other part.
Work through in order
Diagnostic checks
Use only checks that match the exact appliance or system and its official guide.
-
Check 1
From a dry position, stop the cycle with the control and write down when water first appeared: while filling, during agitation, during drain, during spin, or while the washer was idle. Note whether the leak is a few drops, a stream or flooding, and whether the load had unusual suds or was very bulky.
Expected result: The same phase repeats, the leak occurs only with a particular load or visible suds, the machine leaks while idle, or the phase changes from one load to the next.
Next step: Keep the washer out of use and photograph the display/status and the dry starting area. Do not run another load just to reproduce the leak.
Stop if: Do not reach into a moving basket, open the lid over moving water, or continue a cycle while water approaches electrical equipment.
Why this matters
Why: A repeatable phase is a useful branch: fill or idle makes the pressurized supply and inlet path more relevant, agitation with suds makes overflow more relevant, and drain or spin makes the drain hose or household standpipe more relevant. An intermittent result still does not prove one internal part.
-
Check 2
From a dry, safe position, pause or turn the washer off. Once power is safely off and you do not have to stand in water, close the household hot and cold water valves behind it; otherwise keep away and obtain help. Do not unplug from a wet area.
Expected result: Water stops when the cycle and supply are stopped, water continues while the washer is idle, or the plug, outlet, cord or cabinet is wet, hot, discolored or damaged.
Next step: Leave the washer off, keep the supply valves closed, protect the floor without covering electrical equipment, and use GE warranty or qualified appliance service. Use emergency procedures for smoke or fire.
Stop if: Do not touch a wet plug or outlet, reset a tripping breaker, or restore power to investigate.
Why this matters
Why: Water that continues while idle keeps a pressurized supply, hose or inlet-valve path in consideration. Wet or damaged electrical equipment changes this from ordinary troubleshooting to a safety and service event.
-
Check 3
With the washer stopped and the water valves closed when safe, inspect from ordinary access without moving the appliance. Look for the first wet point at the front-left overflow area, the rear fill-hose connections, the visible drain-hose attachment or standpipe, or only underneath; take photos without probing or removing covers.
Expected result: The front-left area has suds or water rising toward the overflow, a rear fill connection or hose body is wet, the standpipe backs up during the recorded drain or spin phase, or the source is underneath or hidden.
Next step: Follow the matching result branch for the installer or service request. Do not slide or tilt the washer, remove a panel, loosen a hose or try to view the underside by running another cycle.
Stop if: Stop if the hose is under pressure, a connection is wet enough to drip, the area is electrically wet, or locating the source would require moving the machine.
Why this matters
Why: GE describes top-load front leaks as commonly related to excessive suds, overfill or splashing, while rear leaks often involve fill or drain hose installation, missing or damaged rubber washers, or household plumbing. A hidden underside source cannot be identified from the puddle alone.
-
Check 4
Because the washer is new, compare the visible installation with the GE instructions without changing it: both hot and cold hoses should be on their marked valves, hose washers should be present, the drain hose should be secured at the correct standpipe arrangement, and the cabinet should be stable and level. Check only what is visible from a dry position.
Expected result: A hot/cold hose is reversed or loose, a washer is missing or damaged, the drain hose is loose or inserted incorrectly, the standpipe backs up, or the visible installation appears normal.
Next step: Photograph the connections and contact the installer or GE warranty service before altering the new appliance. Request plumbing help if the standpipe or floor drain backs up.
Stop if: Do not pull the machine forward, retighten a pressurized fitting, change drain routing by guesswork, adjust internal parts or continue using a leaking washer.
Why this matters
Why: An installation observation can explain an every-other-load leak without proving a failed valve or pump. GE notes that rear leaks can be installation-related and that drain backflow during spin can indicate household plumbing; a normal visible setup does not rule out an internal leak.
Use your observations
Decision map
Find the observation that best matches what you see, then follow the next safe action.
-
PATH 01Next step
What you see
The leak is first visible at the front-left area during agitation or fill and the load produces excessive suds or splashing.
Do this next
Keep the washer off, record the load and detergent conditions, and have GE or the installer review the new machine if the leak recurs or occurs without excessive suds. Do not add chemicals or run repeated no-soap cycles to locate it.
Why this path and its safety boundary
Why it matters: This pattern is consistent with the GE top-load overflow path being reached by overfill, splash or oversudsing. It does not prove a water valve fault, especially when it happens only with certain loads or detergent amounts.
-
PATH 02Next step
What you see
The first wet point is a rear fill connection or hose, or water continues while the washer is idle.
Do this next
Close both household water valves, keep the washer unused and have the installer or qualified service inspect the connection. Do not loosen or disconnect a pressurized hose.
Why this path and its safety boundary
Why it matters: A pressurized supply connection, missing or damaged hose washer, hose damage or inlet path is more likely than detergent or load balance. An intermittent leak can still flood between loads.
-
PATH 03Next step
What you see
The leak starts during drain or spin and water is seen at the drain hose, standpipe or floor drain, especially when the standpipe backs up.
Do this next
Leave the washer off, photograph the hose and visible backflow, and arrange plumbing or appliance service according to the confirmed source. Do not spin-test again.
Why this path and its safety boundary
Why it matters: Drain-hose installation, a loose hose, restricted household plumbing or drain backflow is more likely. GE says a standpipe that backs up during spin may require a plumber; the puddle location can be misleading on an uneven floor.
-
PATH 04Next step
What you see
The first wet point is underneath or hidden, the leak returns after a visible installation issue is corrected by the installer, or water is near electrical equipment.
Do this next
Keep water supplies closed and the washer disconnected from use as appropriate, then use GE warranty or qualified service. Provide the model, phase, photos, installation history and whether the leak occurred on alternating loads.
Why this path and its safety boundary
Why it matters: An internal tub, pump, valve, hose or cabinet fault remains possible, and the safe part cannot be identified from a floor puddle or an every-other-load pattern.
Helpful context
Understand the symptom
PTW600BSR1WS is a GE Profile top-load washer, so a front-load door-gasket diagnosis is not the right starting point. The word every other matters: it may line up with a particular load, amount of suds, fill or drain phase, or an intermittent installation connection, but it does not identify a pump or valve by itself.
A new washer should be treated as an installation and warranty case first. GE's owner instructions require stable leveling and correctly connected hot and cold hoses, while its leak guidance calls out hose damage, missing hose washers, drain-hose placement and a standpipe that backs up during spin.
Do not keep running loads to make the leak appear, pull or tilt the washer to see underneath, remove panels, loosen a pressurized connection or reach into a moving basket. If water is near the outlet, plug or other electrical equipment, stay clear and arrange qualified help.
When checks do not resolve it
Need a professional?
Use GE warranty or qualified appliance service before further use when a new PTW600BSR1WS leaks repeatedly, leaks while idle, floods, has a hidden or underside source, or still leaks after the installer verifies the visible hose and drain setup. Use a plumber when the standpipe or household drain backs up. Close the household water valves and turn the washer off from a dry, safe position; do not unplug in standing water, pull or tilt the washer, remove panels, loosen pressurized hoses, bypass the lid, or keep running loads to reproduce the leak.
Common questions
FAQ
Why would a new GE PTW600BSR1WS leak only every other load?
The timing may follow a particular fill, agitation, drain or spin phase, load, amount of suds, or an intermittent installation connection. Record the first wet point and phase; do not assume that alternating loads identify a pump or valve.
What should I check first if the washer is leaking?
Stop from a dry position, note the phase and first wet point, turn off the household water once power is safely off, and photograph the visible hoses, drain and front overflow area. Do not unplug while standing in water or move the new washer to inspect underneath.
Should I replace the GE washer pump or inlet valve?
Not from this symptom alone. GE's guidance separates supply hoses, drain installation, household plumbing, overflow or suds and hidden sources. Have the installer or warranty technician identify the first wet point and verify the fault before selecting any part.
Read the exact guide
Official sources
- Top Load Washer - Leaking Water in FrontGE Appliances · Official GE top-load guidance opened for the exact appliance class; it describes front-left overflow, excess splash, suds and level/load considerations without proving a component failure.
- Washer - Drain Hose InformationGE Appliances · Official GE drain-hose guidance opened for top-load installation checks; it directs owners to the model installation instructions for exact drain requirements and warns against unsuitable routing.
- Model Search | PTW600BSR1WSGE Appliances · Official GE Appliances model page opened for the exact PTW600BSR1WS identity; it identifies the product as a GE Profile top-load washer and links its manual and installation instructions.
- OWNER'S MANUAL & INSTALLATION INSTRUCTIONSGE Appliances · The manual opened from the exact PTW600BSR1WS record covers the PTW600 series and supplies the safety, hose, leveling, water-supply and installation boundaries used here; it does not diagnose an intermittent leak to a specific part.
- Washer - Leaking in RearGE Appliances · Official GE rear-leak guidance opened for hose and installation branching; it covers new-install drain routing, hose washers, hose damage, standpipe backflow and the possibility that floor slope misleads the apparent leak location.
- Washer - Leaking TroubleshootingGE Appliances · Official GE leak-routing article opened to distinguish cycle/phase and first wet point while keeping safety and service boundaries for an active leak.
Community feedback
Share a repair observation
Share a plain-text repair observation. Accepted observations are published automatically; this page may take a moment to update.