
On this page
Start here
Quick answer
After changing the water-hose valves on a GE GTW485ASJ1WS, first keep the area dry and verify that both household shutoff valves are open, the hot hose is on the washer's H valve, and the cold hose is on its C valve. Close the lid and press Start once: this GTW485 platform briefly operates the cold-water valve and pauses before continuing, and opening the lid during that sequence pauses the washer. Then inspect only for a kink, a reversed connection, a damaged hose, a missing rubber washer, or blocked inlet screens. Do not disconnect a pressurized hose, test the inlet valve or control board while energized, or assume the recently changed valve is defective. If the washer still does not fill after the external checks, or there is a leak, electrical symptom, or lid problem, stop and arrange GE service.
Before you begin
Safety first
- Do not disconnect a pressurized hose, open the console, bridge the lid lock, contact water valves while energized, perform live measurements, or declare the replacement hose valve, internal inlet valve, or control board defective from a no-fill symptom alone.
Work through in order
Diagnostic checks
Use only checks that match the exact appliance or system and its official guide.
-
Check 1
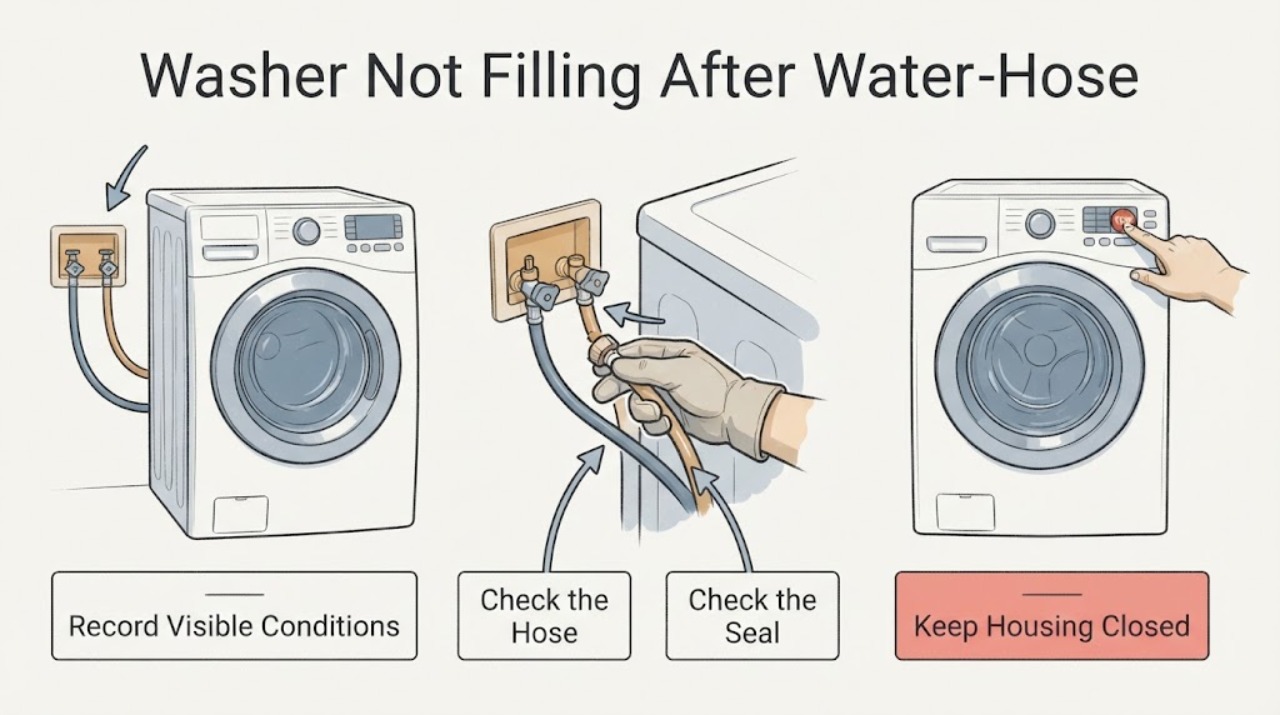
With the washer stopped, inspect the changed installation from a dry position. Confirm the control panel responds, the lid closes normally, and there is no water around the faucets, hose couplings, or cabinet. Record whether the washer makes the short start-up sound, shows Fill, or remains completely quiet when Start is pressed once.
Expected result: The washer responds and briefly clicks or hums, the lid was opened during start-up, the panel does not respond, or there is water at a connection.
Next step: Close the lid and press Start once only if the area is dry and the controls are responsive. If there is a leak, damaged cord, burning smell, repeated breaker trip, or no control response, stop and arrange qualified appliance or electrical service.
Stop if: Do not run the washer with a leaking connection, open lid for observation, or exposed wiring.
Why this matters
Why: A short valve sequence or a lid-open pause can be normal on this platform; no panel response points to a separate power/control issue, while a wet coupling makes continued operation unsafe. The start sound alone does not prove that water is reaching the tub.
-
Check 2
Without loosening any wet connection, verify that both household hot and cold shutoff valves are fully open and that the hoses are routed without a kink or crushed section. Match the hose ends to the washer's marked H and C valves; do not rely on the hose color alone.
Expected result: A shutoff is partly closed, a hose is kinked or crushed, the hoses are on the wrong marked valves, or the routing and connections look correct and dry.
Next step: Correct only an obvious external shutoff or hose-routing error while the area remains dry, then observe one start attempt. If a connection is cross-threaded, damaged, or wet, close both faucets and request service or plumbing help.
Stop if: Do not remove or retighten a pressurized hose, force a faucet, or name a replacement inlet valve from this visual check.
Why this matters
Why: A closed supply, restricted hose, or H/C reversal can prevent or alter filling immediately after an installation change. Correct routing is necessary but does not establish that an internal inlet valve or control path is working.
-
Check 3
If the faucet and hose routing are correct, shut both water sources before any hose removal and keep the washer unplugged or otherwise isolated according to the manual. Only then inspect the accessible hose screens, machine inlet screens, rubber washers, and the new hose ends for debris, distortion, or a missing seal; do not pry the machine apart.
Expected result: A faucet-side or machine-side screen is visibly blocked, a rubber washer is missing or displaced, the hose end is damaged, or all accessible screens and seals are clean and intact.
Next step: Clean only the screens and seals that the exact manual permits, reinstall the hoses without cross-threading, reopen the faucets slowly, and check every coupling for drips. If the machine screen is inaccessible or a seal will not seat, stop and arrange service.
Stop if: Never remove a hose with water pressure present, reach into the energized washer, or operate with a drip near the outlet or controls.
Why this matters
Why: Debris introduced during valve or hose work can restrict flow without proving the new valve or the washer's internal water valve failed. A clean, intact external path moves the next decision toward supply pressure or model-specific service diagnosis.
-
Check 4
Compare the water flow at each household faucet only by a safe, non-disassembly observation or have a plumber assess it; do not make a live electrical test. Note whether one side has weak or absent flow, whether the home supply was recently shut off, and whether the washer fills on neither temperature selection.
Expected result: One household supply is weak or absent, both supplies have normal flow but the washer remains dry, or flow cannot be assessed safely.
Next step: Restore only a clearly closed household shutoff or obtain plumbing help for weak supply. If both supplies are normal and the washer still does not fill, provide the service technician the installation history and do not test or replace the internal water valve or control board yourself.
Stop if: Stop for flooding, a burst hose, water near electricity, or any need to access energized components.
Why this matters
Why: A supply-side restriction can explain a no-fill condition after valve work, while normal household flow with a correctly routed, clean installation leaves the inlet-control path unproven rather than identifying one part.
-
Check 5
After one safe external correction, close the lid and make one normal start attempt, recording whether the Fill light appears, water enters, the cycle pauses, or a lid or other status indication appears. Do not repeatedly reset the washer or run it unattended after hose work.
Expected result: Water begins entering normally, the washer pauses after the lid was opened, it remains dry with normal controls and supply, or a leak or electrical symptom appears.
Next step: If it fills normally, monitor the changed connections through the cycle. If it remains dry or the same problem returns, stop and arrange GE service with the model, changed parts, exact observations, and photographs of the connections.
Stop if: Do not keep cycling power, bypass the lid lock, open the console, or continue operation with a leak, smoke, odor, spark, or repeated breaker trip.
Why this matters
Why: A successful fill after one installation correction supports a supply or start-sequence issue; a persistent dry basket with verified supply needs model-specific service diagnosis. A leak or electrical symptom overrides troubleshooting.
Use your observations
Decision map
Find the observation that best matches what you see, then follow the next safe action.
-
PATH 01Next step
What you see
The washer's controls respond, the lid was opened during the start sequence, and no water or electrical hazard is present.
Do this next
Close the lid and press Start once to resume. If the washer remains dry after the normal sequence, continue with the external supply and screen checks.
Why this path and its safety boundary
Why it matters: The GTW485 manual says the washer pauses when the lid is opened during its initial cold-valve sequence; this does not by itself prove a failed replacement valve.
-
PATH 02Next step
What you see
A hot or cold shutoff is partly closed, a hose is kinked, or the hoses are attached to the wrong marked H/C valve after the installation change.
Do this next
Correct only the visible external condition while dry, then check for leaks and make one start attempt. Request service if a connection will not seat or leaks.
Why this path and its safety boundary
Why it matters: The changed installation can directly restrict or misroute incoming water without establishing an internal component failure.
-
PATH 03Next step
What you see
Both faucets are open, the hoses are correctly routed and dry, accessible screens and seals are clear, and the washer still does not fill.
Do this next
Stop replacing parts and arrange GE-qualified service. Give the technician the full model, the hose/valve work performed, the start-up sound and status lights, and the results of the dry external checks.
Why this path and its safety boundary
Why it matters: The remaining causes may include supply pressure under load or an internal inlet-control, lid, wiring, or control issue. The observations do not identify a safe replacement part.
-
PATH 04Next step
What you see
A coupling leaks, a hose is damaged, water reaches the outlet or controls, the lid cannot close, or the washer shows smoke, burning odor, sparks, or repeated breaker trips.
Do this next
Close the water faucets and disconnect power only if safe. Keep clear of the wet electrical area and arrange qualified appliance or electrical service; use plumbing help for a supply-side leak.
Why this path and its safety boundary
Why it matters: The installation or appliance presents a water or electrical safety hazard, so continued fill testing is unsafe.
Helpful context
Understand the symptom
A no-fill complaint immediately after changing water-hose valves is an installation-and-observation problem before it is a parts diagnosis. On the GTW485 family, the washer uses marked H and C inlet connections, starts with a short cold-water-valve sequence, and may pause when the lid is opened. A quiet pause is therefore not enough evidence to condemn the replacement valve.
Keep all checks external and dry. The manual says to turn off the water source before removing hoses to clean screens, and it warns that water valves and other internal parts are hazardous when energized. Do not open the console, bridge the lid lock, or perform live measurements to prove a valve or control fault.
When checks do not resolve it
Need a professional?
Call GE-qualified service for persistent no-fill after correct H/C routing, open faucets, clear accessible screens, and one normal start attempt; call plumbing help for weak or leaking household supply.
Safety scope: Do not disconnect a pressurized hose, open the console, bridge the lid lock, contact water valves while energized, perform live measurements, or declare the replacement hose valve, internal inlet valve, or control board defective from a no-fill symptom alone.
Have this ready
- Provide model GTW485ASJ1WS, serial information, market, the exact hose or valve work performed, whether hot and cold supplies were changed, start-up sounds and status lights, lid behavior, screen/seal observations, and safe photographs of dry connections.
Common questions
FAQ
Which side should the hoses connect to on the GE GTW485ASJ1WS?
The GTW485-family manual marks the washer connections H and C: connect the hot hose to H and the cold hose to C. Confirm both household faucets are fully open and inspect for kinks before suspecting an internal part.
Why does the washer click or pause after I press Start?
This platform briefly operates the cold-water valve at start-up and pauses if the lid is opened during that sequence. Close the lid and press Start once; do not use repeated resets or an open-lid test to force filling.
Should I replace the inlet valve because the hose valves were just changed?
No. First document the changed installation, verify the marked H/C routing, open faucets, dry connections, rubber washers, and accessible inlet screens. If the washer still does not fill, have GE-qualified service diagnose the internal water and control path instead of guessing a part.
Read the exact guide
Official sources
- User Manual & Care for GTW485ASJWSGE Appliances · Official GE support page opened for the GTW485 platform. It identifies the 4.2 cu. ft. top-load washer family, links the owner manual, and exposes model-specific maintenance and hose-screen support entries.
- 49-3000255-2 Owner's Manual and Installation InstructionsGE Appliances · Opened owner manual linked by GE's support page; used for the GTW485-family H/C hose connection, start-up, screen, water-supply, lid, and safety instructions.
Community feedback
Share a repair observation
Share a plain-text repair observation. Accepted observations are published automatically; this page may take a moment to update.