
On this page
Start here
Quick answer
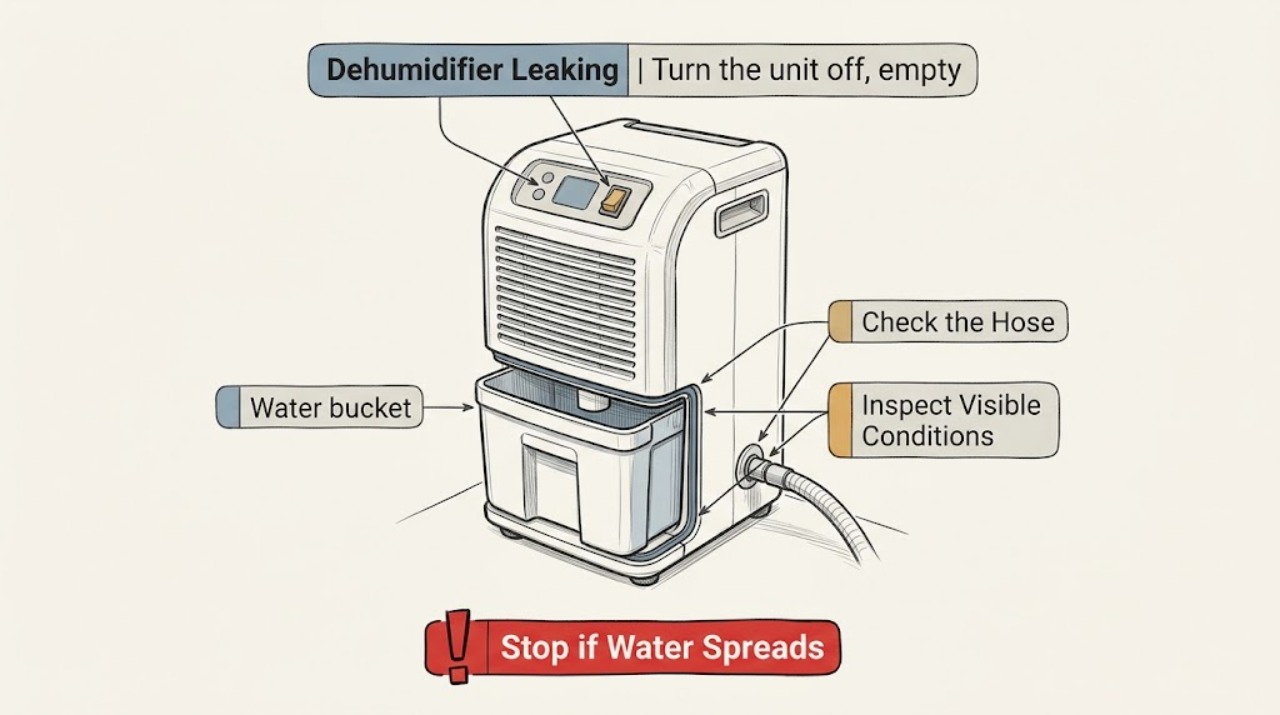
Stop the unit if water reaches its cord or controls. Otherwise check whether the bucket is full or misseated, whether a continuous-drain hose is correctly attached and unkinked, and whether the bucket or cabinet is damaged.
Work through in order
Diagnostic checks
Use only checks that match the exact appliance or system and its official guide.
-
Check 1
Turn the unit off, empty the bucket, and inspect its rim, guides, and body for cracks or distortion.
Expected result: The bucket is full, cracked, warped, or does not sit fully.
Next step: Reseat it or replace it using the model procedure; do not run with a damaged bucket.
Stop if: Continue to the hose check.
Why this matters
Why: A full or poorly seated collection bucket can stop the unit and release water onto the floor.
-
Check 2
If a continuous-drain hose is fitted, check its washer and hand-tight connector, and ensure the hose lies flat without kinks or a submerged end.
Expected result: The connector leaks, hose is kinked, or the drain end is restricted.
Next step: Correct only accessible routing/fitting without overtightening plastic threads, then retest.
Stop if: Continue to the cabinet observation.
Why this matters
Why: A poor connection or restricted destination can return water to the unit or leak around the fitting.
-
Check 3
Dry the floor and observe whether water returns from the bucket area, hose fitting, or cabinet during normal operation.
Expected result: Water returns from inside the cabinet despite a sound bucket and drain path.
Next step: Keep the unit off and arrange service; do not open a wet electrical cabinet.
Stop if: Monitor it and keep the drain path clear.
Why this matters
Why: An internal pan, seal, or sensor fault is beyond accessible checks.
Use your observations
Decision map
Find the observation that best matches what you see, then follow the next safe action.
-
PATH 01Next step
What you see
The bucket is full or does not seat correctly
Do this next
Empty and reseat it, replacing a damaged bucket before operation.
-
PATH 02Next step
What you see
Leakage begins at the continuous-drain connector or hose
Do this next
Correct the accessible path; arrange service if it still leaks.
-
PATH 03Next step
What you see
Water returns from inside the cabinet
Do this next
Keep it off and arrange qualified service.
Helpful context
Understand the symptom
Check both water paths
LG instructions distinguish the removable bucket from an optional hose drain. Either can leak when seating, routing, or fittings are wrong.
When checks do not resolve it
Need a professional?
Use LG or qualified appliance service when the leak is not at an accessible bucket or hose connection.
Common questions
FAQ
Can I run the dehumidifier without its bucket?
No. LG states that it will not run without the bucket properly installed. Use the documented continuous-drain setup only if supported.
Why does a drain hose still leak?
Check the washer, hand-tight connection, kinks, and free drain destination. Do not overtighten plastic fittings.
Read the exact guide
Official sources
- Operating InstructionsLG · LG dehumidifier bucket, drain hose, and water handling guidance
Community feedback
Share a repair observation
Share a plain-text repair observation. Accepted observations are published automatically; this page may take a moment to update.