
On this page
Start here
Quick answer
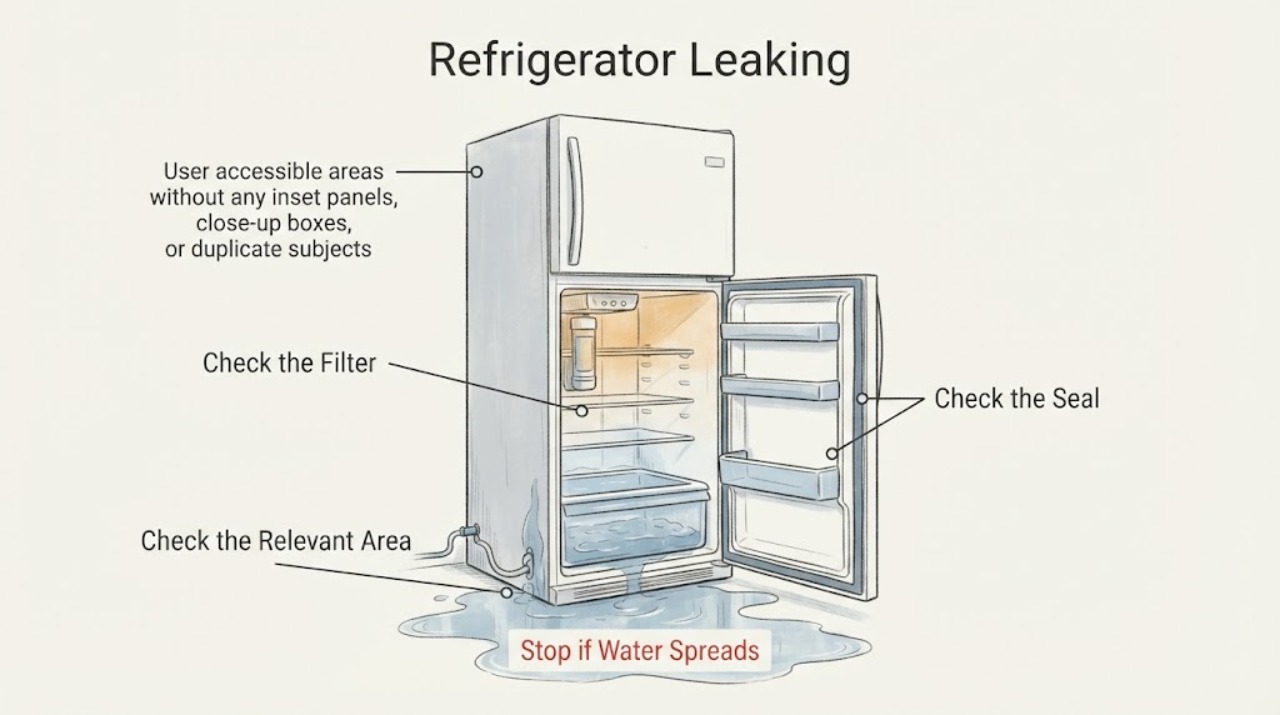
Find where refrigerator water starts before trying to fix it: inside the fresh-food area, under the front, at the dispenser/filter, or behind the cabinet. Unplug and close the water supply before inspecting a visible line or filter, clean only accessible drain areas as the manual permits, and check level and door closure. Arrange service for an internal drain, valve, sealed line, repeated leak, or water near electrical parts.
Work through in order
Diagnostic checks
Use only checks that match the exact appliance or system and its official guide.
-
Check 1
Stop dispensing ice/water, dry the floor, and identify the first wet point: inside, beneath the front, at the dispenser/filter, or at the rear.
Expected result: Water returns only after defrosting, dispensing, ice making, or without any water use.
Next step: Keep food safe, avoid slipping, and close the water supply if a plumbed leak is suspected.
Stop if: Stop if water reaches an outlet, cord, control, or the floor is unsafe.
Why this matters
Why: Timing and location distinguish drain/defrost, dispenser/filter, supply-line, and building condensation possibilities.
-
Check 2
Unplug the refrigerator if safe and close its water shutoff before checking only visible tubing, the filter housing, and fittings for looseness or damage.
Expected result: A visible fitting/filter/tube is wet or damaged, or the visible water path is dry.
Next step: Do not force fittings; arrange service for damaged lines, internal connections, or uncertainty.
Stop if: Never work on a live or wet electrical area.
Why this matters
Why: A visible supply-side issue may be corrected only with the exact manual and replacement fit; a dry exterior does not rule out an internal leak or drain.
-
Check 3
Check that the refrigerator is level as the manual describes, doors close fully, the gasket seals, and food is not blocking vents or the drain opening.
Expected result: The cabinet is tilted, door/gasket leaks, or the visible level/closure is normal.
Next step: Correct only accessible loading/closure issues and monitor one cycle; do not remove panels to reach a drain.
Stop if: Do not tilt or move a heavy unit alone.
Why this matters
Why: Poor level or sealing can affect drainage and water migration; a normal setup leaves drain or water-system diagnosis.
-
Check 4
If the manual allows an accessible drain or filter cleanout, perform only that procedure and observe one defrost/dispense cycle.
Expected result: The leak stops, or it returns from the same area.
Next step: Keep the water supply closed when appropriate and arrange qualified appliance service for recurrence.
Stop if: Stop for a cracked liner, persistent pooling, or water near electrical components.
Why this matters
Why: A one-time improvement supports a surface blockage or seating issue; recurrence indicates an underlying drain, valve, or line fault.
Use your observations
Decision map
Find the observation that best matches what you see, then follow the next safe action.
-
PATH 01Next step
What you see
Water appears at the dispenser/filter after use and a filter housing is wet.
Do this next
Close the water supply, follow the exact filter instructions, and service a damaged housing or recurring leak.
Why this path and its safety boundary
Why it matters: Filter seating, seal, or supply connection is more likely.
-
PATH 02Next step
What you see
Water pools inside the cabinet or under the floor without dispenser use.
Do this next
Use only the manual’s accessible drain procedure; service if the path is internal or blocked again.
Why this path and its safety boundary
Why it matters: A defrost drain or internal drain path is more likely than the external dispenser.
-
PATH 03Next step
What you see
Water starts behind the refrigerator or at a supply tube.
Do this next
Close the shutoff and arrange qualified repair; do not operate with a damaged line.
Why this path and its safety boundary
Why it matters: A water-line, valve, or connection issue is possible.
-
PATH 04Next step
What you see
The floor is dry but the leak returns after leveling/cleaning.
Do this next
Keep the unit protected from water damage and call appliance service with the leak location and timing.
Why this path and its safety boundary
Why it matters: The accessible correction did not establish a repair.
Helpful context
Understand the symptom
What to check first
Whirlpool’s troubleshooting separates blocked defrost drains, loose or internal water-line connections, dispenser filter issues, and leveling/installation conditions. Location and timing are more useful than replacing a generic part. Water can travel under a cabinet, so dry the area and trace the first wet point safely.
When checks do not resolve it
Need a professional?
Arrange qualified appliance or electrical service when the safe external checks do not resolve the symptom. Provide the exact model and what you observed; do not open sealed, gas, high-voltage, or refrigerant systems yourself.
Common questions
FAQ
Can I leave the refrigerator plugged in while checking the water line?
No. Unplug and close the water supply before inspecting a visible line or filter, following the safe procedure in the manual.
What if I cannot see where the water begins?
Dry the area, place a towel to identify the first wet point after a safe observation, and service leaks that appear behind liners or panels.
Will leveling always fix a leak?
No. Leveling can affect doors and drainage, but repeated leaks can involve an internal drain, valve, or water line.
Read the exact guide
Official sources
- How to fix a refrigerator that is leaking waterWhirlpool · Whirlpool refrigerators
Community feedback
Share a repair observation
Share a plain-text repair observation. Accepted observations are published automatically; this page may take a moment to update.