
On this page
Start here
Quick answer
First identify whether liquid is coming from the washer's fill path, door, drain path, or the room plumbing; a dryer-side moisture problem needs the exact model's manual because stacked units do not all use the same dryer arrangement. Stop the cycle if water is reaching the floor, power connection, or the stacked cabinet. If it is safe to do so without touching wet electrical parts, close the accessible water faucets and keep the unit out of service until the source is corrected. Speed Queen's guide says to check the fill hoses, washer mixing valve, drain receptacle, door gasket, oversudsing, loading, and the area where the door seal contacts the glass, and it advises service for water on the floor.
Work through in order
Diagnostic checks
Use only checks that match the exact appliance or system and its official guide.
-
Check 1
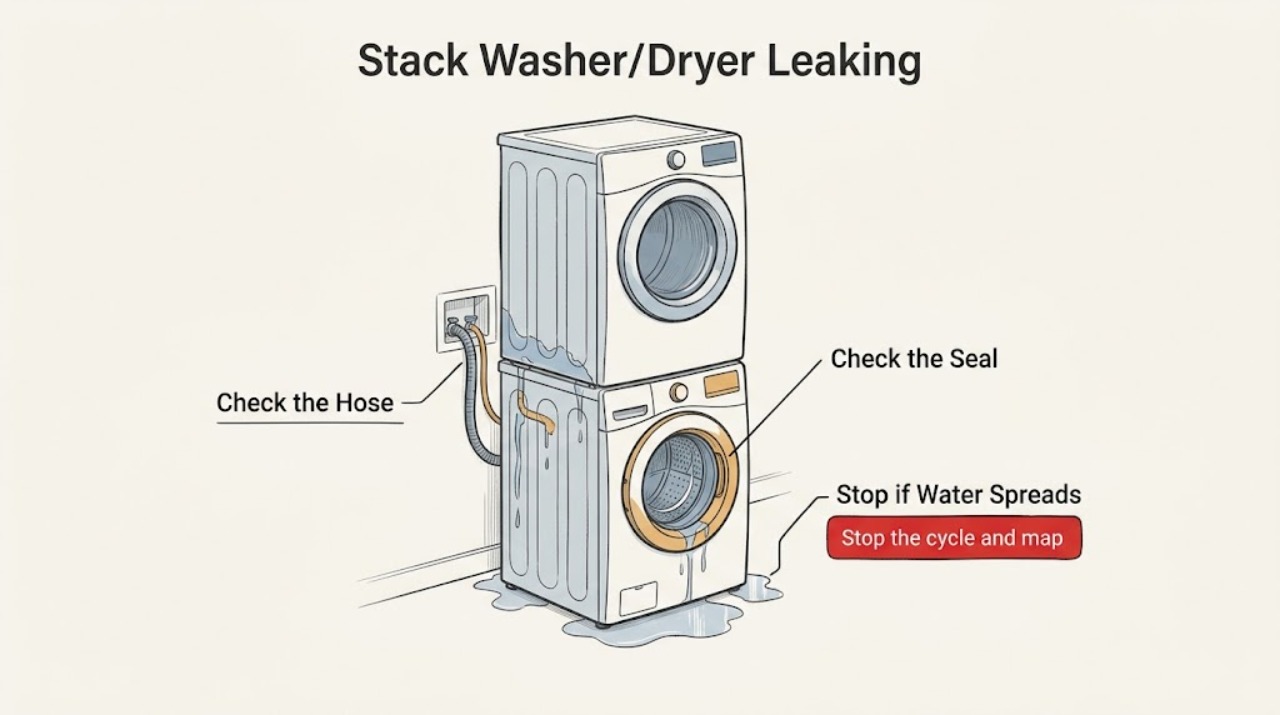
Stop the cycle and map where the water first appears without reaching behind a wet cabinet or moving the stacked unit.
Expected result: Note whether the liquid is at the washer door, at a supply hose or faucet, below the drain hose, from the dryer-side cabinet, or from the room plumbing. Note whether it starts during fill, wash, drain, or spin.
Next step: If water is on the floor or near the power connection, stop using the appliance and follow the service boundary. If the area is dry and access is safe, continue with the accessible checks that match the observed location.
Stop if: Stop immediately for active spraying, water near electrical parts, smoke or burning odor, or a cabinet that shifts or leans.
Why this matters
Why: The timing separates a fill-path leak from a drain-path or front-door leak. A dryer-side source is not safe to classify from a generic washer symptom because the exact stacked model matters.
-
Check 2
With the cycle stopped and the floor dry, visually inspect the accessible hot and cold supply hoses, faucet connections, washer inlet or mixing-valve area, drain hose, and drain receptacle.
Expected result: Look for a fresh bead at a threaded connection, a hose that is cracked, blistered, abraded, or kinked, a drain hose that has moved, or water backing out of the receptacle. Do not tighten fittings or pull the stack while it is energized or wet.
Next step: If it is safe and the shutoff is accessible without contacting wet electrical parts, close the affected water supply and arrange service or plumbing help. If no external source is visible, leave the unit out of service rather than opening panels.
Stop if: Do not continue testing with water if a hose is damaged, a connection sprays, the drain backs up, or the leak cannot be isolated safely.
Why this matters
Why: A supply-side bead points to a hose, faucet, or inlet connection; a drain-side overflow points to the hose routing, receptacle, or building drain. A visibly deteriorated hose is not a wait-and-see condition.
-
Check 3
Inspect the washer door glass and the accessible inner and outer lips of the door gasket for debris, buildup, tears, holes, or a door that cannot close evenly.
Expected result: A front leak that follows the door perimeter during fill or spin, a visible split in the gasket, or a door that does not make an even seal is significant. If only the glass sealing area is dirty and the gasket is intact, residue may be preventing the seal from contacting the glass.
Next step: After the unit is isolated and dry, clean only the accessible glass and seal surface with a soft cloth and mild soap, then dry it. If the seal is damaged or the leak returns, stop using the washer and have the exact model assessed.
Stop if: Do not use the appliance with a torn seal, damaged glass, an unevenly closing door, or any need to bypass a safety switch.
Why this matters
Why: The manufacturer's maintenance guidance identifies the glass sealing area and door-seal lip as leak points. A damaged gasket, damaged glass, or a door that will not latch is a repair condition, not a reason to bypass the door switch.
-
Check 4
Compare the leak with a normal, modestly loaded cycle only after the unit is completely dry and no safety condition is present; review the detergent and loading conditions against the exact model guide.
Expected result: Excess suds, a tightly packed load, or water pushed over the door area suggests a use or loading trigger. If the same leak occurs with an appropriate low-sudsing detergent and a smaller load, the symptom is not explained by loading alone.
Next step: Follow only the detergent and load instructions for the exact model. If the leak repeats, creates suds or water outside the tub, or occurs with no load, stop testing and provide the timing and photos to a technician.
Stop if: Stop the test for any water on the floor, unusual vibration, rising water, or electrical or burning symptom.
Why this matters
Why: The Speed Queen troubleshooting table lists oversudsing and overloading among possible leak contributors, but a repeat leak can still indicate a damaged seal, hose, drain path, or another fault.
-
Check 5
Record any remaining-water, drain, vibration, or stacking symptoms and match the exact model number to the manufacturer's installation and owner documentation.
Expected result: Water left in the tub, a drain that cannot keep up, increasing noise, repeated unbalanced movement, or a visibly shifted stack changes the repair path. The manual portal requires the exact model number for the applicable documents.
Next step: Keep the appliance out of service and give the technician the model number, leak location, cycle timing, photos, and whether the water was from the washer, dryer side, or room plumbing.
Stop if: Do not tilt the stacked unit, remove panels, reach into the cabinet, or replace an internal part unless the exact instructions are understood and you have the required skill.
Why this matters
Why: A leak combined with drain failure, abnormal movement, or a shifted stack may involve installation, the building drain, or an internal component; it cannot be safely diagnosed by ordering a generic part.
Use your observations
Decision map
Find the observation that best matches what you see, then follow the next safe action.
-
PATH 01Next step
What you see
Water is actively spraying, is on the floor, is near the power connection, or the stacked cabinet is unstable.
Do this next
Stop the appliance. If it can be done without touching wet electrical parts, close the accessible water supply; keep clear and arrange qualified appliance service. Use emergency help for an immediate electrical or fire hazard.
-
PATH 02Next step
What you see
The leak is at a supply hose, faucet, inlet connection, drain hose, or drain receptacle.
Do this next
Keep the water supply closed if safe and have the hose, appliance connection, or plumbing inspected. Do not run another cycle to confirm the leak.
-
PATH 03Next step
What you see
The leak follows the front door and the glass or gasket is dirty but intact.
Do this next
Clean and dry the accessible sealing surfaces, then use the exact model guide. If the gasket, glass, latch, or seal is damaged, stop and request repair.
-
PATH 04Next step
What you see
The leak returns with a correctly loaded cycle, or occurs despite no visible external source.
Do this next
Stop using the unit and provide the technician the model, cycle timing, leak location, photos, and any drain or vibration symptoms. An internal drain, inlet, tub, or seal fault needs model-specific service.
Helpful context
Understand the symptom
Start with safety and the location of the water
A stacked laundry center can hide the first point of failure behind the cabinet, so do not pull, tilt, or disassemble it while it is wet. Press cancel or stop the cycle, keep people away from standing water, and avoid touching a plug, outlet, or control with wet hands. If there is active spraying, water near the electrical connection, a burning smell, or movement of the stacked cabinet, stop and arrange qualified service. If the water is contained and the electrical area is dry, photograph the source and note whether it appears during filling, tumbling, draining, or spinning before the area is dried.
Separate washer leakage from dryer-side moisture
Most of the leak checks in the Speed Queen stacked-unit guide concern the washer. A dryer can have a different moisture path depending on its exact model and vent arrangement, so do not assume that a damp lower cabinet is a failed washer part. Use the model number from the rating plate and the manufacturer's document portal to retrieve the matching owner or installation guide before attempting a model-specific dryer diagnosis.
What the result tells you
A leak that begins while water is entering points toward a supply connection or the washer's inlet area. A leak from the front during washing or spinning points toward the door seal, the glass sealing surface, loading, or excess suds. Water appearing as the unit drains points toward the drain hose, receptacle, or an internal drain path. If the room drain backs up or the unit vibrates and shifts, the building drain or installation needs attention rather than a guessed replacement part.
Only after diagnosis
Potential parts
- washer fill hose
Consider this category only if an accessible hose is visibly deteriorated or the leak is confirmed at that hose.
Confirm the exact stacked-unit model and the manufacturer's fit information before ordering. - washer door gasket
Consider this category only if the front leak tracks the door seal and the gasket has a confirmed tear, hole, or deformation.
Confirm the exact model and gasket design; do not assume a generic front-load gasket fits a stacked unit. - drain hose or drain-path component
Consider this category only after the hose routing and drain receptacle have been checked and the leak is confirmed in the drain path.
Use the exact model documentation and a qualified technician for internal drain components.
When checks do not resolve it
Need a professional?
Stop and arrange qualified service for any water on the floor, active spray, water near electrical parts, a damaged hose or door seal, drain backup, unstable stacking, repeated leakage, or any need to open the cabinet or move the unit.
Common questions
FAQ
Can I keep using the stacked washer if the leak is only a small amount?
No. The Speed Queen guide treats water on the floor as a reason to call for service. Keep the unit out of service until the source is identified and the floor and electrical area are safe.
What if the water appears only during the drain or spin stage?
Inspect only the accessible drain hose and receptacle after stopping the cycle. Water backing up, a hose that has moved, or water left in the tub calls for plumbing or appliance service rather than repeated test cycles.
Could the door gasket cause a front leak?
Yes. The manufacturer's troubleshooting guidance identifies tears or holes in the rubber door gasket and a dirty outer door-glass perimeter as possible leak contributors. A damaged gasket or glass needs repair.
Why do I need the model number before choosing a part?
Speed Queen's document portal says to use the exact model number to retrieve the applicable owner and installation documents. Stacked washer/dryer designs and parts are not interchangeable by appearance alone.
Read the exact guide
Official sources
- User's GuideSpeed Queen · Speed Queen stacked washer/dryer maintenance, leak troubleshooting, safety, and preventive maintenance guidance
- Speed Queen | Manuals & DownloadsSpeed Queen · Speed Queen model-specific owner and installation manuals
Community feedback
Share a repair observation
Share a plain-text repair observation. Accepted observations are published automatically; this page may take a moment to update.