
On this page
Start here
Quick answer
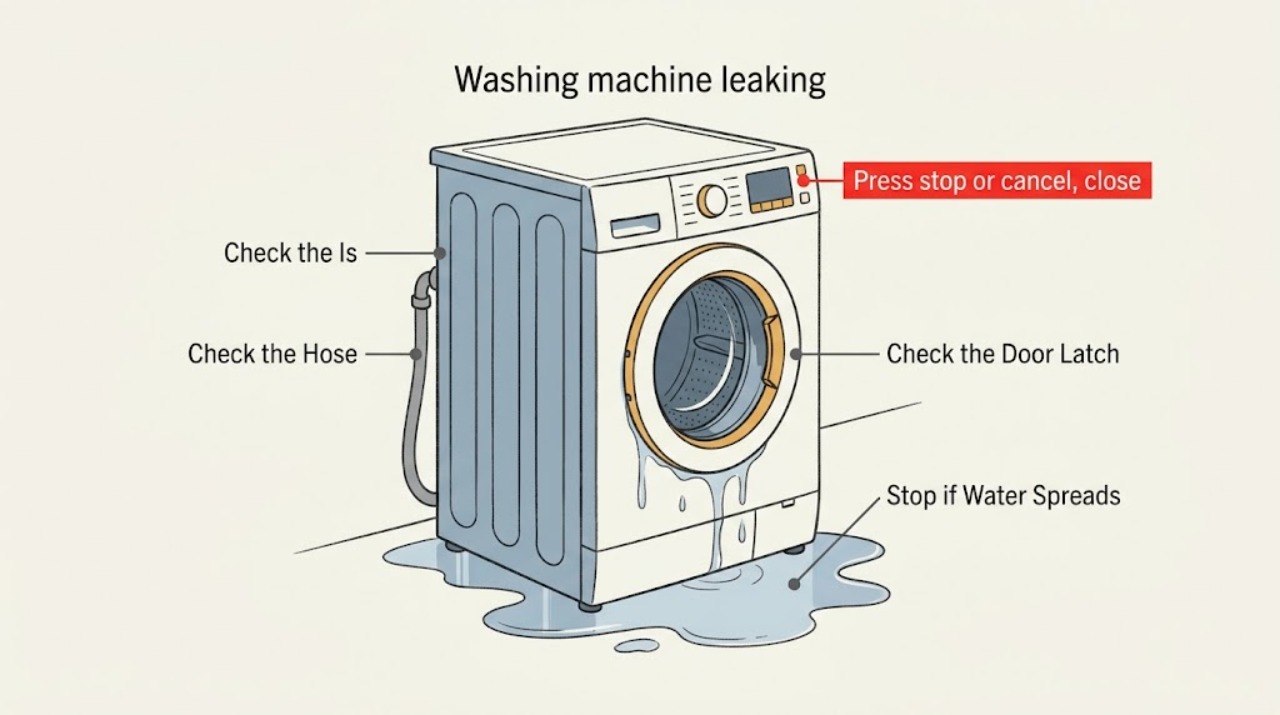
Stop the washer, close its accessible water valves, and keep power connections dry before tracing a leak. Wipe the cabinet and floor, then identify the first wet point: inlet hose or valve, dispenser and suds, door seal, drain hose or household drain, pump-filter area, or the cabinet bottom. Check only visible, model-appropriate items; do not tilt the machine or open panels while wet. A spreading leak, standing water near electrics, damaged cord, smoke, burning smell, sparking, or repeated tripping is an immediate stop condition.
Work through in order
Diagnostic checks
Use only checks that match the exact appliance or system and its official guide.
-
Check 1
Press stop or cancel, close the accessible hot and cold washer valves if they can be reached without touching wet electrics, and unplug only from a dry, safe position; do not pull a wet cord or plug.
Expected result: If water continues entering while the washer is off, the inlet valve or supply connection remains suspect. If water stops but a puddle remains, the source may be a drain, door, dispenser, pump, or cabinet leak.
Next step: Leave the valves closed and power isolated for any continuing leak, wet socket, damaged cord, smoke, burning smell, sparking, or repeated trip. Otherwise continue with a dry external inspection only.
Why this matters
Why: Stopping flow and power limits damage while preserving the symptom. A washer should not be operated when water is contacting its electrical supply.
-
Check 2
Dry the floor and accessible rear connections, then inspect both visible inlet hoses, their washers, the inlet valve area, and the drain hose for a loose connection, crack, corrosion, kink, or hole without moving the washer.
Expected result: Moisture beginning at an inlet connection points to the supply hose, washer, or inlet valve. Moisture at the drain hose or household drain, especially during pump-out, points to the drain branch or a backup.
Next step: Close the water valves and arrange appliance or plumbing service for a cracked valve, damaged hose, recurring connection leak, or a household drain that backs up. Do not over-tighten or dismantle a wet connection.
Why this matters
Why: The rear hose and valve path can leak independently of the tub. A blocked or poorly positioned drain can also push water back and make a hose appear to be the source.
-
Check 3
For a front-load design, inspect the door glass and rubber seal from the outside for clothing, lint, deposits, a tear, or a door that does not latch; for any design, inspect the dispenser drawer and surrounding cabinet for overflow, residue, or excess suds.
Expected result: A blocked or torn door seal supports a door-leak branch. Water or residue at the dispenser supports a drawer or dispenser-flow branch. Heavy suds, an overloaded load, or material outside the basket can make water escape during a cycle.
Next step: Remove only visible debris when the machine is cool, empty, and power-isolated; do not stretch a damaged seal or run another cycle to prove it. A torn seal, faulty latch, or persistent dispenser leak needs appliance service.
Why this matters
Why: A door or dispenser leak can be mistaken for a bottom leak as water runs down the front. The design and cycle stage matter before selecting a part.
-
Check 4
Review the cycle and load that preceded the leak: note whether it began during fill, wash, drain, or spin, and whether the load was bulky, uneven, tightly packed, or producing unusual foam.
Expected result: Water over the basket or front during a large or uneven load supports a load or level branch. Suds around a door or rear vent support detergent or overflow concerns. A leak only during drain points back toward the drain hose, household drain, or pump path.
Next step: Do not repeat an active leak. Correct only an obvious load or detergent-use issue after the machine is dry and safe; persistent leakage needs service and the recorded cycle stage helps diagnosis.
Why this matters
Why: Cycle stage and load history connect the visible wet point to a mechanism without assuming that every leak is a failed seal.
-
Check 5
If the machine is dry, cool, and safely isolated, inspect the accessible pump-cover or filter area only as the exact model manual permits; do not open a filter when water may be hot, pressurized, contaminated, or near electrics.
Expected result: Debris, a loose filter, or a damaged filter seal can leak during drain. A pump area that is wet with no visible filter issue, a persistent humming sound, or water from inside the cabinet points to a professional repair boundary.
Next step: Stop and request appliance service for a damaged filter seal, pump leak, internal hose, or any need to remove a panel or tilt the machine. Do not touch internal wiring.
Why this matters
Why: Pump and filter layouts differ, and a drain restriction can cause both retained water and leakage. A cabinet-bottom leak may require access that is unsafe for an untrained user.
-
Check 6
Document the first wet point, valve state, machine design, cycle stage, load and detergent observations, visible hose or seal damage, and whether water reached an electrical area; leave the washer unused until the cause is resolved.
Expected result: A clear inlet, dispenser, door, drain, filter, or cabinet pattern gives the technician a focused branch. No visible source with a recurring puddle suggests a concealed hose, tub, pump, or household plumbing fault.
Next step: Request appliance repair for internal, door, pump, valve, or control faults; request plumbing help when the household supply or drain backs up. Use urgent emergency help for electrical danger, smoke, fire, or a major uncontrolled leak.
Why this matters
Why: A precise leak record prevents repeated wet testing and distinguishes appliance repair from a plumbing drain or supply issue.
Use your observations
Decision map
Find the observation that best matches what you see, then follow the next safe action.
-
PATH 01Next step
What you see
Water starts at a visible inlet hose or valve connection.
Do this next
Arrange qualified service and follow the exact model guidance.
Why this path and its safety boundary
Why it matters: Close the washer valves and arrange appliance or plumbing service for the connection, washer, hose, or inlet valve; do not over-tighten a wet fitting.
-
PATH 02Next step
What you see
Water appears at the front door, rubber seal, dispenser, or after heavy suds or a bulky load.
Do this next
Arrange qualified service and follow the exact model guidance.
Why this path and its safety boundary
Why it matters: Keep the washer off, remove only visible debris when safe, and arrange appliance service for a torn seal, latch, dispenser, over-sudsing, or recurring load-related leak.
-
PATH 03Next step
What you see
Water appears at the drain hose, household drain, pump-cover area, or only during drain.
Do this next
Arrange qualified service and follow the exact model guidance.
Why this path and its safety boundary
Why it matters: Check only visible hose and household-drain conditions; use model-specific filter guidance after safe isolation, and call appliance or plumbing service for persistent backup, pump, or filter leakage.
-
PATH 04Next step
What you see
Water comes from the cabinet bottom, a concealed hose, or an unknown location.
Do this next
Arrange qualified service and follow the exact model guidance.
Why this path and its safety boundary
Why it matters: Do not tilt or open the washer. Keep water and power isolated and request appliance service.
-
PATH 05Next step
What you see
Water reaches a plug or socket, the cord or cabinet is hot or damaged, smoke, burning smell, sparking, or repeated power trips occur.
Do this next
Arrange qualified service and follow the exact model guidance.
Why this path and its safety boundary
Why it matters: Stop immediately, keep clear of wet electrics, and obtain qualified electrical or appliance help; do not restart the washer.
Helpful context
Understand the symptom
A puddle is not always where the leak begins. Water can travel along a hose, base, or floor, so dry the accessible area and watch for the first returning moisture only when the washer is safe to observe. Keep front-load and top-load differences in mind: a door seal, dispenser, load, or level issue applies differently by design.
Do not continue a wash to reproduce an active leak. Never reach behind a wet appliance, remove a pump filter with unknown water or pressure, tilt the washer, or remove electrical panels. Use the model manual for any filter or emergency-drain procedure.
Safety boundary
Stop conditions
- Stop immediately for a spreading or uncontrolled leak, standing water near the plug or socket, a wet or damaged cord, smoke, burning smell, sparking, a hot cabinet, or repeated breaker trips.
- Do not tilt the washer, force a door, remove electrical panels, open a pump filter with hot or contaminated water, reach into the cabinet, or continue a cycle to reproduce an active leak.
Only after diagnosis
Potential parts
- inlet or drain hose seal
Consider only if inspection or a technician confirms that a hose washer or seal is the first wet point.
Confirm the washer model, hose connection, and seal design before selecting a part; a generic seal is not proven compatible by a puddle. - door seal or pump filter seal
Consider only after the model-specific door or filter inspection identifies a torn or damaged seal as the leak boundary.
Confirm front-load design, model, and the exact seal location before ordering; installation may require qualified appliance work.
Common questions
FAQ
Where should I look first when a washing machine leaks?
Stop the washer, close accessible water valves, keep power connections dry, and identify the first wet point. Check visible inlet and drain connections, then the dispenser, door seal, pump-filter area, and cabinet bottom only when safe.
Can too much detergent make a washer leak?
Yes. Excess suds can escape through a door or rear vent and can contribute to draining concerns. Follow the model's detergent guidance and do not run another cycle while an active leak remains.
Should I tilt a leaking washing machine to find the source?
No. Keep the machine stable, isolate water and power from a dry safe position, and use only external observations. A bottom or concealed leak needs appliance service.
Read the exact guide
Official sources
- Leaking from Back - Front Load WasherWhirlpool Product Help · Washer inlet hose, drain hose, household drain, and suds leak guidance
- Reasons why your washing machine is leakingWhirlpool · Washing-machine leak location and safety guidance
- Leaking Water Underneath - WasherWhirlpool Product Help · Top-load washer underside, hose, household drain, and load leak guidance
- Leaking from Front - Front Load WasherWhirlpool Product Help · Front-load washer door seal, dispenser, suds, load, and level leak guidance
- Leaking from Front or Top - WasherWhirlpool Product Help · Top-load washer level, load, and splash leak guidance
Community feedback
Share a repair observation
Share a plain-text repair observation. Accepted observations are published automatically; this page may take a moment to update.