
On this page
Start here
Quick answer
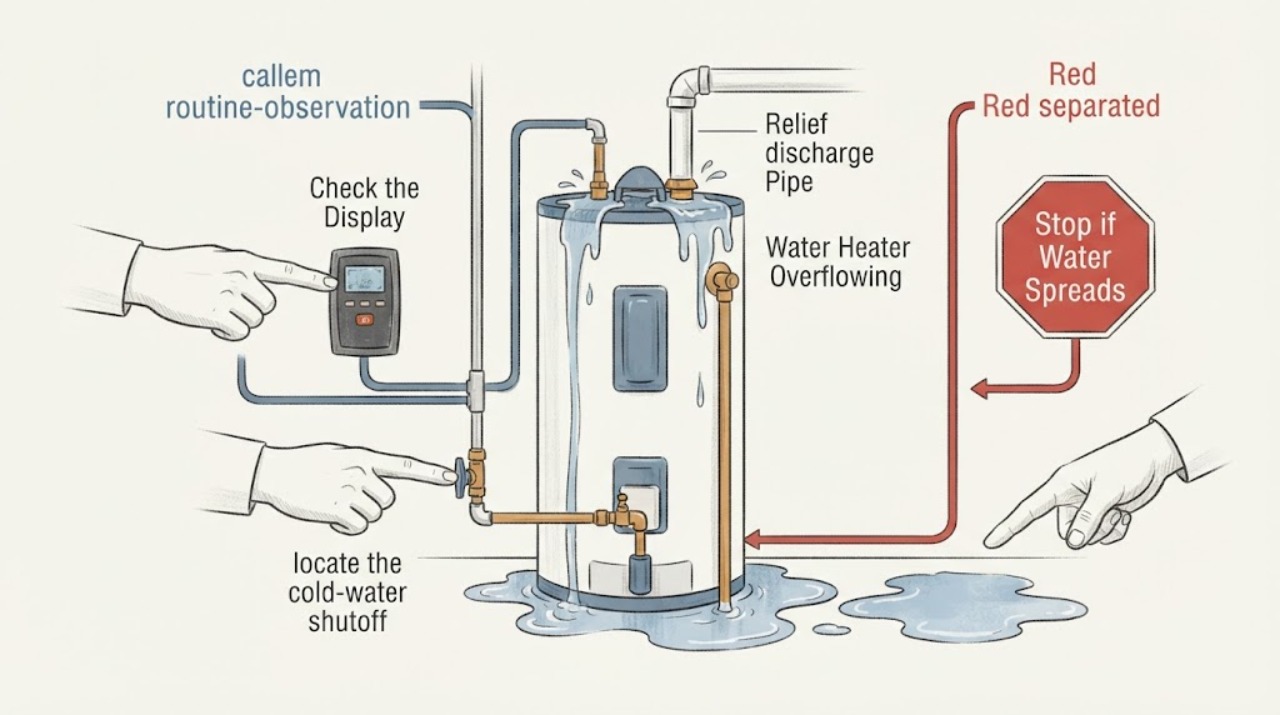
Treat an overflowing water heater as a water and scald hazard. Keep people away from hot discharge, shut off the water and energy supply only if the controls are safely reachable and the exact manual permits, and identify whether water is from the relief discharge, drain valve, fittings, or a ruptured tank. Do not plug a relief outlet or repeatedly operate its lever; arrange licensed plumbing service promptly, and use urgent help for gas odor, steam, flooding, or electrical contact.
Work through in order
Diagnostic checks
Use only checks that match the exact appliance or system and its official guide.
-
Check 1
Keep clear of the discharge and hot water, turn off the heater using its normal control if safe, and note where the water first appears.
Expected result: Water exits the relief discharge pipe, drain valve, top/bottom fitting, or tank body.
Next step: Keep the area clear and call a licensed plumber; isolate water/energy only when safe and model-authorized.
Stop if: Stop immediately for steam, gas odor, flooding, a ruptured tank, or water near live electrical parts.
Why this matters
Why: A relief discharge may reflect pressure/temperature or valve trouble; a fitting/drain leak differs from a tank-body failure.
-
Check 2
From a dry safe position, locate the cold-water shutoff and energy disconnect without touching wet equipment or hot piping.
Expected result: The shutoff/disconnect is accessible and dry, or access is unsafe/uncertain.
Next step: Close the water supply and turn off gas/electric service only as the exact manual and local safety conditions allow.
Stop if: Do not touch wet electrical controls, relight gas, or enter standing water.
Why this matters
Why: A safe isolation can limit damage; unsafe access requires professional or emergency response.
-
Check 3
Inspect only visible joints, discharge routing, and the floor around the tank for corrosion, loose fittings, or a blocked/plugged relief outlet; do not remove the relief valve.
Expected result: A fitting is leaking, corrosion/tank damage is visible, or the relief path is obstructed/altered.
Next step: Leave the heater isolated and have a qualified plumber correct the source; never cap or plug the relief outlet.
Stop if: Do not tighten hot fittings, dismantle the valve, or improvise a drain.
Why this matters
Why: Visible plumbing or tank damage needs prompt repair; a blocked relief path is a serious safety condition.
-
Check 4
Record heater type, location, water temperature symptoms, whether discharge is continuous or periodic, and any recent plumbing changes for the technician.
Expected result: Discharge is periodic, continuous, or paired with pressure/temperature fluctuation.
Next step: Keep the unit out of service until qualified inspection confirms safe operation.
Stop if: Do not restart solely to reproduce an overflow.
Why this matters
Why: Rheem notes periodic relief discharge can indicate a water-system problem; continuous flow or tank damage needs immediate service.
Use your observations
Decision map
Find the observation that best matches what you see, then follow the next safe action.
-
PATH 01Next step
What you see
Water comes from the tank body or a large corroded seam.
Do this next
Keep water/energy isolated if safe and obtain urgent licensed plumbing service.
Why this path and its safety boundary
Why it matters: The tank may have failed and can cause severe water damage.
-
PATH 02Next step
What you see
The relief pipe discharges periodically with no visible tank leak.
Do this next
Do not plug the outlet; have the water system and valve assessed by a licensed plumber.
Why this path and its safety boundary
Why it matters: Pressure/thermal-expansion or relief-valve issues are possible.
-
PATH 03Next step
What you see
A top fitting or drain valve leaks while the tank body is intact.
Do this next
Keep the heater isolated as needed and arrange prompt repair.
Why this path and its safety boundary
Why it matters: A plumbing connection or valve is more likely than a tank rupture.
-
PATH 04Next step
What you see
Water reaches electrical parts, gas odor appears, or steam/flooding is present.
Do this next
Leave the area, call emergency/utility help as appropriate, and do not touch the equipment.
Why this path and its safety boundary
Why it matters: This is an immediate safety emergency.
Helpful context
Understand the symptom
What to check first
Rheem’s guidance distinguishes leaks around tanks and fittings from temperature-and-pressure relief discharge and says leaks or moisture should be addressed immediately. It also explains that relief-valve work and gas/electrical components require appropriate qualification. “Overflowing” does not identify whether the tank, valve, supply pressure, drain, or condensate is responsible.
When checks do not resolve it
Need a professional?
Arrange qualified appliance service when the safe checks do not resolve the symptom or when the exact model manual calls for service. Give the technician the model, observed pattern, and checks already completed. Do not open sealed, gas, high-voltage, or mains compartments.
Common questions
FAQ
Can I cap the relief discharge to stop the overflow?
No. Rheem explicitly warns not to plug the relief-valve outlet.
Should I lift the relief-valve lever myself?
Only as the exact manual and a qualified safety procedure allow; hot discharge can scald. An overflowing heater needs professional assessment.
What should I tell the plumber?
Give the heater type/model, first wet location, whether discharge is periodic or continuous, recent plumbing work, and any temperature or pressure symptoms.
Read the exact guide
Official sources
- How to Keep Your Tank and Tankless Water Heaters Running at Peak PerformanceRheem Manufacturing Company · Rheem tank and tankless water heaters
Community feedback
Share a repair observation
Share a plain-text repair observation. Accepted observations are published automatically; this page may take a moment to update.