
On this page
Start here
Quick answer
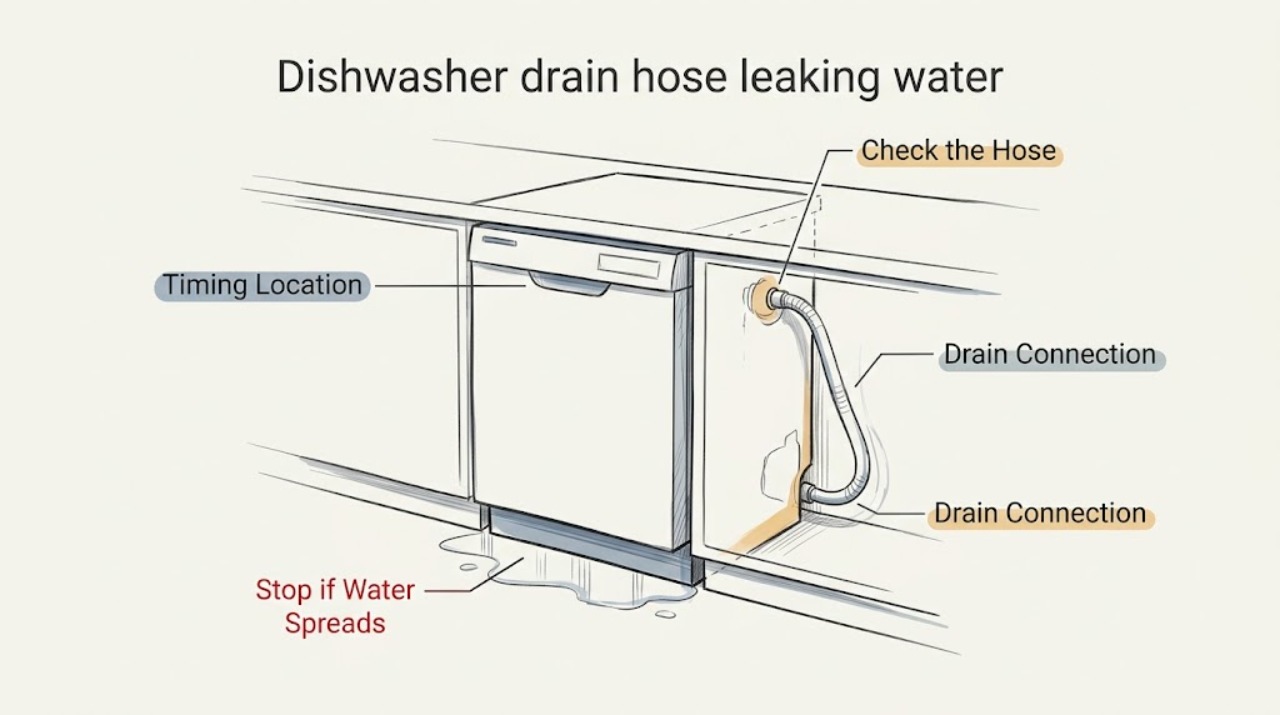
For a dishwasher drain hose leaking water, first record the cycle phase and the first wet point. A leak that starts during draining at a hose end or along its route supports a drain-path assessment; water at the door during filling or washing points to another path. Do not pull the dishwasher out, disconnect the hose, or run repeated cycles to provoke a leak. If water reaches an electrical connection or the leak is active and spreading, stop use, keep clear, and request qualified appliance repair service. Otherwise, document the model, both hose connections, routing, and timing before considering a model-matched part.
Before you begin
Safety first
- This page covers safe observation and documentation only. Qualified service should handle pulling the appliance, disconnecting plumbing, panel removal, live testing, contaminated water, or permanent repair.
Work through in order
Diagnostic checks
Use only checks that match the exact appliance or system and its official guide.
-
Check 1
From a safe position, note whether water first appears during filling, washing, draining, or after the cycle, and where it is first visible. Do not start a new cycle solely to provoke an active leak, and do not open panels or disconnect the hose.
Expected result: The first wet point may be at the under-sink drain connection, along the hose route, beneath the dishwasher, or at the door/front edge; the timing may be fill, wash, drain, or post-cycle.
Next step: Photograph the first wet point, record the cycle phase, and keep the dishwasher out of use if the leak is active or reaches an electrical connection.
Stop if: Stop for water near electricity, smoke, burning odor, damaged wiring, unstable cabinets, or any access that requires moving the appliance.
Why this matters
Why: A leak that begins during draining at a hose connection is more consistent with the drain path; a fill- or door-area leak points to a different water path and should not be treated as a confirmed hose failure.
-
Check 2
With the dishwasher and sink area idle, inspect only the accessible drain-hose route under the sink and at the cabinet opening. Look for a wet hose surface, crack, kink, crush point, loose clamp, sag, or a connection that has pulled away; do not detach or retighten it.
Expected result: The hose may be dry, wet at one fitting, wet along its length, sharply bent, unsupported, or not safely visible.
Next step: Take close and wide photos that show both hose ends, the sink/disposer or air-gap connection, and the cabinet floor without moving the hose.
Stop if: Stop before removing a toe-kick, pulling the dishwasher out, disconnecting a clamp, or reaching behind energized equipment.
Why this matters
Why: A wet fitting, cracked section, or displaced clamp makes the drain hose or its connection a stronger service lead; a dry accessible hose shifts attention to the source identified by timing and location.
-
Check 3
Compare the visible drain connection at the sink tailpiece, disposer inlet, or air gap with the wet trail below it. Check whether the hose has a model-required high loop or other documented routing, without changing its position.
Expected result: Water may begin above the connection, at the connection, below a sag or kink, or at a different appliance edge; the routing may be supported, low, kinked, or unknown.
Next step: Record the exact connection and routing pattern and compare it with the installation instructions for the model before considering any part.
Stop if: Stop if the connection is inaccessible, the cabinet is saturated, the hose would need to be moved, or water is spreading toward electrical equipment.
Why this matters
Why: Water beginning at a drain fitting or low/kinked route supports a drain-path assessment, while water tracking from elsewhere means the hose may only be carrying runoff from another leak.
-
Check 4
Read the dishwasher model label from a safe visible location and record whether the drain connects to a sink tailpiece, disposer, or air gap, plus any recent installation or plumbing work. Do not remove panels or rely on a generic hose size.
Expected result: The model and connection details may be clear, partly readable, changed by prior work, or unavailable from ordinary access.
Next step: Send the model information, phase/location notes, hose-route photos, and recent plumbing history to qualified appliance service if the source is not plainly accessible and safe.
Stop if: Stop if identification requires disassembly, pulling the appliance, ladder or confined access, or contact with contaminated water.
Why this matters
Why: Hose length, end fittings, clamps, routing, and compatible seals vary by model and installation; identity is needed before ordering a replacement.
Use your observations
Decision map
Find the observation that best matches what you see, then follow the next safe action.
-
PATH 01Safety boundary
What you see
Water first appears during draining at a hose end, clamp, sink/disposer connection, or along the drain hose.
Do this next
Keep the dishwasher off, provide the location and timing to qualified service, and consider a model-matched drain hose only after the cause and fit are confirmed.
Why this path and its safety boundary
Why it matters: The drain path is the leading inspection area, but the observation does not prove which part has failed.
Safety stop: Do not disconnect the hose, pull the dishwasher, or run repeated cycles.
-
PATH 02Safety boundary
What you see
Water first appears during filling or washing at the door/front edge or another location away from the drain connection.
Do this next
Document the phase and first wet point and request a targeted appliance assessment.
Why this path and its safety boundary
Why it matters: An inlet, door-seal, tub, or spray-related path may be involved; replacing a drain hose could miss the cause.
Safety stop: Keep the unit out of use if the leak continues or approaches electrical equipment.
-
PATH 03Safety boundary
What you see
Water appears after draining, or the hose route is low, sagging, kinked, or associated with backflow.
Do this next
Provide photos of the full route and sink/disposer or air-gap connection; have the model instructions and downstream path checked before any part is selected.
Why this path and its safety boundary
Why it matters: Routing or downstream drainage may be contributing, and the hose itself may not be the only issue.
Safety stop: Do not alter the route or disconnect plumbing when access is tight, wet, or unsafe.
-
PATH 04Safety boundary
What you see
Water reaches an electrical connection, the leak is active and spreading, or the source cannot be observed safely.
Do this next
Stop use, keep people clear without approaching the hazard, and request qualified service; provide photos only from a safe position.
Why this path and its safety boundary
Why it matters: Further user testing could increase shock or property-damage risk.
Safety stop: Do not operate controls, move the appliance, remove covers, or perform live testing.
Helpful context
Understand the symptom
Start with when and where the dishwasher leaks
A dishwasher drain-hose leak is most useful when described by its first wet point and cycle phase. Water that begins at a hose connection during draining follows a different path from water that appears at the door during filling or washing. Do not treat the component named in the search phrase as a confirmed failure.
Inspect only from ordinary access under the sink or at the cabinet opening. Do not pull the dishwasher out, disconnect the hose, remove panels, or start repeated cycles to reproduce an active leak. If water reaches an electrical connection, stop use and keep clear.
Use the drain-hose observations to choose the next step
Photograph both hose ends, the accessible route, the first wet point, and any water trail. Record whether the leak starts during draining, appears after the cycle, or occurs during filling or washing. A professional can then distinguish a hose or clamp assessment from a door, inlet, tub, or downstream-drain inspection.
Prepare a model-specific handoff
Provide the model label, connection type, recent installation or plumbing work, cycle phase, first wet point, and what was not moved or opened. A replacement hose, door gasket, or inlet valve is conditional on the confirmed source and exact fit.
Safety boundary
Stop conditions
- Stop use and keep people clear if water reaches an electrical connection or the leak is active and spreading.
- Do not pull the dishwasher out, disconnect the drain hose, remove panels, run live tests, or improvise a bypass.
- Do not order a replacement by appearance alone; confirm the model, connections, routing, and diagnosed source.
- Use qualified appliance service when the source is inaccessible, uncertain, contaminated, or requires plumbing disconnection.
Only after diagnosis
Potential parts
- dishwasher drain hose
Consider only when the leak is traced to the drain hose or its connection and compatibility is confirmed.
Confirm the exact dishwasher model, hose length, end fittings, clamp requirements, routing, and manufacturer guidance before ordering. - dishwasher door gasket
Consider only when the first wet point is at the door/front edge during filling or washing and inspection confirms a seal issue.
Confirm the exact model and seal profile; appearance alone is not enough. - dishwasher inlet valve
Consider only when water begins during filling at the inlet path rather than at the drain hose.
Confirm the exact model, inlet connection, and professional diagnosis before ordering.
When checks do not resolve it
Need a professional?
Request qualified appliance repair service when the drain-hose leak persists or recurs, the first wet point is inaccessible or uncertain, water reaches electrical equipment, the leak spreads, or the repair requires moving the dishwasher or disconnecting plumbing.
Safety scope: This page covers safe observation and documentation only. Qualified service should handle pulling the appliance, disconnecting plumbing, panel removal, live testing, contaminated water, or permanent repair.
Have this ready
- Provide the model label, cycle phase, first wet point, photos of both hose connections and the accessible route, recent installation or plumbing work, and every safe observation result.
Common questions
FAQ
How can I tell whether the drain hose is the source?
Note the first wet point and cycle phase. Water that begins at a drain connection during draining supports a drain-path assessment; water at the door during filling or washing points elsewhere. The observation alone does not prove a failed hose.
Should I run another cycle to find the leak?
Not if water is already leaking, spreading, or near electricity. If the area is dry and safe, rely on the next normal observation from a safe position rather than repeated testing or moving the appliance.
What should I photograph before ordering a hose?
Photograph the model label, both hose ends, the sink/disposer or air-gap connection, the visible route, the first wet point, and the cycle phase. Confirm the exact hose and fittings with the manufacturer or a professional.
Could a leak during draining be something besides the hose?
Yes. A clamp, sink or disposer connection, routing problem, downstream blockage, or another leak can produce water near the drain hose. Confirm the source before selecting a replacement.
When should I stop and call for help?
Stop for water near electrical equipment, an active or spreading leak, inaccessible connections, saturated cabinetry, contaminated water, or any need to pull the dishwasher, remove panels, or disconnect plumbing.
Read the exact guide
Official sources
- Drain Line InstallationWhirlpool · Dishwasher drain-hose connections, routing, high-loop guidance, and leak checks; exact model instructions control.
Community feedback
Share a repair observation
Share a plain-text repair observation. Accepted observations are published automatically; this page may take a moment to update.