
On this page
Start here
Quick answer
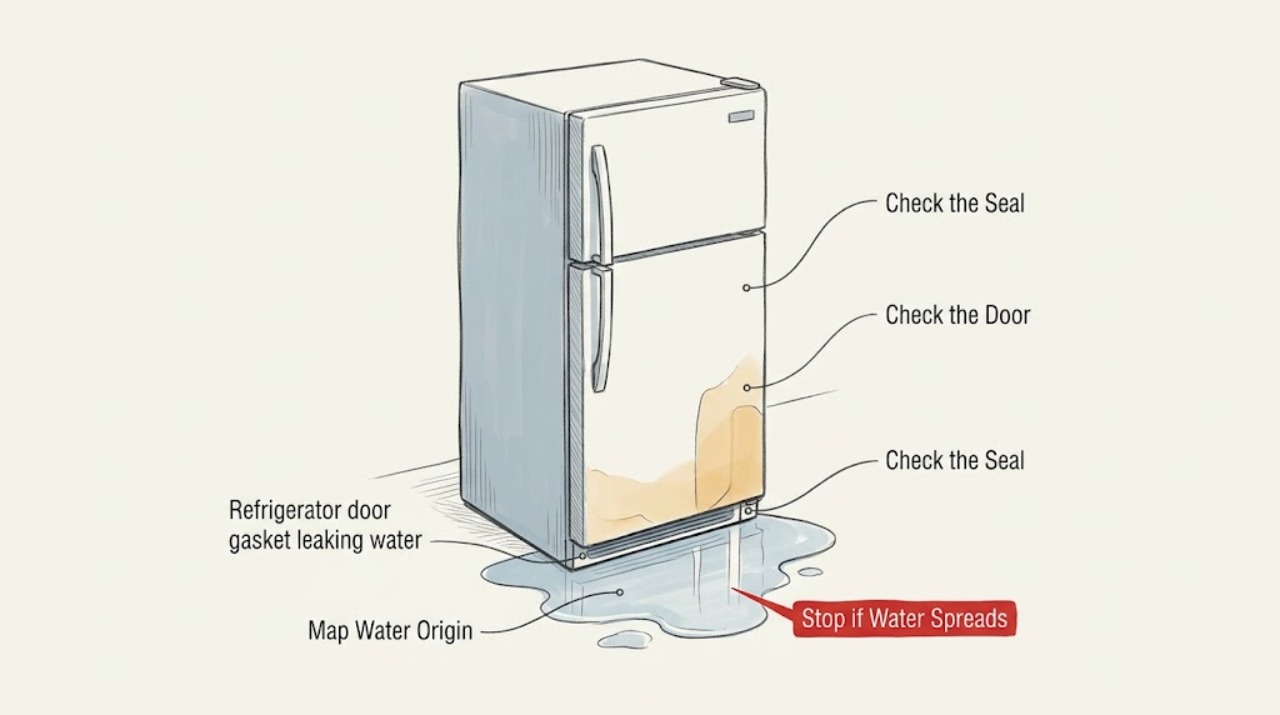
Water around a refrigerator door gasket is often condensation caused by warm humid air entering through a dirty, loose, damaged, or obstructed seal, but a clogged freezer drain, a defrost leak, or a nearby water line can look similar. First locate whether the moisture is on the gasket, inside the compartment, at the front edge, or behind the refrigerator. Wipe and inspect the gasket, make sure shelves and door bins are not preventing full closure, and look for a loose or drooping section. Do not cut, glue, puncture, pry ice with a sharp tool, or remove panels around water lines or electrical parts. If the gasket is torn, the door is misaligned, water returns after cleaning and closure checks, food is warming, or water reaches electrical components, protect the floor and arrange appliance service.
Work through in order
Diagnostic checks
Use only checks that match the exact appliance or system and its official guide.
-
Check 1
Dry the gasket, cabinet edge, shelves, and floor, then observe where moisture returns without moving the refrigerator or removing panels.
Expected result: Moisture reforms on the gasket or door edge, pools inside below a compartment, appears at the rear or underneath, or comes from a dispenser or nearby source.
Next step: Use the matching check below and keep the floor dry. If water reaches wiring, a control, or an outlet, stop using the appliance and arrange service.
Why this matters
Why: Gasket-surface moisture is consistent with condensation or a poor door seal; water below the compartment makes a drain or defrost path more likely; rear or nearby water may not involve the gasket at all.
-
Check 2
With the door open, inspect all four gasket sides and the mating cabinet surface for food residue, sticky spots, a folded edge, a section out of its groove, or a visible tear; wipe residue with a warm damp cloth and dry the seal completely.
Expected result: The seal becomes clean and continuous, a loose section can be pressed back into its groove, or a tear, hard deformation, or gap remains.
Next step: Close the door and observe whether moisture returns. Request service for a damaged gasket or a section that will not stay seated; do not glue or modify the seal.
Why this matters
Why: Residue or a displaced edge can prevent adhesion and let humid air in. A torn or persistently deformed gasket cannot be made reliable by cleaning alone.
-
Check 3
Check that shelves, drawers, door bins, bags, and containers are fully inside their intended positions and are not holding the door open; do not force the door against a container.
Expected result: A shelf, drawer, overfilled compartment, or door-bin item prevents full closure, or the door closes freely with no obstruction.
Next step: Reposition or remove the obstruction, close the door fully, and watch for recurring moisture. If the door still does not close or sits unevenly, arrange service rather than forcing it.
Why this matters
Why: An obstruction creates a gap even when the gasket itself looks intact, allowing cold air out and humid air in. If nothing obstructs the door, inspect seal contact and alignment instead.
-
Check 4
From the front and side, look for a continuous gasket contact and a door that sits squarely with the cabinet; compare the upper and lower corners without removing hinge covers or adjusting hardware.
Expected result: One corner has a visible gap, the gasket droops, the door is uneven, or the seal appears continuous around the door.
Next step: If the gasket is merely loose, press it into its groove as the model guidance allows. For a sagging door, hinge issue, or persistent gap, stop at visual inspection and arrange appliance service.
Why this matters
Why: A localized gap or uneven door makes hinge, leveling, or gasket seating issues more likely than ordinary humidity alone. A continuous seal shifts attention to another water source or unusually humid conditions.
-
Check 5
Inspect the refrigerator and freezer compartments for frost buildup, a puddle below the drawers, or water tracking from a rear drain area; do not chip ice, insert tools into a drain, or remove an evaporator or drain cover.
Expected result: Frost or water is concentrated inside below the food compartment, the drain area appears blocked, or the interior remains dry while the gasket alone beads with moisture.
Next step: Keep food protected and follow the exact model manual for any approved defrost procedure. If water recurs, frost is heavy, or a drain requires access, arrange appliance service rather than using sharp tools or opening panels.
Why this matters
Why: Frost or a lower-compartment puddle makes a blocked freezer drain or defrost drainage problem more likely than a door gasket leak. Gasket-only beads with otherwise dry compartments are more consistent with condensation.
-
Check 6
After the seal is clean, the door closes without obstruction, and the area is dry, observe the next cooling cycle for recurring water, worsening frost, warming food, or water near electrical parts; do not continue operating a visibly damaged appliance.
Expected result: Moisture stops, returns only during humid conditions, returns continuously, the gasket remains damaged, food warms, or water approaches wiring or controls.
Next step: Arrange service for recurring water, a damaged gasket, door alignment, drain or defrost faults, cooling loss, or electrical exposure. Keep the floor and appliance area dry while waiting.
Why this matters
Why: A stopped or humidity-linked bead supports condensation as the immediate cause. Persistent leakage, cooling loss, damage, or water near electrical parts indicates a repair boundary that visual gasket checks cannot resolve.
Use your observations
Decision map
Find the observation that best matches what you see, then follow the next safe action.
-
PATH 01Next step
What you see
Do this next
Dry the gasket, keep the door fully closed, reduce door obstructions, and monitor. If beads persist with a clean continuous seal or food begins warming, arrange service.
-
PATH 02Next step
What you see
Do this next
Clean and dry the contact surface, reseat only a loose gasket section that the manual allows, and remove obstructions. Request appliance service for damage, sagging, or a gap that remains.
-
PATH 03Next step
What you see
Do this next
Do not chip ice or probe the drain. Follow the exact model manual for approved steps, or arrange service if the water or frost returns.
-
PATH 04Next step
What you see
Do this next
Keep the area dry and stop the appliance's water function if the model provides a safe user control. Do not remove tubing or panels; have a qualified appliance technician identify the source.
-
PATH 05Next step
What you see
Do this next
Protect the floor, keep people away from wet electrical areas, and arrange qualified appliance service. Unplug or isolate power only if the model instructions and the situation make that safe; do not reach through water or remove covers.
Helpful context
Understand the symptom
Start at the water's highest visible point
Dry the area, then watch where moisture returns. Dew on the rubber gasket or cabinet edge points toward condensation and a seal or humidity problem. A puddle under a crisper, frost in the freezer, or water that appears at the back may instead be a drain, defrost, or supply-line path that is only reaching the door area by coincidence.
A gasket leak is usually an air-seal problem
A gasket cannot stop water that originates elsewhere, but a gap lets warm moist air enter and can create condensation or frost. Food in the door, a misseated shelf or drawer, a dirty contact surface, a loose gasket edge, and an uneven door can all prevent a continuous seal.
Know when a gasket check has reached its limit
Cleaning and visual inspection are reasonable user checks. A torn gasket, a door that sags, water behind a panel, persistent internal ice, or a leak near electrical connections requires the model manual and qualified appliance service. Keep the floor dry and avoid operating a damaged refrigerator until the source is understood.
Only after diagnosis
Potential parts
- refrigerator door gasket
Consider a gasket only when inspection finds a tear, hard deformation, persistent gap, or a section that will not remain seated after cleaning and model-approved reseating.
Match the exact refrigerator model and door configuration; a gasket that looks similar is not proof of fit. - door hinge or leveling component
Consider hinge or leveling parts only when the door is visibly uneven, sagging, or unable to maintain gasket contact after obstructions are removed.
Door alignment and hinge work vary by model and can affect safe closure; use the manual or qualified appliance service. - defrost drain or drain-heater component
Consider a drain-related part only when water pools below the compartment or frost and drainage evidence remains after the gasket seal is cleared.
Confirm the model-specific drainage design and diagnosis before ordering; do not probe or disassemble an iced drain as a routine check. - refrigerator water-line or filter seal
Consider this category only when moisture originates at a dispenser, filter area, rear connection, or another identified water path rather than the gasket.
Match the exact model and water-system configuration; have a qualified technician handle concealed or damaged tubing.
When checks do not resolve it
Need a professional?
Arrange appliance service for a torn or deformed gasket, a door that remains uneven, recurring water after cleaning and closure checks, internal frost or a suspected blocked drain, a rear or dispenser leak, warming food, or water near electrical components. Keep the area dry and stop using the appliance if water reaches wiring, a control, or an outlet; do not remove panels or probe ice.
Common questions
FAQ
Can a refrigerator door gasket cause water to leak?
A poor gasket seal can let warm humid air in, causing condensation or frost that later becomes water. It may not be the source if water pools below the compartment or comes from the rear, dispenser, filter, or a nearby line.
How do I check a refrigerator gasket safely?
Inspect the gasket and its cabinet contact surface for residue, a displaced edge, folds, gaps, or tears. Clean and dry it, and press a loose section back into its groove only when the model guidance allows. Do not cut, glue, or puncture it.
Why is there water below the refrigerator door if the gasket looks fine?
A blocked freezer drain or defrost path can send melted frost into the refrigerator compartment, and a water line, filter, dispenser, or nearby plumbing can leak outside the gasket area. Map the highest wet point before replacing the seal.
Can an overfilled refrigerator make the gasket leak?
Yes. A shelf, drawer, door-bin item, bag, or container can hold the door slightly open. Reposition the obstruction and confirm the door closes fully; if a gap or uneven door remains, request service.
When should I replace the refrigerator door gasket?
A replacement is conditional, not the first assumption. Consider it when the gasket is torn, persistently deformed, or unable to maintain a seal after cleaning, safe reseating, and removing door obstructions. Confirm the exact model before ordering and use service if replacement requires difficult access.
Read the exact guide
Official sources
- [LG Refrigerator] Cold Air Escapes Through DoorLG USA Support · LG general refrigerator door-seal guidance; model-specific door adjustment belongs to the exact manual or service technician.
- Moisture or Condensation on OutsideLG USA Support · LG general refrigerator guidance; the exact model manual governs leveling and door hardware procedures.
- [LG Refrigerator] Water Droplets Form on Rubber Gasket (Condensation)LG USA Support · LG general refrigerator guidance; the exact refrigerator manual governs model-specific gasket and door procedures.
- [LG Refrigerator] Troubleshooting CondensationLG USA Support · LG general refrigerator guidance; use the exact model manual for access to drains or other components.
Community feedback
Share a repair observation
Share a plain-text repair observation. Accepted observations are published automatically; this page may take a moment to update.