
On this page
Start here
Quick answer
A washer described as having a water-level-sensor filling problem may not be receiving water at all, may be losing water down the drain as it fills, or may be receiving water that the pressure sensor cannot detect correctly. Start with the household faucets, inlet hoses and screens, drain-hose routing, lid or door closure, and the exact model's display message. Turn off water and disconnect power before any hose access. Do not open the cabinet, blow into a pressure hose, probe sensor wiring, bypass the sensor, or keep running a washer that overfills. If water reaches a clear inlet path but the washer still reports a fill fault, stops at the wrong level, overfills, or repeatedly returns an error, arrange qualified appliance service.
Before you begin
Safety first
- A technician should inspect the water-level sensor, pressure hose and air trap, inlet valves, harnesses, door or lid lock, pressure sensing, control board, and energized circuits using the exact model service procedure. Keep homeowner work to water and power isolation, visible supply and drain checks, accessible screen care, and one attended test.
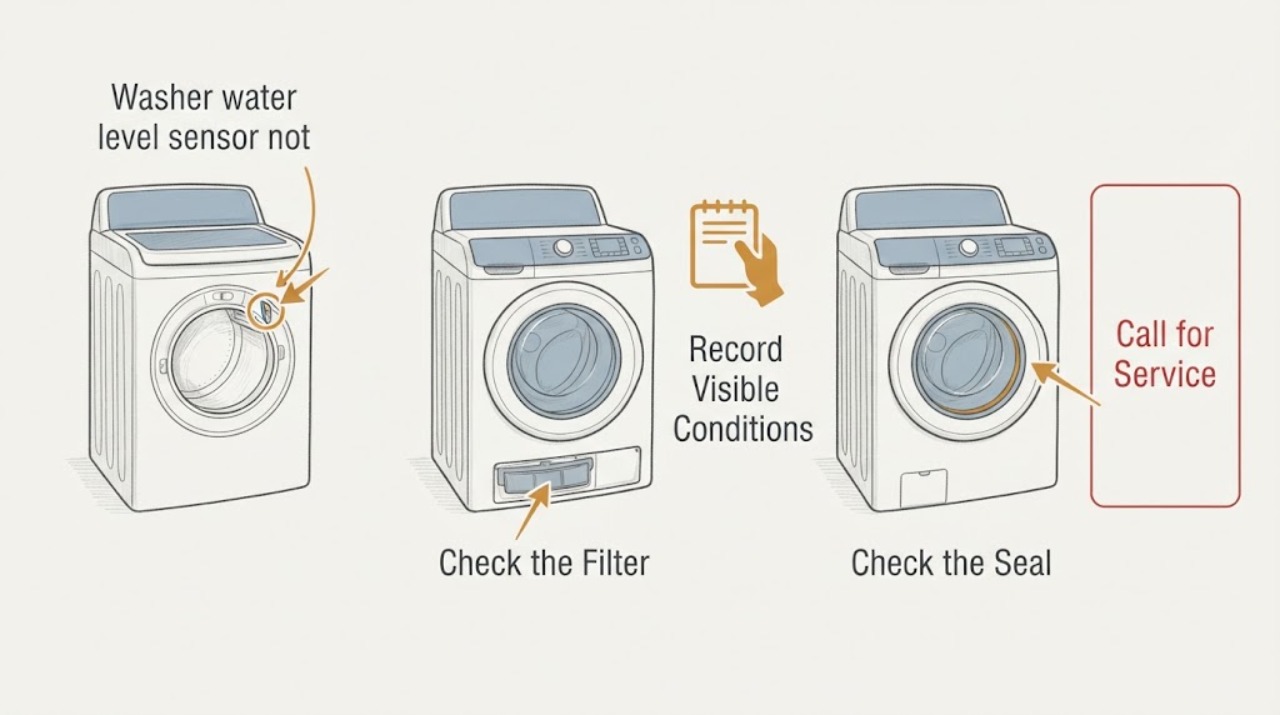
Work through in order
Diagnostic checks
Use only checks that match the exact appliance or system and its official guide.
-
Check 1
Stop the washer and disconnect power before hose, screen, or filter access; close the water faucet or faucets if water is uncontrolled, the tub is overfilling, a hose leaks, or water is near an outlet.
Expected result: The tub is overfilling, the washer continues admitting water when stopped, water is on the floor, the hose connection is hot or pressurized, or the appliance is safely stopped and dry.
Next step: Keep the water supply closed and arrange service for overfill, a valve that does not stop, water near electricity, or an uncontrolled leak. Otherwise place a towel or container below connections before proceeding.
Why this matters
Why: Overfill and uncontrolled water can cause flooding, shock, and property damage. A safe, isolated washer permits only an external inspection and a manual-directed connection check.
-
Check 2
Record the washer model, cycle, load condition, exact display message, lid or door status, and whether water enters the tub at all; use a safe empty or small-load observation only if the owner's manual allows it.
Expected result: No water enters, water enters but stops below the expected level, water continues toward overfill, the washer drains while filling, or the display reports a water-level or fill fault.
Next step: Stop immediately for overfill or uncontrolled flow. For other patterns, continue with supply, hose, screen, and drain observations and preserve the exact message for service; do not infer a sensor replacement from the message alone.
Why this matters
Why: No water keeps supply, inlet valve, lock, and control conditions in focus. A wrong level or overfill makes pressure sensing, the pressure hose or air trap, valve closure, or control more likely. Water leaving through the drain can mimic a failed sensor.
-
Check 3
With power off, inspect the household faucet or faucets, hot and cold routing required by the manual, inlet hoses, hose screens, and connections for a closed valve, weak supply, kink, crush point, damage, sediment, or a missing gasket; do not open the washer cabinet.
Expected result: A faucet is partly closed, a required hose is disconnected, a hose is kinked or damaged, a screen is clogged, the connection leaks, or the external inlet path is clear.
Next step: Correct only a clearly understood faucet position or hose route allowed by the manual. Clean an accessible screen only as directed, preserve the gasket, and stop for leaks or damaged parts rather than patching or bypassing them.
Why this matters
Why: A restricted supply can prevent the sensor from ever receiving a valid fill signal. A damaged gasket or hose creates a water hazard. A clear external path shifts attention to drain siphoning, the inlet valve, pressure-sensing path, lock, or control.
-
Check 4
Check the drain hose from outside the washer while a supervised fill begins, making sure it is routed and supported exactly as the manual specifies and that water is not immediately flowing away through a low, sealed, or deeply inserted drain connection.
Expected result: Water runs down the drain as it enters, the drain hose is kinked or sealed, the hose appears correctly routed, or the tub retains water but the control still reports a level fault.
Next step: Stop the test if the drain or floor backs up. Correct only documented external routing; do not push the hose deeper, seal the standpipe, or open the cabinet to reach a pressure hose.
Why this matters
Why: Drain siphoning can keep the tub below the sensed level and produce a no-fill or long-fill message even when the inlet path works. Correct routing with a retained tub makes the pressure hose, sensor, valve, lock, or control path more likely.
-
Check 5
After the external path is safe and clear, make one attended fill attempt and listen from outside the cabinet for the inlet valve opening, repeated clicking, silence, or water flow that does not stop at the selected level.
Expected result: The valve opens and water flows normally, the valve hums or clicks without water, no valve sound occurs despite good supply, or water continues after the intended level or after the cycle is stopped.
Next step: Close the water supply and disconnect power for continuing or uncontrolled fill. Do not probe the valve, pressure hose, sensor, or wiring; arrange qualified diagnosis with the sound and water behavior recorded.
Why this matters
Why: Normal flow with a wrong sensed level shifts attention to the pressure hose, air trap, water-level sensor, harness, or control. Hum without flow can be a supply or valve restriction. No sound can involve a lock, control, wiring, or valve. Water that will not stop is an overfill hazard.
-
Check 6
Review the display for a fill, water-level, pressure-sensor, or overflow message and compare it with the actual tub behavior, without repeatedly resetting the washer or entering a service diagnostic mode not intended for users.
Expected result: The same error returns with good supply, a pressure-sensor or water-level message appears, an overflow message appears, or the display is normal while the tub level is wrong.
Next step: Keep the washer off for overflow or recurring faults and arrange service. Provide the exact model, message, tub behavior, and external checks; do not bridge the sensor or replace a part based only on a code label.
Why this matters
Why: A recurring sensor or overflow message with confirmed supply supports a pressure-sensing, inlet-valve, harness, or control fault. A normal display with an abnormal level can still indicate a sensor or valve problem; codes are model-specific clues, not universal part numbers.
-
Check 7
After only the documented supply, screen, hose, gasket, and drain-routing checks, perform one normal attended fill test and inspect the rear connections and floor when the fill stage ends.
Expected result: The washer fills and stops at the expected level with no leak, fills slowly, stops at the wrong level, overfills, drains while filling, or repeats the same error.
Next step: Close the water supply and disconnect power for a leak, overfill, or repeated fault. Arrange qualified appliance repair for persistent level or fill errors rather than running more cycles.
Why this matters
Why: A normal fill supports an external restriction or routing issue that was corrected. Persistent slow fill with good supply points to valve or control flow. Wrong level, overfill, siphoning, or recurring error keeps the pressure-sensing path, inlet valve, lock, or control in focus.
Use your observations
Decision map
Find the observation that best matches what you see, then follow the next safe action.
-
PATH 01Next step
What you see
The washer has no water at the tub, the household faucet or hose flow is weak or absent, or an inlet screen is visibly blocked.
Do this next
Restore only a safe documented supply condition, clean an accessible screen as instructed, and arrange plumbing or appliance service for damaged hoses, absent flow, or recurring restriction.
Why this path and its safety boundary
Why it matters: An external supply, hose, screen, frozen line, or household pressure problem is more likely than a water-level sensor fault.
-
PATH 02Next step
What you see
Water enters but immediately runs down the drain, the drain hose is sealed or too deeply inserted, and the tub never reaches its expected level.
Do this next
Correct only the model-approved external drain routing and repeat one attended test. Stop for a backed-up drain or persistent level error and arrange service.
Why this path and its safety boundary
Why it matters: Drain siphoning or incorrect drain installation is more likely to be creating a false no-fill or level-sensor symptom.
-
PATH 03Next step
What you see
The hose and screens have good supply, the tub retains water, but the washer stops too early, reports a water-level fault, or shows the wrong level for a safe test load.
Do this next
Leave internal inspection and electrical diagnosis to qualified appliance service. Do not blow into the pressure hose, remove cabinet panels, bridge the sensor, or substitute a generic sensor.
Why this path and its safety boundary
Why it matters: A pressure hose or air trap restriction or leak, water-level sensor, harness, inlet valve, or control problem is more likely than an inlet screen issue.
-
PATH 04Next step
What you see
Water continues entering after the selected level or after the cycle is stopped, an overflow message appears, or water reaches the floor.
Do this next
Close the water supply immediately, disconnect power if it is safe, and arrange qualified appliance repair. Do not bypass the sensor or leave the washer unattended.
Why this path and its safety boundary
Why it matters: An inlet valve that is not closing or a failed water-level protection path can cause flooding; continued operation is unsafe.
-
PATH 05Next step
What you see
Water supply, screens, hoses, drain routing, and lid or door closure are correct, but a fill or pressure-sensor error returns or the inlet valve does not respond normally.
Do this next
Keep the appliance out of service if the error or water-level abnormality recurs and provide the service technician with the model, display message, water behavior, sound, and completed external checks.
Why this path and its safety boundary
Why it matters: An inlet valve, door or lid lock, pressure-sensor hose or air trap, sensor harness, or control-board fault is more likely than a user setting.
Helpful context
Understand the symptom
A sensor complaint can actually be a supply complaint
The control cannot detect a fill level if a faucet is closed, a hose is kinked, an inlet screen is clogged, or household pressure is weak. It can also report a fill problem when water enters but immediately siphons down the drain. Confirm the external water path before treating the sensor as failed.
Read the symptom as either no water, wrong level, or overfill
No water entering the tub points first toward supply, hose, screen, valve, lock, or control conditions. Water entering but stopping too soon can involve a pressure hose, air trap, sensor, or valve. Water continuing toward an overfill is a stop-now condition because the level-sensing protection may not be working or the inlet valve may not close.
The pressure hose and air trap are not casual cleaning points
Many washers use air pressure from the tub through an air trap and small hose to the water-level sensor. A pinched, leaking, wet, sudsy, or obstructed hose can distort the signal. Those parts are often behind panels and the service documentation may be technician-only; do not blow into or disconnect them as a casual homeowner test.
Water level is not always visible at the same height
Some washers sense load weight and select a level by cycle, fabric, or load condition, so a low visible level is not automatically a sensor failure. Judge the symptom by the control message, whether the inlet valve stops at the expected point, whether the tub is actually filling, and whether the same result occurs with a safe empty or small test permitted by the manual.
Keep electrical and overfill diagnosis professional
Sensor harness continuity, low-voltage measurements, diagnostic modes, inlet-valve tests, cabinet access, and control-board diagnosis require the model service procedure and appropriate training. Keep homeowner checks to the water supply, hoses, screens, drain routing, visible leaks, lid or door closure, and one attended test.
Safety boundary
Stop conditions
- Close the water supply and disconnect power for uncontrolled filling, overfill, a valve that will not stop, a hose or gasket leak, water near an outlet, or water on the floor that cannot be contained.
- Do not remove cabinet panels, blow into or disconnect the pressure hose, open the air trap, probe sensor or valve wiring, test energized circuits, bypass a lid or door lock, or bridge the water-level sensor.
- Do not run repeated cycles after a recurring water-level or fill error, wrong tub level, abnormal valve noise, or a display that reports overflow; an apparently empty tub does not prove the sensing path is safe.
- Arrange plumbing service for absent or contaminated household supply and qualified appliance service when water reaches a clear inlet path but the sensor, valve, control, or fill behavior remains abnormal.
Only after diagnosis
Potential parts
- washer water-level pressure sensor
Consider this only after a qualified diagnosis confirms that supply, drain routing, pressure hose or air trap, harness, and inlet-valve conditions are good and the sensor misreads level.
Match the exact washer model, sensor type, connector, calibration, and model service procedure; never bypass the sensor. - washer pressure hose or air-trap assembly
Consider this only when qualified inspection finds a kink, leak, obstruction, suds or water contamination, or damaged connection in the level-sensing air path.
Match the exact model, hose routing, air-trap design, clamps, seals, and service instructions. - washer water inlet valve
Consider this only when water supply reaches the washer but a qualified test shows the valve does not open, regulate, or close correctly.
Match the exact model, valve ports, coil voltage, connectors, temperature routing, and safety procedure. - washer control board or sensor harness
Consider this only after qualified continuity, connector, power, and diagnostic checks isolate the harness or control rather than the sensor or valve.
Confirm the exact model, board revision, connector layout, firmware or configuration requirements, and installation procedure. - washer lid or door lock assembly
Consider this only when the washer does not recognize a safely closed lid or door and the lock prevents the fill command.
Match the exact model, interlock type, connector, alignment, and safety instructions.
When checks do not resolve it
Need a professional?
Safety scope: A technician should inspect the water-level sensor, pressure hose and air trap, inlet valves, harnesses, door or lid lock, pressure sensing, control board, and energized circuits using the exact model service procedure. Keep homeowner work to water and power isolation, visible supply and drain checks, accessible screen care, and one attended test.
Common questions
FAQ
Can a water-level sensor make a washer not fill?
Yes, but the same symptom can come from closed or weak water supply, kinked hoses, clogged screens, drain siphoning, an inlet valve, a lid or door lock, or a control fault. Confirm the external water path and actual tub behavior before blaming the sensor.
What does a washer water-level sensor actually check?
Many washers use pressure from the tub through an air trap and pressure hose to estimate the water level, then the control decides when to open or close the inlet valve. A kinked, leaking, wet, or obstructed pressure path can therefore look like a sensor failure.
Why does my washer fill but still show a no-water error?
Water may be siphoning down the drain, the pressure hose or air trap may not convey the level signal, or the sensor, valve, harness, or control may be faulty. Observe the drain hose and tub safely, then arrange service if the error returns with good supply.
Why is the water level too low or too high even though the washer fills?
The cycle and load can affect the selected level, and visible water height can differ by fabric absorption. A repeat wrong level, overflow, or pressure-sensor message with clear supply points toward the pressure path, sensor, inlet valve, or control and needs qualified diagnosis.
Should I replace the washer water-level sensor first?
No. First confirm the faucet, hose, screen, drain routing, lid or door closure, and actual fill behavior. A qualified technician should test the pressure hose or air trap, valve, harness, sensor, and control in the model service procedure before selecting a part.
Read the exact guide
Official sources
- What to do when my washing machine does not fill up or drain?Samsung Support · Samsung washers; guidance explicitly varies by model
- Tech Sheet W11316893 Rev AWhirlpool · Whirlpool washer service documentation for the listed model family; error labels and procedures vary by model
- Washer - H2O Supply ErrorGE Appliances · GE front-load washer H2O Supply error guidance; error names and protections vary by model
- Not Filling or Filling Slowly - Front Load WasherWhirlpool Product Help · Whirlpool front-load washers; exact screen and connection access varies
- LG Washer - Troubleshooting Fills Too Slow / Does Not FillLG USA Support · LG washers and washer-dryer combos; controls and screen access vary by model
- Tech Sheet W11171530 Rev AWhirlpool · Whirlpool washer service documentation for the listed model family; procedures are technician-only and not universal
- LG Top Load Washer - Water Level Cannot Be Adjusted or Is Too High or Too LowLG USA Support · LG top-load washers; course behavior and controls vary by model
- LG Top Load Washer - Troubleshooting an IE Error CodeLG USA Support · LG top-load washers; error labels and fill behavior vary by model
Community feedback
Share a repair observation
Share a plain-text repair observation. Accepted observations are published automatically; this page may take a moment to update.