
On this page
Start here
Quick answer
LED flicker that appears only with a dimmer is often a bulb, fixture-driver, dimmer, or load-compatibility issue, but flicker with heat, buzzing, arcing, burning odor, discoloration, or a tripping breaker needs an electrician. From the normal control position, observe where in the dimming range the flicker starts, read the bulb or fixture label without opening anything, compare another fixture, and record timing and heat or odor. Do not open the switch or fixture, touch wiring, rewire, bypass a control, perform live testing, or repeatedly energize a hot or arcing circuit. Use the exact bulb and dimmer models to check manufacturer compatibility or arrange electrical service.
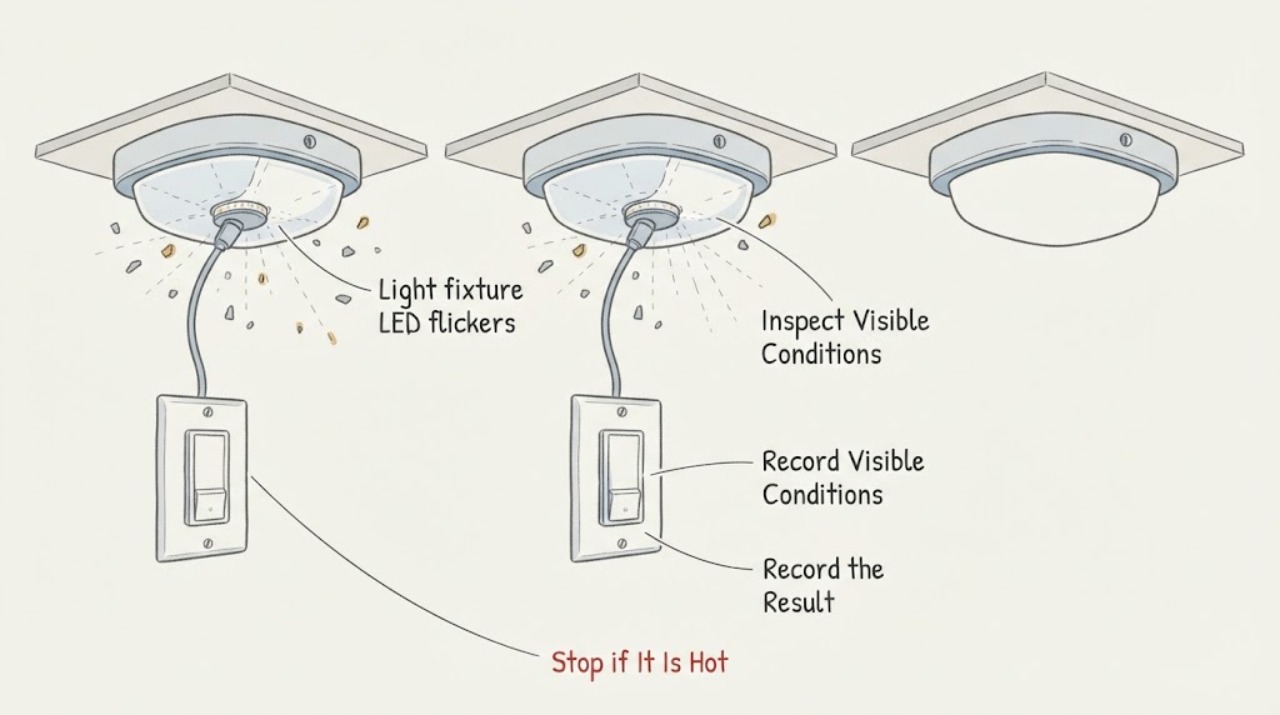
Work through in order
Diagnostic checks
Use only checks that match the exact appliance or system and its official guide.
-
Check 1
Using only the normal dimmer control, observe the light at off, low, middle, and high settings without repeatedly cycling it. Note whether flicker occurs throughout the range, only near the low end, only near the high end, or when the light is switched on or off.
Expected result: The light may be stable at full output but flicker at one end, flicker across the range, flash during switching, drop out at low brightness, or remain stable with the dimmer bypassed only by an electrician-approved arrangement.
Next step: Record the range and timing, then use the bulb and dimmer model information with the manufacturer's compatibility tool or ask an electrician to evaluate the pairing.
Stop if: Stop using the dimmer if the control or fixture becomes hot, buzzes loudly, smells burnt, sparks, smokes, discolors, or trips a breaker.
Why this matters
Why: A range-specific symptom is consistent with a dimming-curve or compatibility issue; flicker at every level or with switching can indicate a broader fixture, control, or circuit problem. The pattern narrows the service conversation but does not prove a cause.
-
Check 2
Without removing the bulb, trim, cover, or switch plate, read the visible label or packaging information. Record the LED brand and model, whether it says dimmable, the fixture model if visible, and the dimmer brand and model if printed on the control face or documentation.
Expected result: The source may be clearly marked dimmable, marked non-dimmable, integrated into a fixture with no accessible bulb label, or missing model information.
Next step: Save a photo of each visible label and compare the exact pairing with the applicable manufacturer compatibility information. If the models cannot be identified safely, give the photos to an electrician.
Stop if: Do not remove a fixture, open a housing, pull a switch from the wall, or touch any conductor to find a label.
Why this matters
Why: A non-dimmable source is not an appropriate match for a dimmer. An integrated fixture or missing label requires the fixture and control documentation or professional identification rather than a guessed replacement.
-
Check 3
From a safe position, compare the affected light with another fixture that is visibly controlled separately and note whether the other fixture also flickers at the same time. Observe only ordinary room use; do not move wires, open boxes, or perform an electrical measurement.
Expected result: Flicker may be limited to one bulb or fixture, appear on all lights controlled by the dimmer, or occur in multiple unrelated fixtures at the same time.
Next step: Record which fixtures are affected, their controls, and whether the timing matches. Request electrical service when more than one circuit or unrelated fixture is involved.
Stop if: Do not continue comparing fixtures if any light flashes intensely, emits heat or odor, shows damage, or causes a breaker trip.
Why this matters
Why: One affected fixture points toward that source, driver, or pairing; all lights on one dimmer point toward the control or its load; unrelated fixtures flickering together raises a broader supply or circuit concern that needs professional assessment.
-
Check 4
Observe the fixture and dimmer during ordinary use from a safe distance. Note unusual warmth, buzzing, humming, crackling, an electrical smell, a burnt mark, loose-looking trim, or a flicker that begins after the light has been on for a while.
Expected result: The hardware may remain cool and quiet, or the symptom may be accompanied by heat, noise, odor, visible discoloration, or time-dependent worsening.
Next step: Stop using the affected control and arrange an electrician when any warning sign appears. Provide photos taken without touching hot or damaged parts and describe when the symptom begins.
Stop if: Do not touch, open, cool with liquid, reset repeatedly, or re-energize a hot, smoking, arcing, or damaged fixture or dimmer.
Why this matters
Why: Heat, arcing-like sound, odor, or damage is not a normal compatibility symptom to tune around. A symptom that appears with operating temperature also needs professional evaluation rather than repeated dimmer cycles.
-
Check 5
Collect the installation and product context without changing it: number of LED sources on the dimmer, whether the circuit is single-location or multi-location, fixture type, recent bulb or dimmer change, and whether the flicker began after an installation or power event.
Expected result: The symptom may follow a recent product change, occur in a multi-location control, affect an integrated fixture, or have no clear installation trigger.
Next step: Give the complete context to the manufacturer's support channel or a qualified electrician and ask for a compatibility decision before buying a bulb or dimmer.
Stop if: Do not open the switch or fixture, rewire a multi-location circuit, bypass a dimmer, or perform live electrical testing.
Why this matters
Why: Load count, control arrangement, fixture driver, and recent changes can determine compatibility and wiring questions. Without exact models and installation context, a replacement part can create another mismatch.
Use your observations
Decision map
Find the observation that best matches what you see, then follow the next safe action.
-
PATH 01Safety boundary
What you see
The LED is marked non-dimmable or the fixture documentation excludes dimming.
Do this next
Stop using that source with the dimmer and choose a manufacturer-approved dimmable source or control pairing through the applicable compatibility information.
Why this path and its safety boundary
Safety stop: Do not bypass the dimmer or modify wiring to force an incompatible source to operate.
-
PATH 02Safety boundary
What you see
Flicker occurs only near the low or high end and the control and fixture stay cool, quiet, and undamaged.
Do this next
Check the exact bulb-and-dimmer compatibility information and ask the manufacturer or electrician whether an approved range adjustment or matched source is appropriate for that model.
Why this path and its safety boundary
Safety stop: Do not open the control or guess at an adjustment if the model or installation instructions are unavailable.
-
PATH 03Safety boundary
What you see
Only one fixture flickers while other fixtures on separate controls remain stable.
Do this next
Prioritize identifying the affected source, fixture driver, and dimmer pairing. Arrange service if the models are unknown or the symptom remains with an approved pairing.
Why this path and its safety boundary
Safety stop: Stop if the individual fixture shows heat, odor, buzzing, arcing, discoloration, or damage.
-
PATH 04Safety boundary
What you see
Multiple unrelated fixtures flicker together, or flicker follows a power event or breaker behavior.
Do this next
Arrange qualified electrical service to evaluate the broader circuit or supply. Record the affected rooms, timing, and any breaker or appliance symptoms.
Why this path and its safety boundary
Safety stop: Do not repeatedly energize the circuit, open any box, or attempt rewiring.
-
PATH 05Safety boundary
What you see
There is heat, burning odor, smoke, crackling, visible arcing, damage, or a tripping breaker.
Do this next
Stop using the affected light and contact qualified electrical service; use emergency assistance when there is smoke or an active fire hazard.
Why this path and its safety boundary
Safety stop: Do not touch, open, reset repeatedly, bypass, or re-energize the fixture or dimmer until assessed.
Helpful context
Understand the symptom
Compatibility is the first likely branch
LEDs use electronic drivers rather than an incandescent filament. The Department of Energy explains that driver behavior and the dimmer waveform affect whether an LED output remains stable. Manufacturers therefore test particular bulb-and-dimmer combinations; a bulb marked dimmable is not a universal compatibility guarantee for every dimmer or fixture.
Keep electrical troubleshooting at the control surface
The observations below are limited to labels, normal dimmer movement, visible conditions, and the behavior of other fixtures. They do not identify a loose connection or prove that a circuit is safe. Stop when flicker is accompanied by heat, odor, arcing, smoke, damage, or a breaker trip and have a qualified electrician inspect the circuit.
Only after diagnosis
Potential parts
- dimmable LED bulb
Only consider a replacement source after the current label and dimmer model are identified and the manufacturer compatibility information supports the pairing.
Confirm the exact bulb, fixture, dimmer, load, and control arrangement; dimmable labeling alone does not establish universal compatibility. - LED compatible dimmer
Only consider a new dimmer after a qualified compatibility review identifies the present control or its load as the mismatch and the circuit is suitable.
Confirm bulb or fixture driver, wiring arrangement, load range, control locations, and manufacturer approval before selection or installation. - light switch
Only consider a non-dimming switch when the lighting design no longer requires dimming and a qualified person confirms the switch and circuit arrangement.
Confirm fixture type, circuit arrangement, neutral or control requirements, enclosure fit, and local electrical requirements before installation.
When checks do not resolve it
Need a professional?
Call a qualified electrician when flicker remains with an identified compatible pairing, affects multiple fixtures, follows a power event, or is accompanied by heat, odor, buzzing, arcing, damage, or breaker trips.
Common questions
FAQ
Why does an LED flicker only when it is dimmed?
The LED's electronic driver and the dimmer's control waveform may not work well together, especially at one end of the dimming range. Confirm exact model compatibility before replacing parts.
Does a dimmable LED work with every dimmer?
No. Dimmable labeling is not a universal pairing guarantee. Use the bulb, fixture, and dimmer manufacturers' compatibility information, including load and control arrangement where applicable.
Is LED flicker dangerous?
A compatibility flicker may be an operating-quality problem, but heat, burning odor, crackling, arcing, smoke, damage, or breaker trips are safety warnings. Stop using the light and arrange qualified electrical service.
Can I open the dimmer or fixture to fix the flicker?
Do not open electrical boxes or fixtures as a homeowner troubleshooting step. Record visible labels and behavior, then have a qualified electrician inspect wiring, the control, and the fixture if compatibility information does not resolve the issue.
Read the exact guide
Official sources
- Flicker BasicsU.S. Department of Energy · General LED flicker science; it does not identify a particular home's dimmer or fixture fault.
- Choosing the Right LED Bulb and Dimmer CombinationLeviton Manufacturing · Manufacturer support guidance; use the actual control and fixture maker's information for another product.
- NEMA DimmingLeviton Manufacturing · Manufacturer and NEMA compatibility context; exact pairing information remains product-specific.
Community feedback
Share a repair observation
Share a plain-text repair observation. Accepted observations are published automatically; this page may take a moment to update.