
On this page
Start here
Quick answer
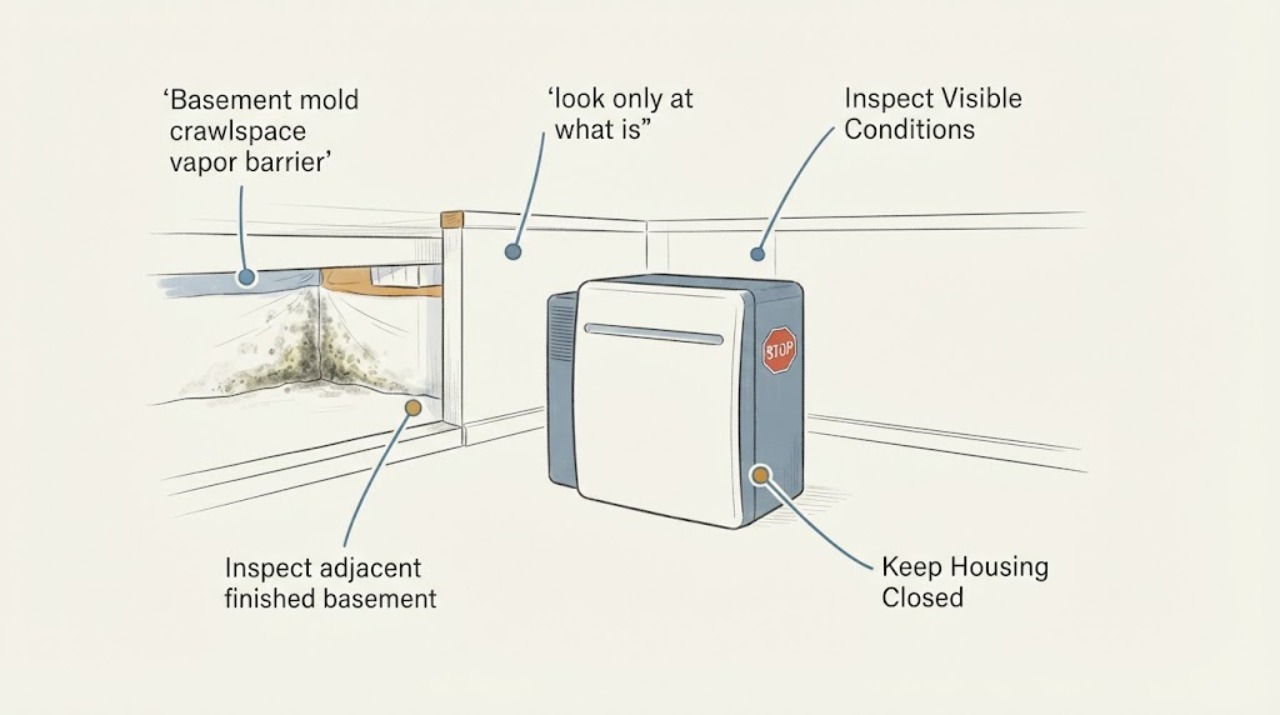
Do not enter a crawlspace or disturb a vapor barrier to investigate moisture or mold. From the entrance and from finished basement or living areas, document visible water, persistent dampness, musty odor, condensation, staining, and changes after rain or plumbing events. Keep the opening closed or guarded, keep people and pets away, and arrange a high-priority professional moisture and mold assessment. Do not scrape, sample, spray, mix bleach, move wet materials, or assume a dehumidifier or new barrier will fix the source before the space is assessed.
Work through in order
Diagnostic checks
Use only checks that match the exact appliance or system and its official guide.
-
Check 1
From outside the crawlspace entrance or at the threshold without crossing it, look only at what is visible and leave the access cover, liner, and nearby materials undisturbed.
Expected result: Record visible pooled water, wet soil, a wet or displaced plastic barrier, torn seams, condensation, staining, insect or animal activity, and the strength or location of any musty odor.
Next step: Take photos from the safe threshold or exterior and give the exact visible conditions to a professional inspector; do not reach into the opening or pull at the barrier.
Stop if: Stop and move away if the opening is unstable, water is present, wiring or utilities are exposed, animals are present, or the odor is strong or irritating.
Why this matters
Why: Visible water or a wet, torn, or displaced barrier shows a moisture-control concern but does not identify whether the source is soil, groundwater, drainage, plumbing, condensation, or a building leak.
-
Check 2
Inspect adjacent finished basement and living areas from normal occupied positions, without opening walls, floors, ceilings, or the crawlspace barrier.
Expected result: Look for recurring damp spots, condensation, peeling or bubbling finishes, staining, efflorescence, musty odor, or mold-like growth on visible surfaces; note whether conditions are localized or widespread.
Next step: Photograph the visible areas without scraping or sampling, keep occupants away from affected materials, and include the room, wall or floor location, and recurrence in the service request.
Stop if: Stop if anyone develops breathing symptoms, the area has extensive visible growth, materials are falling or swollen, or electrical equipment is damp.
Why this matters
Why: Moisture can move from a crawlspace into the building through cracks and other paths, so indoor symptoms may be related without revealing the exact crawlspace source. Widespread or recurring signs increase the need for professional assessment.
-
Check 3
Make a timeline from indoors using weather, snowmelt, irrigation, plumbing, sump activity, and indoor humidity observations; do not create a water test or enter to look for a matching point.
Expected result: Note whether odor, dampness, condensation, or staining follows rain, thaw, a plumbing event, a sump change, or seasonal humidity, and whether it improves during a dry period.
Next step: Send the timeline and any existing maintenance or leak records to the inspector and keep the crawlspace inaccessible until assessed.
Stop if: Do not open the barrier, run a hose, move stored items, operate fans inside the crawlspace, or use chemicals to test or mask the odor.
Why this matters
Why: Timing helps a professional distinguish likely ground-water, surface-water, plumbing, or humidity pathways, but it does not prove that the vapor barrier is the source or cure.
-
Check 4
Confirm from a safe position whether the crawlspace entrance and nearby floor area can remain closed, marked, and clear of people, pets, and stored items without anyone entering the space.
Expected result: If the cover and surrounding floor are stable, keep the entrance closed and mark it for others. If the cover is missing, damaged, unstable, or in a path where someone could fall or enter accidentally, the area needs immediate isolation and professional attention.
Next step: Keep occupants away and request urgent help to secure an unsafe opening; do not improvise a cover or step onto the surrounding damaged area.
Stop if: Do not lift, remove, lean on, or replace the access cover, and do not enter to retrieve items.
Why this matters
Why: A cover or barrier controls access but does not prove safe air, structure, moisture, or mold conditions inside. An unguarded opening is a separate fall and entry hazard.
-
Check 5
Prepare a professional handoff with safe photos, the access location, visible barrier condition, indoor symptoms, moisture timeline, utility or standing-water concerns, and any health symptoms reported by occupants.
Expected result: A qualified assessor can use the record to plan non-entry triage and then determine whether specialized entry, moisture measurement, containment, or remediation is needed.
Next step: Request a high-priority professional moisture and mold assessment and follow the assessor's containment and occupancy guidance; do not begin cleanup while waiting.
Stop if: Do not scrape, sample, vacuum, spray, mix cleaners, remove materials, or install a barrier or dehumidifier as a substitute for source assessment.
Why this matters
Why: A humidity or moisture reading, a visible barrier defect, or a musty odor alone cannot establish the extent of mold or the correct repair system.
Use your observations
Decision map
Find the observation that best matches what you see, then follow the next safe action.
-
PATH 01Safety boundary
What you see
The crawlspace entrance is open, damaged, unstable, or near standing water, exposed utilities, or a fall path.
Do this next
Keep people and pets away and request urgent professional or emergency assistance to secure the area. Do not enter or reach into the opening.
Why this path and its safety boundary
Safety stop: Do not lift the cover, step across damaged flooring, touch utilities, or improvise a repair from inside the space.
-
PATH 02Safety boundary
What you see
There is extensive visible mold-like growth, persistent odor, recurring indoor dampness, or water beneath or around the barrier.
Do this next
Restrict access to affected areas and arrange high-priority professional moisture and mold assessment. Provide the timing, photos, and visible extent without disturbing materials.
Why this path and its safety boundary
Safety stop: Do not scrape, sample, spray, dry-sweep, move wet items, or mix bleach with any other cleaner.
-
PATH 03Safety boundary
What you see
Indoor symptoms appear after rain, thaw, plumbing, sump, or seasonal humidity changes while the entrance itself looks dry.
Do this next
Keep a dated moisture and odor log and request a professional investigation of drainage, plumbing, humidity, and the vapor-barrier system; a dry threshold does not rule out hidden moisture.
Why this path and its safety boundary
Safety stop: Do not treat the absence of visible water as permission to enter or remove the barrier.
-
PATH 04Safety boundary
What you see
An occupant has asthma, immune suppression, chronic respiratory disease, or symptoms that worsen near the area.
Do this next
Keep that person away from the affected area and seek medical guidance as appropriate while arranging professional assessment and containment.
Why this path and its safety boundary
Safety stop: Do not ask a vulnerable occupant to inspect, clean, or enter the crawlspace.
Helpful context
Understand the symptom
A crawlspace vapor barrier is part of a moisture-control system, not proof that the space is dry. EPA explains that bare soil can transfer moisture into crawlspace air, groundwater may enter, and accumulated moisture can move into other parts of a building and support hidden mold. A barrier that is missing, torn, displaced, wet underneath, or surrounded by pooled water needs professional assessment of drainage, humidity, building leakage, ventilation, and material condition rather than a guessed product fix.
The homeowner-safe boundary is the entrance and adjacent indoor areas. Crawlspaces can have restricted access, utilities, poor lighting, water, or other hazards, and mold cleanup itself can present health and injury risks. Keep the inspection non-entry and leave remediation, sampling, containment, and barrier work to qualified professionals.
Only after diagnosis
Potential parts
- humidity-meter
Consider this category only as a non-entry indoor monitoring aid or as equipment selected by a qualified assessor; a reading does not prove crawlspace conditions or mold extent.
Use readings as context rather than a diagnosis, and follow the professional's measurement method and placement guidance. - moisture-meter
Consider this category only when a qualified inspector selects it to evaluate accessible building materials after the area is made safe; do not probe the barrier, crawlspace, or suspected mold.
Material and instrument differences affect readings, so the device cannot identify a source or replace a professional moisture investigation. - crawlspace-dehumidifier
Consider this category only after a professional confirms that humidity control is appropriate and addresses the water source, drainage, ventilation, and barrier design.
Confirm space conditions, drainage, electrical safety, capacity, and installation requirements with a qualified professional; do not enter to install or service it.
When checks do not resolve it
Need a professional?
Arrange a high-priority professional moisture and mold assessment for a wet, torn, displaced, or pooled-water crawlspace barrier, recurring musty odor, visible growth, indoor dampness, or suspected water movement. Escalate immediately for an unsafe opening, standing water near utilities, structural damage, or serious respiratory symptoms.
Common questions
FAQ
Should I enter the crawlspace to inspect the vapor barrier?
No. Keep the inspection at the entrance and in adjacent rooms. Crawlspace access, egress, utilities, water, air, and material hazards need professional evaluation before entry.
Does a vapor barrier prevent crawlspace mold by itself?
No. Soil moisture, groundwater, drainage, plumbing, humidity, ventilation, and building leakage can all matter. A barrier defect is evidence for assessment, not a complete diagnosis.
Can I spray or scrub visible mold near the entrance?
Do not disturb or clean the material while the source and extent are unknown. Keep people away and arrange professional moisture and mold assessment, especially for extensive growth or vulnerable occupants.
What information should I give the mold professional?
Provide safe photos, entrance and room locations, odor and dampness timing, weather or plumbing context, visible barrier condition, standing-water or utility concerns, and any occupant symptoms.
Read the exact guide
Official sources
- The Key to Mold Control is Moisture ControlU.S. Environmental Protection Agency · Supports addressing water sources and extensive or contaminated damage through professionals; it does not prescribe crawlspace entry or barrier installation.
- Confined Spaces in Construction - Frequently Asked QuestionsOccupational Safety and Health Administration · Supports treating crawlspaces as spaces whose entry hazards and egress must be evaluated by competent personnel; it does not classify a specific home or authorize entry.
- Mold Course Chapter 2: Where and Why Mold GrowsU.S. Environmental Protection Agency · Supports the relationship between soil, groundwater, crawlspace humidity, vapor movement, and indoor mold risk; it does not authorize homeowner crawlspace entry or remediation.
- Mold Clean Up Guidelines and RecommendationsCenters for Disease Control and Prevention · Supports avoiding disturbance and professional escalation for risky mold conditions; this article does not provide a cleanup procedure.
Community feedback
Share a repair observation
Share a plain-text repair observation. Accepted observations are published automatically; this page may take a moment to update.