
On this page
Start here
Quick answer
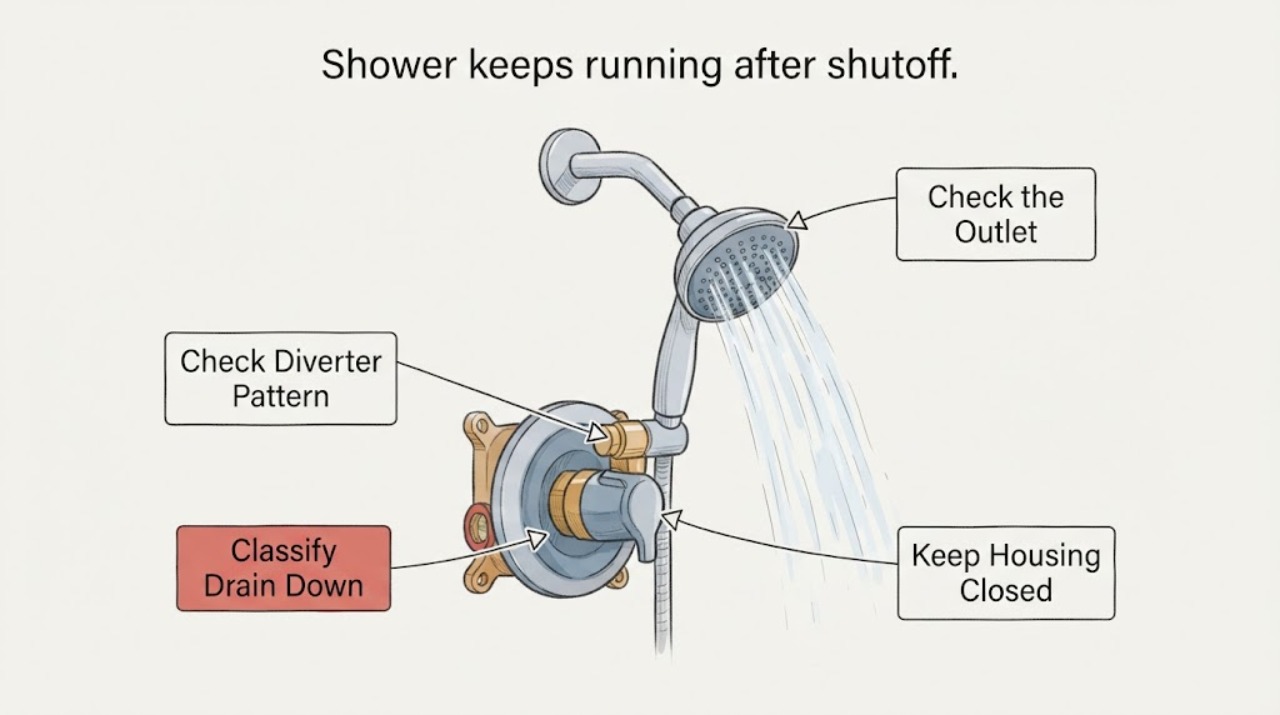
A few drips from a showerhead immediately after shutoff can be water draining from the head, but a continuing stream or water that keeps running long after shutoff is a leak. First note whether water comes from the showerhead, tub spout, handle, or wall and whether it continues with the control fully off. A showerhead connection or gasket may cause an external leak, while water from the outlet or handle after shutoff commonly points to a valve or cartridge problem that needs professional disassembly. Do not force the handle, remove the trim, or open the wall. Close an accessible local water stop or the home supply if water is flowing continuously and you can do so safely; arrange a licensed plumber for a persistent leak, hidden moisture, or any valve repair.
Work through in order
Diagnostic checks
Use only checks that match the exact appliance or system and its official guide.
-
Check 1
After turning the shower control fully off once, observe the showerhead from outside the spray area and note whether the water stops after a brief drain-down or continues as a drip or stream.
Expected result: Only a short residual drip occurs, dripping continues for a long time, or a steady stream remains.
Next step: Record the duration and leave the control unused if water continues. Arrange a plumber for a persistent leak; do not repeatedly turn the shower on and off to test it.
Stop if: Stop if the leak is increasing, water reaches the wall or floor, or the control is stiff, damaged, or unsafe to operate.
Why this matters
Why: A brief drip can be the showerhead emptying retained water. Continuing dripping or a steady stream is evidence of a leak rather than normal drain-down.
-
Check 2
With the shower off, observe without touching whether water comes from the showerhead spray holes, the joint between showerhead and arm, the tub spout, around the handle, or from the wall or trim.
Expected result: The outlet is the showerhead, its threaded joint, tub spout, handle area, or a hidden or uncertain location.
Next step: Photograph the location from a safe distance and give it to the plumber. Do not remove trim or assume the visible outlet is the only leak path.
Stop if: Stop for water entering the wall, staining or swelling, a loose trim assembly, or any need to open the wall.
Why this matters
Why: A joint leak keeps the connection, gasket, or tape in scope. Water from the head or tub spout while off points toward the valve or diverter, while water around the handle or wall raises concern for a valve or concealed leak.
-
Check 3
If the shower is over a tub, note whether the tub spout continues flowing while the diverter is set toward the showerhead, and whether the showerhead itself also leaks after shutoff. Do not force or disassemble the diverter.
Expected result: A small flow comes from the tub spout during a shower, a larger flow remains after shutoff, or no tub spout is present.
Next step: Record the diverter position and outlet pattern and arrange plumbing service if flow persists or is more than a minor diversion leak. Do not replace the diverter based on appearance alone.
Stop if: Stop if the diverter is stuck, the spout or wall moves, or water is entering behind the trim.
Why this matters
Why: Some tub-spout leakage during diversion can occur, but an ongoing or unusually large flow wastes water and supports a diverter or valve assessment. No tub spout narrows the visible outlet but does not identify the valve condition.
-
Check 4
When the area is dry, look at the showerhead-to-arm joint and the exposed trim for a wet ring, mineral trail, cracked finish, loose-looking connection, or water running behind the plate. Do not apply force or open the connection.
Expected result: Wetness is limited to the exposed joint, the showerhead body or seam leaks, the handle or plate is wet, or no external source is visible.
Next step: Dry only the surrounding surface without dismantling it, document the pattern, and arrange service if the leak returns or persists. Keep water away from wall cavities and do not seal over an unknown leak.
Stop if: Stop for water behind the wall, ceiling staining, swelling, mold-like growth, or a loose pipe or shower arm.
Why this matters
Why: An exposed joint may involve a gasket, screen, or connection, while a seam or leak behind trim is not a simple spray-nozzle issue. No visible source keeps the valve and concealed piping in scope.
-
Check 5
Without removing anything, record whether the shower has one handle or multiple handles, whether the handle reaches a clear off position, whether a cartridge or trim was recently changed, and whether the leak began after installation or repair.
Expected result: The leak began after new installation or repair, appeared after the shower previously worked, or the history is unknown.
Next step: Give the history and visible model information to the plumber. Do not remove the handle or faceplate to calibrate or replace a cartridge unless a qualified professional has isolated the water and accepted the work.
Stop if: Stop if the handle is stuck, the trim is loose, or identifying the model requires disassembly.
Why this matters
Why: A new-installation leak and an established valve that later begins running can have different causes, but both require the exact valve and cartridge to be identified before parts are chosen.
-
Check 6
Look from the bathroom side and adjacent accessible areas for pooling, damp trim, staining, soft surfaces, or a musty odor, and note whether the water flow continues when no fixture is being used. Do not cut into the wall or ceiling.
Expected result: There is no hidden-area sign, visible moisture or staining, or continuous flow that cannot be stopped at the control.
Next step: If water is spreading or cannot be stopped, use a clearly accessible local or main water shutoff if safe and call a plumber promptly. Preserve the location and timing for inspection.
Stop if: Stop for structural swelling, water near electrical equipment, an inaccessible shutoff, or any need to enter a cavity.
Why this matters
Why: No visible damage does not rule out a concealed leak. Moisture outside the shower or continuous flow raises the urgency and may require isolation and inspection beyond the showerhead.
Use your observations
Decision map
Find the observation that best matches what you see, then follow the next safe action.
-
PATH 01Next step
What you see
Only a short series of drips comes from the showerhead immediately after shutoff and then stops, with no moisture outside the shower.
Do this next
Treat it as possible residual water, monitor without repeated cycling, and arrange service if the duration increases or the dripping returns long after shutoff.
-
PATH 02Next step
What you see
A steady stream or persistent drip comes from the showerhead or tub spout while the control is fully off.
Do this next
Leave the shower unused and arrange a plumber to assess the valve, cartridge, or diverter. Do not remove the handle or trim as a first step.
-
PATH 03Next step
What you see
Water appears at the exposed showerhead-to-arm joint, spray face, or showerhead seam rather than continuing through the valve.
Do this next
Document the exact joint or body location. A simple exposed connection may be serviceable, but stop and get help if the arm moves, the seam leaks, or the pipe may twist in the wall.
-
PATH 04Next step
What you see
Water continues from the tub spout while flow is directed to the showerhead, or the diverter does not hold its position.
Do this next
Arrange plumbing assessment for the diverter or valve; do not force the selector or choose a replacement without identifying the assembly.
-
PATH 05Next step
What you see
Water reaches the wall, trim, floor, ceiling, or an adjacent room, or staining and swelling appear.
Do this next
Limit water use, isolate the supply if a clearly accessible shutoff can be operated safely, and request prompt plumbing service. Do not open the wall yourself.
-
PATH 06Next step
What you see
The source or duration is uncertain but the shower keeps running or the leak recurs.
Do this next
Record the timing and visible outlets, leave the shower unused, and arrange a licensed plumber rather than guessing at a cartridge or showerhead replacement.
Helpful context
Understand the symptom
What a running shower can mean
The first distinction is drain-down versus ongoing flow. A short drip from the showerhead can be residual water in the head, while a continuing stream after the control is off indicates a leak. Water from the tub spout while the diverter is engaged can be a diverter leak. Water from the showerhead, tub spout, or around the handle when the control is off more often keeps the valve and cartridge in scope, but the outlet location alone cannot identify the failed part.
Keep the diagnosis non-invasive
Do not force a stiff handle, remove the escutcheon or cartridge, open the wall, or keep cycling the control to reproduce the leak. Avoid tightening a connection that would require tools if the pipe or shower arm could twist in the wall. If water is reaching the wall, ceiling, floor, or electrical equipment, stop and arrange prompt plumbing help. Use a local shutoff or the main supply only when it is clearly accessible, labeled, and safe to operate.
What to record for a plumber
Record how long the water continues, the outlet where it appears, whether the control was recently installed or repaired, the number of handles, whether a tub diverter is present, and any dampness, staining, sound, or water-meter movement. Include the shower brand and model only if it is safely visible. A plumber can then decide whether the showerhead connection, diverter, valve cartridge, trim, or concealed piping needs service.
Safety boundary
Stop conditions
- Stop for water entering a wall or ceiling, structural swelling, pooling near electrical equipment, an uncontrollable flow, or any sign of hidden moisture.
- Do not force handles or diverters, remove trim or cartridges, open walls, twist a shower arm, or expose plumbing connections without proper isolation and professional judgment.
- Valve, cartridge, diverter, concealed-pipe, and water-damage repairs belong to a licensed plumber when the leak persists, the source is hidden, or disassembly is required.
Only after diagnosis
Potential parts
- shower valve cartridge
Consider only if inspection confirms a leak through the valve and identifies the installed valve and cartridge.
Match the exact valve family, cartridge design, orientation, and manufacturer fit information; appearance alone is not sufficient. - showerhead gasket or O-ring
Consider only if the leak is confirmed at the exposed showerhead connection and the pipe and head are otherwise sound.
Confirm the connection size, gasket shape, and showerhead assembly before replacing; avoid forcing a pipe that may be secured inside the wall. - tub-shower diverter
Consider only if inspection confirms that the diverter is allowing abnormal flow or cannot hold the selected outlet.
The diverter location and assembly type must be identified before replacement; do not infer fit from a similar-looking spout or selector.
When checks do not resolve it
Need a professional?
Use a licensed plumber for continuous running, persistent post-shutoff dripping, water around the handle or wall, diverter leakage, hidden moisture, or any repair requiring trim or valve disassembly.
Common questions
FAQ
Is a showerhead dripping after shutoff always a leak?
No. A brief drip can be the showerhead emptying retained water. Dripping that continues long after shutoff or a steady stream indicates a leak and should be assessed.
Why does the shower keep running when the handle is off?
A valve or cartridge may not be sealing, or a diverter may be allowing flow. The showerhead, tub spout, handle, and wall outlet pattern helps scope the inspection but does not identify the part by itself.
Can I replace the shower cartridge myself?
Cartridge work requires water isolation and disassembly of the shower control. If the source is persistent, concealed, or uncertain, use a licensed plumber rather than removing trim as a diagnostic experiment.
What if water only comes from the tub spout during a shower?
A small amount of tub-spout leakage while a diverter is engaged can occur, but a continuing or unusually large flow wastes water and supports a diverter or valve assessment.
When should I shut off the water?
If water is spreading or cannot be stopped at the control, use a clearly accessible local or main shutoff only if it is safe to operate, then call a plumber. Do not reach through water near electrical equipment or force an unfamiliar valve.
Read the exact guide
Official sources
- Bath and Shower DivertersU.S. Environmental Protection Agency WaterSense · Bath and shower diverter function and leakage from the tub spout while flow is directed to the showerhead.
- Fix a Leak WeekU.S. Environmental Protection Agency WaterSense · Showerhead and shower valve leak guidance, connection checks, water shutoff before repair, and professional help for complicated valve leaks.
- How to Fix a Leaky Shower HeadDelta Faucet · Manufacturer guidance distinguishing persistent showerhead leaks from normal dripping, exposed connection leaks, and leaks when water is off.
- After turning off my shower, water continues to drip from the shower head for a minute or so. Is something wrong?Delta Faucet · Manufacturer explanation that a short post-shutoff showerhead drip can be residual water draining from the showerhead.
Community feedback
Share a repair observation
Share a plain-text repair observation. Accepted observations are published automatically; this page may take a moment to update.