
On this page
Start here
Quick answer
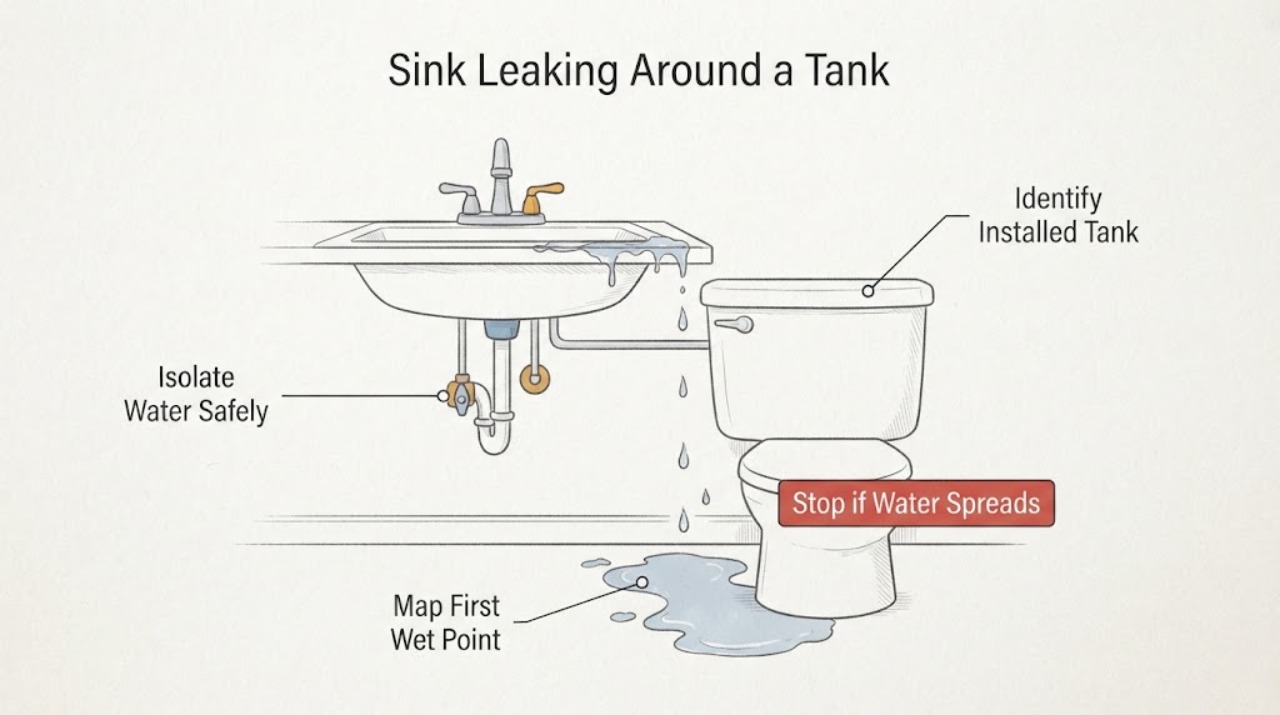
A leaking sink with a tank underneath is not automatically a failed tank: the water may come from a supply connection, filter or reverse-osmosis tube, faucet, drain, or an under-sink hot-water device. First keep the cabinet safe, close the local water shutoff when you can reach it without touching wet electrical equipment, and find the first point that becomes wet rather than guessing from the puddle. Compare a tank body with its fittings and connected tubing, and record whether the leak occurs only while dispensing, while the system refills, or continuously. A cracked or bulging tank, a persistent leak after the water is shut off, contaminated drinking water, or water near an outlet or powered device needs prompt plumbing service; do not pressurize, open, bypass, or repair an unidentified tank.
Before you begin
Safety first
- This article supports dry, ordinary-access observation and safe water isolation only. A qualified professional must handle pressurized tank work, unknown fittings, electrical equipment, internal hot-water or filter components, sanitation decisions, and any repair requiring disassembly.
Work through in order
Diagnostic checks
Use only checks that match the exact appliance or system and its official guide.
-
Check 1
From a dry, stable position, look for active flow, standing water, a wet outlet or cord, and any powered under-sink device; if the area is dry and the shutoff is safely reachable, close the local supply valve feeding the sink or tank without reaching through water or touching electrical equipment.
Expected result: The flow stops, slows but continues, cannot be isolated safely, or water is already contacting an outlet, plug, pump, disposal, or hot-water device.
Next step: Keep the water isolated and the cabinet out of use while arranging a plumber. If electrical equipment or an outlet is wet, do not touch it; use qualified electrical assessment and only isolate power from a safe, dry location if that can be done without approaching the water.
Stop if: Stop immediately for water near electricity, a shock, smoke, heat, arcing, a damaged cord, uncontrolled flow, or any need to reach through standing water.
Why this matters
Why: A stopped flow supports an upstream pressurized supply or tank branch. Continued dripping may be stored water, a drain or faucet leak, or a valve that is not isolating. Wet electrical equipment turns this into a combined water and electrical safety event.
-
Check 2
After the area is dry enough for safe ordinary access, read only the exterior label and observe the shape, tubing, shutoff, drain connection, and power cord of the under-sink device without opening a cover or disconnecting a tube.
Expected result: The device is identifiable as a reverse-osmosis storage tank, a filter or reservoir, a small hot-water unit, or an unidentified vessel; note whether it has a flexible tube, threaded elbow, drain line, or electrical connection.
Next step: Photograph the label and connections for the plumber or manufacturer. Use only the exact product instructions for the identified device; if the identity is uncertain, leave the supply isolated and request plumbing service.
Stop if: Do not remove a cover, cut tubing, loosen a pressurized fitting, operate a relief or air valve, or handle an electric hot-water unit while wet or energized.
Why this matters
Why: A reverse-osmosis tank has different pressure, drain, and drinking-water boundaries from a hot-water tank or a non-tank filter. An unidentified or unlabelled vessel cannot safely be assigned a part or pressure procedure.
-
Check 3
With the tank supply isolated and no electrical or contamination hazard, dry only accessible exterior surfaces and observe without touching fittings as the remaining water appears; trace from the highest newly wet point down to the cabinet floor.
Expected result: The first wet point is a supply tube or shutoff, a tank port or threaded elbow, the tank wall or seam, a faucet or filter head, a drain connection, or it cannot be seen without disassembly.
Next step: Keep the local supply isolated, mark the first wet point with a photograph, and give the timing and location to a plumber or the device manufacturer. Do not tighten or seal a fitting merely because it is near the puddle.
Stop if: Stop for a bulging, cracked, corroded, unstable, or leaking pressure vessel, a spray or active flow, water behind cabinetry, or any need to move the tank or open pressurized plumbing.
Why this matters
Why: A connection or tube may be the source even when water collects beneath the tank. A tank wall, seam, or threaded port that becomes wet first is a vessel or port service issue. A hidden first point requires professional access rather than a guessed seal or replacement.
-
Check 4
Without restarting an unsafe system, record whether the leak began during faucet dispensing, while the tank or filter system was refilling, after the faucet was closed, after a filter change, or with no use; do not intentionally pressurize a leaking vessel to reproduce the symptom.
Expected result: The leak is tied to dispensing or refill, continues from stored water after shutoff, appears only at a faucet or drain, or occurs continuously while the supply is open.
Next step: Keep a written timeline and photos with the model information. Ask the plumber to assess the tank, fittings, shutoff, drain path, and any filter or hot-water device according to the exact installation instructions.
Stop if: Do not reopen the supply for a leak test when the tank is cracked, water is near electricity, the drinking-water path is contaminated, or the source cannot be controlled.
Why this matters
Why: Timing separates a faucet, drain, tubing, refill, stored-pressure, and tank-port branch, but it does not prove which internal seal or component failed. Whirlpool's manual notes that system pressure can build slowly and that leaks may not be immediately apparent.
-
Check 5
If the leaking device supplies drinking water, identify whether the water contacted dirt, cleaners, stagnant cabinet contents, a damaged filter, or a non-potable surface, and set that water aside rather than tasting it; do not sanitize or replace cartridges without the exact device instructions.
Expected result: The water path remains clean and identified, the tank or filter has visible contamination or damage, or the water source and condition are unknown.
Next step: Do not use the filtered or stored water until the manufacturer or plumber confirms the repair and required sanitation or purge steps. Continue using a known-safe water source while the system is out of service.
Stop if: Stop if anyone has consumed visibly contaminated water, a chemical is present, a tank is open or damaged, or safe sanitation cannot be tied to the exact model instructions.
Why this matters
Why: A clean-looking leak does not establish drinking-water safety after a damaged or serviced storage system. EPA guidance emphasizes that manufacturers' instructions control filter installation and maintenance, and the RO manual requires purging after sanitization before drinking.
-
Check 6
Prepare the exterior model label, a connection map, first-wet-point photographs, water shutoff result, leak timing, filter or cartridge history, and any electrical or water-damage observations without moving or opening the tank.
Expected result: The evidence identifies a tank body or port, an attached fitting or tube, a separate faucet or drain, an under-sink hot-water device, or an unresolved source.
Next step: Leave the supply isolated when the leak is active, recurring, or unresolved and request qualified plumbing service. Add qualified electrical service when water reached powered equipment or an outlet.
Stop if: Do not resume normal use, move a pressure vessel, reconnect tubes, or energize a wet device to see whether the leak has stopped.
Why this matters
Why: This record lets a plumber choose between a connection repair, tank or port assessment, filter or RO service, hot-water service, drain repair, or a broader cabinet-water assessment without assuming the part from the puddle.
Use your observations
Decision map
Find the observation that best matches what you see, then follow the next safe action.
-
PATH 01Safety boundary
What you see
Water is near an outlet, plug, powered filter pump, disposal, instant hot-water unit, or exposed electrical equipment.
Do this next
Keep people away, do not touch wet equipment or wiring, and obtain qualified electrical and plumbing assessment. Use emergency response for smoke, fire, arcing, or a shock.
Why this path and its safety boundary
Why it matters: The cabinet is not a safe plumbing-only inspection area.
Safety stop: Do not reach through water, unplug a wet device, reset a GFCI repeatedly, or energize the cabinet to test it.
-
PATH 02Safety boundary
What you see
The tank wall, seam, bottom, or a tank port becomes wet before the connected tube or fitting.
Do this next
Leave the supply isolated and request a plumber or device manufacturer to identify the exact tank and approved replacement or repair path.
Why this path and its safety boundary
Why it matters: The vessel or its port is the leading service branch, especially when the leak continues from stored water after the supply is closed.
Safety stop: Do not pressurize, puncture, open, tilt, clamp, or attempt to reseal a leaking or bulging tank.
-
PATH 03Safety boundary
What you see
A supply tube, threaded connection, shutoff, elbow, or filter head becomes wet first while the vessel remains dry.
Do this next
Keep the supply off, photograph the connection and tubing, and have a plumber follow the manufacturer's connection and leak-check instructions; do not overtighten or substitute a fitting.
Why this path and its safety boundary
Why it matters: A connection, gasket, tube, or valve may be the source, but the correct repair depends on the exact device and fitting design.
Safety stop: Stop for cross-threading, a damaged thread, a cut or kinked tube, active spray, or water that cannot be controlled at the local shutoff.
-
PATH 04Safety boundary
What you see
The tank and supply connections stay dry, but water begins at the faucet, faucet base, drain adapter, P-trap, or another sink connection.
Do this next
Keep water use limited or isolated, map the first wet point, and request plumbing service for the faucet or drain connection rather than replacing the tank.
Why this path and its safety boundary
Why it matters: The tank may be an innocent nearby object; the leak belongs to the faucet or drain branch until proven otherwise.
Safety stop: Stop for water inside cabinetry, an active drain backup, sewage contamination, or electrical contact.
-
PATH 05Safety boundary
What you see
The stored or filtered water contacted chemicals, dirty cabinet water, an open or damaged tank, an unapproved repair, or an unknown surface.
Do this next
Stop using the filtered or stored water and obtain exact model sanitation, purge, filter, or tank guidance from the manufacturer or a qualified plumber.
Why this path and its safety boundary
Why it matters: Leak control and drinking-water safety are separate decisions; a dry exterior does not prove the water is safe to consume.
Safety stop: Do not taste-test, mix cleaners, improvise sanitization, or return the water system to service without model-appropriate confirmation.
-
PATH 06Safety boundary
What you see
The tank identity or first wet point is unknown, the local valve will not stop the flow, or dripping continues after the cabinet is dry and the supply is isolated.
Do this next
Keep the sink and system out of use, protect the cabinet without touching electrical equipment, and arrange prompt plumber service.
Why this path and its safety boundary
Why it matters: A hidden, stored-pressure, separate-supply, or structural plumbing issue remains possible.
Safety stop: Stop for active flooding, ceiling or cabinet damage, contaminated water, or any need to dismantle a pressurized or electrical device.
Helpful context
Understand the symptom
Identify what the word tank means before choosing a repair
A sink cabinet may contain a reverse-osmosis storage tank, a filter system with a reservoir, or a small hot-water unit. Some sinks have no tank at all, so a wet cabinet can instead be a faucet, supply stop, drain, or dishwasher connection. Read the exterior label from a dry, safe position and photograph the layout without removing covers. Keep the article's tank branch conditional on what is actually installed; do not apply a reverse-osmosis or hot-water procedure to an unidentified device.
Use the first wet point and timing to separate the branches
Dry the accessible cabinet floor and place a clean, dry towel or paper sheet where it will not touch energized equipment. Observe from outside the cabinet while a helper operates the faucet only when there is no electrical or contamination hazard. A connection that becomes wet first points to a fitting or tube; a tank wall, seam, or threaded port that wets first points to the vessel or its port. A leak that continues after dispensing stops may be stored pressure, a supply valve, or a separate line rather than proof that the tank itself failed.
Protect drinking water and nearby electrical equipment
Do not drink or cook with water from a filtered or stored-water system if the tank, tubing, or fittings are contaminated, cracked, or exposed to cleaning chemicals until the system has been assessed and the manufacturer's sanitation procedure is followed. Water in a cabinet can reach a powered filter pump, instant hot-water unit, outlet, disposal, or appliance cord. If electrical equipment or an outlet is wet, keep hands and feet dry, do not touch the wet equipment, and have the water and electrical conditions assessed safely.
Safety boundary
Stop conditions
- Stop and isolate use for an active uncontrolled leak, a cracked, bulging, corroded, or unstable tank, or water reaching the cabinet structure, floor, or adjacent rooms.
- Do not reach through standing water or touch a wet outlet, plug, pump, disposal, instant hot-water unit, wiring, or energized appliance; obtain qualified electrical assessment.
- Do not pressurize, puncture, open, tilt, clamp, bypass, or reseal an unidentified or leaking tank, and do not open a pressurized fitting or relief valve.
- Do not overtighten, cut, reconnect, or substitute tubing or fittings based only on the location of a puddle; follow the exact device instructions or use a plumber.
- Do not drink or cook with water that contacted chemicals, dirty cabinet water, or a damaged or unverified filter or storage tank until model-appropriate sanitation and purge guidance is completed.
Only after diagnosis
Potential parts
- compatible storage tank or reservoir
Consider this category only if the exact device is identified and a qualified diagnosis confirms the tank vessel or reservoir is leaking or damaged.
Confirm the model, pressure and connection requirements, potable-water rating, and manufacturer-approved fit before ordering; do not substitute an unidentified pressure vessel. - tank connection seal or elbow
Consider this category only when the exact tank port or threaded connection is confirmed as the first wet point and the manufacturer specifies a replaceable connection part.
Confirm the exact device and fitting design with the manufacturer or plumber; damaged threads may require the complete approved assembly. - compatible water tubing or shutoff connection
Consider this category only when the first wet point is an identified tube, valve, or connection and the exact installation instructions support replacement.
Confirm tubing size, material, connection type, potable-water suitability, and model compatibility; do not cut or reconnect a pressurized line as a diagnostic test.
When checks do not resolve it
Need a professional?
Request prompt plumbing service when the first wet point is a tank body, seam, port, fitting, tubing, filter, faucet, drain, or unidentified source; when the local shutoff does not stop flow; when a tank continues to drip from stored water; or when the leak returns after a filter or connection service. Add qualified electrical service when water reached powered equipment, an outlet, a plug, or wiring. Use emergency response for smoke, fire, arcing, shock, or uncontrolled flooding.
Safety scope: This article supports dry, ordinary-access observation and safe water isolation only. A qualified professional must handle pressurized tank work, unknown fittings, electrical equipment, internal hot-water or filter components, sanitation decisions, and any repair requiring disassembly.
Common questions
FAQ
How do I know whether the tank itself is leaking?
Dry only safe, accessible exterior surfaces and identify the first point that becomes wet. A tank wall, seam, or tank port that wets before its tubing or fitting is the tank branch; a wet supply connection, faucet, filter head, or drain points elsewhere. Do not pressurize or open the tank to prove the source.
Can I keep using filtered water if the tank is leaking?
Do not use stored or filtered water if the tank or water path is damaged, dirty, exposed to chemicals, or repaired in an unknown way. Keep the system isolated and follow the exact manufacturer's sanitation and purge guidance after professional assessment.
What should I do if water reaches an outlet under the sink?
Do not touch wet electrical equipment, plugs, cords, or wiring, and do not reach through standing water. Keep the area out of use and obtain qualified electrical and plumbing assessment; smoke, arcing, fire, or shock requires emergency response.
Read the exact guide
Official sources
- GFCI Fact SheetU.S. Consumer Product Safety Commission · CPSC guidance on ground-fault protection where electrical equipment is near water and qualified electrical service
- How to install, operate and maintain your Reverse Osmosis Water Filtration SystemWater Channel Partners for Whirlpool Water Solutions · Official Whirlpool Water Solutions reverse-osmosis installation, storage-tank, leak-check, sanitation, and purge guidance
- Water Filter Education HandoutsU.S. Environmental Protection Agency · EPA guidance on selecting, installing, and maintaining home drinking-water filters
- Water Leaking - GXRV10ABL Reverse OsmosisGE Appliances · GE reverse-osmosis storage-tank leak and tank-port guidance
- Water Heaters - Water Dripping Outside HeaterGE Appliances · GE water-heater guidance distinguishing external connection drips from the tank and requiring qualified service
- Delta Kitchen Faucets Installation InstructionsDelta Faucet · Delta faucet installation and leak-location guidance for supply connections, faucet body, and shutoff boundaries
Community feedback
Share a repair observation
Share a plain-text repair observation. Accepted observations are published automatically; this page may take a moment to update.