
On this page
Start here
Quick answer
A ceiling water stain near an attic floor does not prove that the attic floor is the source. From safe, stable access, document whether the stain is active or expanding, correlate it with rain, snowmelt, plumbing, HVAC use, or indoor humidity, and look only for visible moisture paths. Do not walk on insulation or ceiling drywall, move roof materials, open the ceiling, or disturb suspected mold. If water is near a light or wiring, keep the circuit off from a dry location and have an electrician assess it. Arrange qualified roof, plumbing, HVAC, or water-damage service to identify and stop the source before patching or repainting.
Before you begin
Safety first
- Use dry, stable, non-destructive observation only. Do not walk on insulation or ceiling drywall, climb onto the roof, open the ceiling, move wiring or insulation, touch wet electrical parts, or restore power to test.
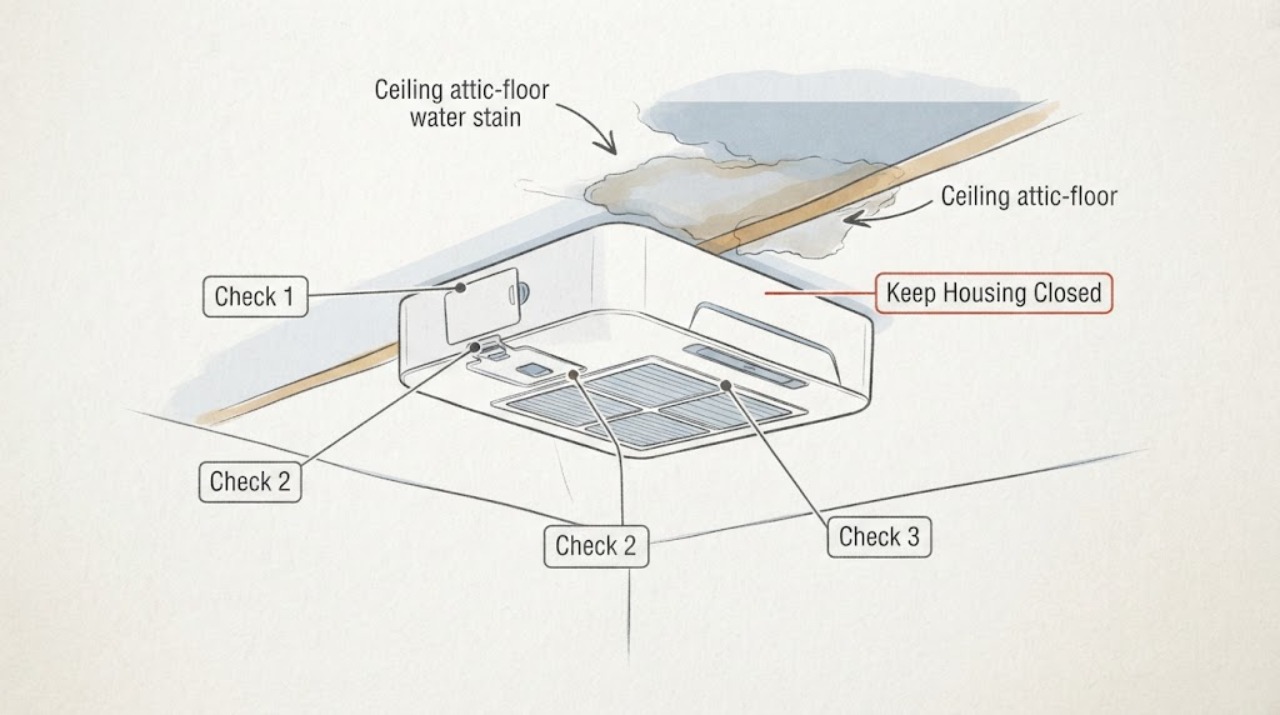
Work through in order
Diagnostic checks
Use only checks that match the exact appliance or system and its official guide.
-
Check 1
From the room below and from a safe standing position, photograph and map the stain relative to walls, light fixtures, vents, plumbing fixtures, and the attic access. Note its size, color, edge sharpness, odor, and whether a drop or wet spot is present now.
Expected result: The mark may be a dry ring, a spreading damp area, an active drip, a soft or bulging ceiling, or a stain that is offset from the nearest roof or ceiling penetration.
Next step: Keep furniture and people clear, preserve dated photos, and continue only with safe observations. If the ceiling bows, cracks, sheds material, or becomes wet around a light, arrange urgent professional assessment.
Stop if: Stop immediately for structural movement, falling material, active water over electrical equipment, smoke, burning odor, or a musty or contaminated environment that makes entry unsafe.
Why this matters
Why: An active or enlarging mark indicates an unresolved moisture source. An offset mark does not rule out a roof or pipe leak because water can travel along framing, insulation, or the ceiling plane before appearing.
-
Check 2
Make a short trigger log without creating a leak or operating concealed equipment: record whether the stain or drip follows rain, wind-driven rain, snowmelt, a bath or plumbing use, HVAC operation, cooking or shower humidity, or a change in outdoor temperature.
Expected result: The condition may appear only after precipitation, after a fixture or HVAC cycle, during cold weather, after a warm-up, or with no repeatable trigger.
Next step: Give the trigger and exact timing to the roofer, plumber, HVAC technician, or water-damage professional. Do not open the ceiling or deliberately run water or HVAC to reproduce the stain.
Stop if: Stop logging if the stain grows quickly, water becomes continuous, or any electrical, structural, or contamination warning appears.
Why this matters
Why: Rain or snow timing makes a roof or exterior path more likely; plumbing or HVAC timing makes a pipe, drain, condensate, or duct-area source more likely; cold-weather or humidity timing makes condensation possible. The correlation narrows the professional path but is not a diagnosis.
-
Check 3
If there is a clearly marked, solid attic walkway or floor and the route is fully lit and free of hazards, look from that route only at the underside of the roof deck, rafters or trusses, insulation surface, and visible penetrations. Do not step on insulation, ceiling drywall, ductwork, or an unverified surface.
Expected result: You may see a wet trail, darkened wood, dripping roof sheathing, displaced insulation, frost or condensation, a dry attic, or no safe way to view the area.
Next step: Photograph only what is visible from the safe route and leave the source untouched. If there is no verified walkway or the view requires climbing, crawling, moving insulation, or approaching equipment, stop and schedule an inspection.
Stop if: Do not continue around exposed wiring, unstable framing, pests, contaminated insulation, heat-producing equipment, or any surface whose load capacity is uncertain.
Why this matters
Why: A trail on the underside of the roof deck supports a roof or exterior investigation; moisture around a pipe, duct, or HVAC component changes the likely trade; frost or widespread dampness can fit condensation. A dry snapshot does not rule out an intermittent leak.
-
Check 4
From safe access, compare the stained area with nearby attic and ceiling areas without touching materials. Note whether moisture is localized or widespread, whether insulation is compressed or discolored, whether vents are visibly blocked, and whether the room below has a wet light, outlet, or ceiling penetration.
Expected result: Moisture may be confined to one roof bay or penetration, spread along several bays, concentrated around a duct or pipe, or present near energized electrical equipment.
Next step: Keep the affected area out of service and provide the comparison photos to the appropriate professional. If a light, wiring, or outlet is wet or nearby, isolate power only from a dry, safe location or call an electrician to do it.
Stop if: Never touch wet electrical parts, stand in water, move insulation around wiring, or restore power to test the affected circuit.
Why this matters
Why: A localized path helps prioritize the inspection point; widespread dampness or blocked ventilation makes a broader moisture or condensation assessment more important. Wet electrical equipment is a separate safety concern and cannot be cleared by a dry-looking ceiling surface.
-
Check 5
Prepare the service handoff with dated photos, the stain map, trigger log, recent roof, plumbing, or HVAC work, attic type if known, material condition, any odor or mold-like growth, and every area that could not be viewed safely. Do not paint, caulk, or seal the stain before the moisture source is confirmed and the material is dry.
Expected result: The record should show whether the mark changed, which triggers were present, what was visible from safe access, and whether contaminated or porous materials may be involved.
Next step: Request source repair and moisture assessment first, followed by drying and material repair. Ask the professional to confirm the ceiling and any affected electrical equipment are safe before refinishing or re-energizing them.
Stop if: Stop cleanup and use qualified help for sewage or unknown water, visible mold beyond a small isolated area, health concerns, concealed damage, or any structural or electrical hazard.
Why this matters
Why: A complete timeline helps a professional distinguish active intrusion from residual staining and prevents a cosmetic patch from hiding ongoing moisture. Porous ceiling or insulation materials may need a condition-based remediation decision.
Use your observations
Decision map
Find the observation that best matches what you see, then follow the next safe action.
-
PATH 01Safety boundary
What you see
The stain expands or drips after rain or snowmelt, and a safe attic view shows a wet trail or darkened underside of roof sheathing while nearby plumbing appears dry.
Do this next
Keep the affected room and any wet electrical area out of service and arrange roof or building-envelope inspection. Do not climb onto the roof, move roof coverings, or widen the ceiling opening.
Why this path and its safety boundary
Why it matters: A roof, flashing, vent, or exterior penetration becomes more likely, although the ceiling stain may still be downstream from the entry point.
Safety stop: Escalate urgently for a rapidly growing leak, bowed ceiling, falling material, or water reaching a light, outlet, or wiring.
-
PATH 02Safety boundary
What you see
There is no clear rain event, but staining or dampness tracks cold weather, high indoor humidity, HVAC or duct operation, frost that later melts, or broad moisture on roof surfaces.
Do this next
Arrange an attic or building-moisture assessment to check air paths, ventilation, insulation, ducts, and roof materials. Do not add insulation, seal penetrations, or run a suspected contaminated HVAC system before the cause is evaluated.
Why this path and its safety boundary
Why it matters: Condensation, air leakage, ventilation, or a duct or HVAC condition is more likely than a single puncture, but a concealed leak remains possible.
Safety stop: Stop if mold-like growth, strong musty odor, wet insulation, structural deterioration, or health symptoms are present.
-
PATH 03Safety boundary
What you see
The stain repeats after a bathroom, kitchen, plumbing, or HVAC event, and the safe view shows moisture near a pipe, drain, condensate path, duct, or equipment area rather than only at the roof deck.
Do this next
Stop using the implicated fixture or equipment if that can be done with ordinary dry controls, then request the matching qualified trade and water-damage assessment. Do not open the ceiling or dismantle the equipment to trace the leak.
Why this path and its safety boundary
Why it matters: A plumbing, drain, condensate, or HVAC source is more likely. The ceiling stain is an outlet for that water and does not identify a failed ceiling component.
Safety stop: Do not enter a wet attic, handle contaminated water, or work around electrical equipment or fuel-burning systems.
-
PATH 04Safety boundary
What you see
The stain is active near a light or wiring, the fixture or outlet is wet, or the ceiling is sagging, cracking, bulging, or shedding material regardless of the suspected source.
Do this next
Keep people out of the area. Isolate power only from a dry, unobstructed location or call an electrician, and arrange urgent water-damage or building assessment. Do not touch, remove, or test the affected assembly.
Why this path and its safety boundary
Why it matters: Electrical shock, fire, falling-material, and structural risks take priority over tracing the leak or drying the finish.
Safety stop: Leave for smoke, active sparking, fire, major structural movement, or contaminated water and contact emergency services as appropriate.
-
PATH 05Safety boundary
What you see
The stain is intermittent, the attic view is dry or unavailable, and the trigger log does not distinguish roof, plumbing, HVAC, or condensation causes.
Do this next
Keep photos and the timeline, leave the affected finish unsealed, and schedule a professional moisture investigation. Ask for the source and material condition to be confirmed before selecting replacement materials.
Why this path and its safety boundary
Why it matters: A concealed or intermittent path remains unresolved. A pause in visible moisture is not proof that the assembly is dry or safe.
Safety stop: Do not create an access hole, walk over insulation, or repeatedly run water, HVAC, or other systems to reproduce the stain.
Helpful context
Understand the symptom
An attic-floor stain can come from bulk water entering through the roof, water moving along framing or insulation, a plumbing or HVAC leak, or condensation on cold roof surfaces. The ceiling mark may be offset from the entry point. The useful first decision is not which repair product to buy; it is whether the pattern is active, what trigger repeats, and whether the attic can be viewed without stepping on an unsafe surface.
Keep these checks visual and non-destructive. An ordinary attic floor or walkway is different from ceiling drywall, loose-fill insulation, or the top of a suspended ceiling. Do not assume any surface will support your weight. If safe access, lighting, air quality, or structural condition is uncertain, stop at the room-side observation and schedule a professional inspection.
Only after diagnosis
Potential parts
- replacement ceiling drywall or gypsum board
Consider replacement only after the source is repaired and a qualified assessment finds swelling, loss of integrity, contamination, or material that cannot be dried and retained safely.
Confirm the existing ceiling material, thickness, fire or moisture requirements, finish, and local repair requirements before selecting material. - replacement attic insulation
Consider replacement only if qualified water-damage assessment finds insulation that is contaminated, persistently wet, compressed, or unable to dry without hiding moisture.
Confirm the existing insulation type, roof assembly, ventilation path, moisture condition, and local requirements before selecting replacement material.
When checks do not resolve it
Need a professional?
Call a water-damage or building professional for an active, recurring, concealed, contaminated, or structurally significant stain. Add a roofer when the pattern follows precipitation or roof-deck evidence; a plumber or HVAC technician when the pattern follows those systems; and an electrician whenever water may have reached a light, outlet, wiring, or circuit.
Safety scope: Use dry, stable, non-destructive observation only. Do not walk on insulation or ceiling drywall, climb onto the roof, open the ceiling, move wiring or insulation, touch wet electrical parts, or restore power to test.
Have this ready
- Provide dated photos, the exact room and attic location, stain progression, trigger log, recent work, safe-view observations, water appearance or odor, electrical symptoms, and the access or materials you deliberately did not disturb.
Common questions
FAQ
Does a water stain on the ceiling prove the roof is leaking?
No. Roof entry is one possibility, but water can also come from plumbing, HVAC, condensation, or a source elsewhere in the attic and travel before appearing at the stain. Timing and a safe visual inspection help choose the next professional check.
Can I walk across the attic floor to inspect the stain?
Only if there is a clearly marked, solid, well-lit walkway or floor and the route is safe. Never step on ceiling drywall, loose insulation, ductwork, or an unverified surface; stop and schedule an inspection when the route is uncertain.
What if the stain is near a ceiling light?
Do not touch or operate the light, trim, switch, or wet ceiling. If power can be isolated from a dry, safe location, leave the circuit off; otherwise call an electrician. Do not restore power until the affected electrical equipment has been inspected.
Should I paint over the water stain after it dries?
Not yet. First identify and stop the source, dry the assembly, and confirm that the ceiling material is sound. Painting or sealing over unresolved moisture can hide continuing damage and will not fix the cause.
When does a water-damaged ceiling need professional cleanup?
Use qualified help for extensive or recurring damage, contaminated water, visible mold-like growth, wet insulation, concealed moisture, structural change, health concerns, or any cleanup that requires disturbing the ceiling or attic assembly.
Read the exact guide
Official sources
- Condensation Control in Attics and Roofs in Cold WeatherU.S. Department of Energy Building America Solution Center, Pacific Northwest National Laboratory · Building-science guidance; applies to attic assemblies and does not identify a specific home's leak source.
- What to Do to Protect Yourself From Electrical HazardsCenters for Disease Control and Prevention · General household electrical-safety guidance; site conditions and qualified local assessment control.
- Vented versus Unvented AtticU.S. Department of Energy Building America Solution Center, Pacific Northwest National Laboratory · Building-science guidance; the safe access and load capacity of an individual attic must be confirmed on site.
- A Brief Guide to Mold, Moisture and Your HomeU.S. Environmental Protection Agency · General residential moisture guidance; site condition, material type, contamination, and professional assessment control.
- Flood Cleanup to Protect Indoor Air and Your HealthU.S. Environmental Protection Agency · Flood-cleanup guidance used for the contamination and drying boundary; a smaller roof or pipe leak may require a different scope.
Community feedback
Share a repair observation
Share a plain-text repair observation. Accepted observations are published automatically; this page may take a moment to update.