
Repair service
Water Damage Guides
Water damage assessment, cleanup, and next steps.
Published water damage guides
Choose the guide that best matches the service and problem you are seeing.
-
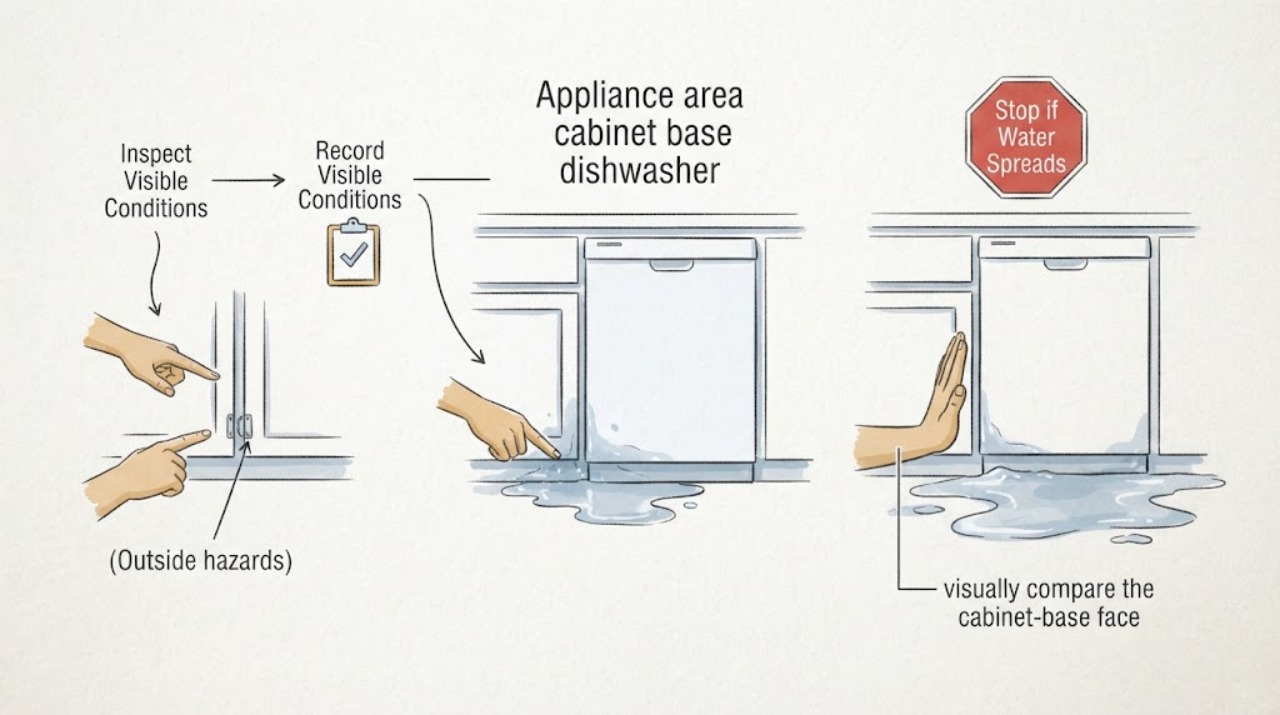
Appliance area cabinet base dishwasher or sink overflow: What to Check and What to Do Next
Treat water at the cabinet base beside a dishwasher or sink as an active water-damage question, not just a cabinet stain. From a dry, safe position, document where the water is visible, whether it followed dishwasher or sink use, how far swelling or discoloration extends, and whether there is a mold-like odor or nearby electrical hazard.
-
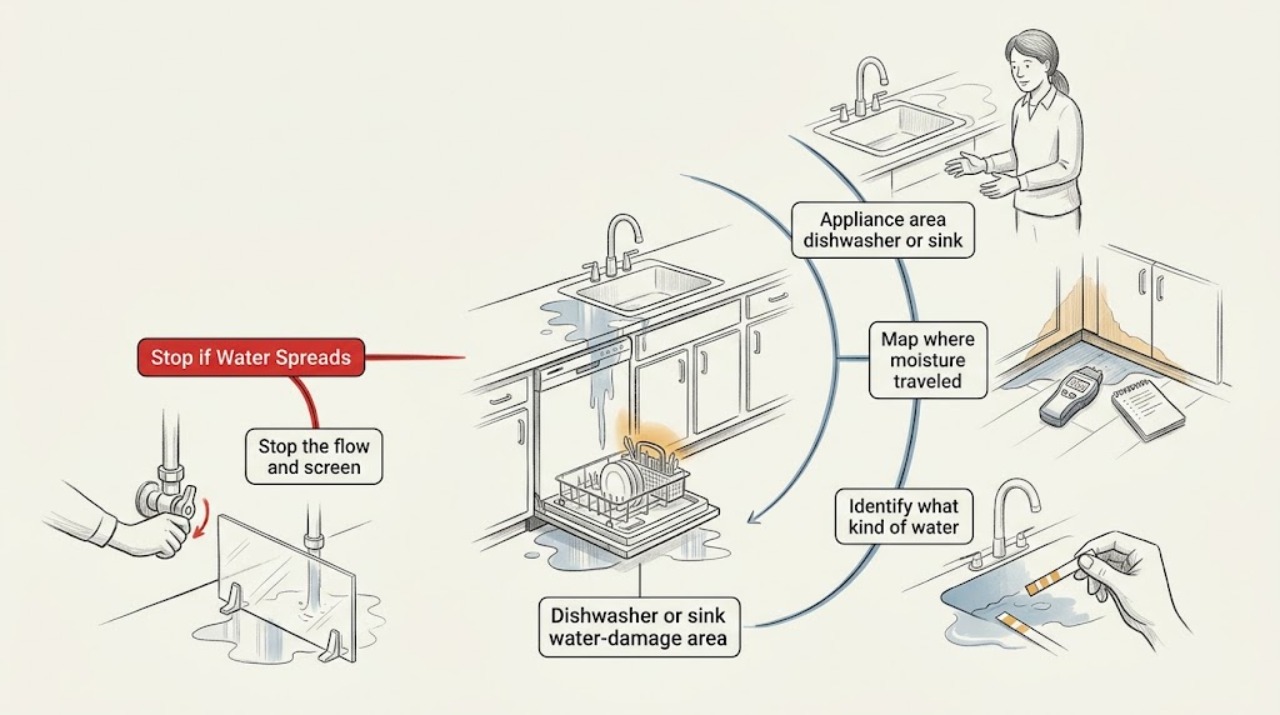
Appliance area dishwasher or sink overflow: What to Check and What to Do Next
Stop the water source first: close the faucet, stop the dishwasher with its normal control if it is safe, and keep people away from standing water near powered appliances or outlets. Do not touch electrical equipment through water or pull the dishwasher out.
-
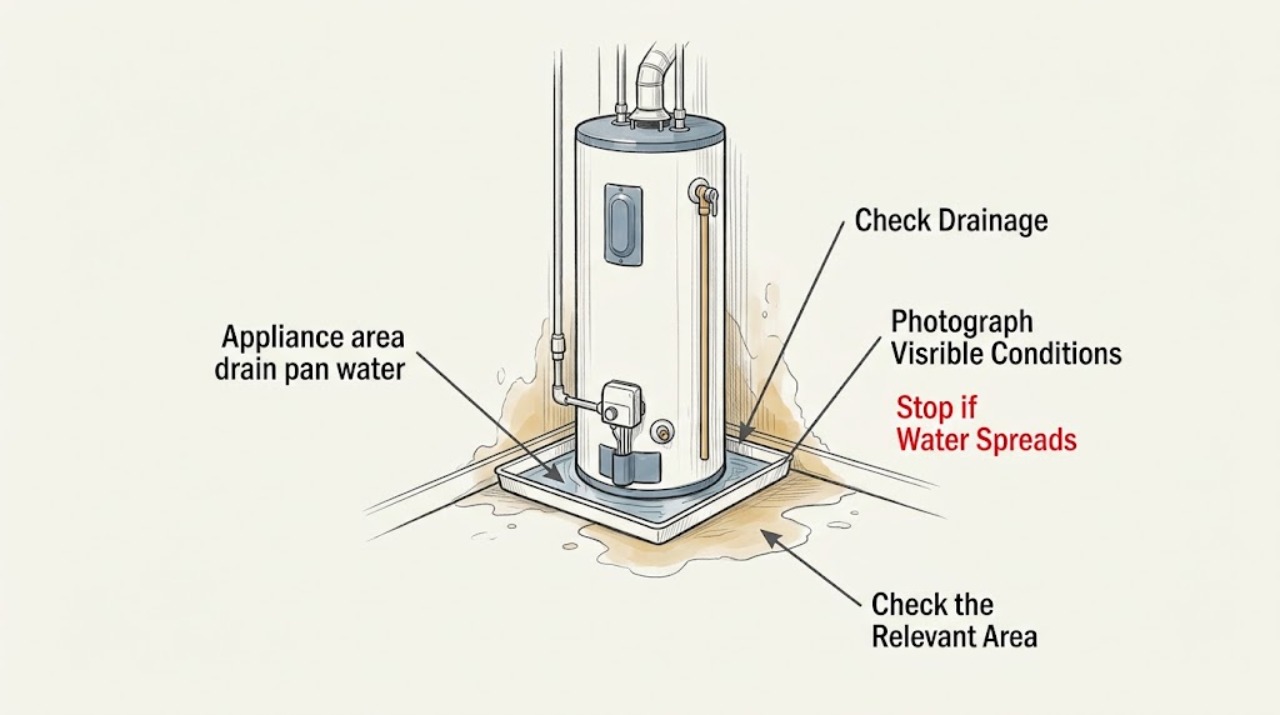
Appliance area drain pan water heater leak damage: What to Check and What to Do Next
Water in a water-heater drain pan can come from condensation, a connection, drain valve, relief-valve discharge, condensate path, or a leaking tank, so do not assume the pan itself is the source. From a dry, stable position, document the water level, visible origin, timing, floor and wall damage, and whether water is near electricity.
-
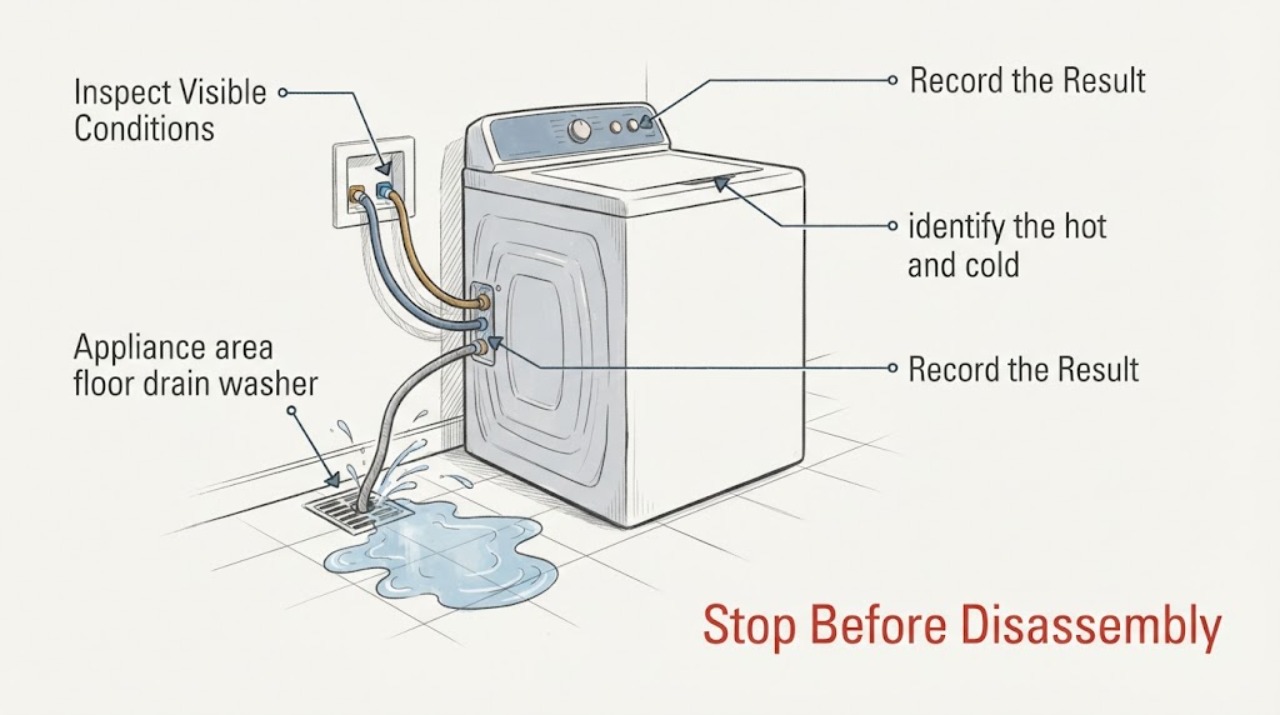
Appliance area floor drain washer supply line burst: What to Check and What to Do Next
Treat a burst washer supply line as an urgent water-damage and electrical-safety event. From a dry, safe position, observe whether water is still moving, where the water is traveling, whether it has reached outlets or appliances, and whether the floor drain is accepting it.
-
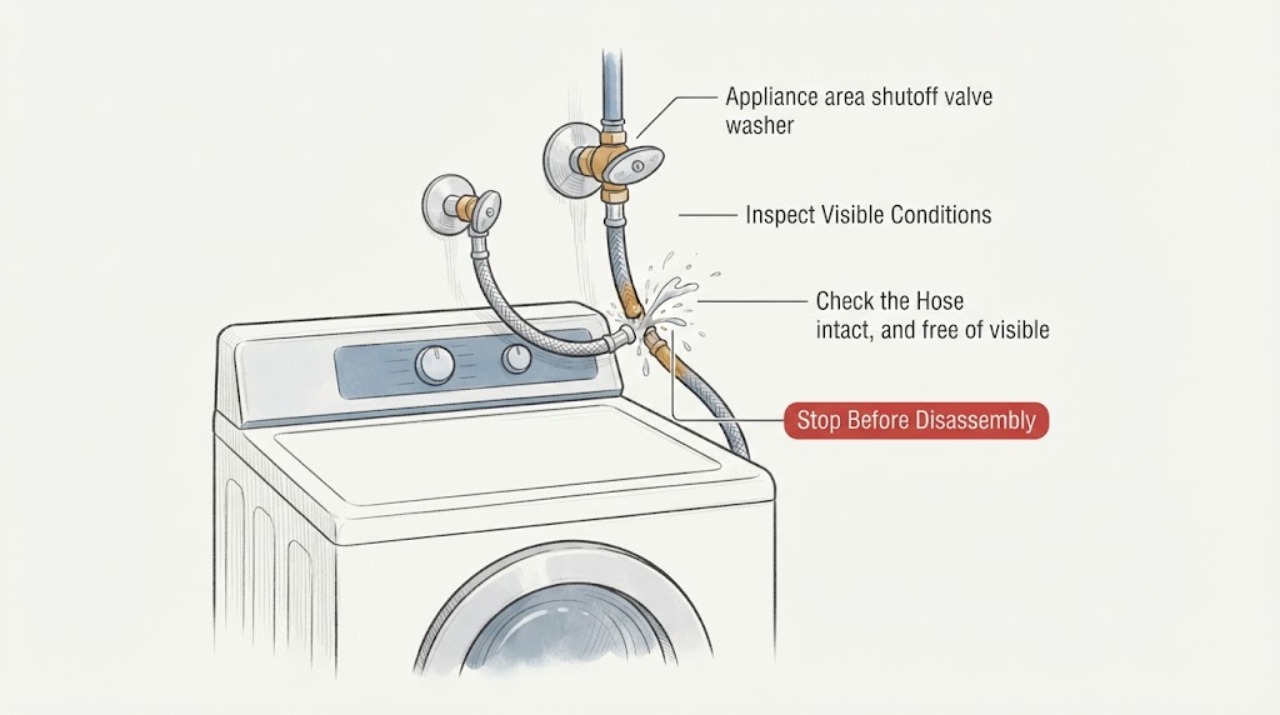
Appliance area shutoff valve washer supply line burst: What to Check and What to Do Next
Treat a burst washer supply line at the shutoff valve as an active water emergency. Keep away from standing or moving water, especially if it reaches an outlet, cord, appliance, or electrical panel.
-
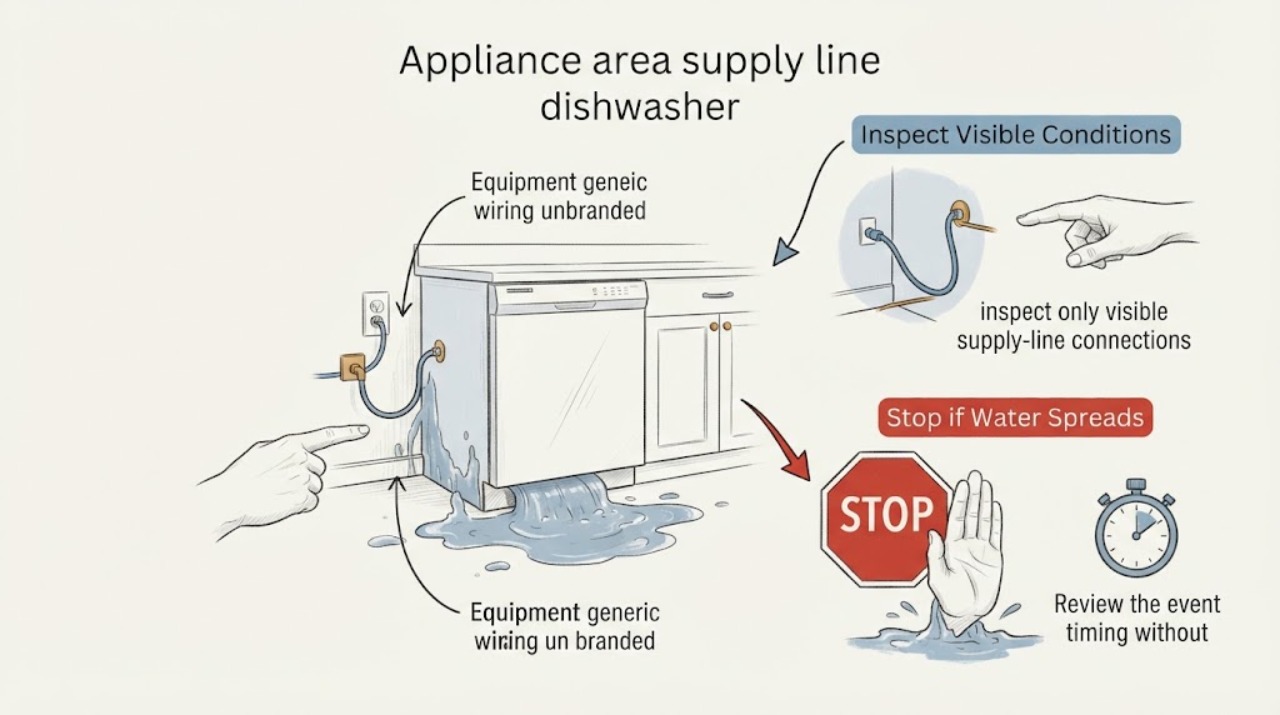
Appliance area supply line dishwasher or sink overflow: What to Check and What to Do Next
Treat water around a dishwasher or sink supply line as an active water-damage risk until the source and safety conditions are clear. Stop using the sink and appliance, observe from a dry position where water is coming from, and record whether the water is clean supply water, drain/overflow water, or contaminated wastewater.
-
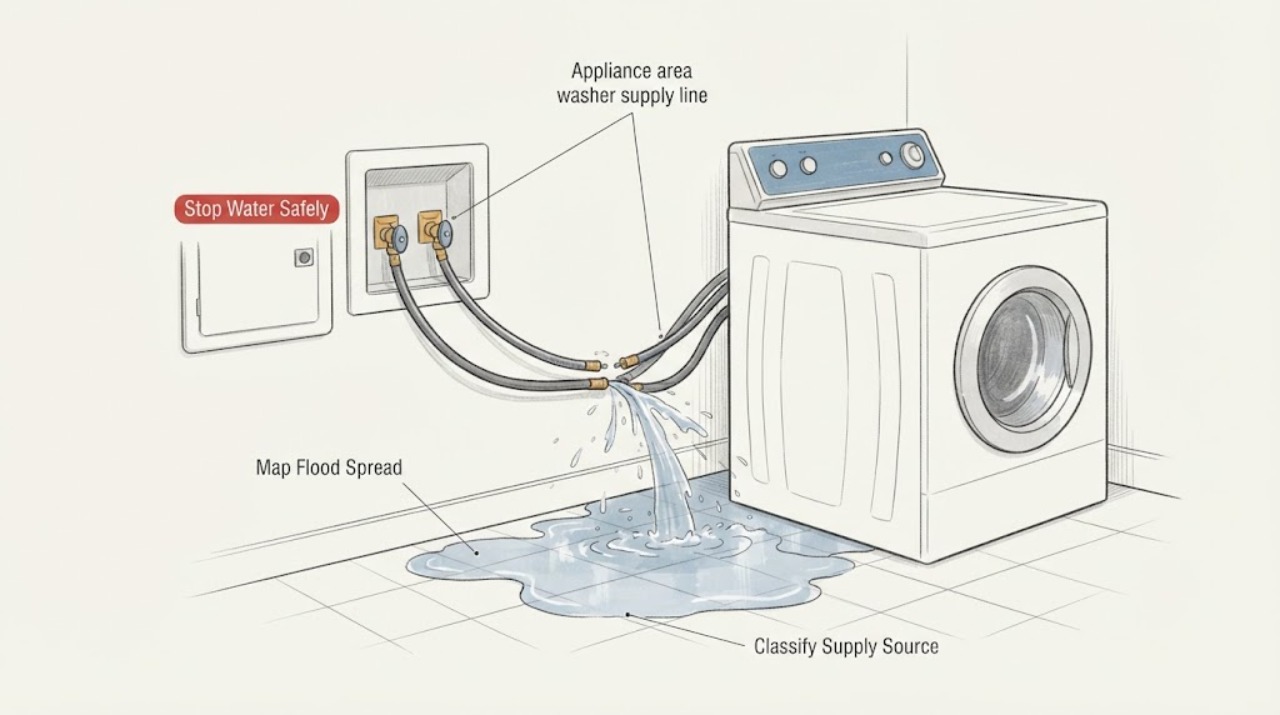
Appliance area washer supply line burst laundry room flood: What to Check and What to Do Next
A burst washer supply line with a laundry-room flood is an emergency containment and safety problem, not a normal washer troubleshooting task. From a dry, safe position, close the washer supply valves or the household water shutoff only if you can reach them without stepping in water or approaching electrical equipment.
-
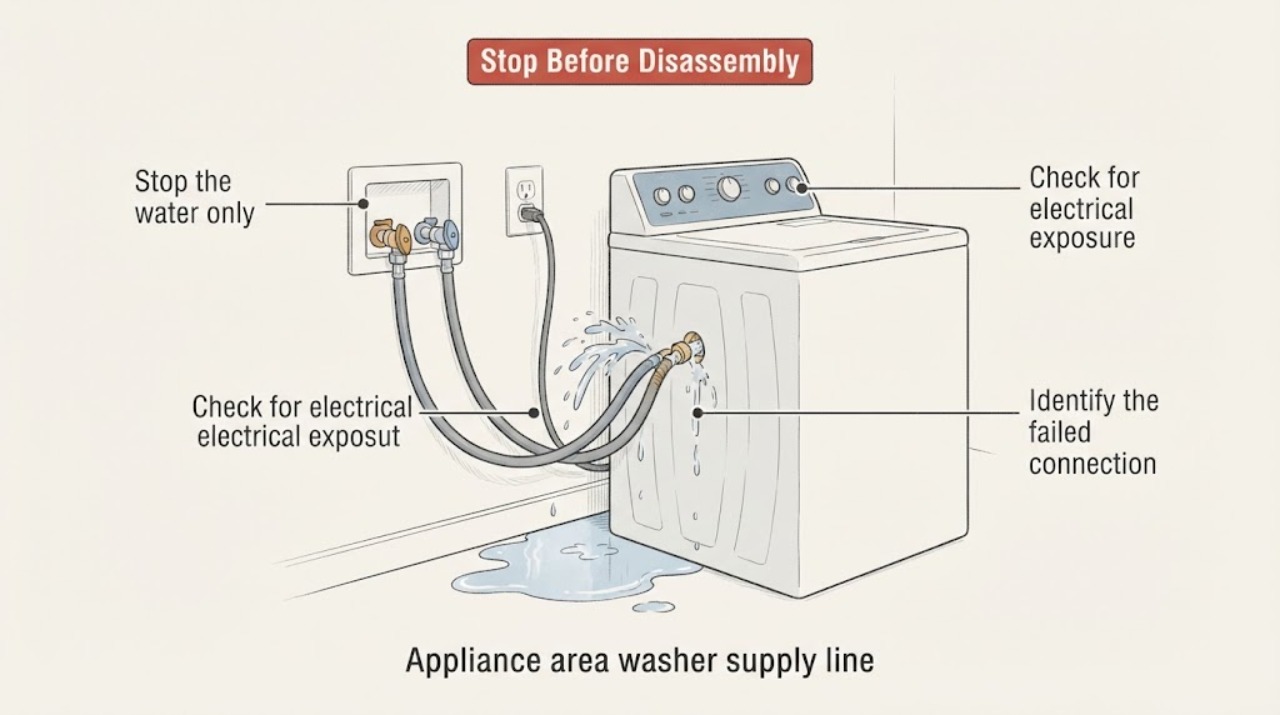
Appliance area washer supply line burst: What to Check and What to Do Next
Treat a burst washer supply line as an urgent water-damage and electrical-safety event. From a completely dry, safe position, stop the washer and close the hot and cold washer supply valves only if you can reach them without stepping into water or touching wet electrical equipment.
-
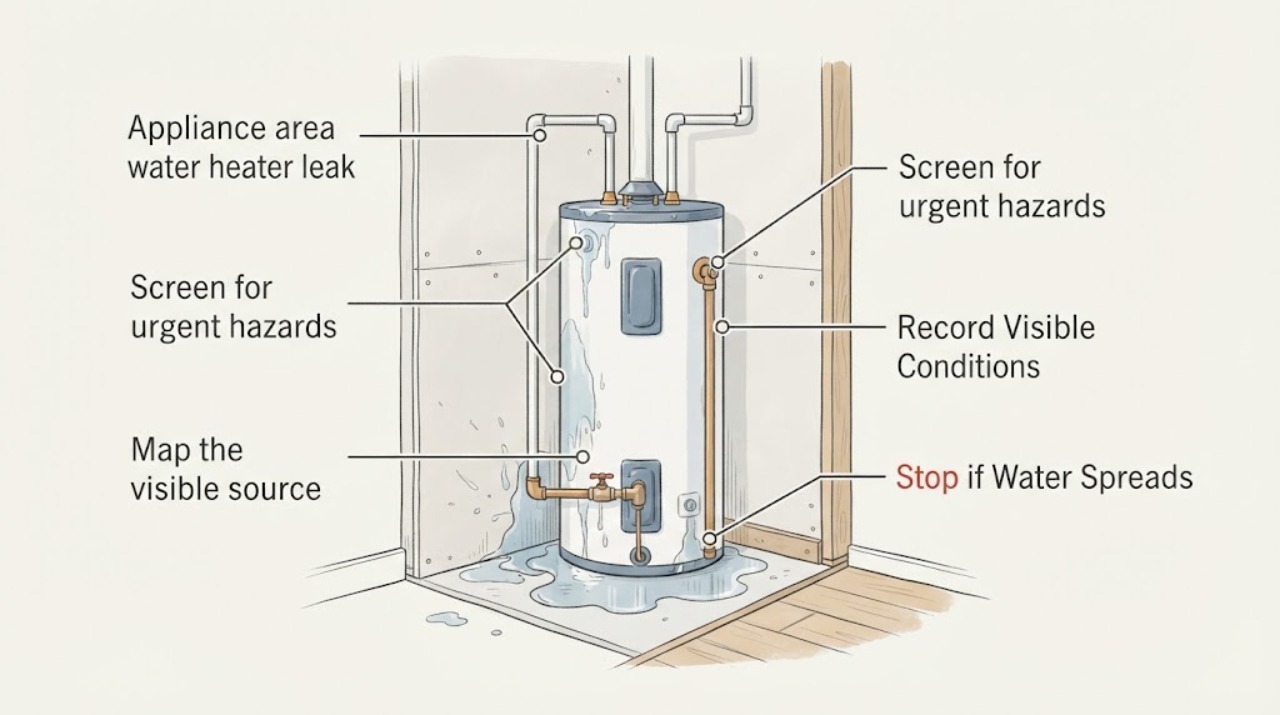
Appliance area water heater leak damage: What to Check and What to Do Next
Treat water around a water heater as an urgent safety and damage-assessment problem, not a tank-repair project. From a dry, stable location, look for active flow, standing water, gas odor, wet electrical components, heat or steam, tank movement, and how far water has reached.
-
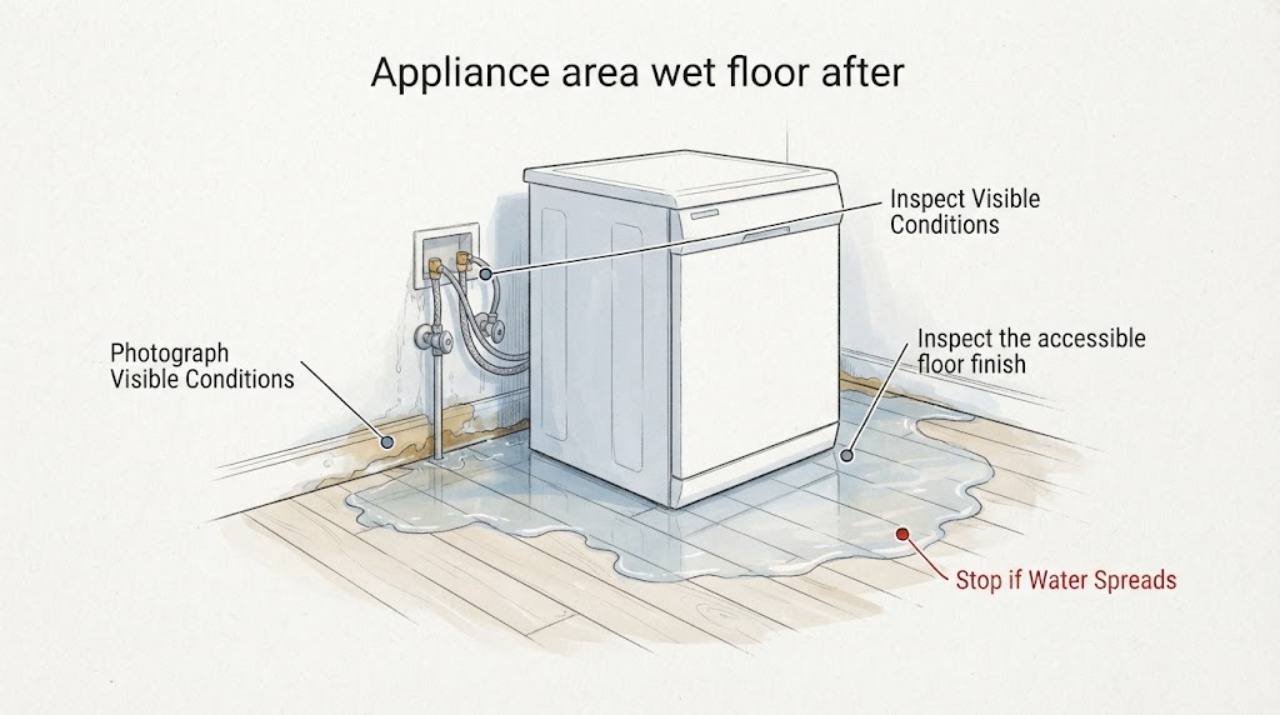
Appliance area wet floor after leak: What to Check and What to Do Next
Keep people out of a wet appliance area until you know it is safe, especially if water may have reached an outlet, cord, appliance base, or electrical equipment. From a dry position, photograph the wet boundary, floor swelling or staining, nearby wall and baseboard changes, and the suspected source without moving or opening the appliance.
-
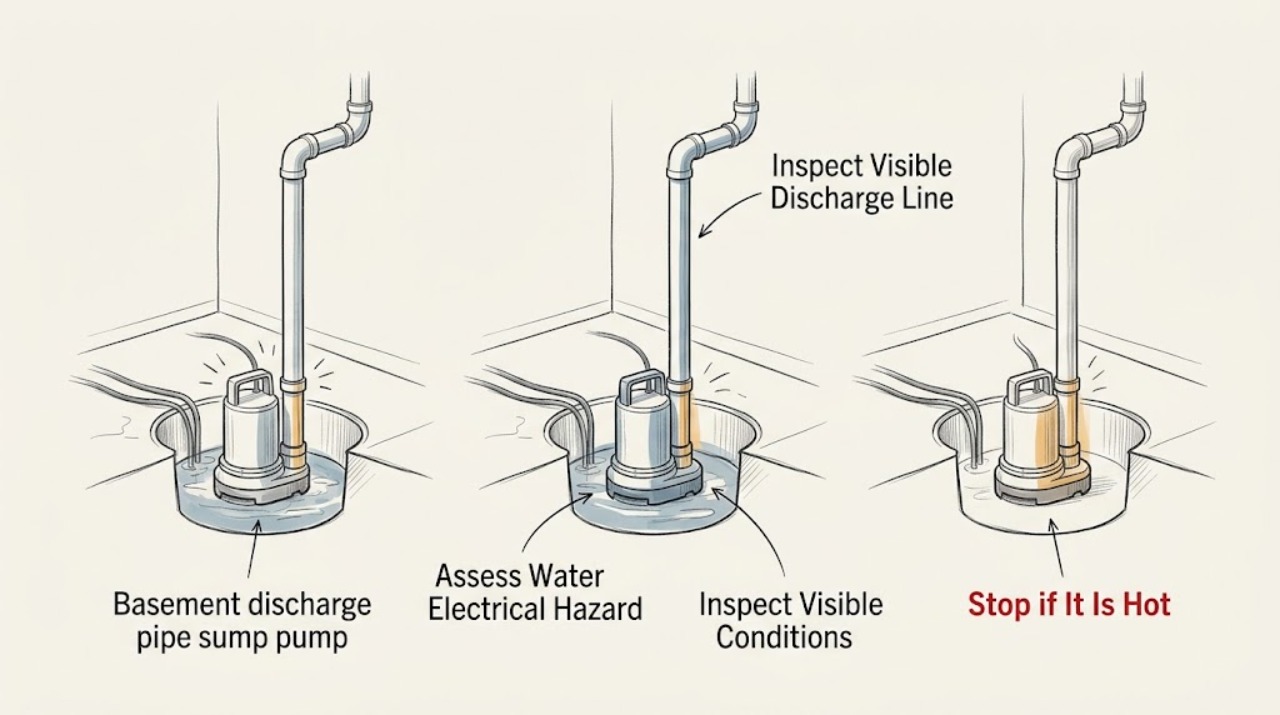
Basement discharge pipe sump pump failure: What to Check and What to Do Next
Treat a failed basement sump pump and discharge pipe as an urgent water and electrical-safety problem, not a routine pipe repair. From a dry, safe position, observe whether water is rising, whether the pump is silent or cycling, and whether the visible discharge pipe is disconnected, crushed, frozen, leaking, or returning water toward the foundation.
-
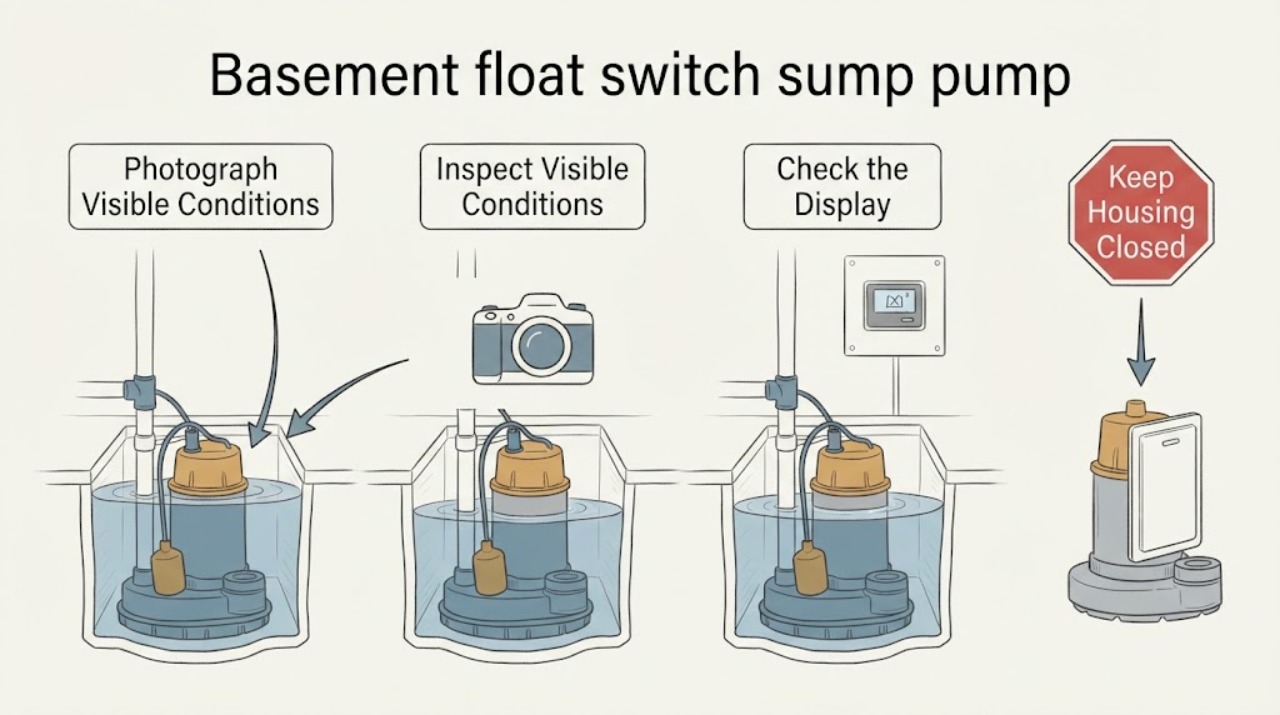
Basement float switch sump pump failure: What to Check and What to Do Next
Treat a sump pump that does not start, stop, or keep up as an urgent water and electrical-safety issue, not a DIY float-switch repair. From a completely dry location, observe the water level, whether the float appears obstructed, any safe status indication, and where the discharge ends.
-
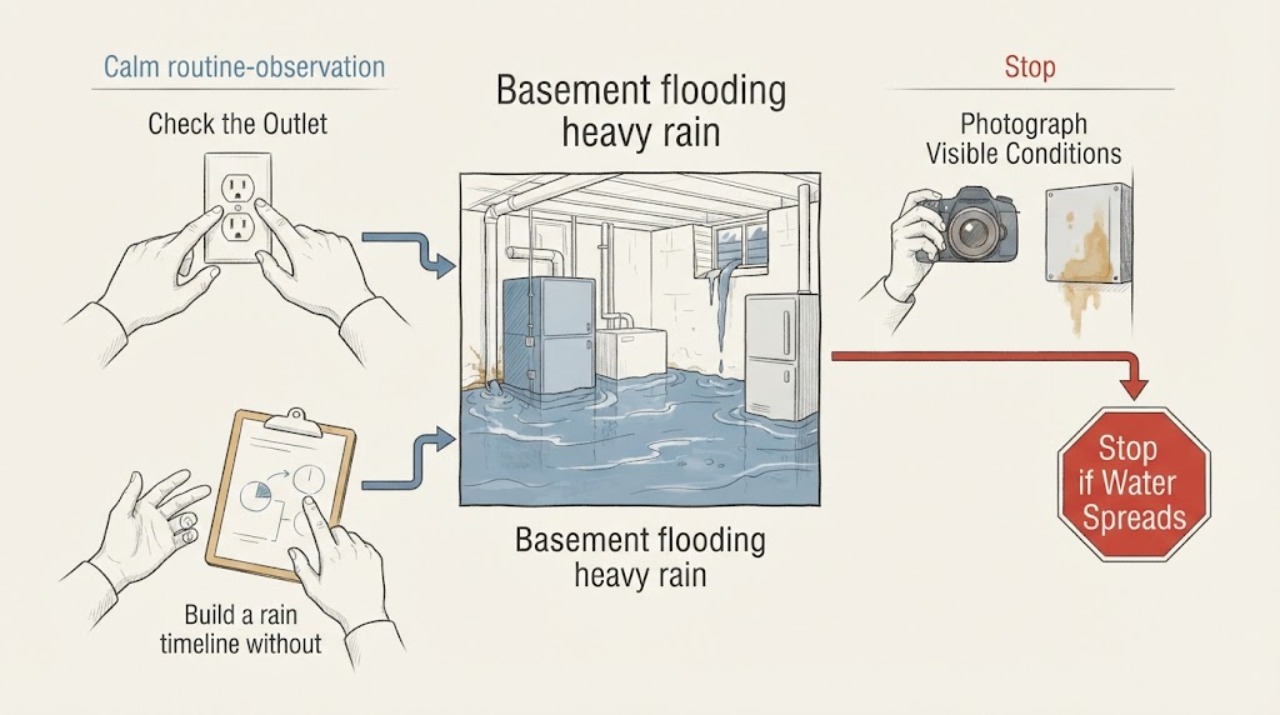
Basement flooding heavy rain: What to Check and What to Do Next
For basement flooding after heavy rain, first stay out of standing water and isolate the electrical and sewage risk from a dry position. Record when rain began, when water appeared, whether it rose or receded with the storm, and where it first entered: wall or floor joints, foundation cracks, window wells, floor drains or fixtures, or the sump area.
-
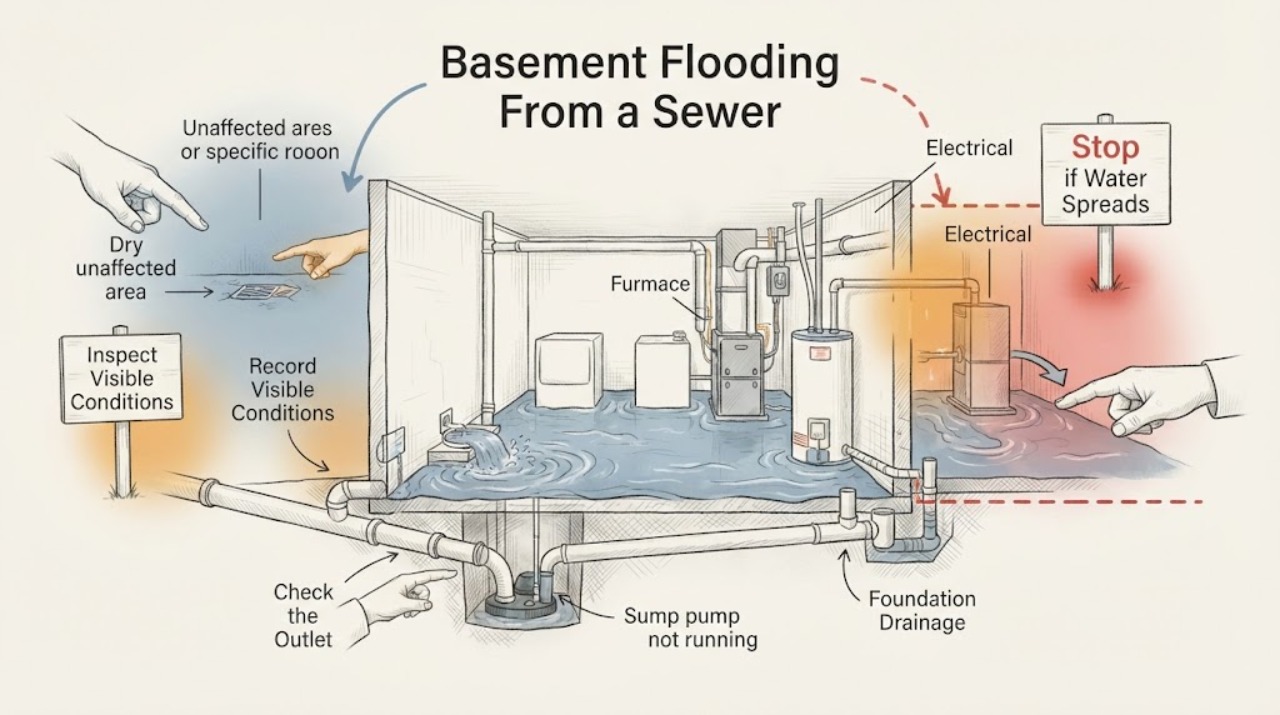
Basement Flooding From a Sewer Backup: What to Check and What to Do Next
Treat basement floodwater as contaminated until its source is known. Keep people and pets out, and never step into water to reach a breaker, outlet, appliance, or pump.
-
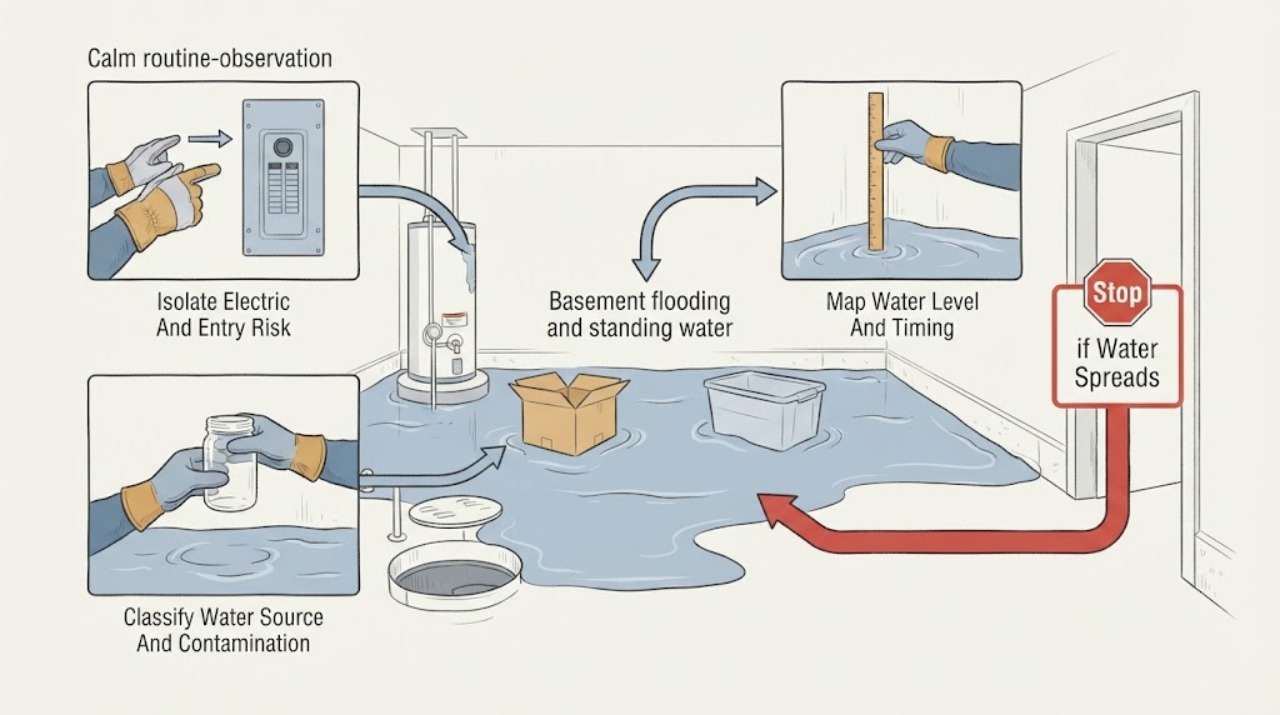
Basement flooding and standing water: What to Check and What to Do Next
Treat basement standing water as an electrical, contamination, and building-safety problem before treating it as a pumping job. Do not enter the water or use electrical tools.
-
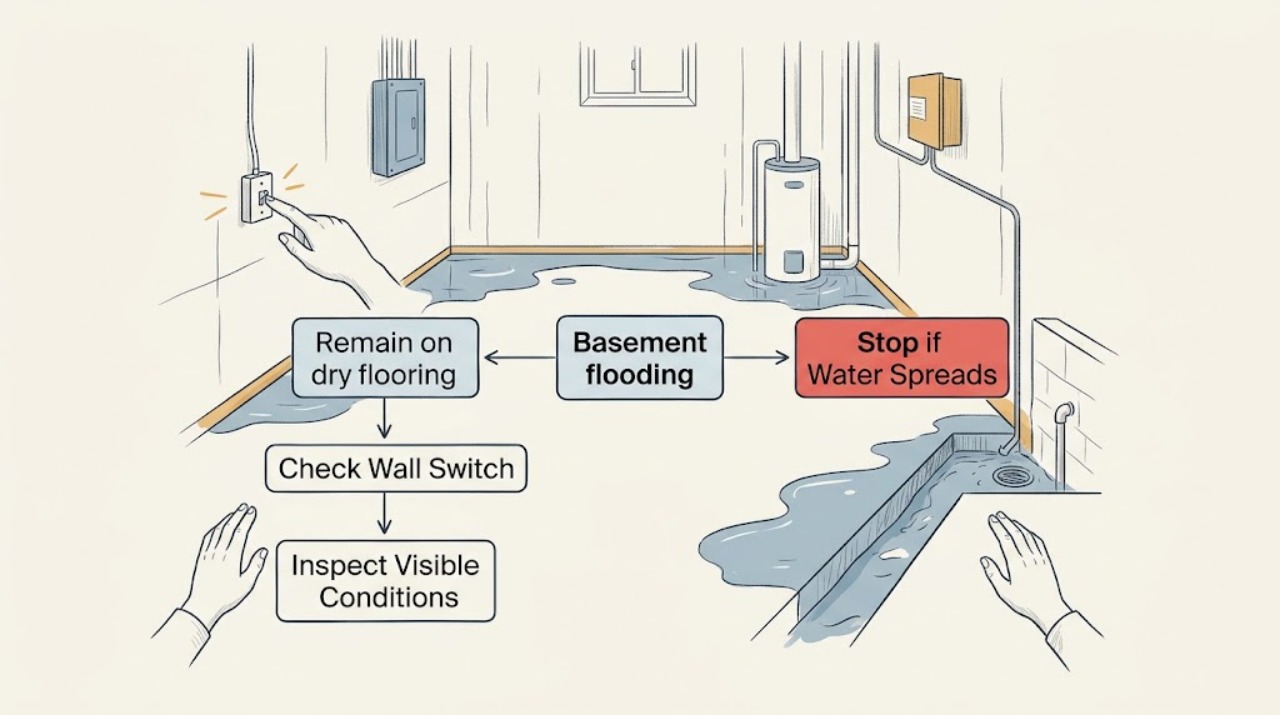
Basement flooding: What to Check and What to Do Next
Treat a flooded basement as a safety incident first, not a cleanup project. Stay in a dry, safe location and observe the visible water level, access route, electrical equipment, gas or chemical warnings, structural movement, and signs of sewage without entering standing water or touching equipment.
-
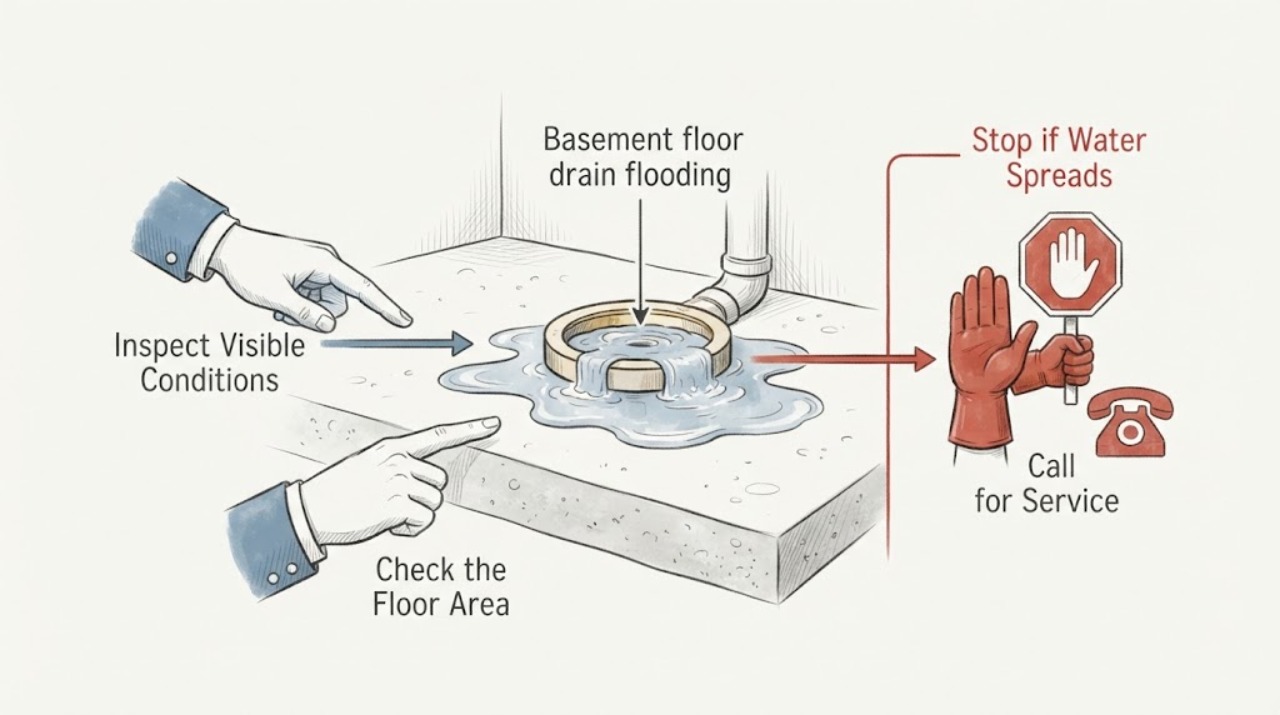
Basement floor drain flooding: What to Check and What to Do Next
Treat a flooded basement floor drain as an urgent safety and contamination event, not a routine drain clog. Stay out of standing water and observe only from a dry, stable location: identify whether the water is clear or contaminated-looking, whether it rises when it rains or when household water is used, and whether electrical or structural hazards are nearby.
-
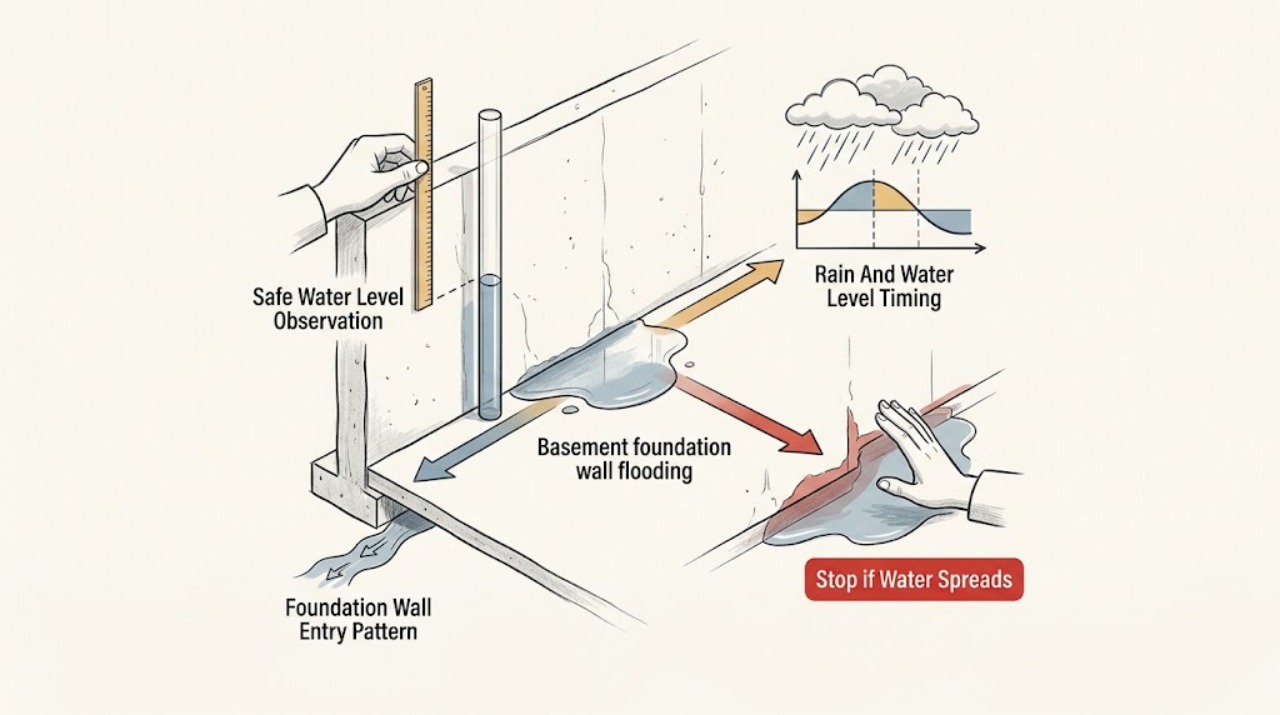
Basement foundation wall flooding: What to Check and What to Do Next
Treat water entering at a basement foundation wall as an urgent water-damage and safety event. Stay in a dry, stable location; do not walk into standing water, touch wet electrical equipment, handle sewage, pump against an uncertain structure, scrape or open the wall, or start DIY mold cleanup.
-
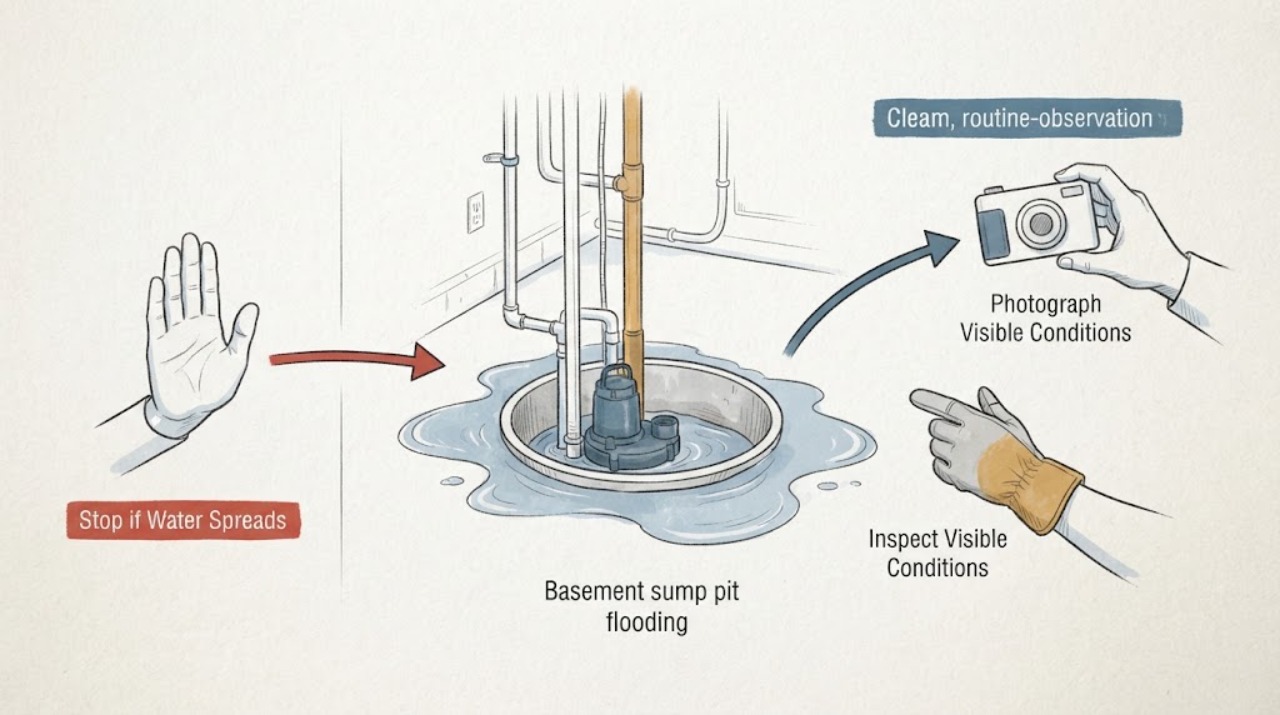
Basement sump pit flooding: What to Check and What to Do Next
Treat a flooded basement around a sump pit as a safety and water-mitigation emergency, not a pump-repair experiment. From a dry, safe location, document the water level and source, whether the pump is visibly running or silent, whether the float appears obstructed, whether discharge water is leaving or returning, and whether heavy rain is overwhelming the system.
-
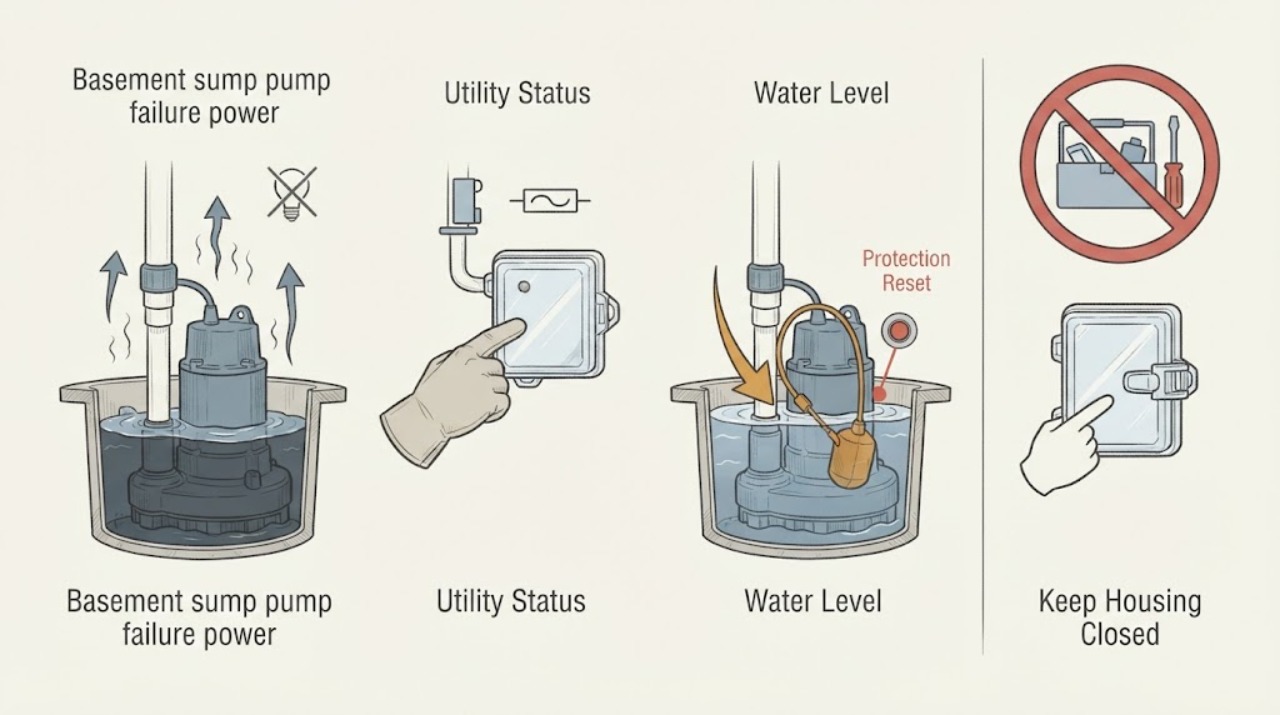
Basement sump pump failure power outage: What to Check and What to Do Next
A sump pump that stops during a power outage is not automatically a failed pump. First establish whether the utility is out, a dry accessible protection device has tripped, or a battery backup or alarm is responding.
-
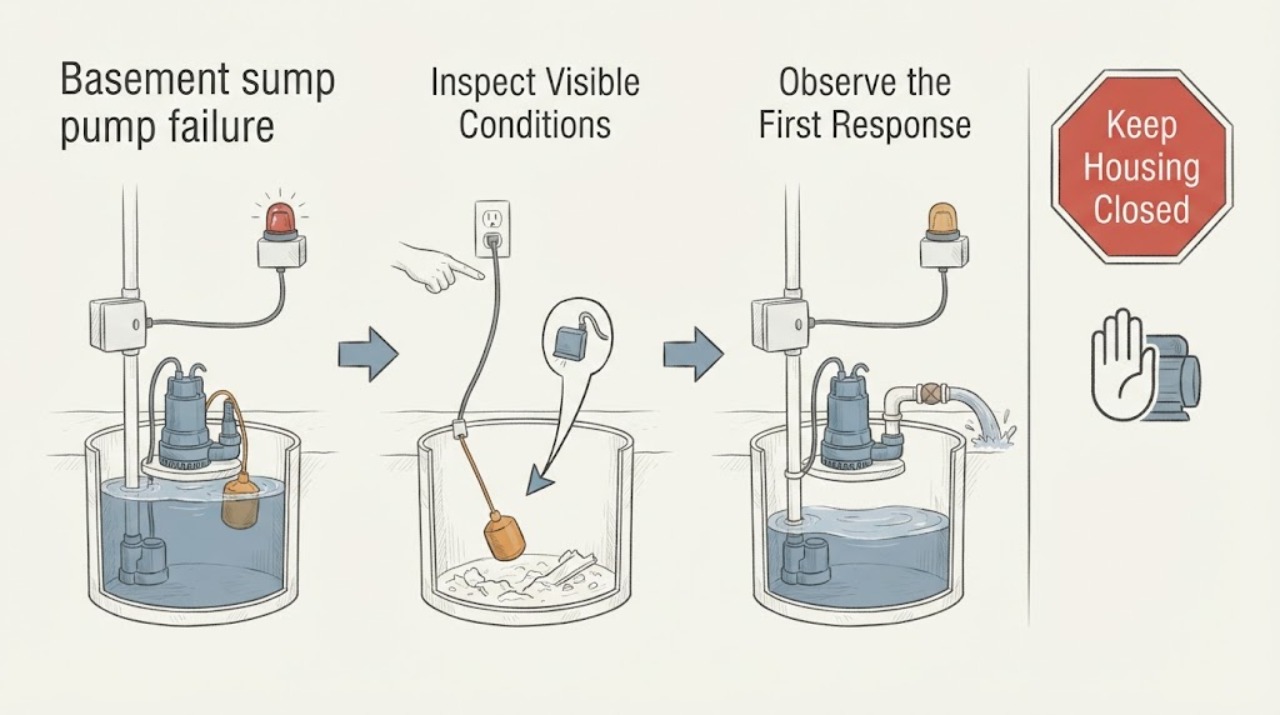
Basement sump pump failure: What to Check and What to Do Next
Treat a failed sump pump as an urgent water and safety issue. From a dry, stable location, observe the water level without entering the pit or standing water, note visible power or alarm indicators without touching wet equipment, and record whether the discharge outlet is visibly flowing or blocked.
-
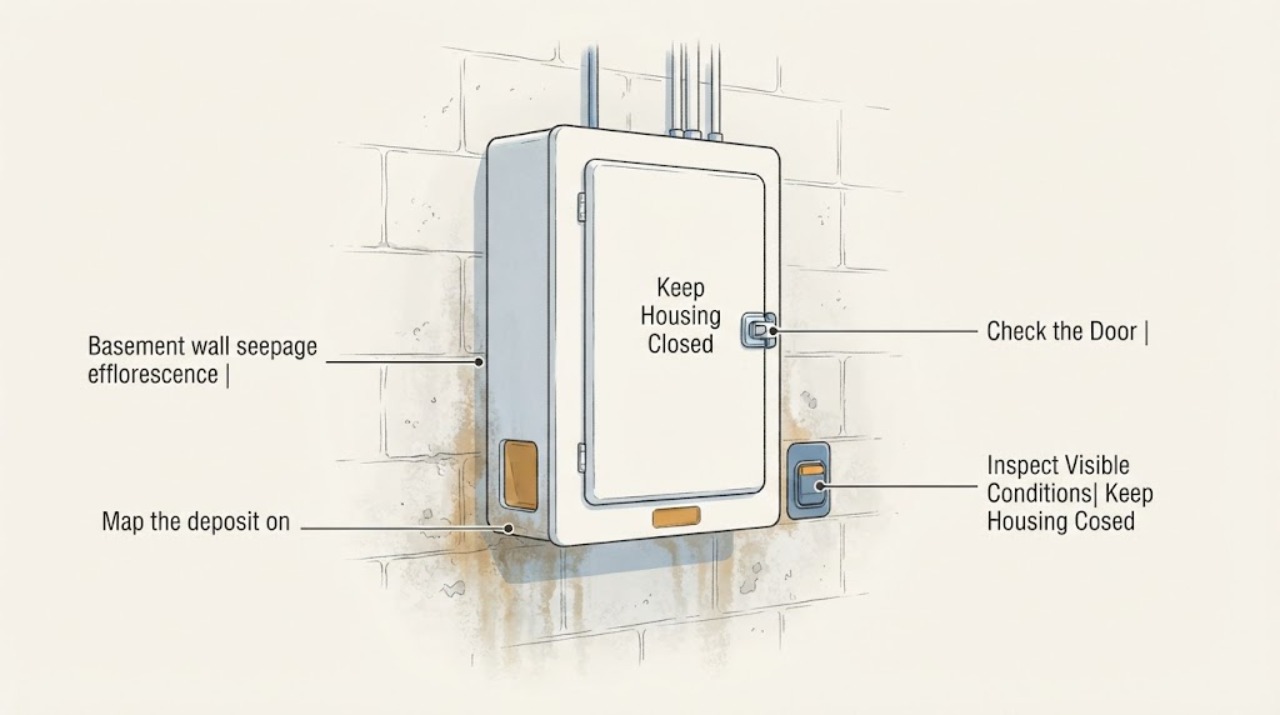
Basement wall seepage efflorescence: What to Check and What to Do Next
White or chalky efflorescence on a basement wall is usually a water-migration clue: salts are carried through porous masonry and left behind as moisture evaporates. It is not, by itself, an independent water source, mold diagnosis, or proof that the wall is structurally sound.
-
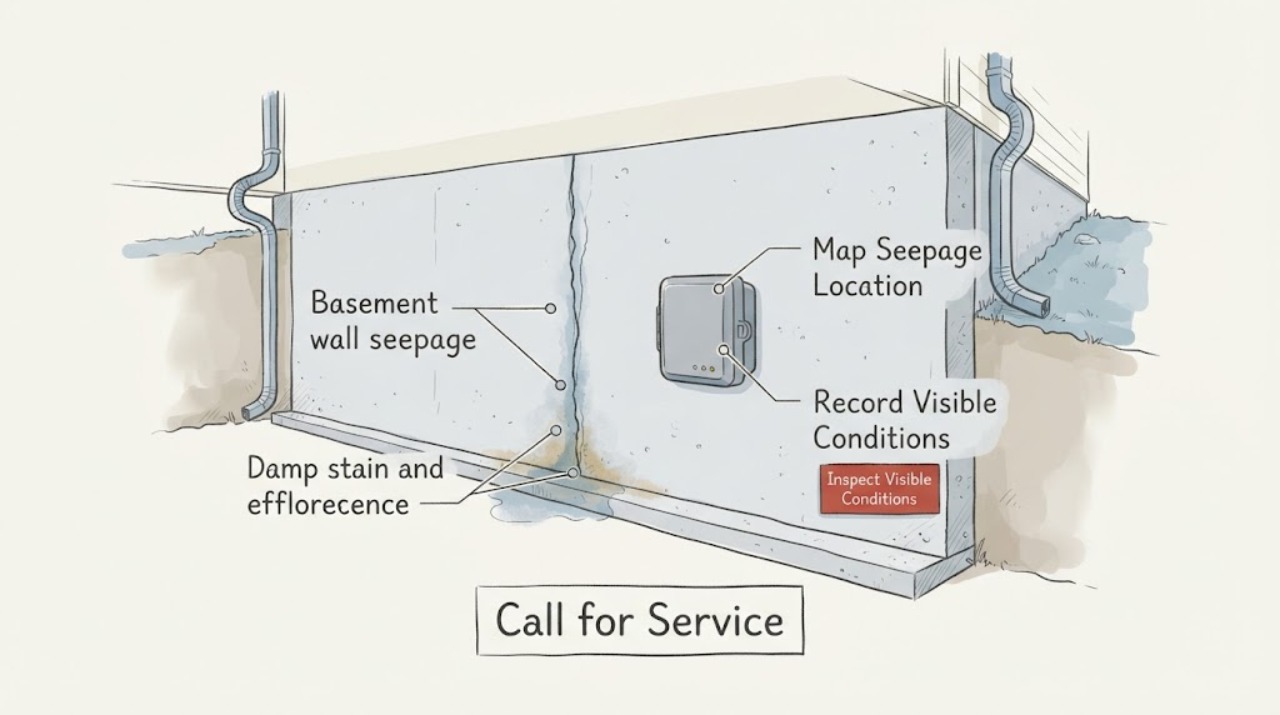
Basement wall seepage: What to Check and What to Do Next
Treat basement wall seepage as a water-source and safety assessment, not a wall-coating project. From a dry, stable area, photograph where dampness or water appears, note whether it follows a crack, joint, window, pipe, floor edge, or broad wall area, and record whether it starts after rain, snowmelt, plumbing use, or without a clear event.
-
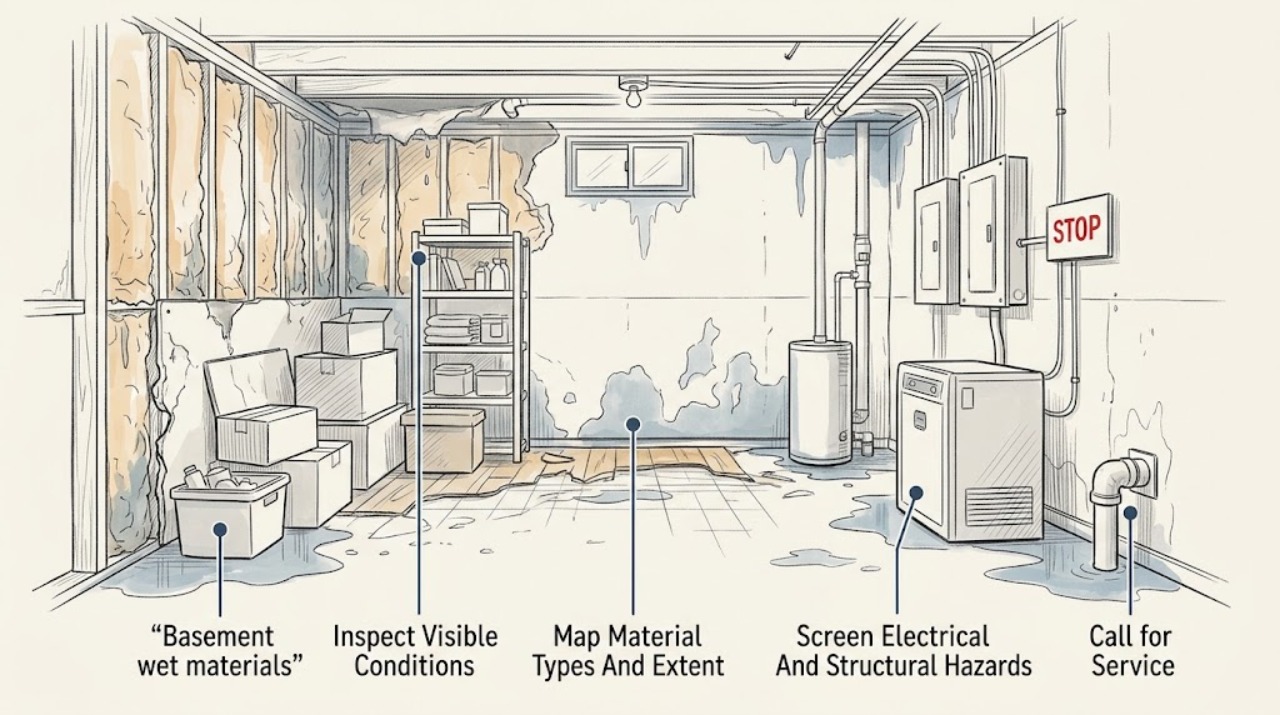
Basement wet materials: What to Check and What to Do Next
Treat wet basement materials as a safety and professional-restoration assessment, not a drying or demolition project. From a dry location and only when local authorities say re-entry is safe, document whether the water is still entering, whether it appears clean or may contain sewage or chemicals, which material types are visibly affected, how far the damage extends, and whether electricity or structural stability could be involved.
-
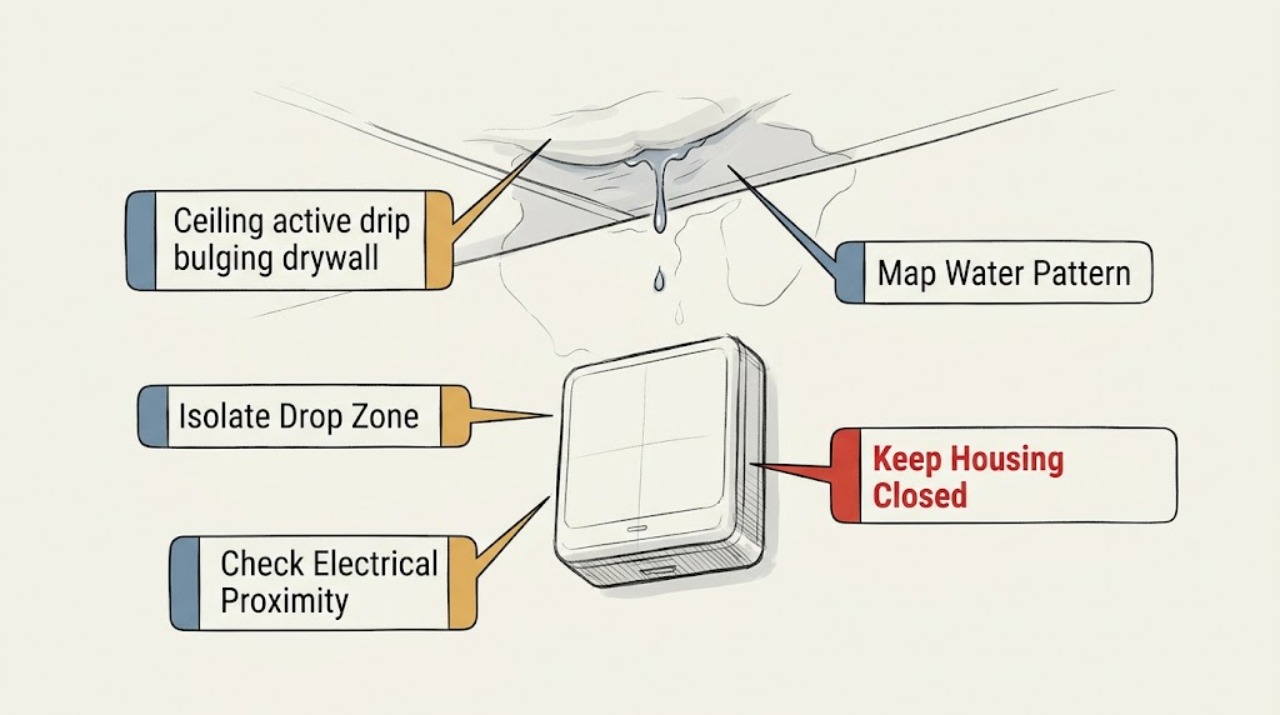
Ceiling active drip bulging drywall: What to Check and What to Do Next
An active drip with bulging drywall is first a falling-material and possible electrical hazard, not a stain to poke or patch. Keep people and belongings out from under the bulge, do not touch, puncture, scrape, or stand beneath it, and do not operate a wet light or switch.
-
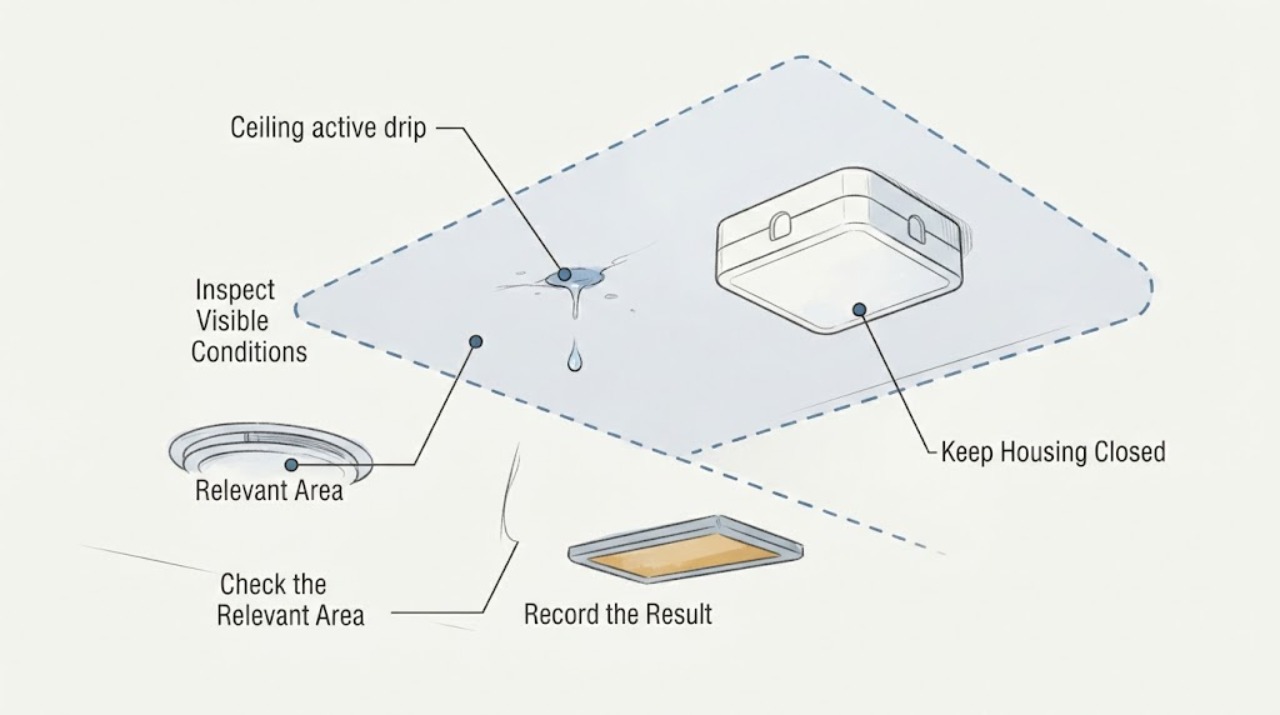
Ceiling active drip: What to Check and What to Do Next
Treat an active ceiling drip as urgent. From a dry, stable location, observe and record where the water appears, how the pattern changes, whether the ceiling is sagging, whether a light or other electrical fixture is nearby, and whether rain or an upstairs fixture coincided with the drip.
-
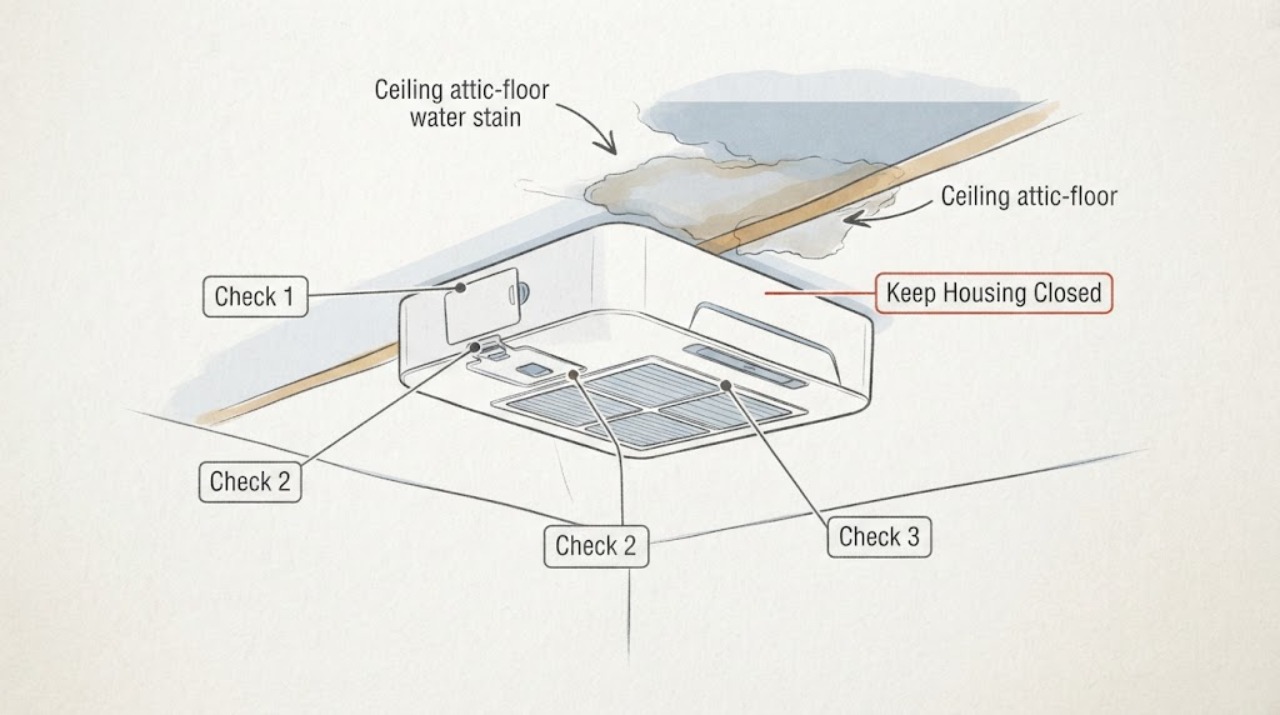
Ceiling attic-floor water stain: What to Check and What to Do Next
A ceiling water stain near an attic floor does not prove that the attic floor is the source. From safe, stable access, document whether the stain is active or expanding, correlate it with rain, snowmelt, plumbing, HVAC use, or indoor humidity, and look only for visible moisture paths.
-
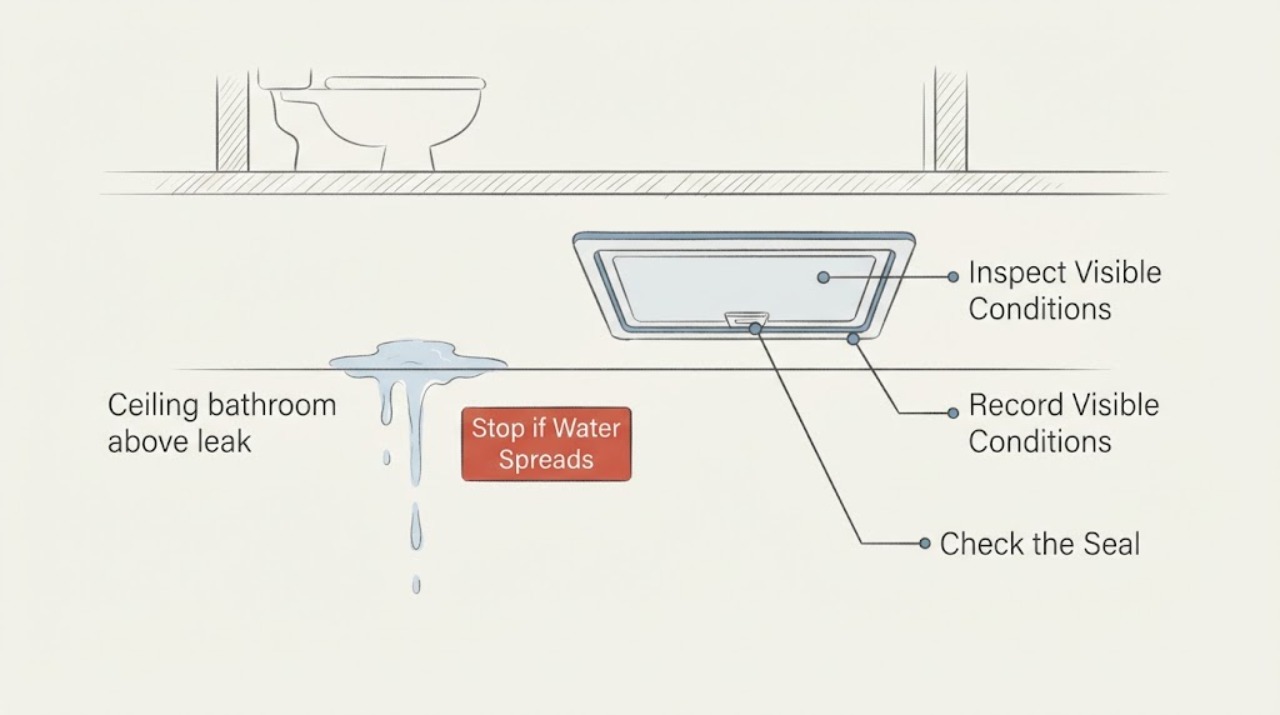
Ceiling bathroom above leak: What to Check and What to Do Next
Treat a ceiling leak below a bathroom as an active water-damage problem, not a stain to paint over. From a dry location, record where the drip or stain is and whether it follows shower, toilet, or sink use, then stop using the suspected bathroom fixture until a qualified plumbing or water-damage professional can inspect it. Do not puncture a bulge, stand beneath sagging material, touch wet electrical equipment, open the ceiling, or run a prolonged water test.
-
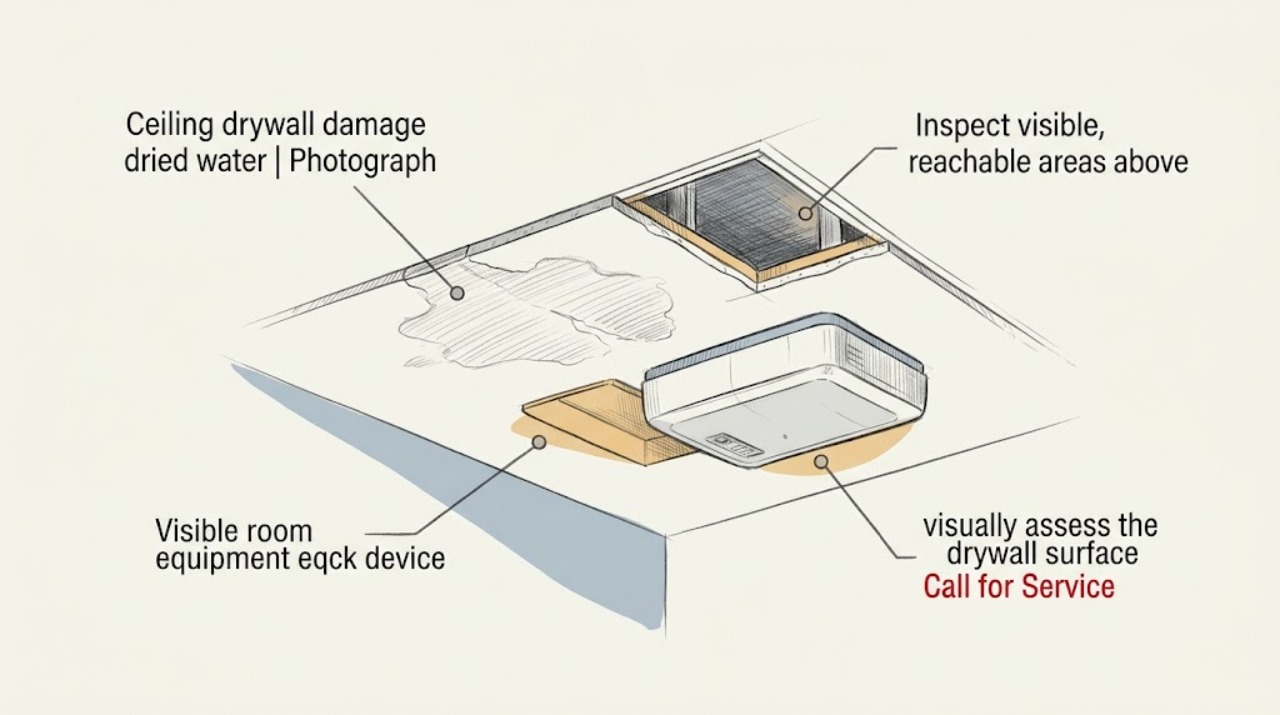
Ceiling drywall damage dried water stain: What to Check and What to Do Next
A dried ceiling water stain is evidence of a past leak, not proof that the ceiling is safe or that the source is fixed. From the floor, photograph the stain and check for active dampness, swelling, sagging, cracking, soft drywall, a musty odor, and nearby plumbing, roof, attic, or HVAC routes.
-
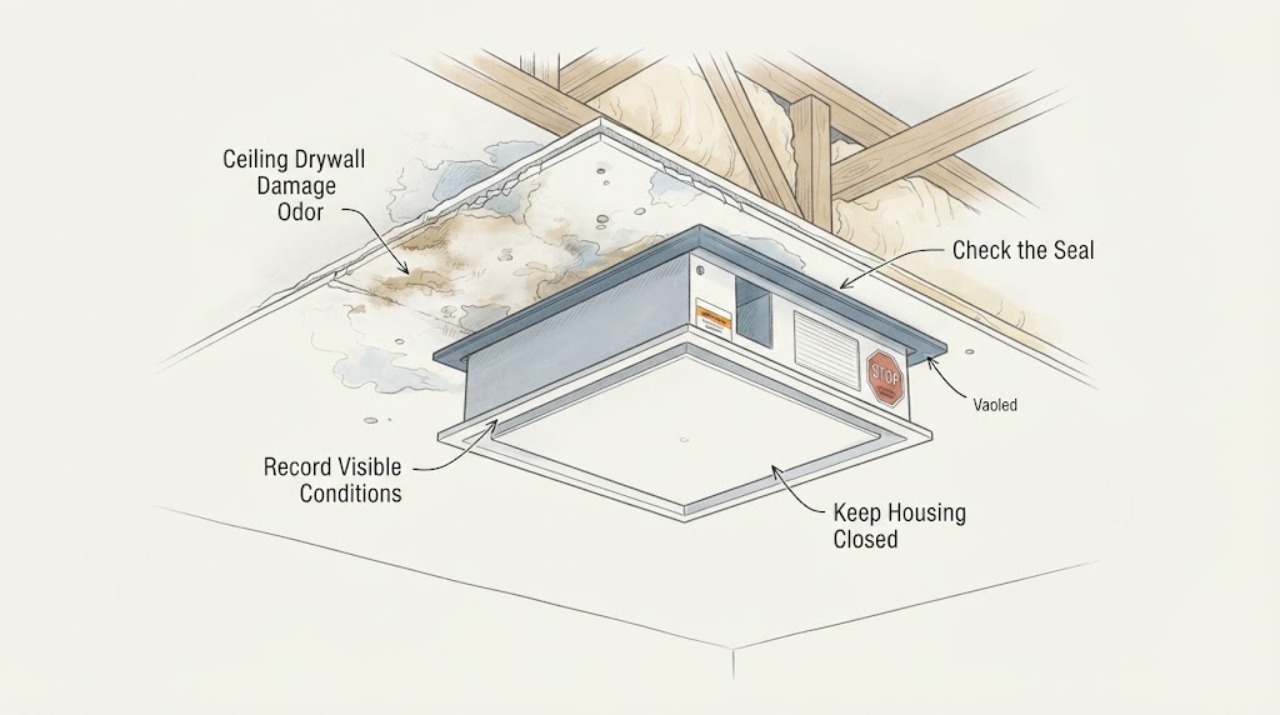
Ceiling Drywall Damage Odor: What to Check and What to Do Next
A musty or damp smell near damaged ceiling drywall usually means you should look for an active or old moisture source and possible mold, but odor alone cannot identify what is inside the ceiling. From the floor and without pressing, cutting, or opening the ceiling, record the odor character, water stains, bubbling paint, cracks, sagging, active drips, and any nearby plumbing, roof, or HVAC clues.
-
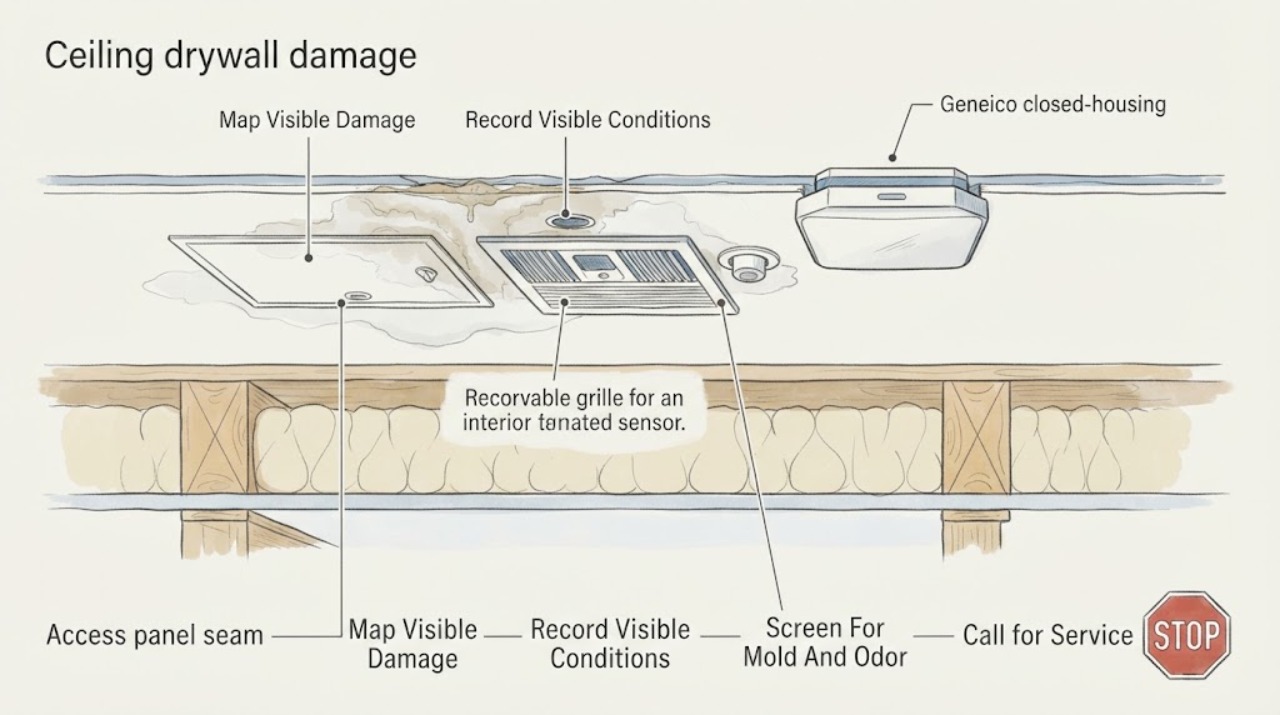
Ceiling drywall damage: What to Check and What to Do Next
Treat ceiling drywall damage as a moisture and safety issue before treating it as a painting or patching job. From a safe standing position, photograph the stain, bubbling, cracking, sagging, or detached finish; record when it appeared and whether there was a roof, plumbing, HVAC, spill, or condensation event; and look for musty odor, visible mold, spreading dampness, or nearby lights and electrical equipment.
-
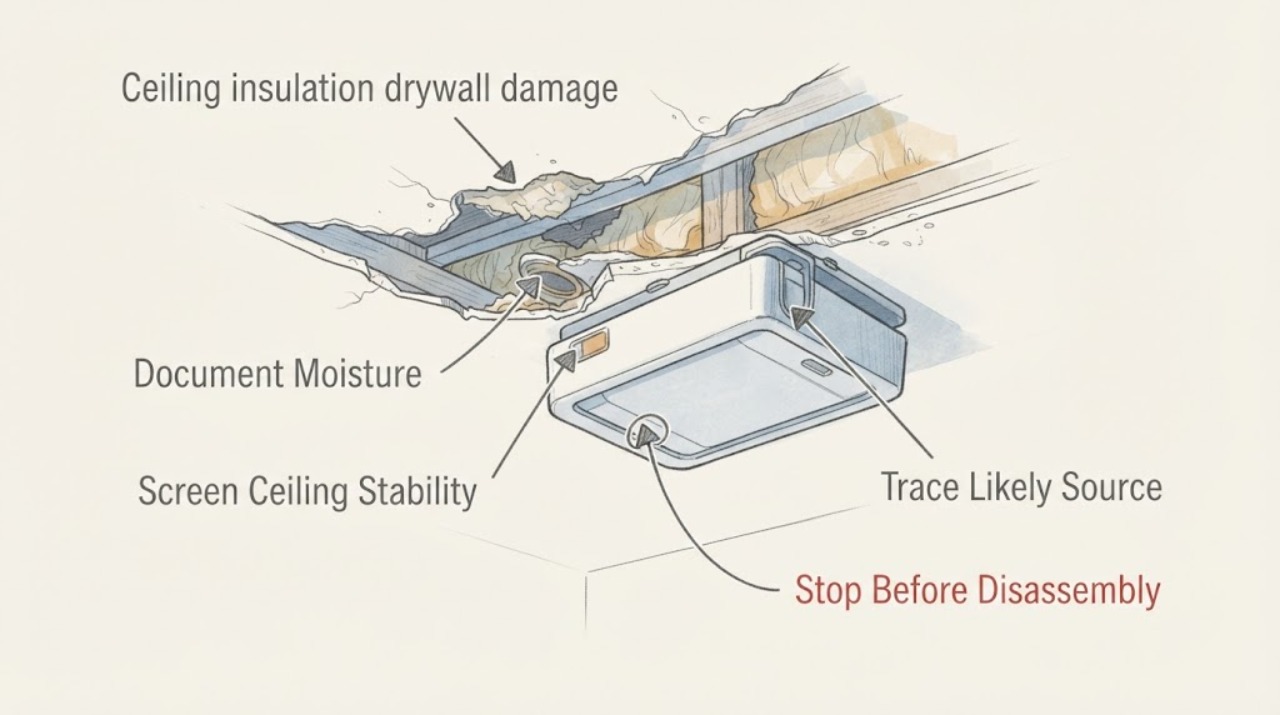
Ceiling insulation drywall damage: What to Check and What to Do Next
Treat ceiling drywall damage with insulation involvement as a moisture and safety assessment, not a cosmetic stain. From a safe position, document whether water is still entering, the drywall is swollen or sagging, insulation is wet or compressed, mold or sewage is present, and any light or fan is affected.
-
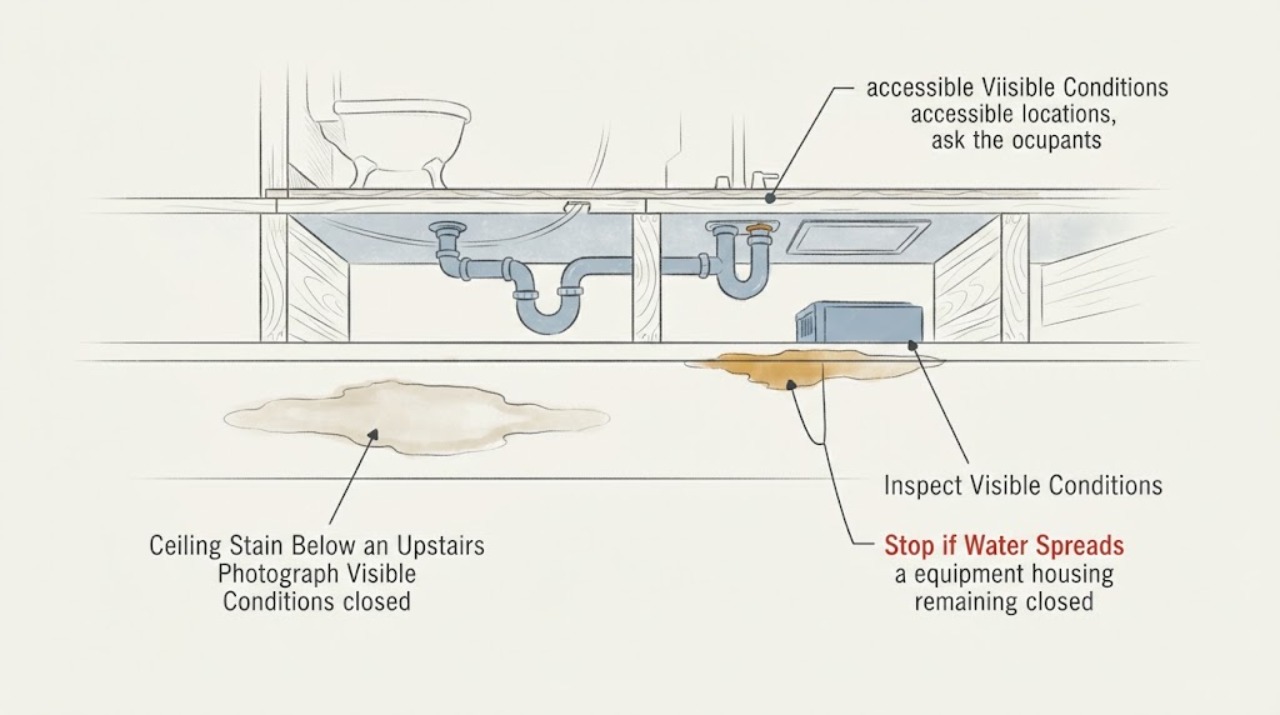
Ceiling Stain Below an Upstairs Bathroom Leak: What to Check and What to Do Next
A stain on a ceiling below a bathroom means water may be entering from a toilet, tub or shower, basin, waste pipe, supply connection, failed seal, or another concealed path; the stain alone cannot identify the source. First keep people away from a sagging or wet ceiling and treat fast-flowing water or water near a light, socket, switch, or appliance as an emergency.
-
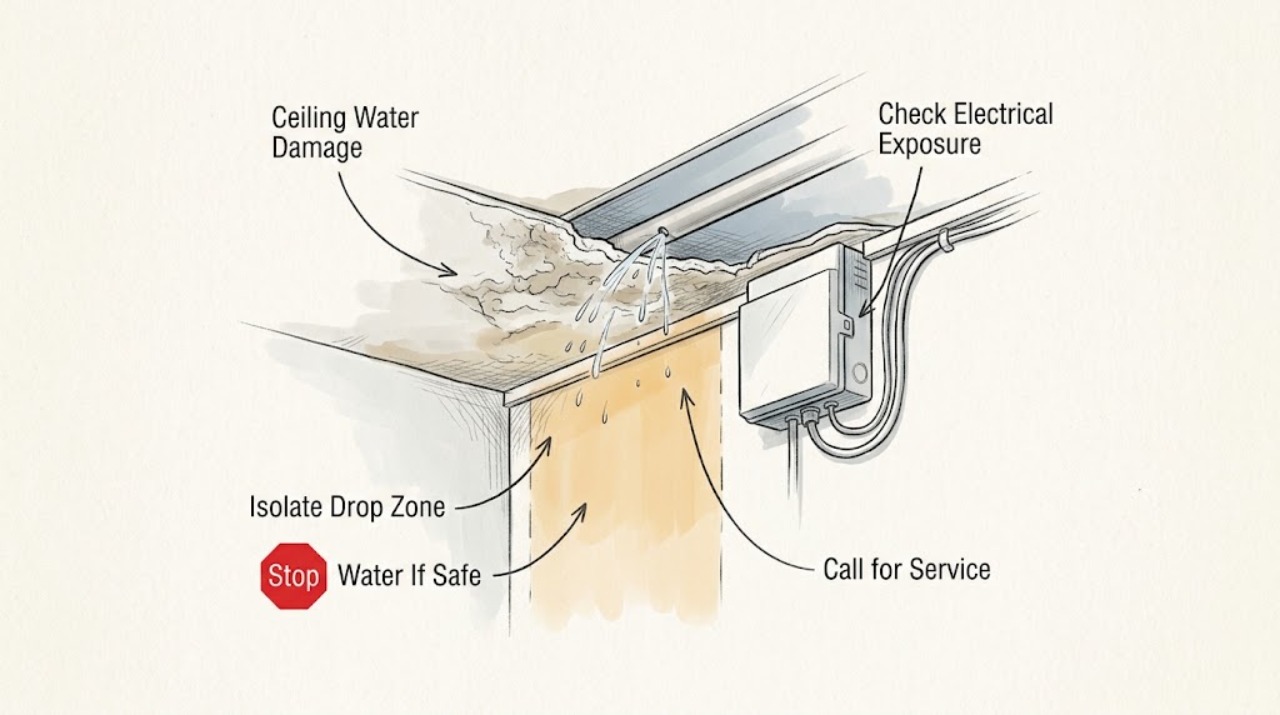
Ceiling Water Damage: Sagging Drywall from a Possible Pinhole Pipe Leak
A sagging or bulging ceiling with a suspected pinhole pipe leak is an active water-damage and collapse-risk situation, not a drywall patching job. From outside the affected area, keep people away, protect contents only if you can do so without standing beneath the sag or touching wet electrical equipment, and document whether the drip changes after plumbing use or rain.
-
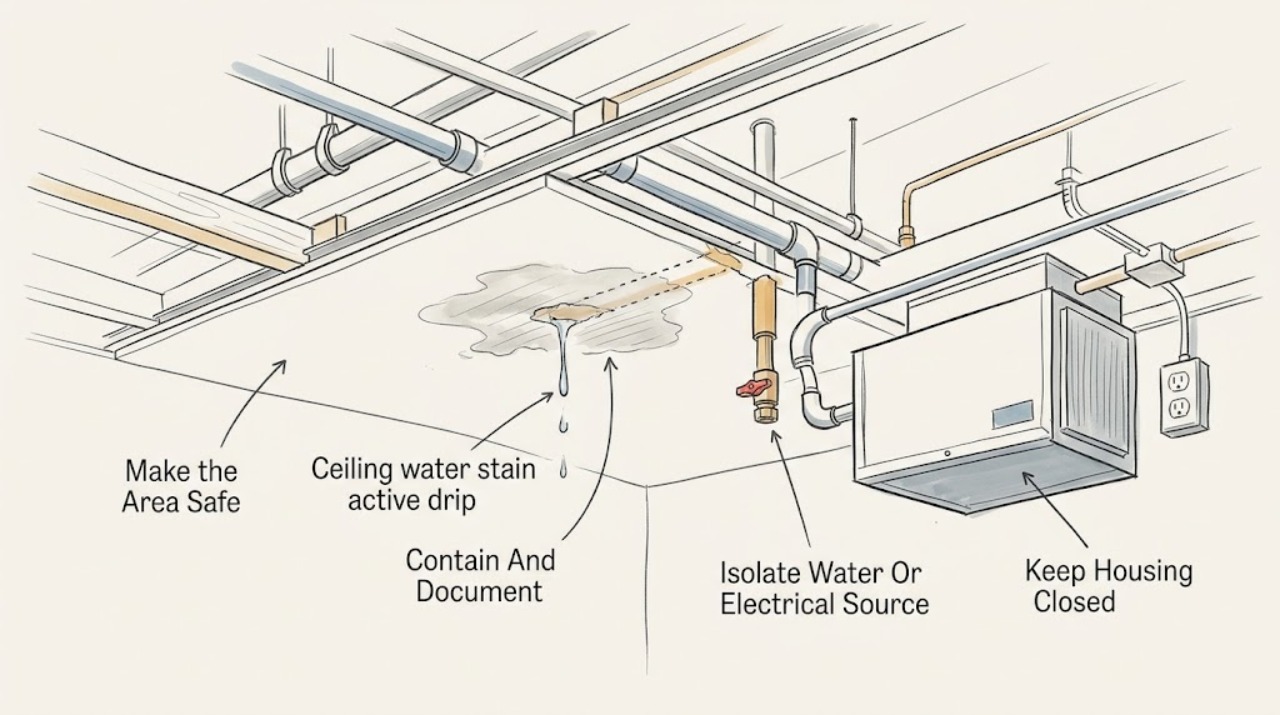
Ceiling water stain active drip: What to Check and What to Do Next
An active drip through a stained ceiling needs immediate containment and source control, not paint or a cosmetic patch. Keep people and contents out of the drip area, use a container only from stable dry footing, and take dated photos without touching a bulging or sagging surface.
-
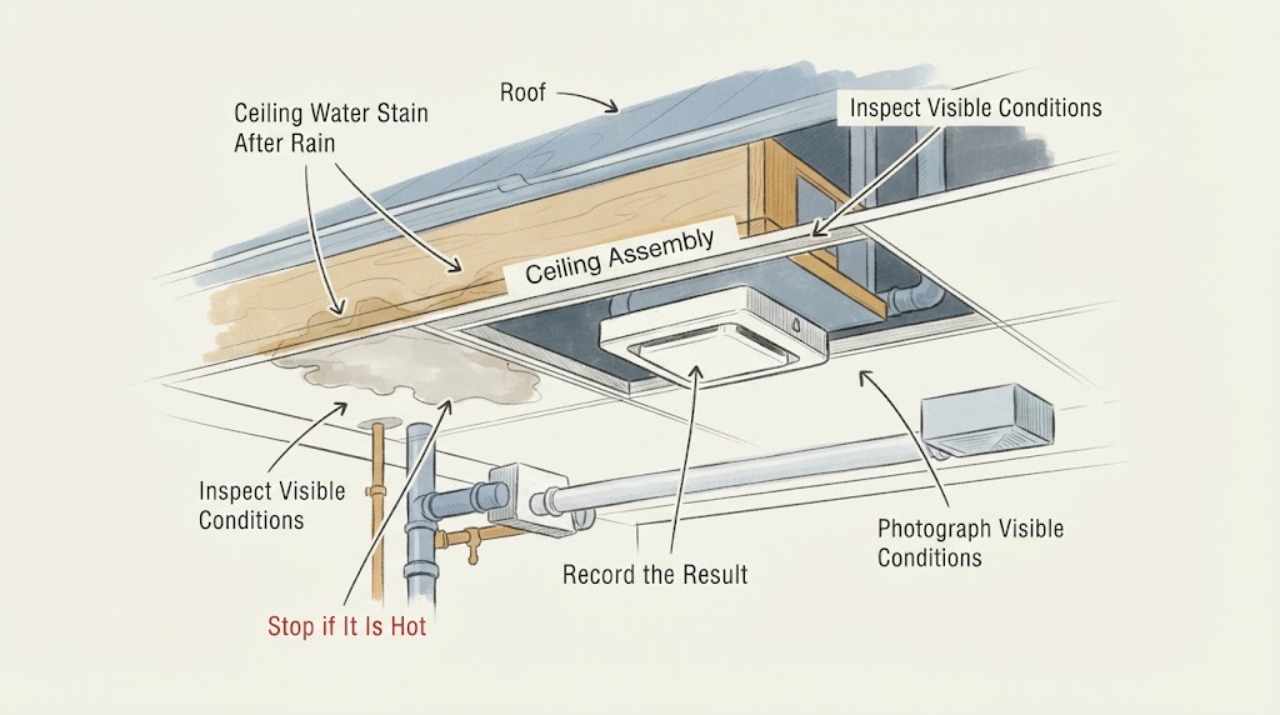
Ceiling Water Stain After Rain: What to Check and What to Do Next
A ceiling stain that appears or grows after rain is evidence of moisture entry, but the stain is not necessarily directly below the roof defect. Water can travel along roof components, framing, ducts or pipes before appearing indoors, and a plumbing or condensation problem can coincide with wet weather.
-
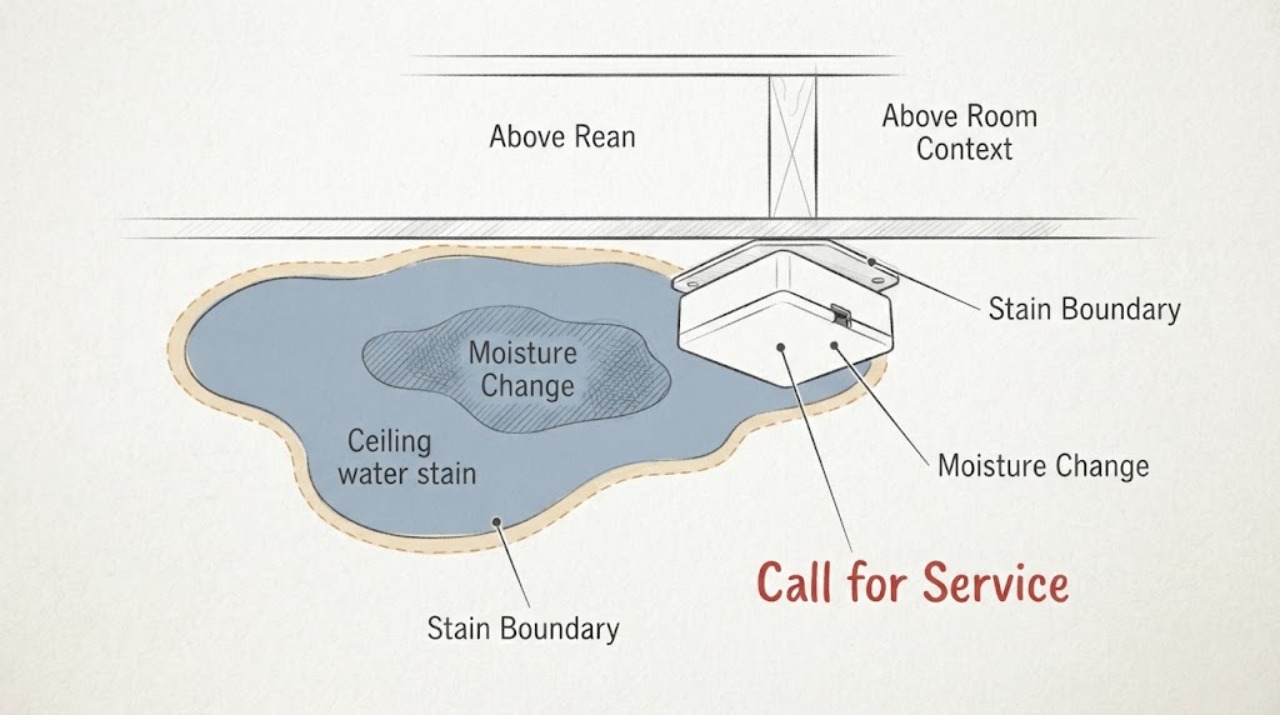
Ceiling water stain: What to Check and What to Do Next
A ceiling water stain means moisture has reached the ceiling or an adjacent building layer, but the visible mark may be older than the leak or may be below a roof, plumbing, HVAC, or bathroom source. From a safe, dry position, document the stain's size and edge, whether it changes after rain or plumbing use, and whether the ceiling is sagging or near electricity.
-
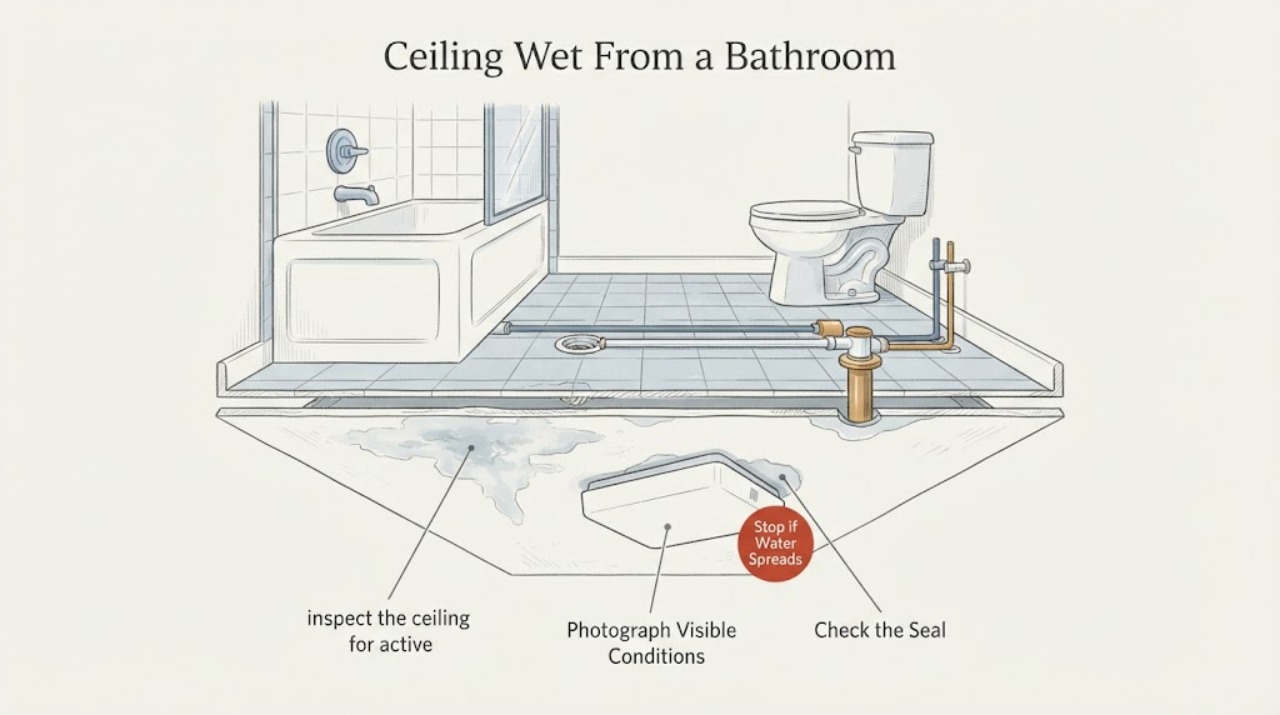
Ceiling Wet From a Bathroom Above: What to Check and What to Do Next
A ceiling that repeatedly gets wet below a bathroom needs source control, not just stain-blocking paint. From a dry position, document the ceiling stain, bulge, active drip, and nearby light or fan; then compare the timing with showering, tub use, toilet flushing, sink use, rain, and periods when nobody uses the bathroom.
-
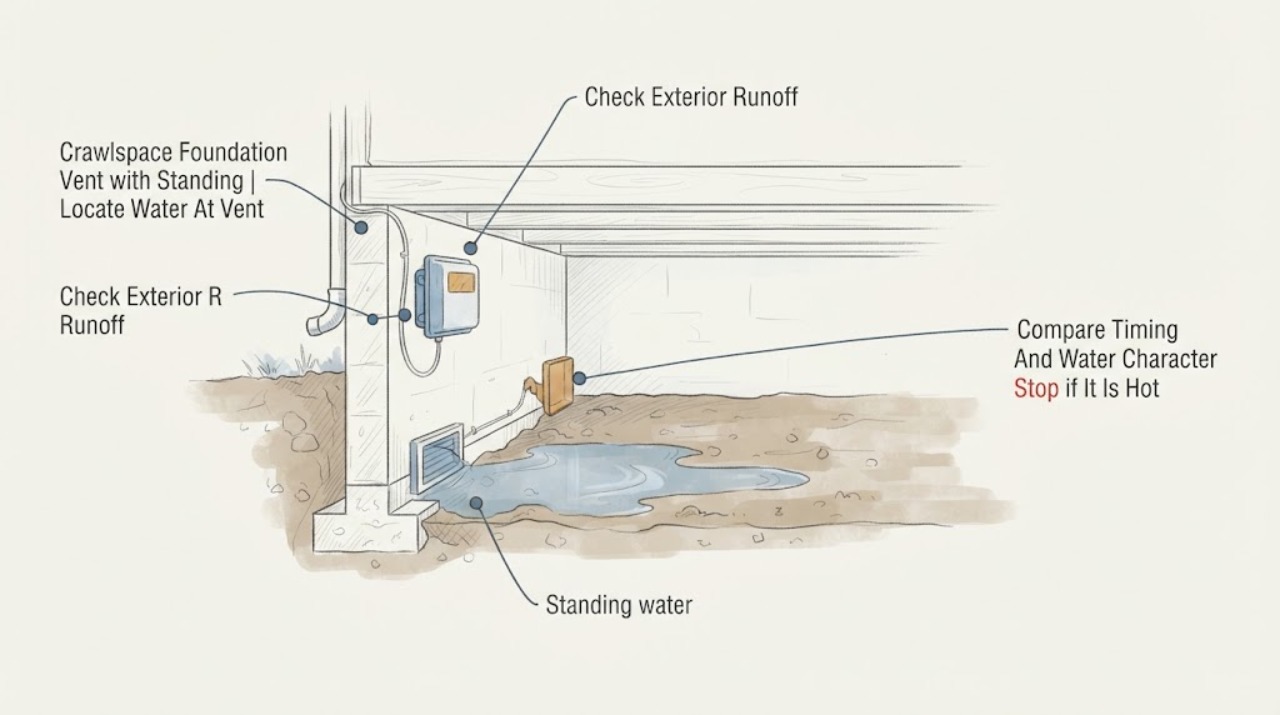
Crawlspace Foundation Vent with Standing Water: What to Check and What to Do Next
Standing water at or inside a crawlspace foundation vent usually means water is entering from a rain or drainage path, groundwater, plumbing leak, or flood condition; the vent itself is not proof of the source. From a dry, safe location, photograph where the water is relative to the vent, check exterior grading and downspouts, and record whether it appears after rain or plumbing use.
-
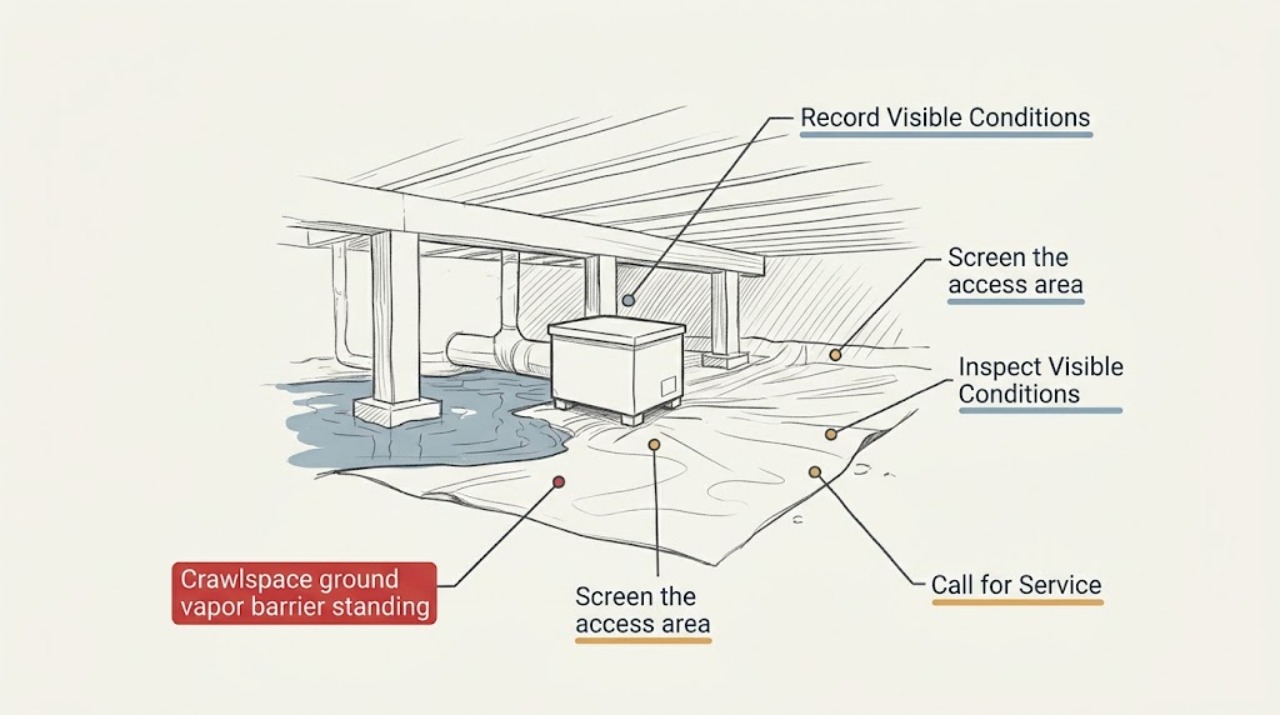
Crawlspace ground vapor barrier standing water: What to Check and What to Do Next
Standing water on or beneath a crawlspace ground vapor barrier means the water source and safety hazards must be assessed before the barrier is patched or replaced. From outside the crawlspace or its access opening, document the water location, apparent depth or spread without entering, barrier condition, visible plumbing or drainage clues, and any odor or structural concern.
-
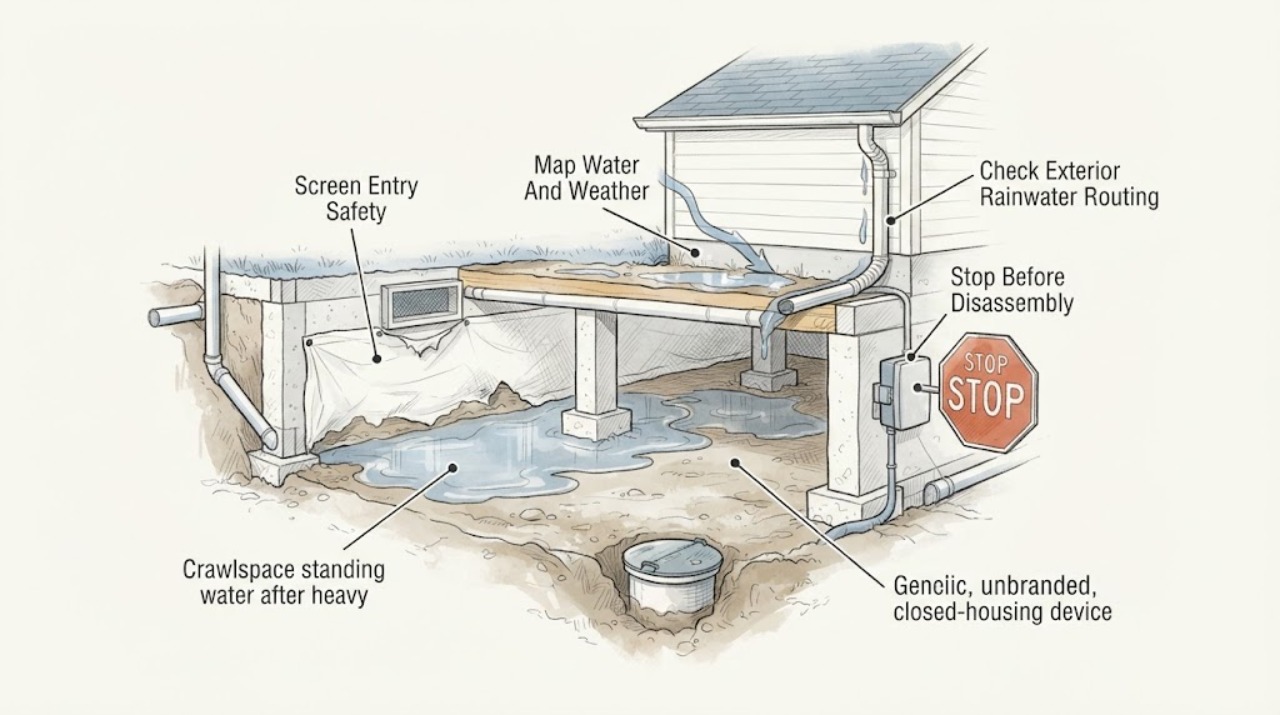
Crawlspace standing water after heavy rain: What to Check and What to Do Next
Standing water in a crawlspace after heavy rain is a water-entry and safety problem, not just a dampness issue. Before entering, confirm the building is structurally sound, keep electricity away from standing water, and treat floodwater as potentially contaminated.
-
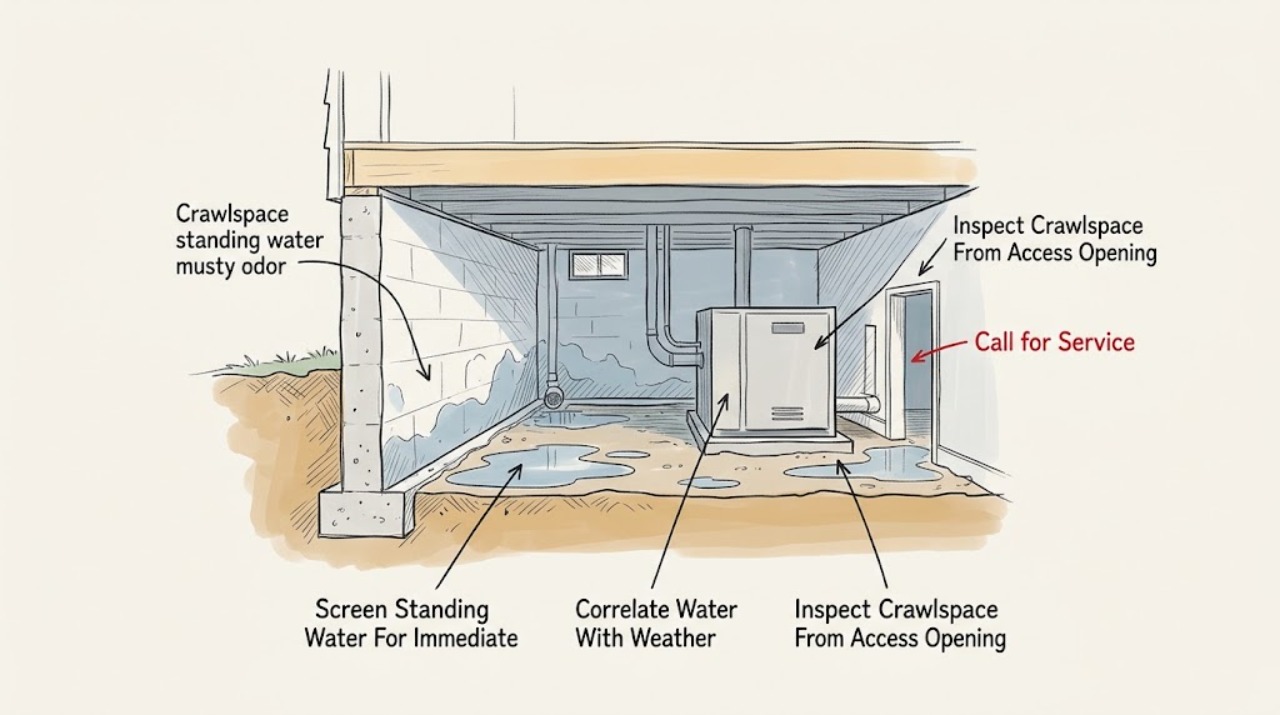
Crawlspace standing water musty odor: What to Check and What to Do Next
Standing water and a musty crawlspace odor usually indicate an unresolved moisture source, but the water may come from rain runoff, a plumbing leak, groundwater, condensation, or a drainage failure. Do not enter water or operate electrical equipment in it.
-
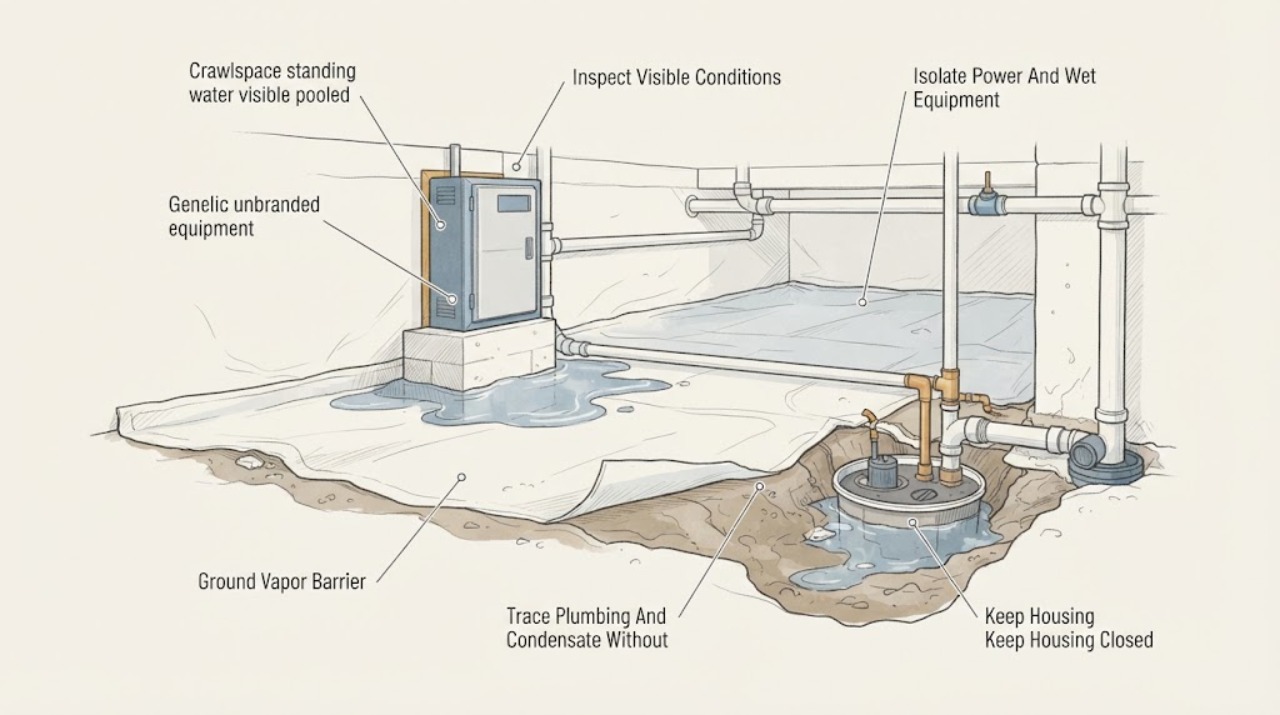
Crawlspace standing water visible pooled: What to Check and What to Do Next
Visible pooled water in a crawlspace is an active moisture problem, not normal dampness. Keep people and pets out, use only battery lighting, and do not enter water or touch a wet electrical device, pump or wiring.
-
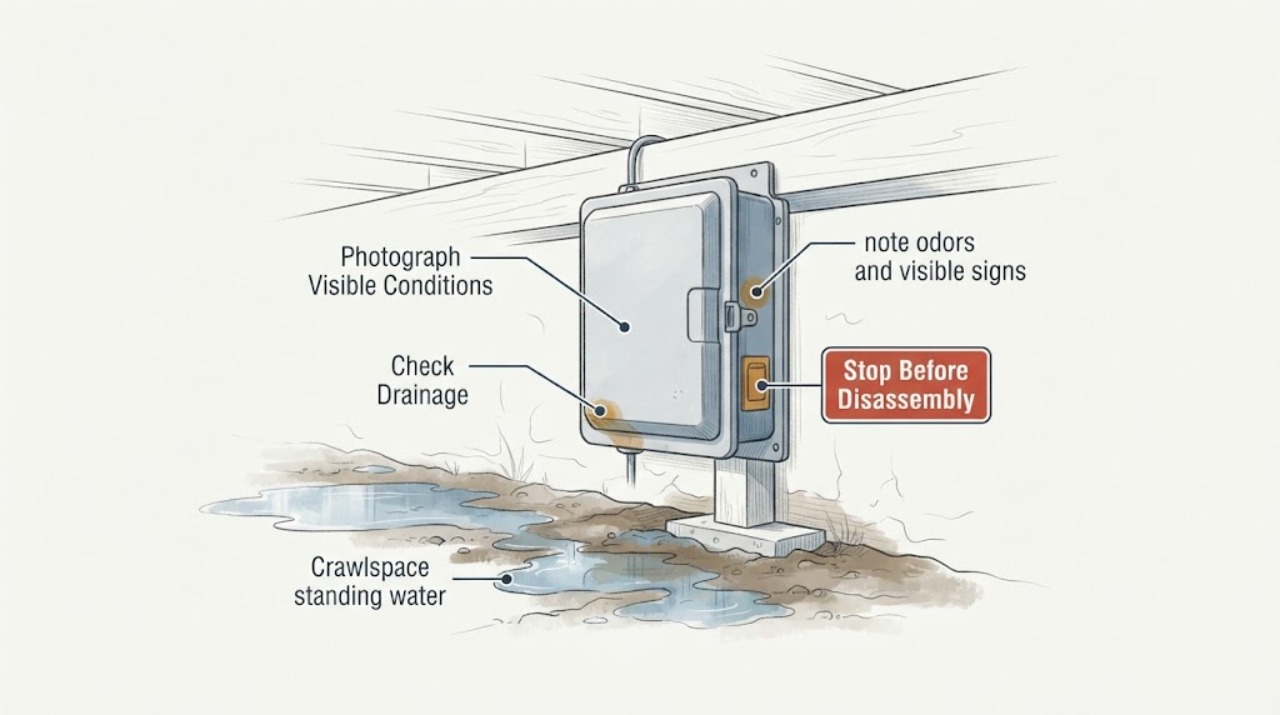
Crawlspace standing water: What to Check and What to Do Next
Do not enter a crawlspace or stand in its water to find the cause. From a dry, safe location, record how far the water appears to extend, whether it follows rain or a plumbing event, and whether there are sewage or musty odors, visible electrical equipment, sagging or settlement, or damage in adjacent rooms.
-
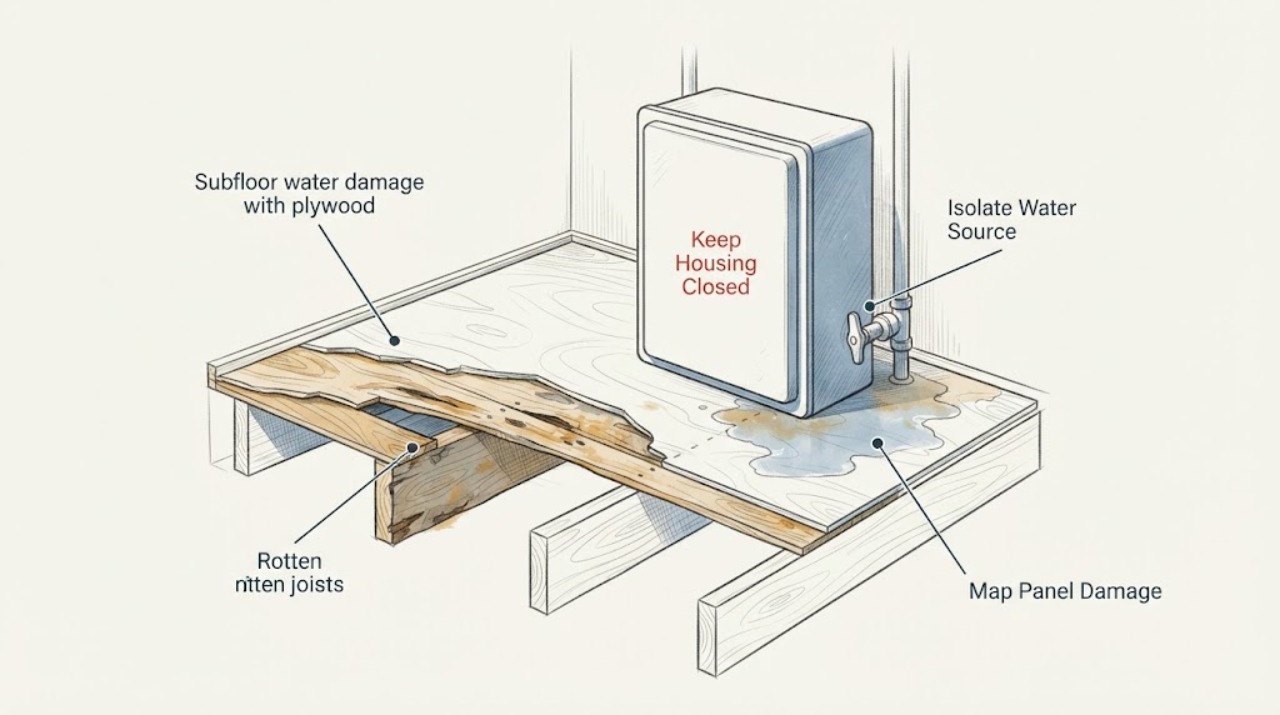
Subfloor water damage with plywood delamination or rotten joists: What to Check and What to Do Next
Treat water-damaged subfloor plywood that is separating, swollen, soft, or accompanied by suspected rotten joists as a moisture-control and structural-safety problem. From a stable, dry position, stop or isolate the water source only if it is safe, document where the damage starts and whether the floor moves or sags, and keep people off any soft or deflected area.
-
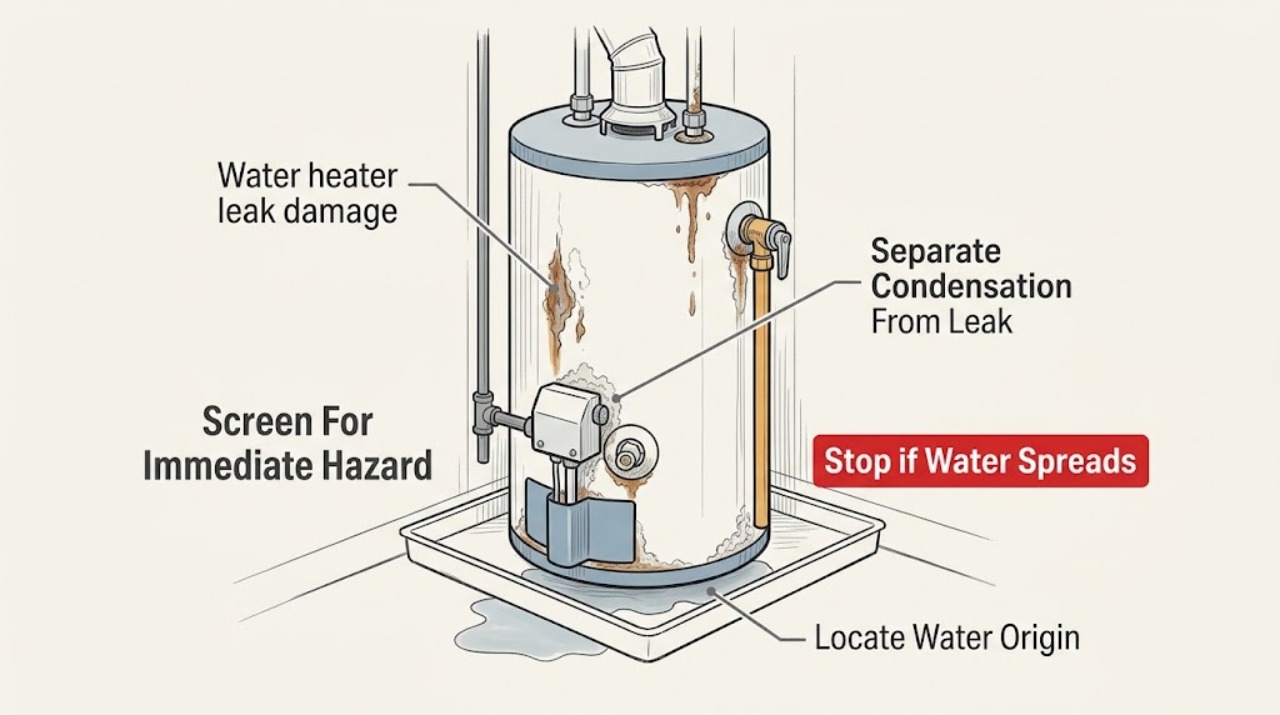
Water heater leak damage and corrosion in an appliance area: What to check and what to do next
Treat moisture around a water heater as an active leak investigation, not merely a stain. From a safe, dry position, note whether water is coming from a supply connection, drain pan, relief-valve discharge, drain valve, or the tank/base, and look for corrosion or rust trails.