
On this page
Start here
Quick answer
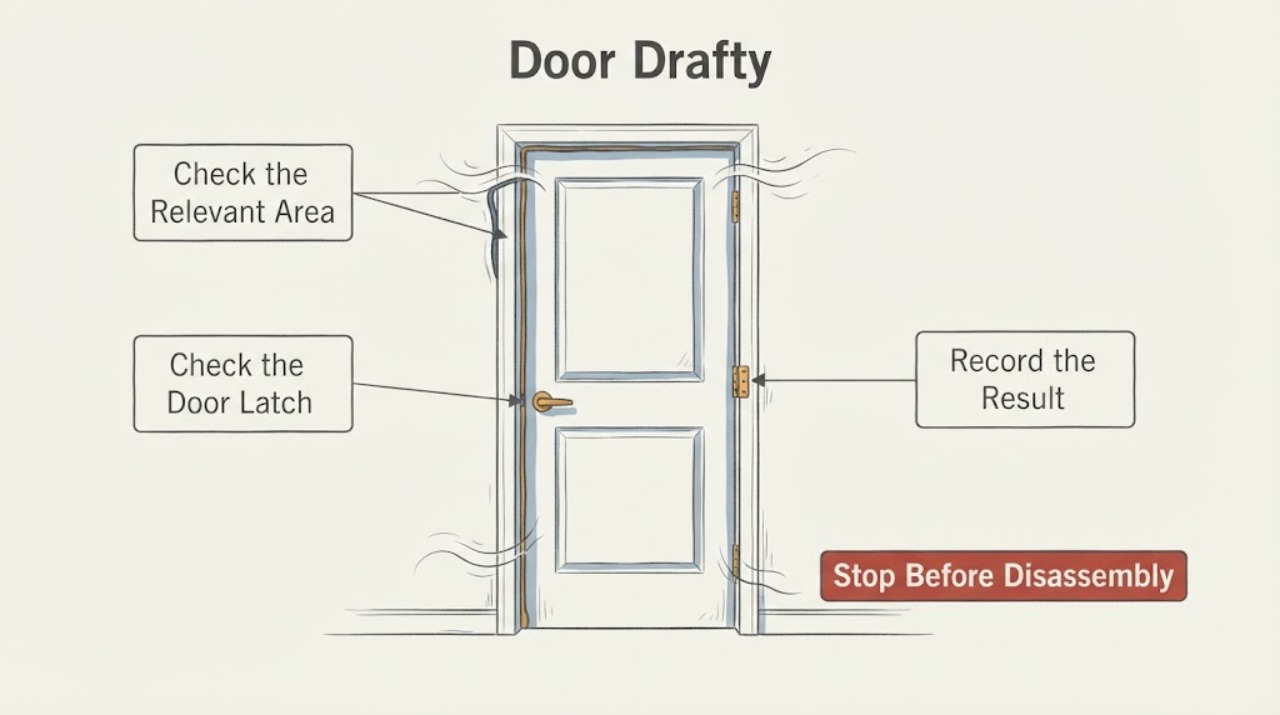
For a drafty closed exterior door, locate the leak before buying material: check for visible daylight or a loose fit, then use a paper or tissue test around the jamb, head, threshold, hinges, and strike side. If the paper slides freely, inspect the weatherstripping and door alignment. Tighten or adjust a loose hinge, knob, or strike plate first, then size and install compatible weatherstripping or a door sweep so the closed door seals without binding. If the leak is behind trim, the frame is distorted, the door will not latch smoothly, or the work may disturb pre-1978 paint, stop and use a qualified door or weatherization professional.
Work through in order
Diagnostic checks
Use only checks that match the exact appliance or system and its official guide.
-
Check 1
Close and latch the exterior door normally, then inspect the full perimeter from inside for visible daylight, dust tracks, or a gap at the hinge side, strike side, head, threshold, or bottom corner. On a windy day, move a thin tissue near each seam without using a flame.
Expected result: Movement at one seam localizes the leak; a uniform draft around the frame or a gap that changes when the door is lifted suggests alignment or frame movement rather than only worn weatherstripping.
Next step: Mark the leaking section and continue with the paper compression and alignment checks. If the frame is visibly twisted or the door cannot latch, stop forcing it and arrange professional assessment.
Why this matters
Why: The leak location determines whether the next check is the door seal, bottom sweep, hinges and strike, or the rough opening behind trim.
-
Check 2
With the door closed but not locked, place a strip of paper or a thin card between the door and jamb at several points, close the door, and gently pull. Repeat at the head and bottom where accessible without pinching fingers.
Expected result: Paper that pulls out with little resistance identifies a weak compression zone; resistance all around but a draft at the threshold points more toward the bottom seal, threshold, or a gap outside the moving leaf.
Next step: Use the weakest zone to choose the repair. Do not install a thicker seal until hinge, strike, and latch alignment have been checked, because excess compression can stop the door from closing.
Why this matters
Why: Uneven compression distinguishes a localized seal failure from a door that is generally out of alignment.
-
Check 3
Open the door and inspect the visible hinge leaves, screws, knob or handle, strike plate, and latch alignment. Close the door slowly and watch whether the latch enters the strike cleanly or the slab shifts when lifted; do not remove trim or enlarge holes as a first step.
Expected result: A loose hinge, loose hardware, a latch that misses the strike, or a door that drops can create a perimeter gap and poor seal even when the weatherstrip is new.
Next step: Make only minor, appropriate hardware adjustments if the door remains square and operates smoothly. If the frame is damaged, the door binds, or adjustment cannot restore a clean latch, call a qualified door professional.
Why this matters
Why: The frame and moving hardware control how the weatherstrip compresses, so alignment is a prerequisite to a durable seal.
-
Check 4
After alignment is acceptable, inspect the existing weatherstrip and bottom sweep for cracking, hardening, gaps at corners, missing sections, or a sweep that no longer reaches the threshold. Measure each side and the top or bottom before selecting a replacement profile.
Expected result: Cracked or missing material supports replacement; a clean seal with a persistent draft at the fixed frame points to caulk, trim, or rough-opening sealing rather than another strip on the moving door.
Next step: Install a compatible seal or sweep snugly according to its manufacturer's instructions, then close and reopen the door to confirm smooth operation and a continuous contact line. Do not force material into a gap that bows the frame.
Why this matters
Why: Weatherstripping seals the moving interface, while gaps behind trim are a separate air-sealing layer and need different material and skill.
-
Check 5
Recheck the closed door on the same perimeter points after the adjustment or seal installation. Inspect the interior trim for a visible crack or gap, and note whether draft remains only behind trim, around a sill, or across the entire frame.
Expected result: A continuous seal with no movement indicates the moving-door leak is addressed; a remaining fixed-frame gap, water damage, distorted jamb, or complicated trim indicates a deeper installation or weatherization issue.
Next step: Use a qualified weatherization or door professional for behind-trim sealing, frame repair, lead-paint risk, or any door that still binds or will not latch securely.
Why this matters
Why: The final test verifies both reduced air infiltration and normal door operation rather than assuming a new strip solved every leak path.
Use your observations
Decision map
Find the observation that best matches what you see, then follow the next safe action.
-
PATH 01Next step
What you see
The paper slips freely only at one edge and the door is otherwise square and latches smoothly.
Do this next
Replace or adjust the weatherstripping at that section, then retest the perimeter and confirm that the door still operates smoothly.
-
PATH 02Next step
What you see
The door drops, rubs, misses the strike, or needs force to latch.
Do this next
Correct the hinge, hardware, or frame alignment before adding thicker weatherstripping. Use a qualified door professional if minor adjustment cannot restore normal operation.
-
PATH 03Next step
What you see
The bottom is drafty but the jamb seal is consistent.
Do this next
Measure and fit a compatible door sweep or address the threshold according to the door system instructions, ensuring the sweep does not drag or block closure.
-
PATH 04Next step
What you see
A visible crack or gap remains behind fixed trim or around the rough opening after the moving seal is sound.
Do this next
Treat it as a fixed-frame air-sealing project and use qualified help if trim is complicated, the frame is damaged, or disturbing paint is possible.
-
PATH 05Next step
What you see
Draft persists with a damaged frame, water damage, unsafe hardware, or a door that will not latch securely.
Do this next
Stop the do-it-yourself repair and arrange a qualified door or weatherization assessment; a thicker strip cannot correct a structural or security problem.
Helpful context
Understand the symptom
Find the leak before sealing it
A draft can enter at the moving door edge, bottom sweep, threshold, frame, or the gap behind the trim. A door that rubs or does not sit square can leave a gap even when the old weatherstrip looks intact. First map where air moves; then correct alignment before adding thicker material.
A good seal must still let the door work
Weatherstripping should contact the closed door consistently without preventing the latch from engaging. The Department of Energy job aid defines the desired result as reduced air infiltration while maintaining or improving proper door operation. A sweep that drags, a jamb that bows, or a seal that forces the door open is not a finished repair.
Know when to stop
Do not force a frame, overdrive fasteners into hidden wiring, or remove complicated trim casually. ENERGY STAR warns that disturbing paint in homes built before 1978 can create lead dust; use lead-safe professional help when that risk or difficult trim is present.
Only after diagnosis
Potential parts
- door weatherstripping
Consider this class when the paper test shows weak compression and the door and frame are aligned, with cracked, hardened, or missing seal material.
Measure the door and jamb and follow the seal manufacturer's profile and installation requirements; fit is not universal. - door sweep or threshold seal
Consider this class when the draft is concentrated at the bottom while the side and head seals remain consistent.
Confirm the door bottom, threshold shape, clearance, and opening direction before selecting a sweep.
When checks do not resolve it
Need a professional?
Describe where the draft was found, the paper-test results at the head, jamb, hinge, strike, and threshold, whether the door latches squarely, the condition and dimensions of existing weatherstripping or sweep, and whether the remaining gap is behind fixed trim. Include any frame movement, water damage, or older-paint concern so the professional can choose alignment, seal replacement, or deeper air sealing.
Common questions
FAQ
How can I tell where a drafty door is leaking?
Close and latch the door, look for daylight or dust tracks, and use a paper or tissue check around the jamb, head, hinges, strike side, and threshold. The weakest location determines the repair.
Should I add thicker weatherstripping to stop a draft?
Only after checking alignment. A loose hinge, shifted strike, or door that does not sit square can cause the gap, and thicker material may prevent the door from latching.
What fixes a draft under an exterior door?
If the side and head seals are consistent, measure and fit a compatible door sweep or address the threshold according to the door system instructions. Confirm that the sweep seals without dragging or blocking closure.
When should I call a professional for a drafty door?
Use a professional for a distorted or water-damaged frame, a door that will not latch smoothly, a gap behind complicated trim, or work that may disturb paint in a home built before 1978.
Read the exact guide
Official sources
- Seal and Insulate with ENERGY STARENERGY STAR · Door draft diagnosis and weatherstripping as an air-sealing measure
- Residential Windows, Doors, & SkylightsENERGY STAR · Residential door air leaks and installation or professional guidance
- Job Aid 11-1: Install Weatherstripping on an Exterior DoorU.S. Department of Energy · Door alignment, weatherstripping, sweep installation, and operation checks
- Sealing Behind Window & Door Trim ProjectENERGY STAR · Door draft signs, locating leaks, fixed-frame sealing, and lead-paint safety
Community feedback
Share a repair observation
Share a plain-text repair observation. Accepted observations are published automatically; this page may take a moment to update.