
On this page
Start here
Quick answer
A draft around a closed door usually comes from a worn or compressed weatherstrip, a door that no longer closes tightly against its stops, a gap beneath the door, or air leakage behind the frame. With the door closed, identify the exact edge where air or daylight enters, then check the seal with a paper or playing-card test and inspect the bottom sweep and threshold. Tighten loose hardware and adjust the fit before installing a matching weatherstrip or sweep. If the frame is loose, the door binds, paint may contain lead, or the leak is behind the trim, stop and use a qualified door or home-performance professional.
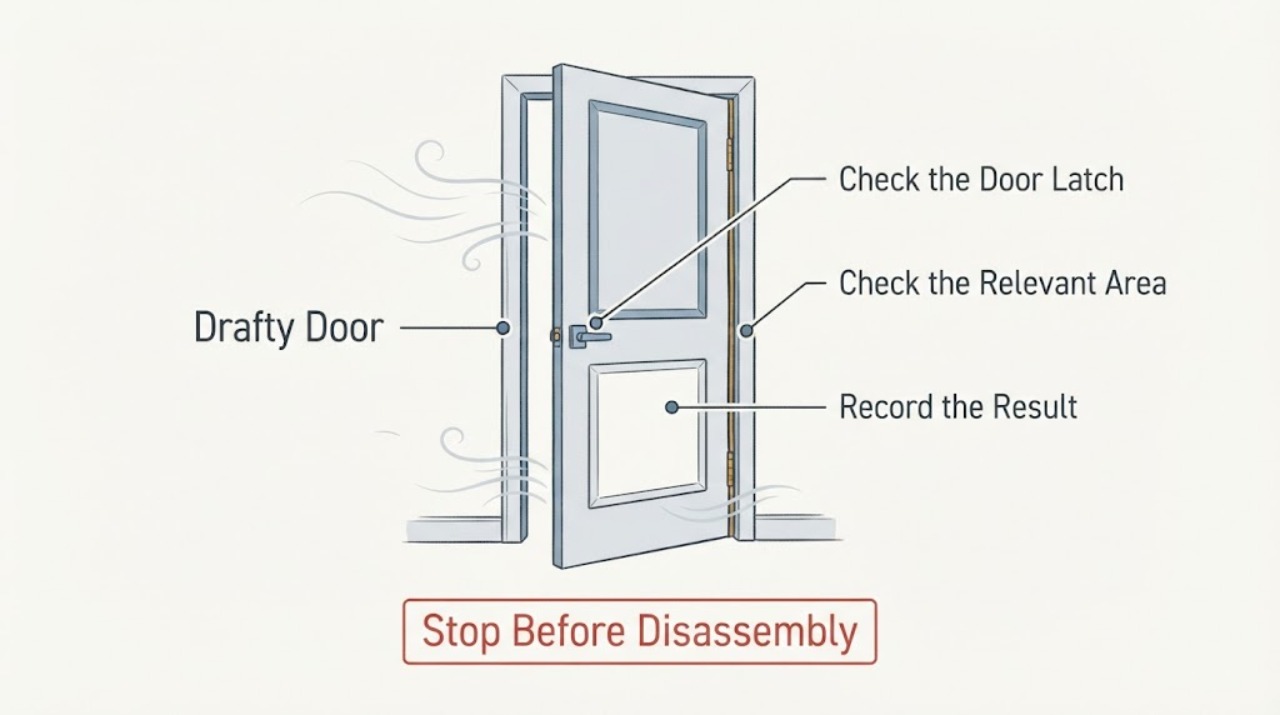
Work through in order
Diagnostic checks
Use only checks that match the exact appliance or system and its official guide.
-
Check 1
Close and latch the door, then inspect the four sides from inside and outside for daylight, a visibly compressed or missing gasket, cracked seal material, gaps at the corners, and air movement. Use a strip of tissue near each seam on a windy or cold day to locate movement without a flame.
Expected result: The draft is concentrated at the jamb/head weatherstrip, at the bottom edge, or around the trim and wall rather than at the door slab itself.
Next step: Mark the leaking section and continue with the paper or card check before selecting a material.
Why this matters
Why: The location identifies the likely repair: perimeter gasket, threshold or sweep, or deeper frame sealing. A gap that changes when the door is lifted suggests hardware or alignment rather than only a gasket.
-
Check 2
Place a playing card or similar thin card between the closed door and jamb at several points, including the latch side, hinge side, and top corners. Repeat at the bottom against the threshold where accessible, and pull gently without forcing the door.
Expected result: The card is held with light resistance, slides freely at one section, or cannot be inserted because the door is already tight or binding.
Next step: Record the loose sections, then tighten or adjust hardware and recheck the fit before installing a seal.
Why this matters
Why: A card that slides freely indicates inadequate compression at that location and supports weatherstrip or sweep work. A card that cannot pass or a door that binds suggests alignment or hardware needs attention before adding thickness.
-
Check 3
Inspect the hinges, latch/strike alignment, door stop, threshold, and bottom sweep. Tighten accessible loose hinge or strike screws if the door remains square; check that the threshold is continuous and that the sweep meets it without dragging or leaving a visible gap.
Expected result: The door closes more snugly after hardware adjustment, or the frame remains out of square, the slab is warped, or the threshold cannot be adjusted without affecting operation.
Next step: Re-run the card test. If the remaining gap is uniform and the door operates normally, select a weatherstrip or sweep sized for the existing profile.
Why this matters
Why: Improved fit means the draft was partly an alignment problem. A persistent uneven gap, loose frame, warped slab, or damaged threshold needs carpentry or professional assessment before sealing.
-
Check 4
Install or replace only the damaged perimeter weatherstrip or bottom sweep, following the product instructions and keeping the same coverage width. Close the door and check the entire seal for buckling, gaps, or excessive pressure; then repeat the tissue or card test.
Expected result: The seal is continuous and the door latches with normal effort, or the door is hard to close, the seal buckles, or the draft remains at the frame/trim.
Next step: If the draft remains behind the casing or at the rough opening, stop removing trim unless prepared for the relevant safety risks and arrange a qualified professional or home-energy assessment.
Why this matters
Why: A continuous seal with normal operation indicates the accessible leak is corrected. Binding or a remaining frame leak means the material or underlying fit is wrong; adding more thickness can worsen the problem.
Use your observations
Decision map
Find the observation that best matches what you see, then follow the next safe action.
-
PATH 01Safety boundary
What you see
The card test shows a uniform loose section at the jamb or head, and the door is square and latches normally.
Do this next
Replace the worn or missing weatherstrip with a compatible profile, fastening it without buckling and rechecking the door operation.
Why this path and its safety boundary
Safety stop: Stop if the new material prevents latching, requires excessive force, or leaves a corner gap.
-
PATH 02Safety boundary
What you see
The draft is strongest below the slab and the perimeter gasket is intact.
Do this next
Inspect the threshold and install or adjust a door sweep that spans the door width and meets the threshold without dragging.
Why this path and its safety boundary
Safety stop: Stop if the sweep interferes with egress, latching, or normal door movement.
-
PATH 03Safety boundary
What you see
The door rubs, the gap varies widely, the slab is warped, or tightening hardware does not restore a snug fit.
Do this next
Arrange a qualified door or carpentry assessment for hinges, strike, frame, threshold, and slab alignment before installing thicker seals.
Why this path and its safety boundary
Safety stop: Do not force the door closed, plane the slab, or move a structural frame without understanding the effect on security and egress.
-
PATH 04Safety boundary
What you see
The draft is at the casing, rough opening, or wall-to-frame joint rather than the movable seal.
Do this next
Use a qualified professional or home-performance assessment to locate and seal the opening with appropriate low-expansion material or caulk.
Why this path and its safety boundary
Safety stop: Stop before removing trim if the home may contain lead paint, the wall contains wiring or plumbing, or the frame could be damaged by prying or expanding foam.
Helpful context
Understand the symptom
Find the leak before buying a seal
A draft can enter at the hinge side, latch side, head of the frame, threshold, or the joint between the frame and wall. On a windy or cold day, move a thin strip of tissue near the closed door and watch for movement; do not use an open flame. Mark the leaking section so the repair matches the actual gap.
The seal has to close without binding
A thicker gasket is not always the answer. Loose hinges, a shifted strike plate, a warped slab, or a threshold set too low can leave an uneven gap. The door should latch and close with normal effort after the repair; excessive force can damage the frame or hardware.
Know when the leak is behind the trim
Replacing perimeter weatherstrip is a reasonable low-risk repair when the frame is sound. Air leakage behind casing or at the rough opening is a different project that may require trim removal, low-expansion foam or caulk, and careful protection of the wall and door frame.
Safety boundary
Stop conditions
- Stop if the door is a required exit and a repair interferes with opening, latching, locking, or clear passage.
- Stop before disturbing painted trim in a pre-1978 home or if the work may create lead dust; use the appropriate qualified professional guidance.
- Do not use open flames to locate a draft, overfill a gap with expanding foam, or force a warped door against a thick seal.
Only after diagnosis
Potential parts
- perimeter weatherstrip
Only consider this after the card or tissue test identifies a loose jamb or head seal and the door closes squarely.
Match the existing channel, kerf, compression profile, and door dimensions; weatherstrip profiles are not universal. - door sweep or threshold seal
Only consider this when the draft is concentrated at the bottom edge and the threshold is sound and aligned.
Choose a sweep that spans the door and seals against the existing threshold without interfering with opening, closing, or egress. - door and window low-expansion sealant
Only consider this for a confirmed gap behind the frame after deciding that trim removal is safe and appropriate.
Use only material designated for doors and windows and follow the product instructions; excess expansion can distort a frame.
When checks do not resolve it
Need a professional?
Arrange qualified door or home-performance service when the frame is loose or out of square, the slab is warped, the threshold cannot be adjusted without binding, the draft is behind the trim, the wall may contain wiring or plumbing, or a repair affects egress or security.
Common questions
FAQ
How can I tell where a drafty door is leaking?
Close and latch the door, inspect for daylight, and move a strip of tissue near each seam on a windy or cold day. A playing-card test can show where the door does not compress the seal.
Should I replace the weatherstrip or adjust the door first?
Adjust loose hardware and make sure the door closes snugly against its stops first. A new gasket on a misaligned door may bind or still leave a gap.
What if the draft is coming from below the door?
Inspect the threshold and bottom sweep. A sweep should span the door and meet the threshold while allowing the door to open, close, latch, and serve as a safe exit normally.
Can I remove the trim to seal behind a drafty door?
That is a more involved repair. Stop if the home may contain lead paint, the wall may contain wiring or plumbing, or the frame could be damaged; use a qualified professional when those risks apply.
Read the exact guide
Official sources
- Locating Air LeaksENERGY STAR · Government-backed explanation of household air leaks around doors and windows
- ENERGY STAR Home Check-UpENERGY STAR · Government-backed home draft and door weatherstripping checks
- Seal and Insulate with ENERGY STARENERGY STAR · Government-backed weatherstripping and caulking guidance
- Midwest Weatherization Best Practices Field GuideU.S. Department of Energy · Government weatherization guidance for door fit, weatherstrip, thresholds, and sweeps
- Sealing Behind Window & Door Trim ProjectENERGY STAR · Government-backed guidance on locating and sealing window and door air leaks
Community feedback
Share a repair observation
Share a plain-text repair observation. Accepted observations are published automatically; this page may take a moment to update.