
On this page
Start here
Quick answer
If the door stopped closing immediately after a weatherstrip seal was installed, do not trim the door, force the latch, or remove hinges first. With the door supported and no pinch, glass, security, or fire-door hazard, compare the new seal with the product instructions: a strip can be too thick for the gap, installed on the wrong face, doubled at a corner, buckled, or seated against the latch path. Check that the door still meets the seal evenly from top to bottom, that hinges and the strike or latch remain aligned, and that the frame and threshold are not twisting the door. DOE weatherization guidance says to correct loose hinges, knobs, and strike plates before weatherstripping and to check smooth operation after fitting; Building America guidance says the seal must not block complete closure. If the door is a fire door, has glass damage, structural movement, or still cannot close without force, stop and use a qualified door or fire-door professional.
Before you begin
Safety first
- Do not use or alter a door with cracked glass, structural movement, an unsecured opening, a fire or smoke classification, or closure that requires force until qualified service has assessed it.
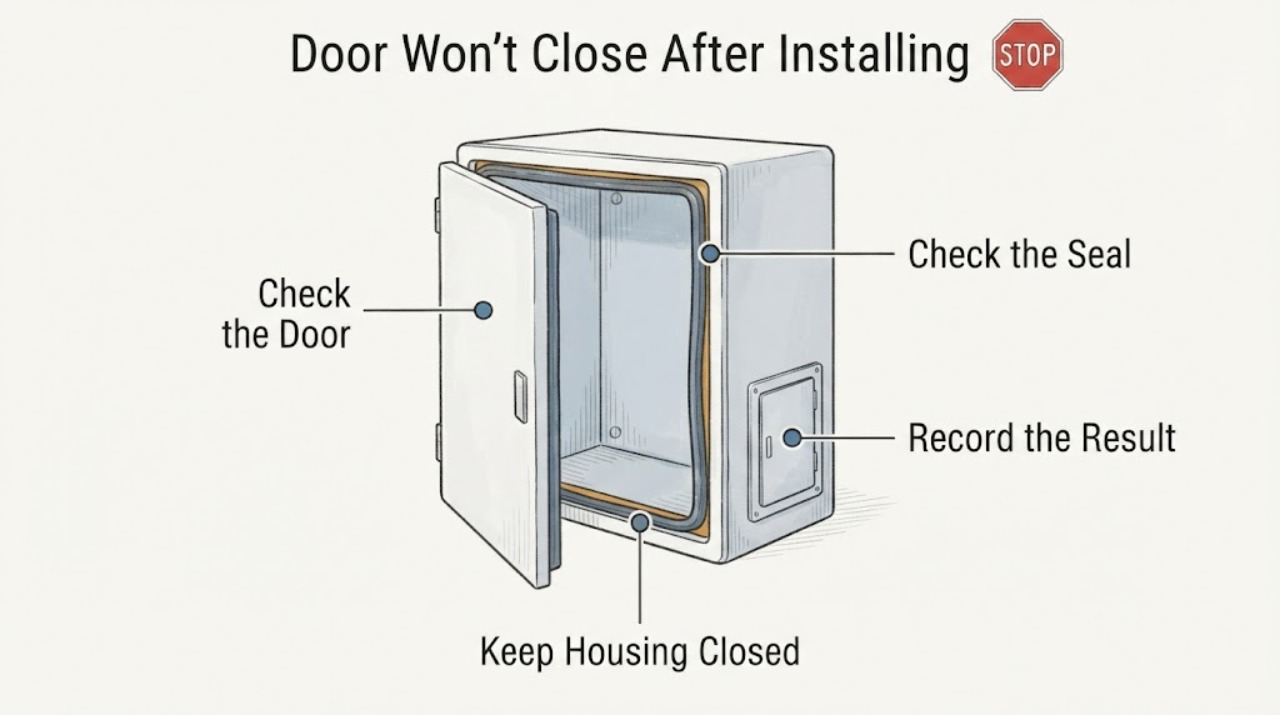
Work through in order
Diagnostic checks
Use only checks that match the exact appliance or system and its official guide.
-
Stop for pinch, glass, structural, or fire-door risk
Stop before another closing attempt if fingers can be trapped, glass is cracked or loose, the door or frame is structurally damaged or moving, the door cannot secure an occupied space, or it is a fire door that no longer closes fully. Keep people clear and arrange qualified door, glazing, building, or fire-door service; do not force, wedge, cut, drill, or remove the closer.
Expected result: The door and glass are intact, the frame is stable, no one is in the pinch path, and the door is an ordinary non-fire door, or a stop condition is present.
Next step: Continue only in the safe state. For any stop condition, leave the door as safe as possible without improvising a repair and call the appropriate qualified professional.
Why this matters
Why: A closing problem can be a safety or egress failure, not just an inconvenient seal. Fire and glazed doors depend on the complete tested assembly, and force can worsen hinges, glass, and frame damage.
-
Compare the new seal with the old installation
With the door open and supported, inspect the weatherstrip around the full perimeter. Confirm the profile, width, mounting surface, orientation, and length match the product instructions; look for a second old seal underneath, doubled corners, overlaps, buckles, stretched sections, adhesive ridges, or a strip crossing the latch or hinge clearance.
Expected result: The new material is visibly thicker than the available gap, overlaps or bunches at a corner, sits on the wrong face, or is smooth, continuous, and correctly positioned.
Next step: If the installation is clearly wrong and the product instructions allow repositioning, remove or reposition only the seal while preserving the door and frame. Do not trim the door or force it closed to compress a questionable strip.
Why this matters
Why: A thicker or mispositioned seal can add more resistance than the hinges or latch can overcome. A continuous correctly positioned strip shifts attention toward contact distribution, hardware, frame, or threshold alignment.
-
Check where the door meets the seal
Close the door slowly without latching or forcing it and watch the contact line from top to bottom. Note whether the door touches the weatherstrip evenly, hits one corner first, rubs on the hinge side, or stops before the latch side reaches the seal. Keep hands out of the closing edge and do not slam the door.
Expected result: The seal is compressed heavily at one point, the door meets it only at the top or bottom, the latch side stops short, or contact is even around the perimeter.
Next step: Use the observed location to guide one reversible seal-position correction or a qualified alignment check. Do not reshape the door or frame until the contact pattern and seal profile are confirmed.
Why this matters
Why: Uneven contact indicates alignment, frame, threshold, hinge sag, or seal-placement trouble rather than a simple overall thickness issue. Even contact with excessive resistance makes seal profile or compression the stronger suspect.
-
Check hinges, latch, and strike alignment
With the seal not being forced, inspect visible hinge screws, hinge leaves, latch face, and strike plate for looseness, movement, or fresh rub marks. Operate the latch only with the door open and observe whether it lines up with the strike when the door is gently brought near the frame. Do not remove load-bearing hinges, enlarge the strike opening, or defeat the latch.
Expected result: A hinge is loose, the door sags, the latch contacts the strike high or low, the seal pushes the latch side away, or hardware aligns normally.
Next step: For an ordinary door, tighten only an obviously loose accessible fastener if it can be done without destabilizing the door, then reassess gently. Arrange qualified alignment service for sag, damaged screws, security hardware, glass doors, or persistent latch misalignment.
Why this matters
Why: DOE says loose hinges, knobs, and strike plates should be adjusted before weatherstripping; Therma-Tru separates strike alignment and door sag from weatherstrip contact. A hardware fault can be exposed or amplified by the new seal.
-
Check the frame, jamb, and threshold for squareness
From a safe position compare the reveal between door and frame at the top, latch side, and hinge side, and look for a threshold or floor that makes the door lift, bind, or contact the seal unevenly. A simple level or straightedge may be used without removing trim; do not shim a structural frame, cut the jamb, or move a heavy glazed door without qualified help.
Expected result: The reveal is uneven, the jamb is visibly twisted, the threshold is high or distorted, the floor causes rubbing, or the opening looks square and stable.
Next step: If the opening is visibly out of square or the threshold is damaged, stop at documentation and call a qualified door installer. If it is stable and square, return to the seal profile and contact checks rather than cutting the door.
Why this matters
Why: DOE installation guidance requires plumb jambs, a level threshold, an operational door, and aligned lockset. Therma-Tru links an out-of-square frame or sill to uneven margins and closing trouble.
-
Check compression without turning the door into a clamp
After confirming the seal is the correct type and positioned correctly, close the ordinary door gently and observe whether it reaches the latch with modest, uniform resistance. Look for a seal that is crushed flat at one location, barely contacted elsewhere, or preventing the latch from reaching the strike. Do not slam the door, leave it clamped shut to break in, or use heat, lubricant, or solvent unless the product instructions specifically allow it.
Expected result: Resistance is uniform and the latch reaches the strike, resistance is concentrated at the new seal, or the latch cannot reach the strike without force.
Next step: For an ordinary door, correct the seal installation or select a product approved for the measured gap; arrange service if the door still cannot latch. Never use a forced closure as proof that the seal is acceptable.
Why this matters
Why: Uniform resistance with full latching may be normal for a new seal, while concentrated resistance or failure to latch indicates an unsuitable profile, excess thickness, wrong position, or an alignment problem. DOE's desired outcome is a tight seal that does not impede operation.
-
Apply the fire-door and glass-door branch
Identify whether the door is a fire-resisting or smoke-control door, an entrance door in a shared escape route, or a glazed door with rated glass. If yes or uncertain, compare only visible condition with the responsible building or manufacturer's documentation: seal contact, hinges, closer, latch, glazing, and full closure. Do not substitute a draught seal, change the gap, cut the slab, or adjust the closer as a DIY experiment.
Expected result: The door is an ordinary non-fire door with intact standard glass, or it is fire-rated, on an escape route, has rated glazing, or its classification is uncertain.
Next step: For a fire-rated or uncertain assembly, report the defect and use a qualified fire-door or glazing specialist. For an ordinary door, continue only with reversible seal and alignment checks.
Why this matters
Why: Fire performance belongs to the tested door, frame, seal, glazing, and hardware assembly. GOV.UK guidance says a fire door that does not close fully will not hold back fire and smoke, and damaged seals, hinges, glazing, or warped frames need attention.
-
Stop after one safe correction and call if it persists
Record the seal profile and dimensions from its packaging, the mounting location, where the door binds, the latch and hinge observations, frame and threshold condition, and whether the problem began immediately after installation. Make at most one reversible, manufacturer-supported correction to the seal on an ordinary door; do not plane, cut, drill, or replace structural or fire-door components from the symptom alone.
Expected result: The ordinary door closes and latches smoothly with even seal contact after the correction, or it still binds, will not latch, rubs glass, or requires force.
Next step: Use qualified door service for a persistent or recurring problem, and provide the recorded contact pattern. Keep a fire-rated, glazed, or unsecured door out of normal use until the appropriate specialist confirms it is safe.
Why this matters
Why: A successful reversible correction supports a seal-position or installation problem. Persistence points to the seal specification, hinges, strike, frame, threshold, door weight, or a concealed structural issue that needs diagnosis.
Use your observations
Decision map
Find the observation that best matches what you see, then follow the next safe action.
-
PATH 01Safety boundary
What you see
The door is fire-rated, on an escape route, has rated glazing, or its classification is uncertain
Do this next
Report the failure and use a qualified fire-door or glazing specialist to verify the compatible seal, frame, hinges, latch, closer, and full closure.
Why this path and its safety boundary
Safety stop: Do not cut, drill, plane, substitute a draught seal, remove the closer, or change the tested hardware assembly.
-
PATH 02Safety boundary
What you see
Glass is cracked or loose, the frame is warped or moving, or the door cannot secure the opening
Do this next
Keep people clear and arrange qualified glazing, structural, or door service.
Why this path and its safety boundary
Safety stop: Do not force the door, carry out hinge or frame work, or leave a damaged door in service.
-
PATH 03Safety boundary
What you see
The new seal is too thick, doubled, buckled, overlapping, or on the wrong face
Do this next
On an ordinary door, reposition or replace it only as the product instructions allow, then reassess smooth closure.
Why this path and its safety boundary
Safety stop: Do not trim the door or force the latch to compress an unverified seal.
-
PATH 04Safety boundary
What you see
The door hits the seal at the top or bottom first or has uneven contact
Do this next
Document the contact pattern and arrange hinge, jamb, threshold, or seal alignment service if a reversible seal correction does not restore even contact.
Why this path and its safety boundary
Safety stop: Do not cut the jamb, shim a structural opening, or force a heavy or glazed door.
-
PATH 05Safety boundary
What you see
The latch or strike is misaligned, or a hinge is loose or sagging
Do this next
For an ordinary door, correct only an obvious accessible loose fastener if stable; use qualified service for sag, damaged threads, security hardware, or persistent misalignment.
Why this path and its safety boundary
Safety stop: Do not enlarge the strike, remove load-bearing hinges, or bypass the latch.
-
PATH 06Safety boundary
What you see
The frame and hardware align, but the seal creates concentrated resistance or blocks the latch
Do this next
Verify the seal profile and gap, then use an approved thinner or correctly positioned seal for an ordinary door or call a door professional.
Why this path and its safety boundary
Safety stop: Do not leave the door clamped shut, slam it repeatedly, or use heat or solvent without product approval.
-
PATH 07Safety boundary
What you see
An ordinary door closes and latches with even contact after one reversible seal correction
Do this next
Monitor normal operation and retain the product and installation information for future maintenance.
Why this path and its safety boundary
Safety stop: If rubbing, latch resistance, or gaps return, stop forcing it and arrange service.
-
PATH 08Safety boundary
What you see
The door still will not close or latch without force after the external checks
Do this next
Keep the door safe and arrange qualified door service with the seal, contact, frame, hardware, and classification observations.
Why this path and its safety boundary
Safety stop: Do not plane, cut, drill, or replace hinges, latch, closer, glass, or frame from the symptom alone.
Helpful context
Understand the symptom
The new seal is the first suspect, not proof of a bad door
A door that worked before the weatherstrip was fitted and now rubs, springs open, or misses the latch has a changed contact condition. The seal may be too thick for the available compression, mispositioned, installed over an old seal, folded at a corner, or interfering with the strike side. That timing does not prove the frame or hinges are sound; use the observations below to separate seal fit from alignment.
Verify the seal before altering wood or hardware
Check the seal's width, profile, backing, and intended mounting surface against the product instructions. Confirm the old material was removed where the new product requires a clean surface, and look for overlaps, buckles, stretched corners, adhesive squeeze-out, or a strip installed on the wrong stop. Do not plane, cut, drill, or permanently reposition the door until the seal fit and contact pattern have been verified.
A fire or glazed door has a stricter boundary
If the door is marked or documented as fire-resisting, or has fire-rated glazing, do not replace the seal with a generic draught strip, remove a closer, cut the door, alter the frame, or change hinges and latch hardware as a home experiment. A fire door must close fully and retain compatible seals, glazing, hinges, and closing hardware. Report a defect to the responsible building owner or use a qualified fire-door specialist.
Only after diagnosis
Potential parts
- weatherstrip seal profile
Only relevant when the installed seal is confirmed too thick, mispositioned, damaged, or incompatible with the ordinary door's measured gap and mounting surface.
Confirm door type, mounting method, profile, gap, and manufacturer instructions; fire-door seals require specialist-approved compatibility. - hinge or hinge fastener
Only relevant when a qualified diagnosis confirms sag, a loose or damaged hinge, or a failed fastener is causing uneven seal contact or latch misalignment.
Confirm door weight, hinge type, finish, and fire or glazing requirements; do not remove load-bearing hardware casually. - strike plate or latch hardware
Only relevant when the seal is correctly fitted but qualified inspection confirms the latch and strike are misaligned or damaged.
Confirm the exact door and lockset; do not enlarge openings, bypass security, or alter fire-door hardware without specialist approval.
When checks do not resolve it
Need a professional?
Provide the door type and classification if known, seal product profile and dimensions, installation surface, old-seal removal, first binding location, contact pattern, latch and hinge observations, frame and threshold condition, and whether the problem began immediately after installation.
Safety scope: Do not use or alter a door with cracked glass, structural movement, an unsecured opening, a fire or smoke classification, or closure that requires force until qualified service has assessed it.
Common questions
FAQ
Why did my door stop closing after I installed weatherstrip?
The seal may be too thick for the available gap, on the wrong face, doubled or buckled at a corner, or pressing the latch side away from the strike. Check the full contact line and hardware alignment before trimming or altering the door. DOE and Building America guidance make smooth, complete closure part of the installation result.
Should I cut or plane the door so the new seal fits?
Not as a first step. Verify the seal profile, mounting surface, overlap, and compression, then check hinges, strike, frame, and threshold. Cutting a fire-rated, glazed, or structural door can create a larger safety problem; use a qualified door professional when the seal or opening is not clearly correct.
How can I tell whether the seal or the frame is the problem?
Watch where the door first contacts the seal. Concentrated resistance with even hardware alignment points toward seal profile or position; contact at the top or bottom first, an uneven reveal, or a latch that misses the strike points toward hinges, jamb, threshold, or frame alignment. Therma-Tru's troubleshooting guide uses these as separate branches.
What if the door has glass?
Stop for cracked or loose glass, a moving frame, or a heavy door that needs force. Ordinary glazing still warrants qualified service when damaged; fire-rated glazing is part of a tested door assembly and should not be modified as a DIY repair.
What if this is a fire door?
Do not install a generic weatherstrip, cut or drill the door, remove the closer, change the gap, or replace hinges and latch hardware without specialist approval. A fire door must close fully and retain compatible seals, glazing, hinges, latch, frame, and closer; report the failure to the responsible building owner or qualified fire-door professional.
When should I call a door professional?
Call when the seal remains too resistant after one safe installation correction, the door will not latch, hinges or the frame are out of alignment, the threshold binds, glass is damaged, the opening is unsecured, or the door is fire-rated or uncertain. Do not force closure while waiting.
Read the exact guide
Official sources
- Add Weatherstrip to Windows and DoorsPacific Northwest National Laboratory Building America Solution Center · Door and window weatherstrip selection, measurement, surface preparation, manufacturer instructions, and complete closure check
- Fire Safety (England) Regulations 2022: fire door guidance (accessible)GOV.UK · Fire-door seals, glazing, hinges, gaps, self-closing devices, full closure, and alteration boundaries
- Install Weatherstripping on an Exterior DoorU.S. Department of Energy · Exterior-door weatherstripping sequence, hardware preparation, fit, smooth operation, and non-impeding closure
- Fire doorsLondon Fire Brigade · Fire-door seal, hinge, closure, glazing, and qualified repair guidance
- Door InstallationU.S. Department of Energy · Exterior-door frame preparation, plumb jambs, level threshold, lockset alignment, full operation, and weather-tight installation
- Troubleshooting GuideTherma-Tru Doors · Manufacturer troubleshooting for weatherstrip contact, strike alignment, hinge sag, frame squareness, latch closure, glass, and door damage
Community feedback
Share a repair observation
Share a plain-text repair observation. Accepted observations are published automatically; this page may take a moment to update.