
On this page
Start here
Quick answer
Start by identifying where the water is: on the room side, outside, between insulated panes, or around the frame and sill. Room-side condensation usually means humid indoor air is meeting a colder glass or frame surface; outside condensation can be normal in warm, humid weather; moisture between panes usually indicates a failed insulated-glass seal. Dry the sill, improve air movement over the glass, use kitchen and bath exhaust, and manage indoor humidity. If water is inside the sealed glass unit, the frame is deteriorating, or condensation continues after humidity and airflow are addressed, arrange a qualified window inspection rather than injecting sealant or dismantling the frame.
Work through in order
Diagnostic checks
Use only checks that match the exact appliance or system and its official guide.
-
Check 1
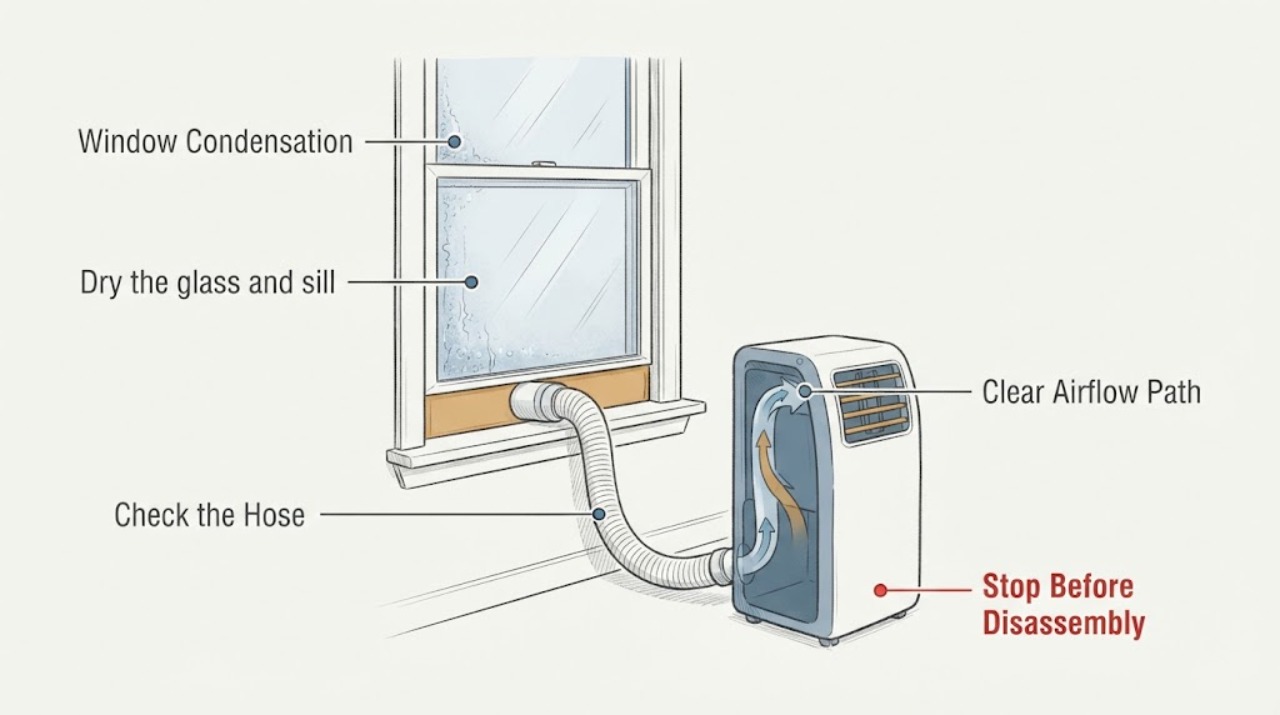
Dry the glass and sill, then inspect the window during the next occurrence to identify whether droplets are on the room side, outside, between panes, or concentrated at the frame and sill; note the weather, heating or air-conditioning state, and whether nearby blinds or curtains are closed.
Expected result: Moisture is on the room side, on the exterior, inside the sealed glass space, or at the frame perimeter and sill.
Next step: Follow the matching humidity, airflow, draft, or sealed-glass branch instead of treating every visible droplet as a failed window.
Stop if: Stop if glass is cracked, loose, sharp, or moving in the frame, or if water is entering the wall or ceiling rather than only condensing on a surface.
Why this matters
Why: Room-side moisture usually reflects indoor humidity and a cool surface; exterior moisture can be a weather and air-conditioning effect; moisture between panes suggests a glass seal failure; perimeter or sill wetting can also involve drafts, installation, drainage, or a leak.
-
Check 2
Check the room's relative humidity with a hygrometer if available and list recent moisture sources such as showers, cooking, clothes drying, a humidifier, or a basement; verify that kitchen and bath exhaust actually vents outdoors and runs during those activities.
Expected result: Humidity is high for the season, condensation follows a shower or cooking, a humidifier is operating, or ventilation is absent or ineffective; alternatively, the room humidity seems ordinary and the condensation persists.
Next step: Reduce or stop unnecessary humidification, use exhaust during moisture-producing activities, and reassess the same window under similar weather; do not choose one universal humidity target without considering climate, finishes, and occupants.
Stop if: Stop if exhaust wiring, a humidifier, or a ventilation system is unsafe to access, or if persistent dampness is causing mold-like growth or structural damage.
Why this matters
Why: Excess indoor moisture makes room-side condensation more likely when glass or the frame is cold. If humidity and moisture sources are ordinary, a colder surface, air leak, installation detail, or sealed-glass issue becomes more important.
-
Check 3
Open blinds or curtains enough to leave a clear air path over the glass, keep supply air from the heating system reaching the window when practical, and check whether furniture or coverings block the lower frame; do not place a high-heat device directly against the glass.
Expected result: Air can circulate over the glass and frame, or coverings and furniture keep the surface cold and stagnant; condensation changes after the air path is opened.
Next step: Keep the window treatment in a position that allows airflow during the risk period and continue monitoring the frame and sill for wetness.
Stop if: Stop if changing a blind, heater, or window requires climbing unsafely, touching damaged glass, or blocking an emergency egress window.
Why this matters
Why: Air movement and surface temperature affect whether moisture reaches the dew point. Improving circulation can reduce room-side droplets without proving that a window component failed.
-
Check 4
With the window closed and locked, perform a low-risk paper test at the sash and frame edge, and visually inspect the perimeter for daylight, gaps, failed weatherstripping, peeling finish, or water tracks; do not use an open flame and do not seal over weep or drainage paths.
Expected result: The paper releases easily, air movement is noticeable, a perimeter gap or damaged seal is visible, or the frame is tight and dry with no obvious leak.
Next step: Record the exact location and have a window professional assess weatherstripping or installation sealing; use only a product and method approved for that window, and never block designed drainage.
Stop if: Stop if the frame moves, the glass is loose or cracked, water is trapped in the wall, or repair would require removing glass, trim, or exterior flashing.
Why this matters
Why: A loose sash or perimeter gap can make the frame and glass colder and can move moisture into the assembly. A tight, undamaged perimeter makes indoor humidity, surface temperature, or an insulated-glass seal more likely than a simple draft.
-
Check 5
Look across the glass at an angle after cleaning both accessible surfaces and check whether haze or droplets remain in the cavity between panes; compare the affected pane with nearby panes under the same conditions.
Expected result: The haze wipes away from an accessible surface, returns only during a particular weather condition, remains visibly trapped between panes, or affects one insulated unit persistently.
Next step: If moisture is trapped between panes, record the window location and manufacturer or model information and obtain a glazing or window assessment; do not drill the glass or attempt to dry the cavity.
Stop if: Stop if the glass is cracked, the seal is visibly broken, or any proposed repair requires cutting, drilling, or removing the glazing without trained help.
Why this matters
Why: Surface condensation can respond to humidity and temperature. Persistent moisture between panes is not room-side condensation and commonly indicates loss of the insulating-glass seal; one affected unit can be a localized glazing problem.
-
Check 6
Dry the glass, frame, and sill with a soft cloth, document recurring locations and photographs, and arrange qualified window or building-envelope service when the frame stays wet, the wall is damp, the glass is fogged between panes, or safe humidity and airflow changes do not resolve the issue.
Expected result: The moisture stops without damage, returns at the same frame or glass location, has caused staining or swelling, or is accompanied by a draft or water intrusion.
Next step: Keep the affected area dry, provide the professional with the condensation location and surface, humidity and weather observations, and avoid covering or sealing the problem before the drainage and cause are understood.
Stop if: Stop DIY work for broken glass, suspected concealed water damage, mold-like growth over a large area, unsafe ladder work, or any need to remove the window unit.
Why this matters
Why: A short-lived surface event may be environmental, but repeated wetting can damage finishes and surrounding materials. Persistent or between-pane moisture needs an inspection of the glazing, frame, installation, and room conditions rather than an assumed replacement part.
Use your observations
Decision map
Find the observation that best matches what you see, then follow the next safe action.
-
PATH 01Next step
What you see
Water is on the room side of the glass or frame and follows cold weather or indoor moisture production.
Do this next
Arrange qualified service and follow the exact model guidance.
Why this path and its safety boundary
Why it matters: Manage indoor humidity, exhaust moisture outdoors, and allow warm air to reach the window; keep the sill dry and reassess before replacing the unit.
-
PATH 02Next step
What you see
Water or haze is only on the outside surface during warm, humid weather or when air conditioning cools the window.
Do this next
Arrange qualified service and follow the exact model guidance.
Why this path and its safety boundary
Why it matters: Treat it as an exterior dew-point event unless water enters the building or persists with damage; monitor the frame and keep drainage clear.
-
PATH 03Next step
What you see
Haze or droplets remain after both accessible glass surfaces are cleaned and are visibly trapped between panes.
Do this next
Arrange qualified service and follow the exact model guidance.
Why this path and its safety boundary
Why it matters: Arrange a glazing or window professional assessment for a likely insulating-glass seal problem; do not drill, inject, or dismantle the sealed unit.
-
PATH 04Next step
What you see
Condensation or wetness is concentrated at the frame perimeter or sill and a paper or visual inspection finds a gap, loose sash, or damaged weatherstrip.
Do this next
Arrange qualified service and follow the exact model guidance.
Why this path and its safety boundary
Why it matters: Document the location and obtain a model-appropriate weatherstripping or installation-sealing assessment without blocking weep or drainage paths.
-
PATH 05Next step
What you see
Humidity, exhaust, air movement, and accessible perimeter checks are reasonable but condensation continues or damage appears.
Do this next
Arrange qualified service and follow the exact model guidance.
Why this path and its safety boundary
Why it matters: Stop repeated surface treatments and have a window or building-envelope professional inspect the glass, frame, installation, and moisture source together.
-
PATH 06Next step
What you see
Glass is cracked or loose, water is entering the wall, concealed damage is suspected, or the repair requires removing the window unit.
Do this next
Arrange qualified service and follow the exact model guidance.
Why this path and its safety boundary
Why it matters: Keep the area safe and arrange qualified service; do not handle damaged glazing or disturb structural and drainage components as a casual condensation fix.
Helpful context
Understand the symptom
The surface tells you which branch to take
Wipe the glass once, then note where the moisture returns. Water on the room side is usually a humidity and surface-temperature interaction. Water outside can occur when a cool, air-conditioned window meets humid outdoor air. Haze or droplets trapped between panes are different from room-side moisture and point toward the insulated-glass seal. Moisture that repeatedly reaches the frame or sill deserves attention because finishes, wood, and surrounding materials can deteriorate when they stay wet.
Reduce moisture before changing the window
Use the range hood or bath exhaust during moisture-producing activities, allow air to reach the glass by opening blinds or curtains, and check whether a humidifier is adding moisture. Do not seal over drainage paths or fill the space around a frame with expanding foam without understanding the installation. If the issue is between panes, a surface wipe or dehumidifier will not restore the failed sealed unit; obtain a window professional's assessment.
Safety boundary
Stop conditions
- Glass is cracked, loose, sharp, or visibly damaged.
- Water is entering the wall, ceiling, or concealed framing rather than remaining a surface event.
- The frame is swelling, rotting, badly stained, or supporting mold-like growth.
- Moisture is trapped between panes and a proposed fix requires drilling, cutting, or removing glazing.
- A repair would block weep holes, drainage paths, emergency egress, or a designed ventilation opening.
- The work requires unsafe ladder access, exterior access, or removal of the window unit.
Only after diagnosis
Potential parts
- window weatherstripping
Consider this category only if the exact sash or frame inspection finds a failed weatherstrip and the window manufacturer identifies a matching service method.
Confirm the window type, dimensions, manufacturer guidance, and drainage design before ordering or installing anything. - insulated glass unit
Consider this category only when moisture is confirmed between panes and a qualified assessment identifies a failed sealed glass unit.
Glass dimensions, glazing method, safety properties, and frame compatibility must be verified by the window manufacturer or qualified glazier. - perimeter seal or flashing repair
Consider this category only when inspection confirms an installation or perimeter air and water-control defect; do not seal over designed drainage paths.
Use the window and wall assembly instructions and a qualified installer to select compatible materials and placement.
When checks do not resolve it
Need a professional?
Condensation remains between insulated panes after accessible surfaces are cleaned., The frame or sill stays wet, shows swelling or finish damage, or water enters the wall., A draft, loose sash, gap, or failed weatherstrip is found and the correct repair method is uncertain., Humidity and ventilation changes do not resolve recurring room-side condensation., The window is cracked, loose, difficult to operate, or would require glazing or installation work.
Common questions
FAQ
Is condensation on a window always a sign that the window failed?
No. Room-side or exterior condensation can result from humidity and temperature conditions. Persistent haze or droplets between insulated panes are different and commonly indicate a failed glass seal that needs a window or glazing assessment.
How can I reduce condensation on the inside of a window?
Manage indoor humidity, use kitchen and bath exhaust that vents outdoors, open blinds or curtains to let air reach the glass, and keep the sill dry. If the condensation continues, inspect for drafts and check whether it is actually between panes.
What does fogging between window panes mean?
Moisture that remains between panes after the accessible surfaces are cleaned usually points to failure of the insulating-glass seal. Do not drill or inject the unit; have a qualified glazier or window professional assess the glass and frame.
Should I caulk around a window that has condensation?
Not automatically. First identify the condensation surface and check humidity, airflow, drafts, and drainage. Uncontrolled caulk or foam can hide damage or block designed drainage, so use only a window-specific method confirmed by the manufacturer or a qualified professional.
Read the exact guide
Official sources
- Residential Windows, Doors, & SkylightsENERGY STAR · Explains dew-point condensation on interior and exterior surfaces and recommends air movement, outdoor-vented exhaust, humidity management, and insulated installation details.
- Applying Plastic Over Windows ProjectENERGY STAR · Provides a paper test for accessible sash leaks and warns that window-film sealing is a temporary project; it does not authorize blocking drainage or altering a sealed glass unit.
- Condensation on the Exterior of Window or Patio Door GlassAndersen Corporation · Explains that exterior condensation can result from humid outdoor air and a cooler exterior glass surface, and is generally not an interior window failure.
- Condensation on the Interior of Window or Patio Door GlassAndersen Corporation · Explains why humid air condenses on cooler glass and frame surfaces and lists ventilation, airflow, and humidity-reduction measures; the page is manufacturer guidance and not a model-specific repair manual.
- Installing windows for vapor controlAndersen Corporation · Explains that condensation can occur on glass, sash, or frame and that indoor condensation is managed through surface temperature, airflow, humidity, and sound air-control design.
- Frequently Asked Questions - WindowsPella Corporation · States that condensation between insulated panes occurs when the glass seal fails and distinguishes it from room-side or exterior condensation; it is general manufacturer guidance rather than a product-specific diagnosis.
Community feedback
Share a repair observation
Share a plain-text repair observation. Accepted observations are published automatically; this page may take a moment to update.