
On this page
Start here
Quick answer
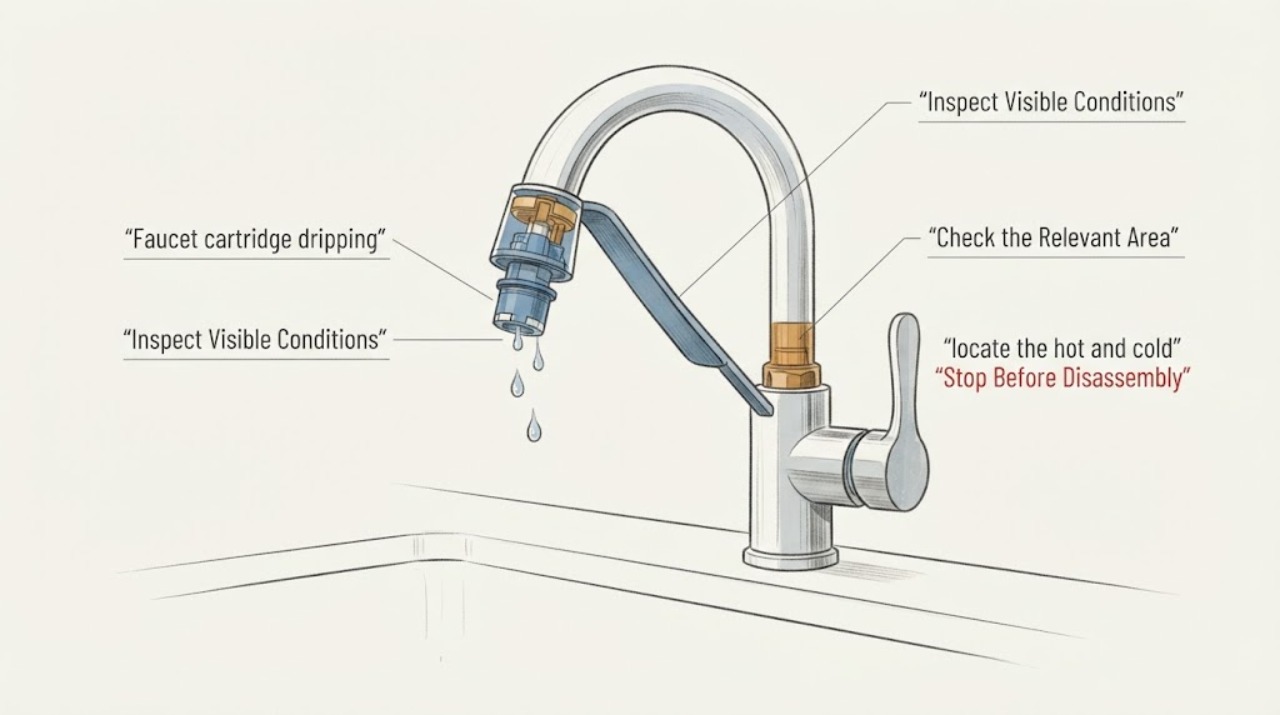
A faucet that drips after the handle is off often has a worn or damaged cartridge, seal, or related valve component, but the exact part depends on the faucet model and where the water appears. First identify whether the drip is from the spout, handle, base, or supply connection. Before any disassembly, close the faucet's accessible hot and cold fixture shutoffs and relieve pressure through the normal faucet handle; if the shutoffs are missing, stuck, or the leak is worsening, call a plumber. Do not remove a cartridge or handle with the water supply open, force corroded hardware, or order a part without model and compatibility confirmation.
Work through in order
Diagnostic checks
Use only checks that match the exact appliance or system and its official guide.
-
Check 1
With the faucet handle in its normal off position, dry the visible faucet surfaces and observe where the first new drop appears without removing or loosening anything.
Expected result: Classify the drip as spout outlet, around the handle or cartridge area, at the faucet base, beneath the counter, or at a supply connection; note whether it changes when the faucet is used normally.
Next step: Photograph the location and use that classification to decide whether model-specific cartridge information or a plumber is needed.
Stop if: Stop if water is spraying, the leak is rapidly increasing, the cabinet or floor is wet, or water is near electrical equipment.
Why this matters
Why: A spout drip keeps the cartridge or valve path possible, while a base, under-counter, or supply leak may require a different seal or plumbing repair.
-
Check 2
From a dry position, observe the faucet during one normal on-and-off use and then return the handle to off; do not repeatedly cycle a worsening leak or manipulate hidden connections.
Expected result: Record whether the drip starts only after use, continues steadily when off, appears when the handle moves, or comes from below the counter instead of the spout.
Next step: If any maintenance is considered, close both fixture shutoffs before disassembly and follow the exact model instructions; otherwise arrange plumbing service.
Stop if: Stop if the handle binds, the faucet body moves, water reaches the cabinet contents or electrical equipment, or the source cannot be seen safely.
Why this matters
Why: Timing and location help distinguish a valve shutoff issue from a seal, handle, base, or supply connection problem, but do not prove that the cartridge is the failed part.
-
Check 3
Before any handle or cartridge work, locate the hot and cold fixture shutoff valves under the sink or at the faucet supply and confirm visually that they are accessible and not damaged; do not force a stuck valve.
Expected result: Record whether both shutoffs are present, clearly associated with the faucet, and able to close normally without leaking or requiring excessive force.
Next step: Close both fixture shutoffs and relieve residual pressure through the normal faucet handle before any permitted disassembly. If either shutoff is uncertain, do not disassemble.
Stop if: Stop if a shutoff is stuck, damaged, leaking, inaccessible, or if closing it causes another connection to leak.
Why this matters
Why: A reliable fixture shutoff is a prerequisite for safe maintenance; missing, seized, or leaking shutoffs make a plumber the appropriate next step.
-
Check 4
Read the faucet brand, model, finish, handle style, and any visible identifying mark from the exterior without removing the handle or cartridge.
Expected result: Record whether the faucet is single- or two-handle and whether a reliable model identifier is available; do not assume two faucets that look alike use the same cartridge.
Next step: Use the model information with the manufacturer's parts documentation or give it to a plumber before ordering anything.
Stop if: Stop if identification would require removing hardware, disturbing a corroded fastener, or opening a concealed connection.
Why this matters
Why: Manufacturers organize cartridges and seals by model and faucet family, so a model-confirmed part is safer than a generic visual match.
-
Check 5
Create a service record with the drip location, timing, shutoff condition, faucet model information, photos, and any prior cartridge or plumbing work.
Expected result: Separate confirmed observations from the assumption that the cartridge must be replaced, and note whether the drip has damaged the cabinet, counter, wall, or floor.
Next step: Call a plumber when the drip persists after safe isolation, the source is not clearly the cartridge, or any shutoff or connection is unreliable.
Stop if: Do not remove the cartridge, cut a pipe, force a handle, or leave the fixture water open during disassembly.
Why this matters
Why: A concise record lets a plumber choose the correct diagnostic path and compatible repair without opening the water path unnecessarily.
Use your observations
Decision map
Find the observation that best matches what you see, then follow the next safe action.
-
PATH 01Next step
What you see
Is water spraying, rapidly pooling, reaching a cabinet or floor, or near electrical equipment?
Do this next
Do not open the faucet water path while an active leak is uncontrolled.
-
PATH 02Next step
What you see
Where does the first drop appear with the handle off?
Do this next
Use photos and the exact location in the service request.
-
PATH 03Safety boundary
What you see
Are both fixture shutoffs present, accessible, and able to close without force or leakage?
Do this next
Never treat a closed faucet handle as water isolation.
Why this path and its safety boundary
Safety stop: Do not disassemble. Call a plumber to establish safe isolation and repair the shutoff or leak.
-
PATH 04Safety boundary
What you see
Is the faucet model and handle configuration known with enough confidence to identify the cartridge?
Do this next
Compatibility remains conditional until model and valve family are confirmed.
Why this path and its safety boundary
Safety stop: Do not guess from appearance. Give the photos and measurements or the whole service request to a plumber or manufacturer support.
-
PATH 05Safety boundary
What you see
Would the next step require removing hardware, cutting plumbing, forcing a shutoff, or working with an open water supply?
Do this next
Do not turn a drip diagnosis into an uncontrolled water release.
Why this path and its safety boundary
Safety stop: Limit the work to dry visual observation, model identification, and safe fixture isolation.
Helpful context
Understand the symptom
A cartridge is only one possible source
Manufacturers describe cartridge, O-ring, grommet, seat, and related valve problems as possible causes of faucet drips. The location matters: a spout drip with the handle off suggests the valve path, while water under the handle or at the base can involve seals or another connection. A supply-line leak is a different problem and should not be treated as a cartridge replacement.
Shut off water before any permitted maintenance
If a model-specific repair is undertaken, the fixture water must be closed first and the faucet pressure relieved according to the manufacturer's instructions. This article keeps the reader at diagnosis and safe isolation: do not remove the handle, retaining hardware, cartridge, or supply connection unless the exact instructions and shutoff condition are confirmed and the work is within your skill.
Only after diagnosis
Potential parts
- faucet cartridge
Only relevant if the drip location and model-specific diagnosis point to a worn or damaged cartridge after the fixture water is safely shut off.
Confirm brand, model, handle configuration, cartridge family, orientation, and manufacturer fit information before ordering. - faucet repair kit
Only relevant if the manufacturer or plumber identifies a repair kit that matches the confirmed faucet and the failed seals or valve components.
Do not assume a universal kit fits; verify exact model and included components before any water-path work. - faucet O-ring kit
Only relevant when the drip is traced to an accessible seal or O-ring rather than the cartridge or supply connection.
Confirm material, dimensions, lubricant requirements, and model compatibility with the manufacturer or plumber.
When checks do not resolve it
Need a professional?
Have this ready
- Share drip location, timing, photos, faucet brand and model, handle configuration, shutoff condition, prior work, and any cabinet, counter, wall, or floor damage.
Common questions
FAQ
Does every faucet drip mean the cartridge needs replacement?
No. A drip may involve a cartridge, O-ring, grommet, seat, base seal, or supply connection. Identify where the first drop appears and confirm the exact faucet model before choosing a part.
Do I need to shut off water before removing a faucet handle or cartridge?
Yes. Close the hot and cold fixture shutoffs and relieve pressure before any permitted water-path disassembly. If a shutoff is missing, stuck, damaged, or leaking, stop and call a plumber.
Can I use a universal cartridge?
Do not assume one fits. Cartridge shape and fit depend on brand, model, handle configuration, and valve family. Confirm manufacturer compatibility or have a plumber identify it.
When is a dripping faucet urgent?
Escalate promptly if water is spraying, spreading under the counter, damaging cabinets or flooring, near electrical equipment, or cannot be isolated safely.
Read the exact guide
Official sources
- What causes a Moen faucet or valve to leak or drip?Moen Solutions · Supports conditional cartridge and seal diagnosis; it does not establish compatibility for an unconfirmed faucet model.
- Delta Faucet Help CenterDelta Faucet · Supports escalation when the leak or model cannot be resolved from safe observation; the opened page provides the official support entry point.
- Find Parts and Identify Your ProductDelta Faucet · Supports identifying the model before ordering and distinguishing leak locations; exact parts depend on the faucet family.
Community feedback
Share a repair observation
Share a plain-text repair observation. Accepted observations are published automatically; this page may take a moment to update.