
Repair problem
Dripping Troubleshooting Guides
Published FixGraph guidance for diagnosing and responding to dripping.
Matching published guides
Choose a guide that matches the service, equipment, and conditions you are seeing.
-
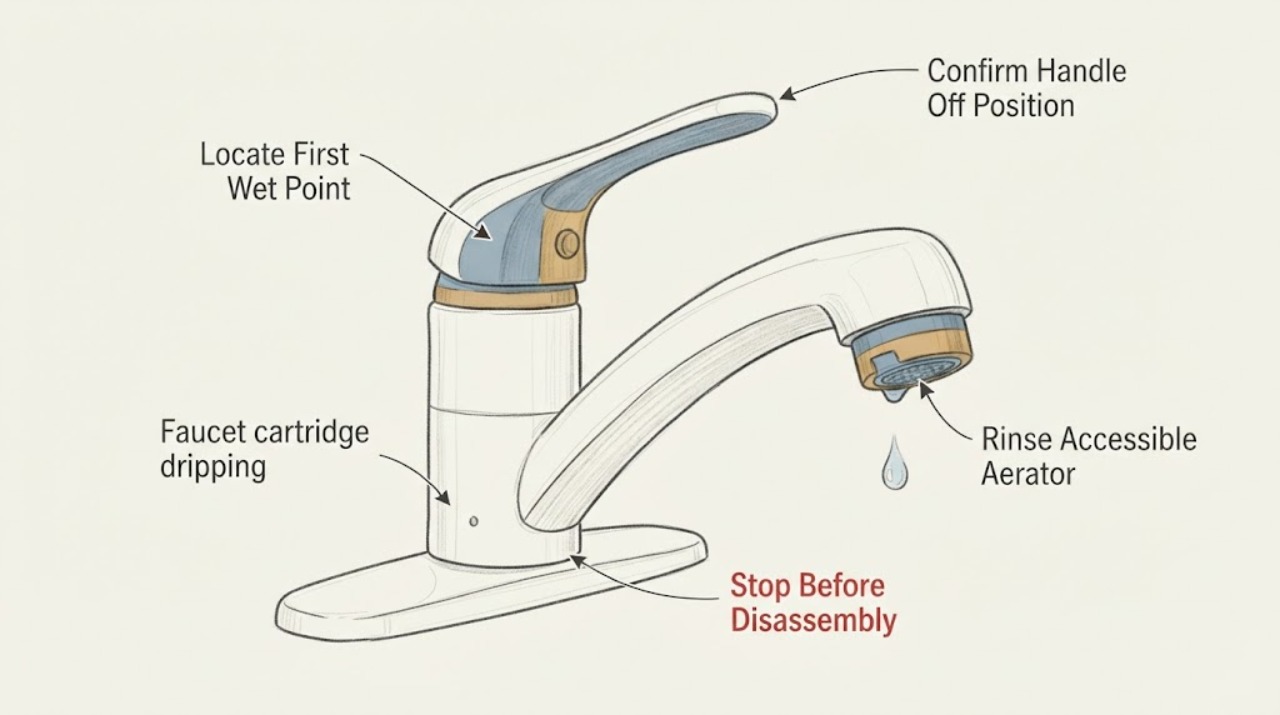
American Standard faucet cartridge dripping: What to Check and What to Do Next
An American Standard faucet that drips after the handle is off may have debris at the valve seat, a worn or damaged cartridge or seal, a handle that is not fully closing the valve, or a different leak at the spout, handle, supply connection, or hose. First dry the faucet and identify whether water exits the spout, gathers around the handle, or appears underneath.
-
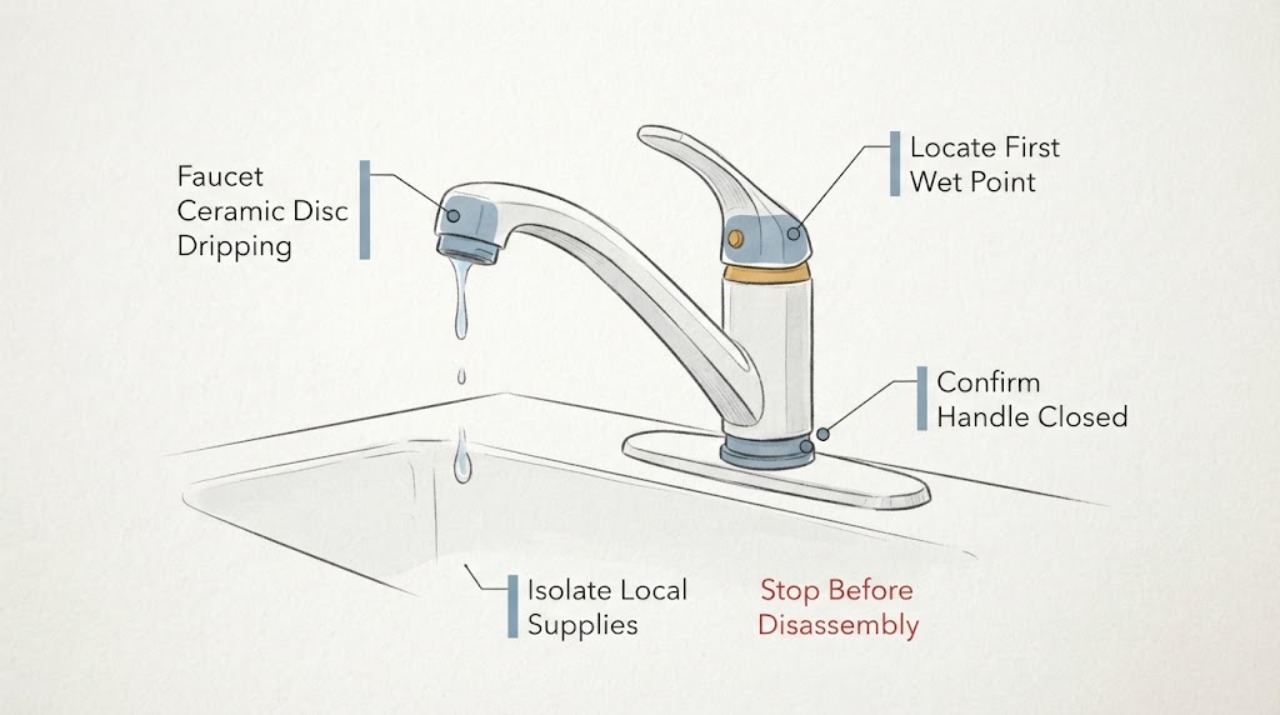
American Standard Faucet Ceramic Disc Dripping: What to Check and What to Do Next
A closed American Standard faucet that continues to drip usually needs the drip location and the affected water path identified before any part is chosen. American Standard describes its ceramic disc valves as drip-free on several faucet families, but that description does not identify the failed component on an individual faucet.
-
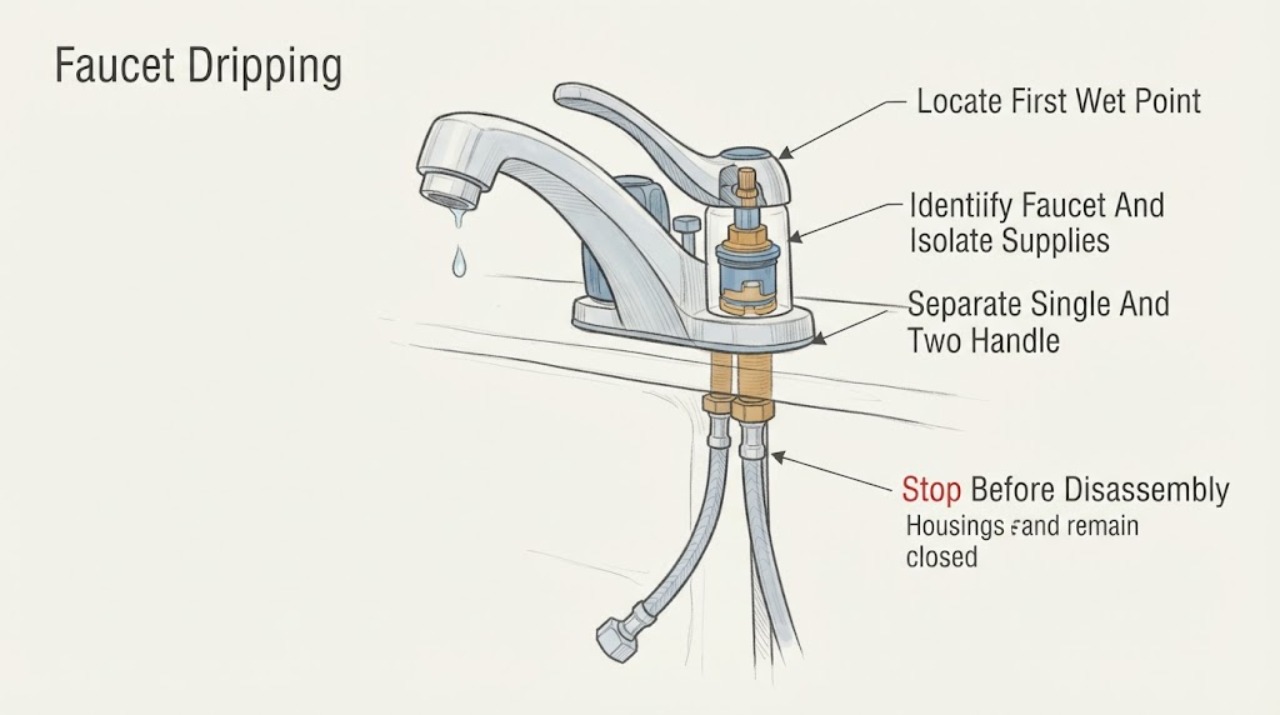
American Standard Faucet Dripping: What to Check and What to Do Next
An American Standard faucet that drips after the handles are closed usually has a valve or cartridge that is not sealing, debris at the valve, or—when water appears around the spout or handle—a worn seal or O-ring. First identify whether water comes from the spout outlet, handle, faucet body, supply connection, or drain, then close the hot and cold shutoff valves under the sink before removing any handle or cartridge.
-
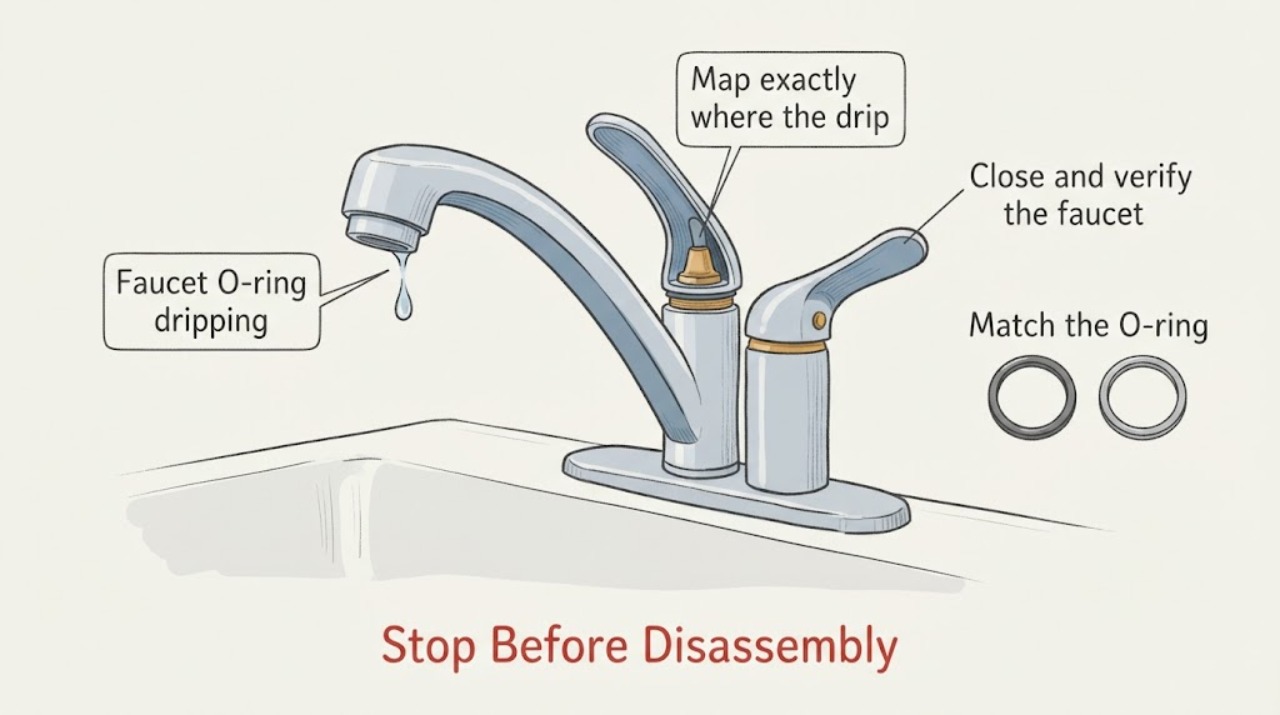
American Standard faucet O-ring dripping: What to Check and What to Do Next
An American Standard faucet that drips may have a worn, displaced, or model-specific O-ring, but a drip from the spout with the handles fully off can also come from the cartridge or valve rather than the O-ring. First identify whether water appears at the spout, handle, base, hose, or supply connection, then close the hot and cold supply stops and confirm the faucet no longer receives water.
-
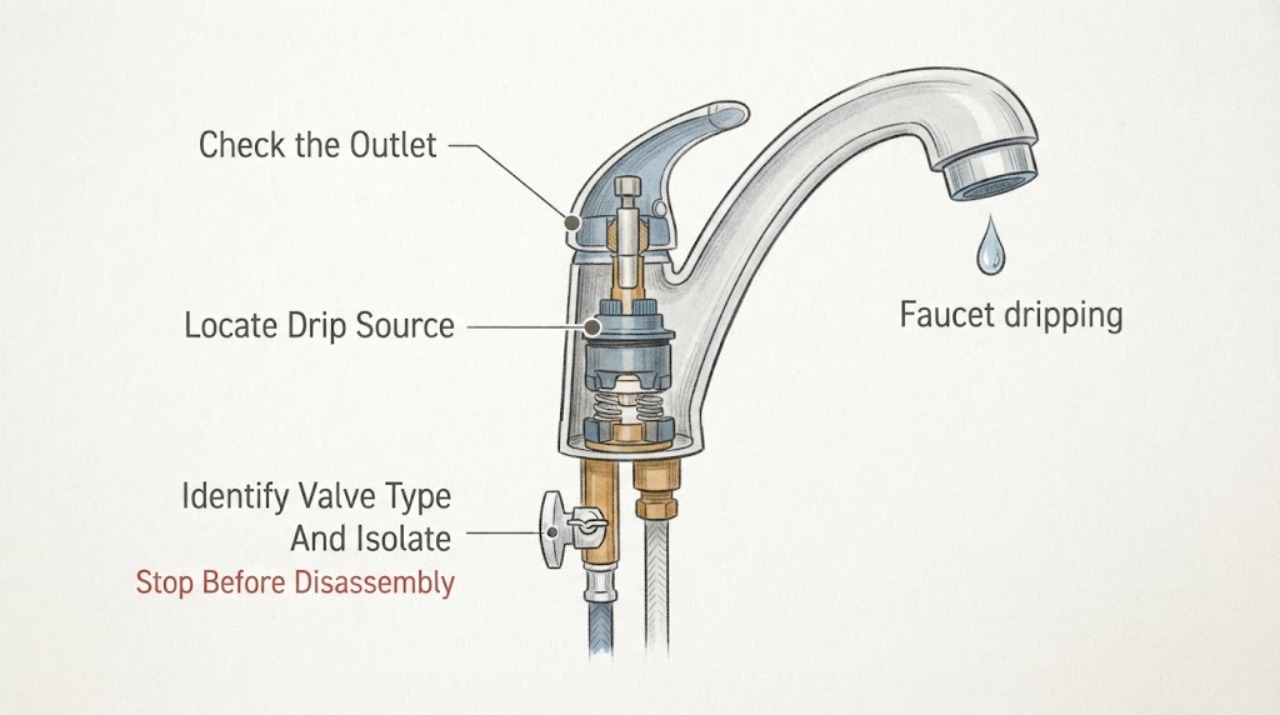
Delta faucet dripping: What to Check and What to Do Next
A Delta faucet that drips can have debris at the outlet, worn seats and springs, a worn cartridge or stem, or a leak at the handle, spout base, hose, or supply connection. First locate where the water starts and whether it drips with the faucet fully off or only while water is running.
-
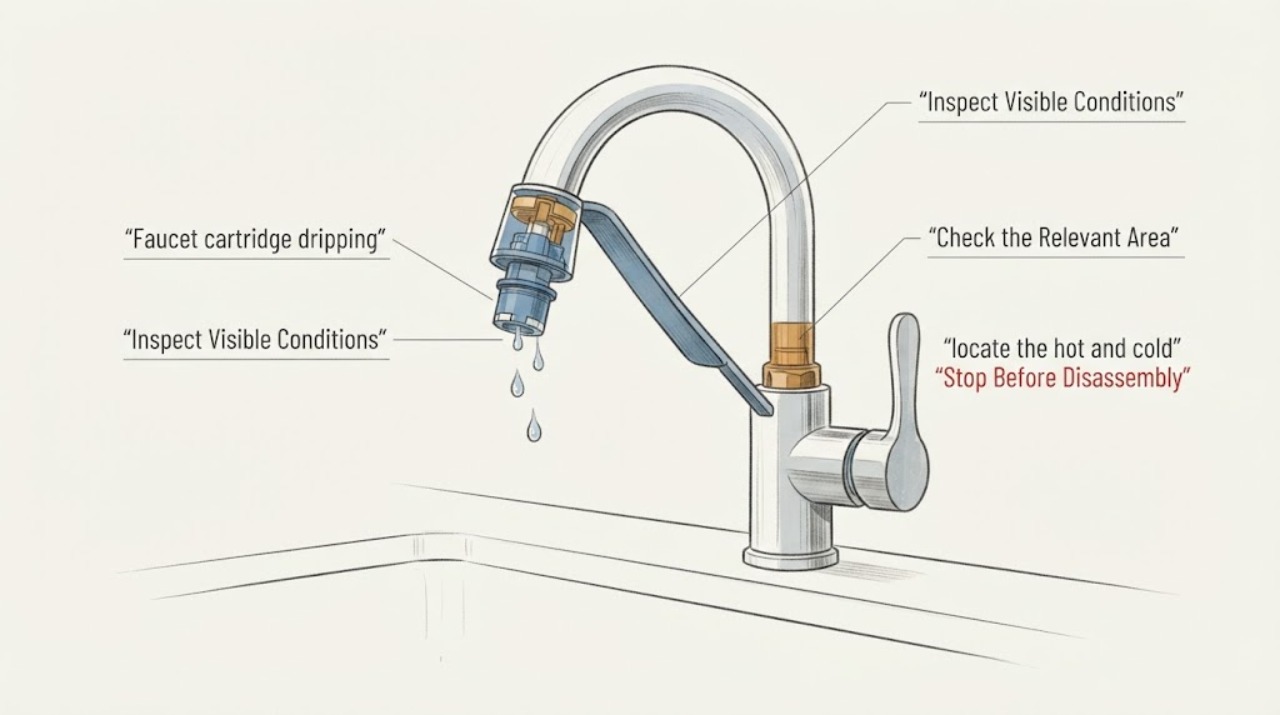
Faucet cartridge dripping: What to Check and What to Do Next
A faucet that drips after the handle is off often has a worn or damaged cartridge, seal, or related valve component, but the exact part depends on the faucet model and where the water appears. First identify whether the drip is from the spout, handle, base, or supply connection.
-
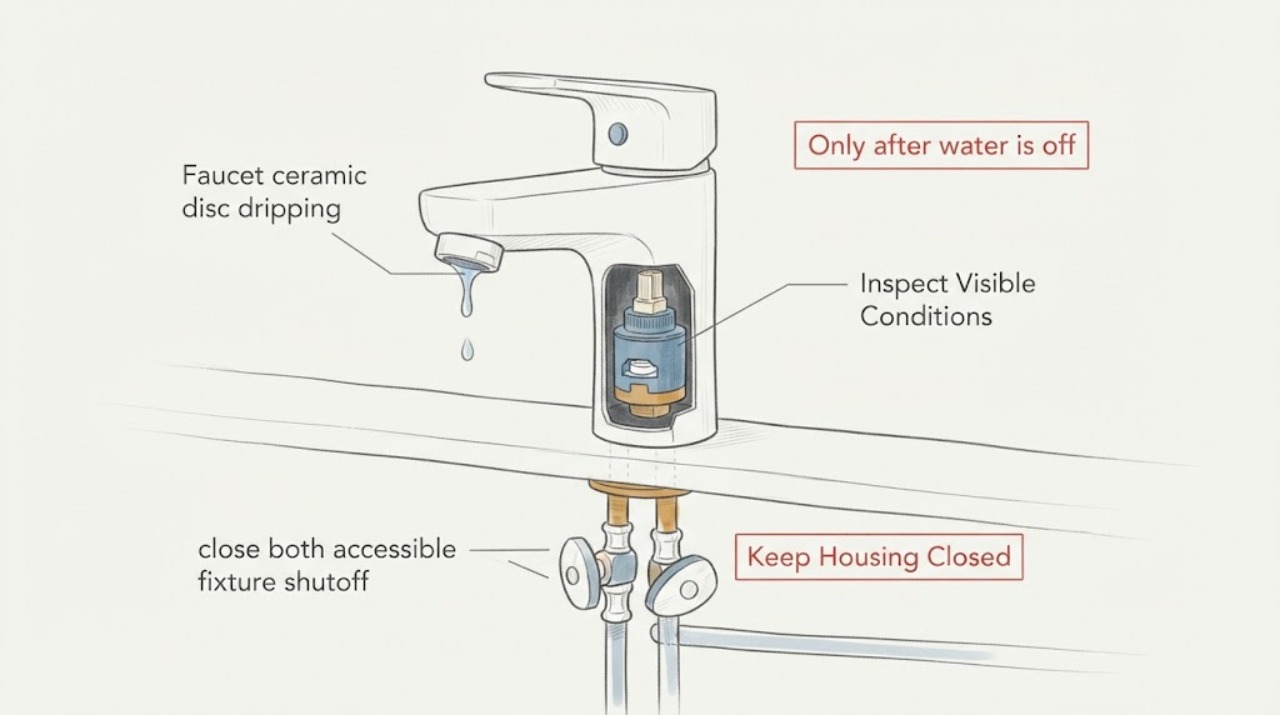
Faucet ceramic disc dripping: What to Check and What to Do Next
A ceramic-disc faucet that drips continuously after the handle is closed usually needs its cartridge, ceramic valve, seals, or valve seat assessed; a drip that stops soon after shutoff may instead be residual water or debris at the outlet. Identify where and when water appears first.
-
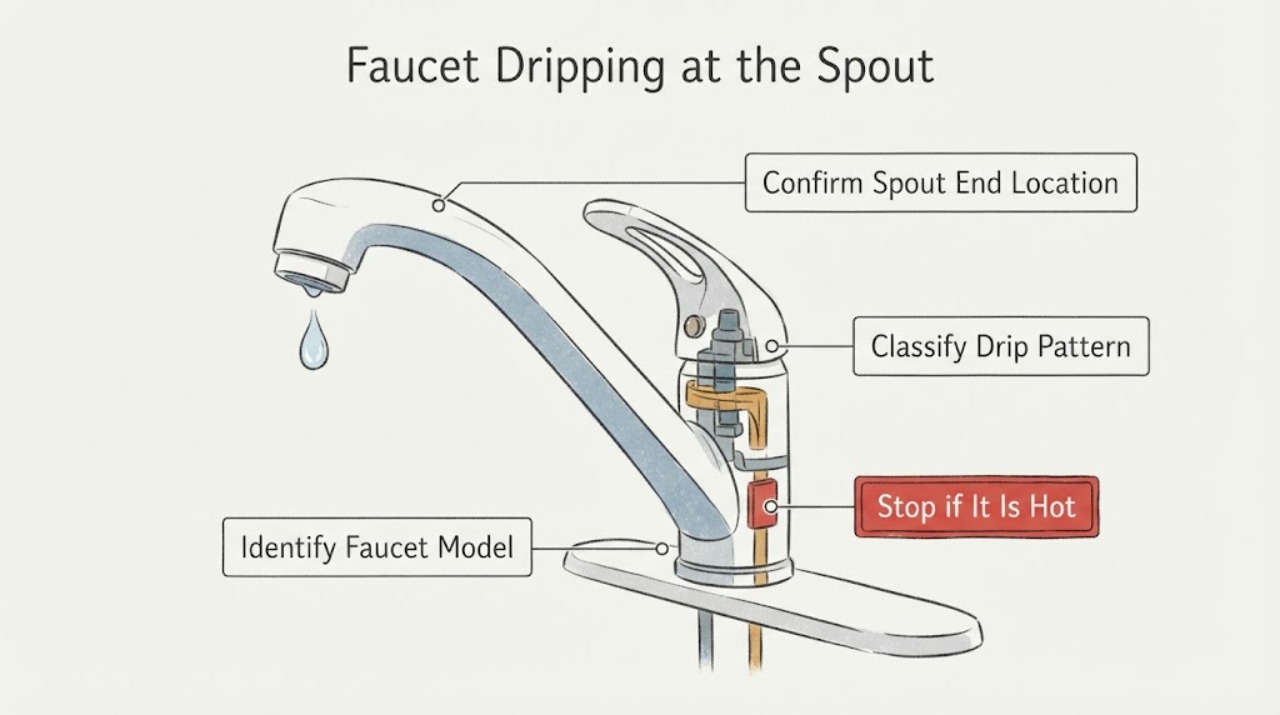
Faucet Dripping at the Spout: What to Check and What to Do Next
First confirm that water is coming from the end of the faucet spout after the handle is off, rather than from the spout base, handle, supply connection, or below the sink. A continuous end-of-spout drip commonly points to a cartridge, valve, stem, or sealing problem; single-handle and two-handle faucets use different service parts, and the exact model must be identified before ordering anything.
-
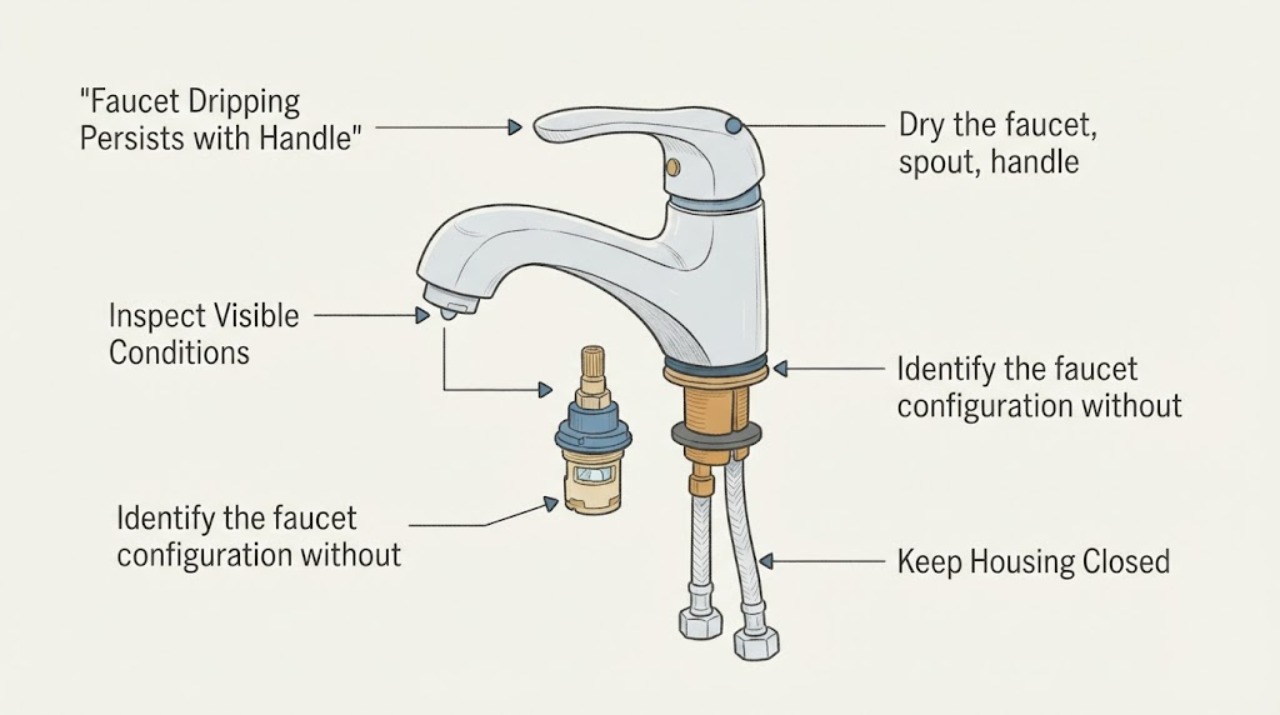
Faucet Dripping Persists with Handle Closed: What to Check and What to Do Next
A faucet that continues dripping with its handle closed usually has a shutoff problem in the cartridge, stem, washer, or seat, but a drip from the base, handle, hose, or supply connection is a different leak path. First dry the faucet and identify where water starts, then determine whether a high-arc spout is only releasing residual water for a short period or is being continuously supplied.
-
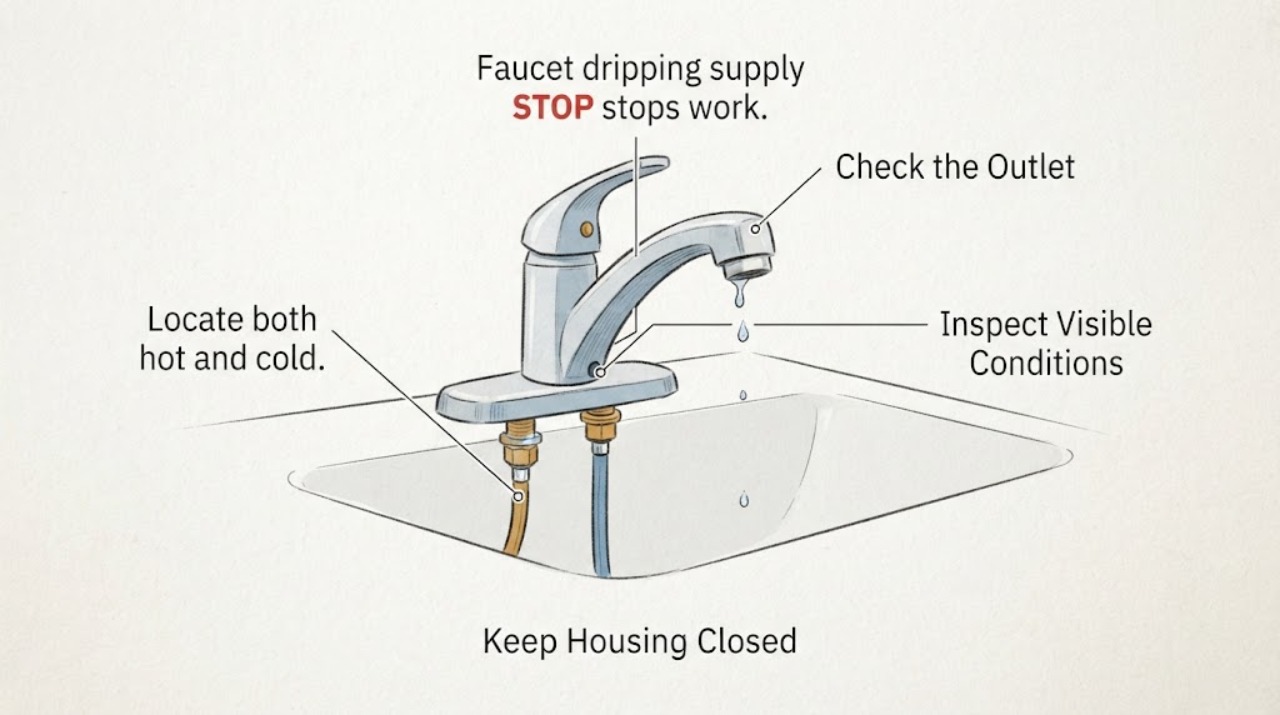
Faucet dripping supply stops work: What to Check and What to Do Next
If a faucet drips while the handle is off and the hot and cold supply stops work, close both stops gently, open the faucet to release residual pressure, and confirm that water has actually stopped before considering any disassembly. A drip from the spout usually points to a worn cartridge, stem, seat, or seal; moisture under the sink or at a supply connection points to a hose, fitting, or stop-valve leak instead.
-
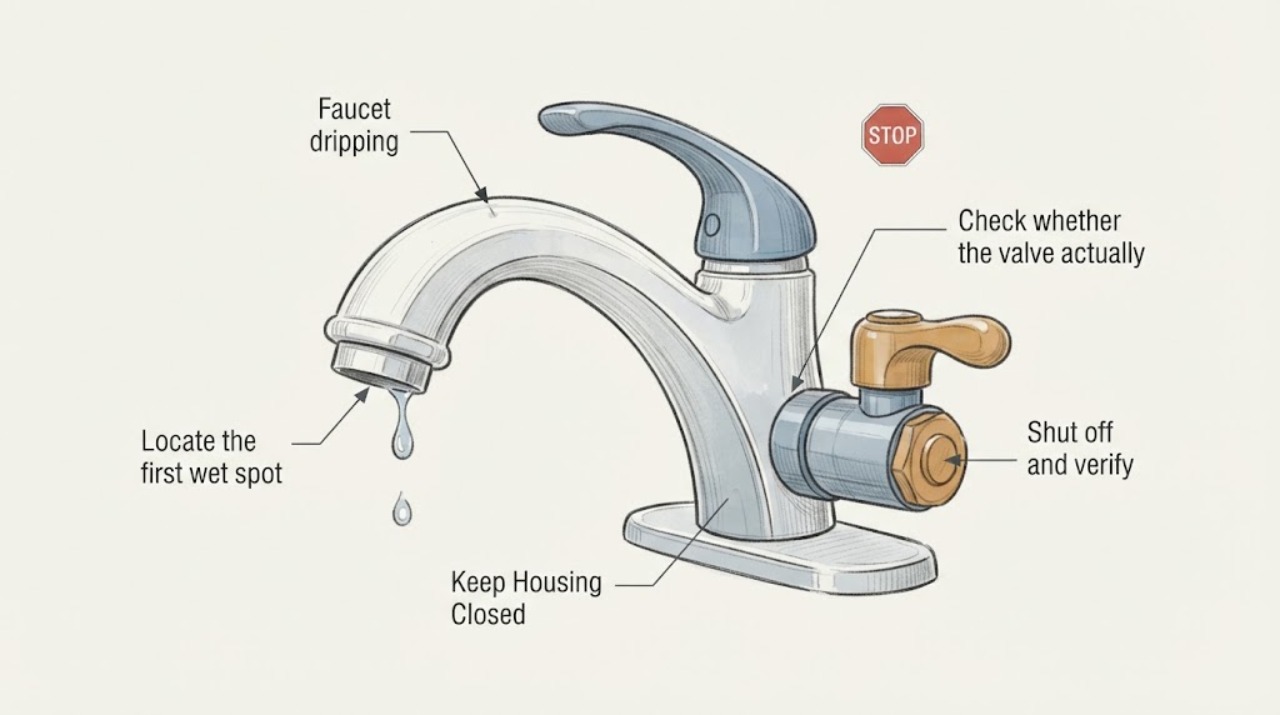
Faucet dripping: What to Check and What to Do Next
First identify where the water appears and whether the faucet still drips after its handle is fully closed. A drip from the spout usually points to a worn cartridge, stem, washer, or seat; water around the handle or base can instead point to an O-ring, retaining seal, or loose connection.
-
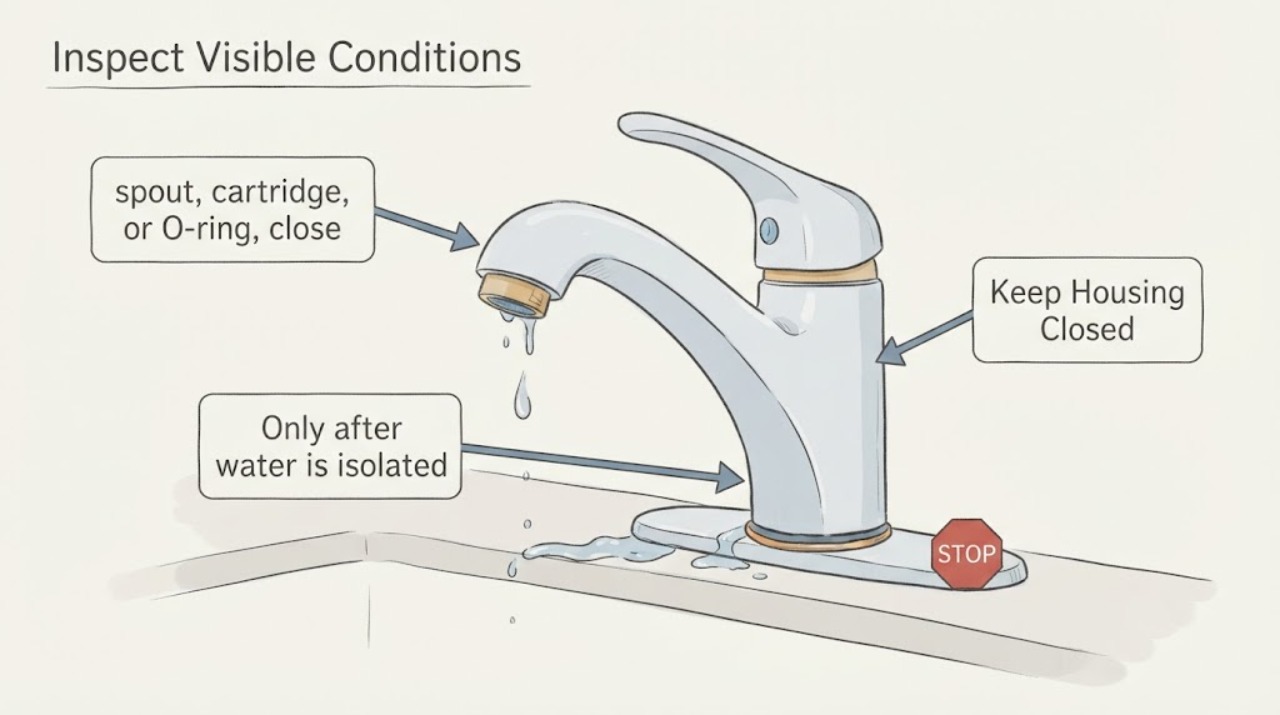
Faucet o ring dripping: What to Check and What to Do Next
A dripping faucet may have a worn, flattened, dirty, or incorrectly fitted O-ring, but a drip from the spout can also come from a cartridge or valve and a leak at the base or supply connection has a different cause. Locate the water first.
-
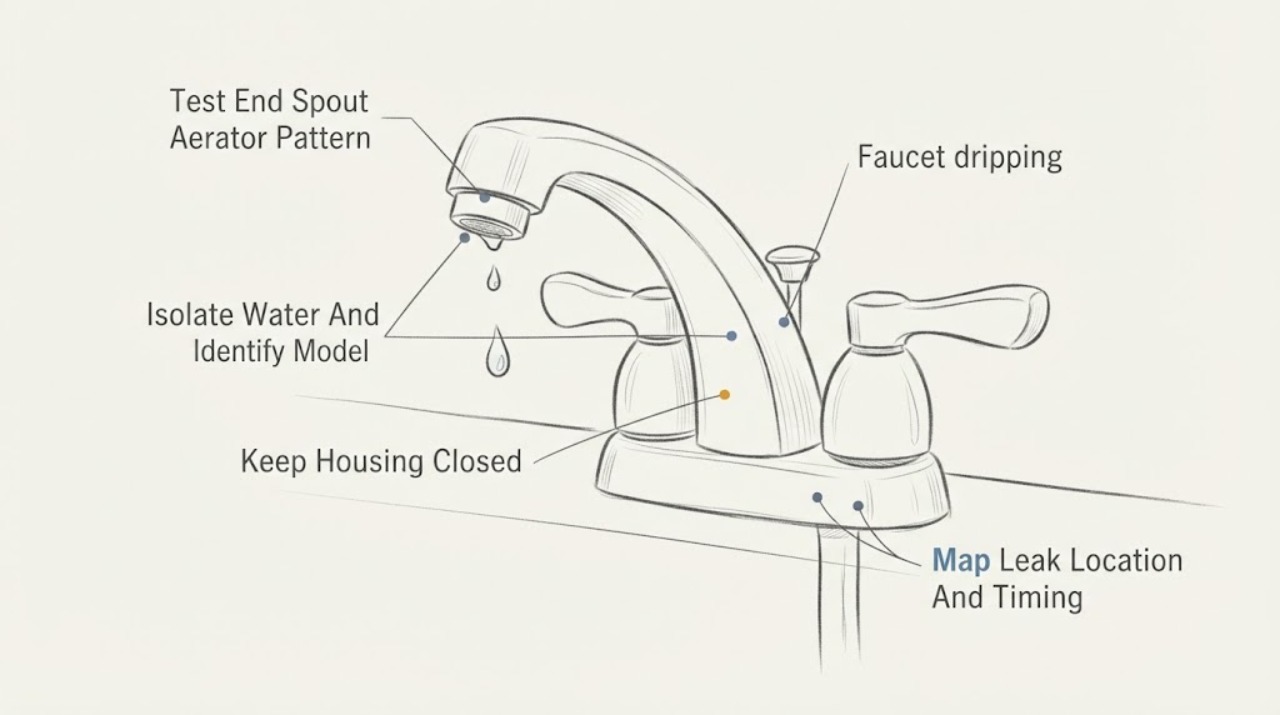
Kohler faucet dripping: What to Check and What to Do Next
Start by locating exactly where the Kohler faucet drips and whether it stops shortly after the handle closes. A few drips from the spout for a minute or two can be water draining through an aerator; a drip that continues all day after shutoff points more toward a worn or contaminated valve or cartridge.
-
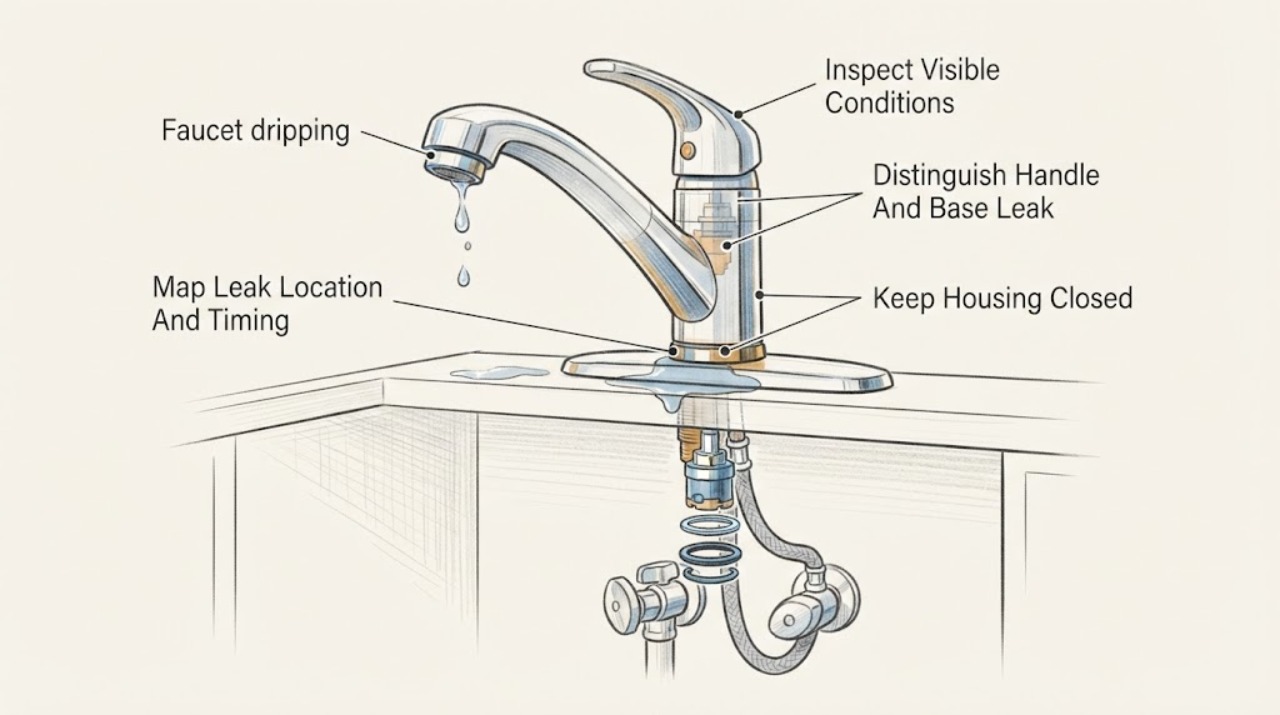
Moen faucet dripping: What to Check and What to Do Next
A dripping Moen faucet is diagnosed first by where the water appears and when it appears. A drip from the spout with the handle off commonly points to the cartridge or its seals; water around the handle or spout base can also travel from a cartridge, O-ring, or handle assembly.
-
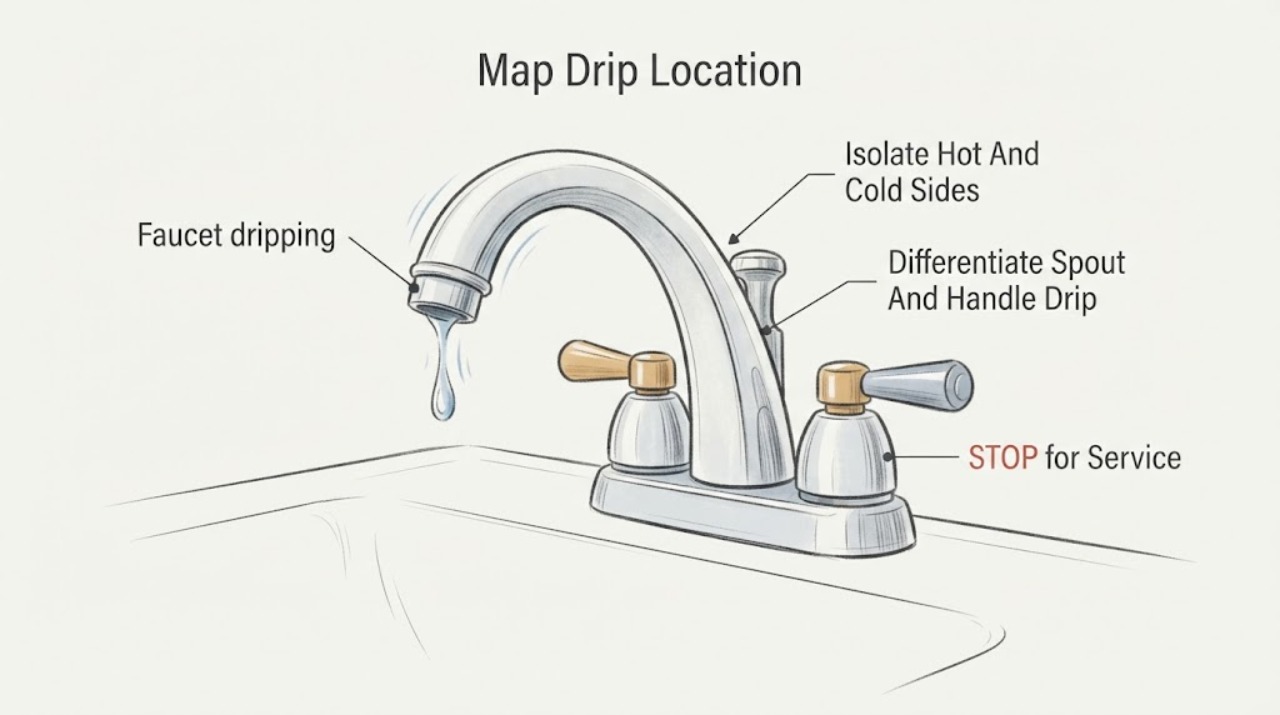
Pfister faucet dripping: What to Check and What to Do Next
Start by identifying where the Pfister faucet is dripping: from the spout after shutoff, beneath a handle, around the base or under the counter, at a supply connection, or from a pull-down spray hose. Close the appropriate hot and cold angle stops before disassembly, dry the area, and reopen one side at a time only when it is safe to test.