
On this page
Start here
Quick answer
A pipe that clogs immediately after the pipes were reinstalled should be treated first as a reassembly or geometry problem, not automatically as a deep blockage. A reversed or misaligned fitting, displaced gasket, sealant or debris in the bore, a sag or incorrect slope, a blocked vent, or a downstream obstruction can all change the result. Stop adding water if it backs up or leaks, do not open a joint if drain chemicals may be present, and do not use blind high-pressure flushing. Document the first affected fixture and have a plumber verify the assembled drain and vent path.
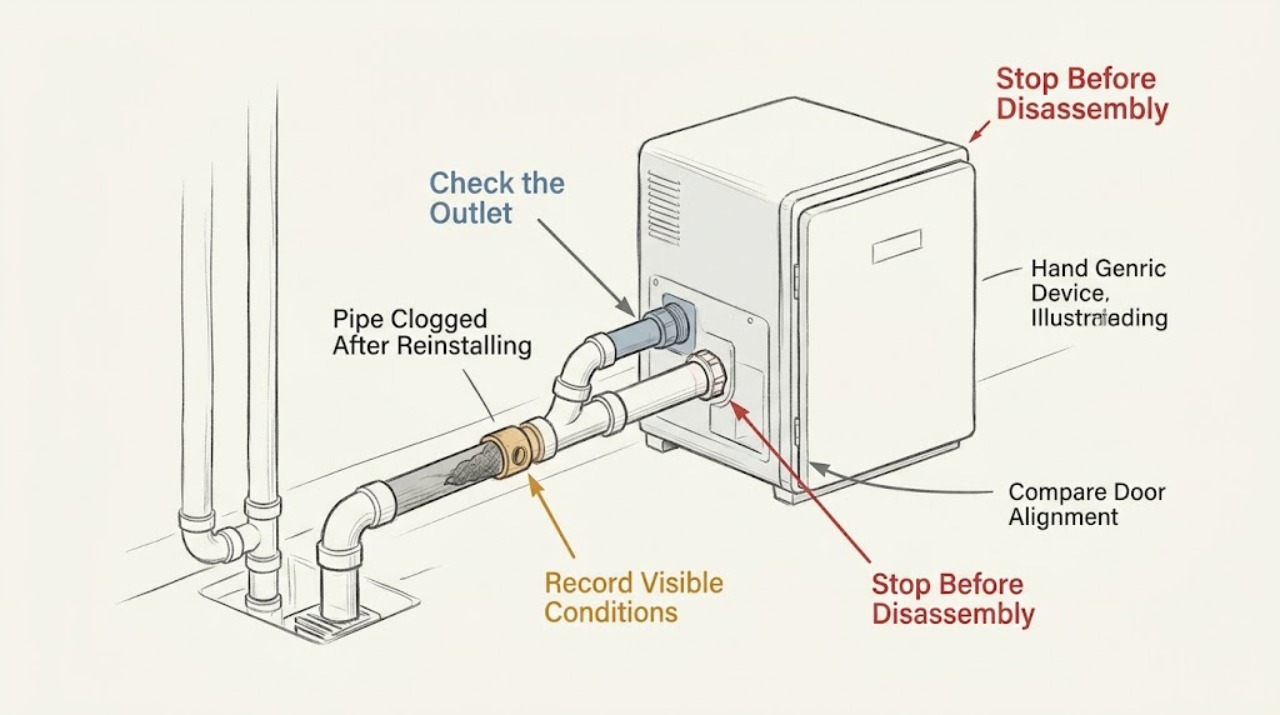
Work through in order
Diagnostic checks
Use only checks that match the exact appliance or system and its official guide.
-
Check 1
Stop adding water to the affected fixture and look from a dry, stable position for standing wastewater, an active leak, a wet wall or ceiling, or water near an outlet or other electrical equipment.
Expected result: Water is rising or spreading, sewage-like water is present, a joint is actively leaking, or water is near electricity; otherwise the flow is stopped and the area is contained.
Next step: If there is active spreading, sewage, structural damage, or electrical contact, keep people away and arrange urgent plumbing and property or electrical help. If contained, keep the fixture unused while mapping the symptom.
Why this matters
Why: A backup or leak can spread contamination and damage, and water near electricity adds a shock hazard. A contained dry area permits only non-invasive observations.
-
Check 2
Without disassembling anything, note whether the problem is limited to the fixture whose pipes were reinstalled or also affects nearby sinks, tubs, toilets, or floor drains; record gurgling, slow flow, and the exact point at which water backs up.
Expected result: Only one fixture is affected, or multiple fixtures change together and produce gurgling or backup.
Next step: Photograph the accessible symptom and tell the plumber whether the change is local or shared. Do not run other fixtures to force a comparison if wastewater is already backing up.
Why this matters
Why: One fixture immediately after reassembly raises suspicion of a trap, fitting, seal, debris, or local connection. Several fixtures together make a shared vent, building drain, or downstream obstruction more plausible.
-
Check 3
From outside the pipe joints, compare the exposed reassembly with its pre-work position or a clear photograph: check the visible flow direction, trap orientation, fitting alignment, gasket or washer position, open cleanout cap, and any sealant or debris that appears to narrow the bore.
Expected result: A fitting is reversed or misaligned, a gasket is displaced, sealant or debris is visible in the passage, a cap is closed incorrectly, or no external defect is visible.
Next step: Do not loosen, force, or overtighten the joint. Give the plumber the photo and the exact reassembly change so they can correct the connection with the proper seal and fitting.
Why this matters
Why: A changed direction or narrowed opening can create an immediate local restriction even when the pipe is not full of debris. A visually normal joint does not rule out an internal obstruction or wrong fitting hidden behind a wall.
-
Check 4
From a safe, accessible view, follow the visible horizontal run for a new sag, standing section, or abrupt change in direction, and note whether a vent path or cleanout was covered or altered during the work; do not climb or remove a vent termination.
Expected result: The run has a visible low spot or standing section, a vent has a drop or sag, a cleanout is inaccessible, or the visible geometry appears unchanged.
Next step: Mark the location without moving the pipe and ask a plumber to verify grade, supports, fittings, venting, and cleanout access against the local installation requirements. Do not correct a concealed run by force.
Why this matters
Why: Drainage depends on an appropriate grade, while vents should not retain water in drops or sags. A new low spot can hold water and solids; an altered vent can make drainage slow or gurgly even when the local trap is open.
-
Check 5
If no drain chemical is present and a plainly accessible fixture opening or cleanout can be addressed under the fixture instructions, use only a suitable hand plunger or hand snake; do not use blind high-pressure flushing, compressed air, or mixed chemicals.
Expected result: Flow returns and remains clear, flow improves only briefly, the hand tool meets a hard stop, or wastewater backs up elsewhere.
Next step: Stop immediately if chemicals may be present, the tool cannot be used without opening a joint, wastewater backs up elsewhere, or the blockage resists gentle hand work. Tell the plumber what was used and observed; do not escalate to high pressure.
Why this matters
Why: A lasting improvement supports a local removable obstruction, while brief improvement, a hard stop, or movement of wastewater to another fixture points to reassembly geometry, a deeper obstruction, or a shared line. Chemical exposure changes the safe procedure.
-
Check 6
Prepare a service handoff listing the fixture, the exact condition that it clogged after reinstalling the pipes, what was removed and reconnected, visible pipe and fitting details, single-versus-multiple fixture behavior, water or wastewater location, and any cleaner or tool already used.
Expected result: The record points to an immediate local reassembly issue, a shared vent or drain issue, a deeper blockage, chemical exposure, or a leak that needs urgent attention.
Next step: Request a licensed plumber for drain and waste pipe reassembly diagnosis, including a check of seals, fitting direction, grade, venting, cleanout access, and downstream flow before the system is put back into regular use.
Why this matters
Why: A precise sequence lets a plumber choose a safe inspection path and avoid opening a chemically loaded joint or repeating an unsafe pressure attempt.
Use your observations
Decision map
Find the observation that best matches what you see, then follow the next safe action.
-
PATH 01Next step
What you see
Only the fixture connected to the changed section fails on its first use or immediately after the pipes were reinstalled.
Do this next
Keep it unused and have a plumber verify the visible and concealed reassembly without forcing or overtightening joints.
Why this path and its safety boundary
Why it matters: A local orientation, seal, fitting, sealant, debris, or trap problem is more likely than an unrelated new blockage.
-
PATH 02Next step
What you see
Nearby fixtures change together, gurgle, drain slowly, or back up.
Do this next
Stop using affected fixtures and request licensed plumbing inspection of the shared drain, vent, trap, and cleanout path.
Why this path and its safety boundary
Why it matters: A shared building drain, vent, or deeper downstream obstruction is more likely than a single trap alone.
-
PATH 03Next step
What you see
A newly supported or reinstalled run sags, holds standing water, or the vent route has a visible drop or sag.
Do this next
Do not force the run or climb for a roof inspection; have a plumber confirm grade, supports, fitting choice, venting, and local code requirements.
Why this path and its safety boundary
Why it matters: Drainage or air movement may be restricted by the changed geometry even without a solid clog.
-
PATH 04Next step
What you see
Drain cleaner was poured in, a joint may contain chemical residue, wastewater is spreading, or a leak reaches an electrical area.
Do this next
Do not mix products or open the joint. Keep clear, follow the product label, tell the plumber the product and timing, and use urgent plumbing, property, or electrical help as appropriate.
Why this path and its safety boundary
Why it matters: Opening the system or adding another product can cause exposure or a hazardous reaction, while contaminated water or electricity requires a higher safety boundary.
Helpful context
Understand the symptom
Why the timing matters
When the clog starts immediately after the pipes were reinstalled, the changed assembly is high-value evidence. A trap or fitting can be facing the wrong way, a washer can be displaced, sealant can intrude into the opening, or a newly supported run can create a low spot. A blocked vent or an older downstream obstruction can still be involved, so the symptom pattern matters more than guessing at one part. Local plumbing requirements and the exact pipe system control which fittings, slopes, traps, and vents are acceptable.
Keep the first inspection non-invasive
Start by locating the first backup or wet point and separating one-fixture symptoms from several-fixture symptoms. Look only at exposed, stable, dry areas. Do not loosen a joint, push a tool through an unknown opening, overtighten a connection, climb to a roof vent, or flush with high pressure just because the reassembled pipe looks clear. If cleaner has been used, tell the plumber exactly what product was used and when.
What a plumber needs to know
Record what was removed and reinstalled, the pipe material and visible fitting shapes, the fixture or cleanout affected, whether the problem began on the first use, and whether other fixtures gurgle or back up. Photos of exposed joints and the first wet point are useful when taken from a safe position. The professional can then verify orientation, seals, slope, venting, cleanout access, and any deeper obstruction without turning a small reassembly mistake into a leak or chemical exposure.
Safety boundary
Stop conditions
- Stop all hands-on work if wastewater or an unknown chemical may splash, an active leak is spreading, a wall or ceiling is damaged, or water reaches an outlet, wiring, or other electrical equipment.
- Do not loosen a chemically exposed joint, mix drain products, over-tighten a fitting, use blind high-pressure flushing or compressed air, or force a tool past resistance.
- Do not climb onto a roof or into an unsafe crawlspace, open concealed piping, excavate, or attempt a concealed vent or drain correction. Arrange a licensed plumber; use urgent property or electrical help when water damage or electrical risk is present.
When checks do not resolve it
Need a professional?
Call a licensed plumber if the clog began immediately after reinstallation, returns after brief improvement, affects multiple fixtures, follows a visible sag or altered vent, or cannot be located from a safe external view. Call urgently for sewage backup, an active leak, wall or ceiling damage, suspected chemical exposure, or water near electrical equipment.
Common questions
FAQ
Why did the pipe clog right after it was reinstalled?
The timing raises suspicion of a changed fitting direction, displaced seal, sealant or debris in the opening, a new sag or slope problem, or altered venting. A downstream obstruction is still possible, so map whether one or several fixtures are affected before a plumber inspects the path.
Can I open the reinstalled joint to look for the blockage?
Not if drain cleaner or another unknown chemical may be in the pipe, and not when wastewater is under pressure or near electrical equipment. Keep the area clear and tell the plumber exactly what was used; do not mix products or force the joint.
What if plunging helps only briefly?
Brief improvement can mean that the local opening is only partly clear or that a geometry or deeper shared-line problem remains. Stop escalating the force, keep affected fixtures unused, and have a plumber inspect the reassembly, vent, cleanout, and downstream path.
Read the exact guide
Official sources
- How to Take Care of Your Sewer LateralSan Francisco Public Utilities Commission · Public utility guidance for building sewer laterals; property layouts, responsibilities, and local emergency procedures vary.
- GENERAL DRAIN WASTE VENT REQUIREMENTSCity of Ojai · Municipal general requirements used as a reference for drainage and vent geometry; local requirements and the exact installation may differ.
- Household Hazardous Waste (HHW)U.S. Environmental Protection Agency · General household hazardous-waste safety; follow the actual product label and local disposal instructions.
- Waste and vent pipe installationKing County, Washington · Government installation guidance for common residential waste and vent arrangements; local code and the actual building design control.
Community feedback
Share a repair observation
Share a plain-text repair observation. Accepted observations are published automatically; this page may take a moment to update.