
On this page
Start here
Quick answer
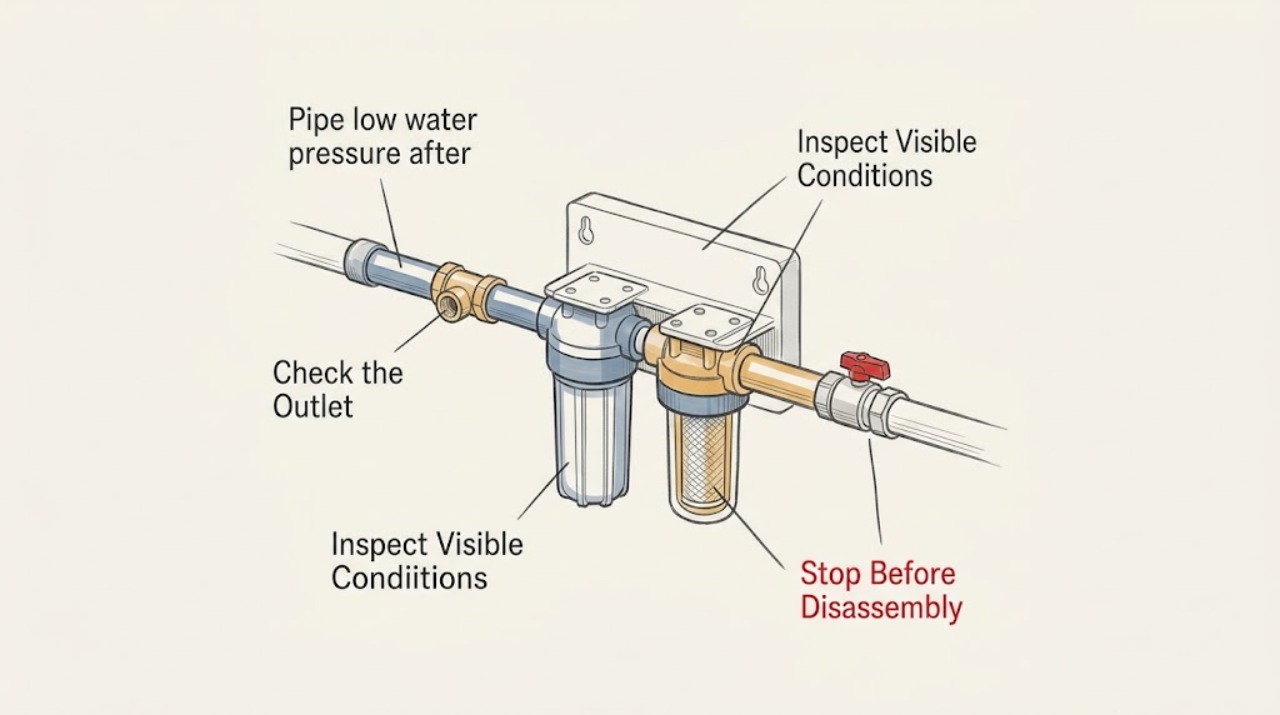
Low water pressure immediately after pipe repair is often a flow restriction or valve that was not fully restored, but it can also be a leak, sediment in a fixture screen or filter, a failed pressure regulator, or a problem that affects the public supply. Compare cold and hot flow at several fixtures, including an outside spigot if available, and note whether the change is throughout the home or only at one outlet. From a dry, safe position, check that clearly identified shutoff valves are restored without forcing an old valve; clean only an accessible faucet screen or filter according to its instructions. Do not open a pressurized joint, adjust a regulator, disturb a water heater, or keep using a leaking line. A leak, hot water, gas odor, wet electrical equipment, or pressure that stays low after the repair needs a plumber, the original contractor, or the water utility.
Work through in order
Diagnostic checks
Use only checks that match the exact appliance or system and its official guide.
-
Check 1
Compare cold and hot flow at the nearest repaired fixture, another indoor fixture, and an outside spigot if one is available; note whether the weak stream is constant or only occurs when several outlets run.
Expected result: Low flow at one outlet suggests a local screen, filter, fixture valve, or branch restriction. Low flow at all outlets, including outside, suggests a main valve, regulator, service line, leak, or utility condition. Hot-only loss points toward the hot-water side.
Next step: Keep the observation record and continue only with external checks. Arrange a plumber for a local or whole-home problem that began after repair, and contact the water utility or building manager if neighbors or multiple units have the same change.
Why this matters
Why: The distribution of the symptom separates a local post-repair restriction from a whole-home or supply problem before anything is removed.
-
Check 2
From a dry, accessible position, look at the main house valve, the valve near the meter if it is clearly identified, and any branch valves that the repair crew used; confirm that each is in its normal fully open position without forcing an old, stiff, damaged, or leaking valve.
Expected result: A valve left partly closed after work can reduce flow throughout a home or only downstream of the repair. A valve that turns roughly, leaks at its stem, or does not change flow may be damaged or internally restricted.
Next step: If the position is uncertain, stop and ask the original contractor or a plumber to verify it. Do not loosen the valve, remove packing, open a union, or disturb the repaired joint under pressure.
Why this matters
Why: Valve position is a reversible external explanation for a post-repair flow loss, while valve damage needs professional replacement rather than extra force.
-
Check 3
If only one faucet or shower is weak and the area is dry, clean an accessible aerator, faucet screen, or manufacturer-approved filter according to its instructions; place a towel below the outlet and do not remove a sealed fitting or pipe connection.
Expected result: Sand, flakes, or other sediment in the screen supports a post-repair restriction. Flow that remains weak after the screen is clean points to the fixture valve, branch pipe, filter housing, or a deeper restriction.
Next step: Reassemble the accessible screen exactly as instructed and compare cold and hot flow once. If the part is damaged, the housing leaks, or flow stays low, stop and call a plumber; do not flush a loose fitting or open the repaired pipe to chase debris.
Why this matters
Why: Repair work or water-service disturbance can move sediment downstream, but cleaning one screen cannot correct a partly closed valve or whole-home pressure loss.
-
Check 4
Check the visible area around the repaired pipe, cabinets, basement, crawlspace entrance, water heater, and outside service line for fresh moisture, spray, staining, a damp floor, or a water meter that moves while all fixtures are off; do not enter a flooded or unsafe space.
Expected result: Moisture at the repair, a continuing meter movement, or water near the water heater supports an active leak rather than simple low pressure. A dry visible area does not rule out a concealed leak in a wall or floor.
Next step: Stop using the affected line and close a clearly identified safe shutoff if needed. Keep water away from electrical equipment, do not touch wet electrical parts, and call a plumber for any active, concealed, or uncontrolled leak.
Why this matters
Why: A leak can reduce available flow and cause damage; it changes the correct response from adjustment to isolation and plumbing assessment.
-
Check 5
If the loss is whole-home or hot-water-only, record whether the water heater shows a leak, corrosion, an unusual discharge, a shutoff that was moved, or a gas or electrical warning; observe the appliance only from outside and do not adjust its regulator, temperature controls, gas path, or wiring.
Expected result: Hot-only low flow can be associated with the water-heater side or hot-water fixture screens. A leak, gas odor, combustion concern, electrical damage, or unusual temperature or pressure discharge is a safety condition, not a pressure adjustment.
Next step: Stop using the affected heater or line when a warning sign is present and request a qualified plumber or appliance professional; for gas odor, smoke, or immediate danger, leave and contact emergency or gas-safety help from a safe location.
Why this matters
Why: Water-heater work combines hot-water, combustion, pressure, and electrical hazards, so a post-repair pressure symptom must not become a user repair of the appliance.
-
Check 6
Document the repair location, valves operated, before-and-after flow at each fixture, hot-versus-cold result, sediment found, leak observations, meter behavior, neighbor or building impact, and any water-quality change; send the record to the original contractor, a plumber, or the utility.
Expected result: A local drop after one repair points toward the repaired branch or valve. A whole-home drop with a normal valve may involve a regulator, service line, leak, or public work. Discolored water or unusual taste after water work should be reported and not assumed to be a pressure fault.
Next step: Request correction from the original contractor when the symptom began directly after their work, and ask a plumber or utility to investigate when the repair boundary is unclear or the neighborhood is affected. Do not reopen the line just to reproduce the issue.
Why this matters
Why: The repair scope and symptom map tell the next professional whether to inspect the private plumbing, the water heater, the meter-side service, or the public distribution system.
Use your observations
Decision map
Find the observation that best matches what you see, then follow the next safe action.
-
PATH 01Next step
What you see
Only one faucet or shower is weak, while other fixtures have normal cold and hot flow.
Do this next
Arrange qualified service and follow the exact model guidance.
Why this path and its safety boundary
Why it matters: Treat it as a local screen, filter, fixture valve, or branch restriction. Clean only an accessible screen or approved filter, then call a plumber if the restriction or leak remains.
-
PATH 02Next step
What you see
Flow is low throughout the home after the repair, including an outside spigot, and the main valve may be partly closed.
Do this next
Arrange qualified service and follow the exact model guidance.
Why this path and its safety boundary
Why it matters: Have the original contractor or a plumber verify the main and meter-side valve position without forcing it. If nearby properties are also affected, contact the water utility or building manager.
-
PATH 03Next step
What you see
Only hot water has low flow, or the water heater has a leak, unusual discharge, corrosion, gas odor, or electrical warning.
Do this next
Arrange qualified service and follow the exact model guidance.
Why this path and its safety boundary
Why it matters: Stop using the affected heater or line and arrange qualified plumbing or appliance service. Do not adjust the heater, gas path, pressure device, or wiring.
-
PATH 04Next step
What you see
Water appears at the repaired joint, the meter moves with all fixtures off, or a concealed wall, floor, or ceiling is damp.
Do this next
Arrange qualified service and follow the exact model guidance.
Why this path and its safety boundary
Why it matters: Isolate water from a safe, clearly identified shutoff, protect people from wet electrical equipment, and call a plumber for leak tracing and repair.
-
PATH 05Next step
What you see
Flow remains low after valve position and accessible screen checks, or a pressure regulator, service line, or pipe size is suspected.
Do this next
Arrange qualified service and follow the exact model guidance.
Why this path and its safety boundary
Why it matters: Leave the repaired pipe and regulator undisturbed and request a plumber; contact the utility when the meter-side or public supply boundary is uncertain.
-
PATH 06Next step
What you see
Smoke, gas odor, flooding, hot uncontrolled water, electrical damage, or immediate structural danger is present.
Do this next
Arrange qualified service and follow the exact model guidance.
Why this path and its safety boundary
Why it matters: Stop immediately, keep people away, isolate utilities only if the control is safe and clearly accessible, leave for gas or fire danger, and seek emergency or qualified professional help from a safe location.
Helpful context
Understand the symptom
The important distinction is low pressure versus low flow. A repair can leave a main or branch valve partly closed, release sediment that blocks an aerator or filter, or expose a leak. One weak faucet is usually a local restriction; weak flow at every faucet, including outside, points toward the main valve, pressure regulator, service line, a leak, or a utility event. The checks below are external observations and safe isolation steps, not permission to rebuild the repaired pipe.
Keep the repair invoice, the affected location, and the exact time the flow changed. If the repair involved a water heater, gas appliance, electrical equipment, or a concealed pipe, use the original licensed contractor or an appropriate professional rather than adjusting a component whose compatibility is unknown.
Safety boundary
Stop conditions
- Stop immediately for an active spray or uncontrolled leak, hot water, gas odor, smoke, combustion concern, a flooded area, water near electrical equipment, shock, a damaged electrical water-heater connection, or structural dampness.
- Do not open a pressurized joint, loosen a union, force a stiff valve, adjust a pressure regulator, disturb a gas water-heater path, remove electrical covers, or use a wet area for electrical work.
- Leave the repaired pipe isolated or unused when the leak source is hidden, flow is falling rapidly, the valve will not control it, several homes are affected, or the symptom returns after a single safe external check.
Common questions
FAQ
Why is my water pressure low after pipe repair?
A valve may be partly closed, sediment may have reached a faucet screen or filter, or the repair may have revealed a leak or regulator problem. Compare several fixtures and hot versus cold flow before choosing the next service call.
Should I open the repaired pipe to clear a blockage?
No. Keep a pressurized joint closed and undisturbed. Clean only an accessible faucet screen or approved filter according to its instructions, and have a plumber inspect a deeper restriction, damaged valve, regulator, or concealed pipe.
Who should I call when low pressure began after a repair?
Start with the original contractor when the symptom follows their work. Use a plumber for private piping, valves, leaks, regulators, or water-heater concerns, and contact the water utility or building manager when several homes or units are affected.
Read the exact guide
Official sources
- Home MaintenanceU.S. Environmental Protection Agency · Visible water-heater leak and corrosion checks and plumber escalation
- Water Shut OffNew York City Department of Environmental Protection · Water restoration, post-repair low pressure, sediment, and main valve checks
- Water Pressure HelpEast Valley Water District · Whole-home versus local pressure symptoms, main valves, regulators, and leak scope
- Property Owners and ContractorsCity of Fresno Water Division · Post-repair low pressure, main and branch valves, and sediment restrictions
- Troubleshooting water pressure and flowCity of Portland Water Bureau · Comparing hot and cold flow, local restrictions, leaks, service disruptions, and water-heater escalation
Community feedback
Share a repair observation
Share a plain-text repair observation. Accepted observations are published automatically; this page may take a moment to update.