
On this page
Start here
Quick answer
First identify where the water begins: the outlet or discharge pipe of a temperature-and-pressure relief valve, the valve threads where it enters the tank, another fitting or drain valve, or the tank shell, seam, or welded connection. Intermittent dripping from a relief-valve discharge can be related to pressure or thermal expansion; a continuous or forceful hot discharge can indicate an unsafe temperature or pressure condition. Water from the tank shell or welded tank connection is a tank failure boundary, not a valve-tightening problem. Do not cap, plug, bypass, remove, or force a relief valve. Keep clear of hot or pressurized water, gas odor, wet electrical parts, and flooding, and arrange a qualified plumber when the source is unclear, persistent, hot, structural, or unsafe.
Before you begin
Safety first
- Keep the area clear and do not manipulate hot or pressurized components, cap the relief path, open gas or electrical covers, or attempt tank repair. If gas odor, smoke, arcing, shock, flooding, or a forceful hot discharge is present, use urgent qualified or emergency help.
Work through in order
Diagnostic checks
Use only checks that match the exact appliance or system and its official guide.
-
Check 1
From a dry, stable position, look for the first place water appears without touching the heater: relief-valve discharge outlet, threaded valve-to-tank joint, pipe or drain-valve fitting, gas-control area, electric connection area, or tank shell/seam. Keep hands and face away from hot or pressurized water.
Expected result: The wet point is clearly at the relief-valve outlet, at a threaded joint, at another fitting, at a gas or electrical area, or on the tank shell/seam; or the source cannot be seen.
Next step: Take a safe photo and stop if the source is hot, forceful, structural, near electrics, or unclear. Arrange qualified plumbing service rather than loosening or removing a component.
Why this matters
Why: The leak location determines whether pressure-relief diagnosis, connection service, gas/electrical boundary, plumbing fitting work, or tank replacement assessment is appropriate. A puddle alone cannot identify the part.
-
Check 2
Observe the relief-valve discharge pattern from a safe distance during normal use; do not lift the valve, block the outlet, or place a container against a hot discharge. Note whether it is an occasional small drip, a steady flow, or a forceful/hot discharge.
Expected result: The discharge is intermittent, continuous, forceful, unusually hot, or absent while water is visibly coming from the tank shell or another connection.
Next step: Never cap or plug the relief path. For continuous, forceful, or very hot discharge, keep clear and arrange urgent plumber evaluation; for an intermittent drip, keep the heater under observation only from a safe location and schedule service.
Why this matters
Why: Intermittent weeping can fit pressure or thermal-expansion conditions, while continuous or forceful hot discharge can indicate relief activation or an unsafe temperature/pressure condition. Water elsewhere is not proof of a relief-valve failure.
-
Check 3
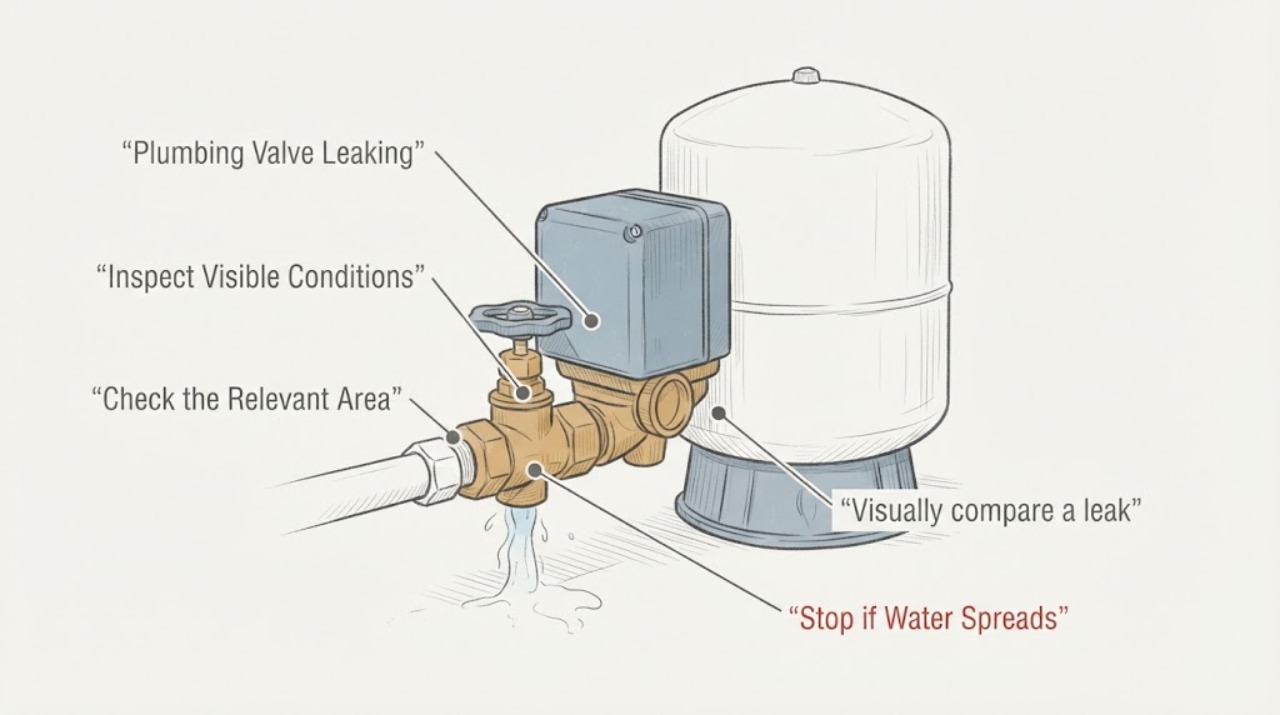
Visually compare a leak at the relief-valve threads or other threaded fitting with water emerging from the tank shell, seam, or welded connection. Do not tighten a hot fitting, remove the relief valve, scrape corrosion, or attempt a tank patch.
Expected result: The tank shell or welded connection is wet, the valve-to-tank threads are wet while the shell is dry, or the wet path is hidden by insulation/corrosion.
Next step: Keep clear of a structural or expanding leak and arrange a plumber for replacement assessment. Do not treat a tank-shell leak by changing only the pressure valve.
Why this matters
Why: A dry shell with a localized threaded leak may require valve or connection diagnosis. A shell, seam, or welded-spud leak points to tank-vessel failure and is not a simple valve reseal; hidden corrosion makes the source uncertain.
-
Check 4
Record the timing and plumbing context without adjusting anything: whether dripping begins during heating or recovery, continues while idle, follows a recent pressure-reducing/check-valve change, and whether an expansion tank is visible. Do not adjust a pressure-reducing valve or test pressurized plumbing unless a plumber directs it.
Expected result: The drip follows heating cycles, occurs continuously, began after a closed-system component was added, or has no relationship to heating.
Next step: Give the timing and recent plumbing changes to the plumber so incoming pressure, relief-valve operation, expansion control, and the tank can be evaluated together.
Why this matters
Why: A heating-linked pattern makes thermal expansion or pressure more plausible; a continuous or unrelated pattern keeps failed valve, connection, drain fitting, or tank causes in play. The pattern alone does not authorize a valve replacement.
-
Check 5
Identify the heat-source arrangement and the safest normal shutoff access from a dry location: gas-fired, electric, or unknown. Note gas odor, burner/control wetness, wet wiring or controls, unusual heat, smoke, or a tripped protective device; do not open covers or perform live electrical or gas testing.
Expected result: The leak is near gas controls or electric connections, the heat source is unknown, gas odor or smoke is present, electrical parts are wet, or the area is dry and the source is a non-structural plumbing point.
Next step: For gas odor, smoke, arcing, shock, or wet electrical parts, leave the area and use emergency or qualified help as appropriate. If safe and explicitly covered by the equipment instructions, isolate the heat source and water from a dry location; otherwise do not touch controls and call service.
Why this matters
Why: Gas, electricity, hot water, and pressure add hazards that cannot be diagnosed by a generic valve procedure. A dry visible plumbing leak may still need a plumber, but gas/electrical involvement requires the appropriate qualified professional.
-
Check 6
Document the heater label, visible leak point, water temperature impression, discharge pattern, corrosion or bulging, nearby shutoff/pressure components, and any flooding from a safe dry position. Do not restore heat after a shutdown until a qualified person confirms the tank is full and the equipment is safe.
Expected result: The record shows a relief outlet, threaded connection, tank shell/seam, other fitting, or an unresolved source, with or without corrosion, bulging, flooding, or hot discharge.
Next step: Keep the heater out of service when the stop conditions apply and arrange qualified plumbing service. Share the label and observations rather than attempting internal repair.
Why this matters
Why: A complete evidence record lets the plumber triage a pressure-valve investigation versus tank replacement assessment and prevents a symptom-only part order. Corrosion, bulging, flooding, and unresolved source increase urgency.
Use your observations
Decision map
Find the observation that best matches what you see, then follow the next safe action.
-
PATH 01Next step
What you see
A small intermittent drip comes from the relief-valve discharge while the heater is heating, especially after a pressure-reducing/check-valve or other closed-system change.
Do this next
Do not cap the discharge or replace the valve by symptom alone. Arrange a plumber to evaluate incoming pressure, closed-system controls, expansion control, and the relief valve as a system.
Why this path and its safety boundary
Why it matters: Thermal expansion or pressure-related relief operation is more plausible than a confirmed defective valve, although the valve and pressure still need professional evaluation.
-
PATH 02Next step
What you see
The relief-valve discharge is continuous, forceful, or very hot, or the heater is making an unusual pressure/temperature indication.
Do this next
Keep people away from the discharge, do not cap, plug, lift, or remove the valve, and arrange urgent qualified plumbing service. Use the safest normal heat-source and water isolation available only from a dry location and according to the equipment instructions.
Why this path and its safety boundary
Why it matters: The relief device may be responding to an unsafe condition, such as excessive pressure or temperature; a blocked or bypassed relief path would increase the danger.
-
PATH 03Next step
What you see
Water begins at a threaded valve connection while the tank shell and seam remain dry.
Do this next
Leave the fitting undisturbed and have a plumber diagnose the valve, connection, and any pressure cause. Do not tighten or remove a hot pressurized valve.
Why this path and its safety boundary
Why it matters: A valve or connection issue is more likely than a failed tank vessel, but heat, pressure, corrosion, and thread condition make it professional plumbing work.
-
PATH 04Next step
What you see
Water emerges from the tank shell, seam, or welded connection, or the vessel is bulging or heavily corroded.
Do this next
Keep clear of the heater and arrange prompt plumber assessment for safe isolation and replacement planning. Do not patch, weld, clamp, drill, or continue operating a structurally leaking tank.
Why this path and its safety boundary
Why it matters: The tank itself is implicated; changing the pressure valve will not repair a leaking vessel, and the manufacturer treats this as a replacement/service boundary.
-
PATH 05Next step
What you see
The leak is at a drain valve, supply pipe, gas-control area, electric connection, or an insulated/obscured location rather than a clearly identified pressure valve or tank shell.
Do this next
Stop troubleshooting at the boundary. Use plumbing service for piping or drain connections and the appropriate qualified gas or electrical professional when those systems are involved; provide the safest visible location and photos.
Why this path and its safety boundary
Why it matters: A different component or a hidden leak path is possible; the pressure-valve/tank diagnosis cannot be safely confirmed from the puddle.
Helpful context
Understand the symptom
Find the first wet point without touching hot hardware
A puddle below a heater does not identify the failed part. From a dry position, use sight and a dry visual reference to follow the water upward: relief-valve outlet, threaded valve-to-tank joint, pipe or drain-valve connection, or the tank shell and seam. Do not remove insulation, loosen a fitting, or handle a hot discharge pipe. If the first wet point cannot be seen safely, stop and give the plumber the safest location you can describe.
A relief-valve drip is a pressure symptom until proven otherwise
A small intermittent drip at the relief-valve discharge or outlet may occur when pressure changes during heating or when a closed plumbing system allows thermal expansion. That does not prove that the relief valve itself is the only failed part. A steady stream, forceful discharge, or very hot water changes the risk level and needs prompt professional evaluation. Never cap or plug the discharge to make the leak disappear.
A tank-shell or welded-connection leak is a different boundary
Water emerging from the tank shell, seam, or welded tank connection points to the vessel rather than a serviceable threaded valve connection. Corrosion, bulging, or a growing wet area should be treated as a stop-and-service condition. Do not attempt to patch, drill, weld, clamp, or seal a pressurized hot-water tank.
Give the plumber the pressure story
Record whether the drip appears only while the heater is recovering, whether it continues when the heater is idle, whether a pressure-reducing or check valve was recently installed, whether an expansion tank is present, and whether the water is hot. Those observations help separate thermal expansion or incoming-pressure issues from a failed valve, connection, drain fitting, or tank.
Safety boundary
Stop conditions
- Stop immediately for a continuous, forceful, or very hot relief-valve discharge, a burst pipe, rapidly growing leak, flooding, tank bulging, or water emerging from a tank seam or welded connection.
- Stop and leave the area for gas odor, smoke, arcing, shock, burning smell, or a wet electrical control, wiring, outlet, or appliance connection. Use emergency or qualified help as appropriate.
- Do not cap, plug, bypass, lift, remove, or obstruct a temperature-and-pressure relief valve or its discharge path.
- Do not loosen, tighten, remove, patch, weld, clamp, or drill a valve or tank while it is hot or pressurized. Do not open gas controls, electrical covers, or perform live tests.
- Do not resume heating after a shutdown until a qualified person confirms the source is addressed, the tank is full, and the equipment can safely return to service.
Only after diagnosis
Potential parts
- temperature-and-pressure relief valve
Consider this category only when a qualified diagnosis confirms the valve itself is faulty after pressure, thermal-expansion, discharge-pipe, and temperature causes are evaluated.
Relief-valve ratings, connection details, and water-heater requirements vary. Confirm the exact heater documentation and qualified diagnosis before selecting a part. - thermal expansion tank
Consider this category only when the plumbing is a closed system and a qualified pressure evaluation links the relief-valve drip to thermal expansion.
Sizing, connection, and system requirements are installation-specific. A plumber must confirm the need and fit for the actual water system. - pressure-reducing valve
Consider this category only when qualified testing shows incoming pressure or pressure regulation is the cause of the relief-valve symptom.
Pressure-control components depend on the service connection and plumbing design. Confirm the system requirements and part compatibility before selection. - water-heater tank
Consider this replacement category only when water is confirmed at the tank shell, seam, or welded connection, or the vessel is otherwise judged unrepairable.
Tank replacement depends on fuel type, capacity, venting, connections, code requirements, and site conditions. Have a qualified plumber confirm the complete replacement specification.
When checks do not resolve it
Need a professional?
Arrange qualified plumbing service for any persistent or unclear leak, any relief-valve drip, any leak at a valve-to-tank connection, a tank shell/seam or welded-connection leak, pressure-related symptoms, corrosion or bulging, or a leak that returns after a normal shutoff. Treat forceful/hot discharge, flooding, structural tank leakage, gas odor, smoke, arcing, shock, or wet electrical parts as urgent safety conditions. Use the appropriate qualified gas or electrical professional when the leak involves those systems.
Safety scope: Keep the area clear and do not manipulate hot or pressurized components, cap the relief path, open gas or electrical covers, or attempt tank repair. If gas odor, smoke, arcing, shock, flooding, or a forceful hot discharge is present, use urgent qualified or emergency help.
Common questions
FAQ
Does a dripping pressure-relief valve always need a new valve?
No. A drip can be associated with pressure or thermal expansion, and a continuous or hot discharge can reflect a temperature or pressure condition. Have a plumber evaluate the system before selecting a replacement valve.
How can I tell a tank leak from a valve leak?
From a safe dry position, identify the first wet point. Water at the relief outlet or a threaded connection is a different path from water emerging through the tank shell, seam, or welded connection. A confirmed vessel leak is a replacement/service boundary, not a valve-tightening repair.
Is it safe to cap the relief-valve discharge because it is leaking?
No. Do not cap, plug, bypass, lift, remove, or obstruct the relief valve or its discharge path. Keep clear of hot or forceful discharge and arrange qualified service.
What should I tell the plumber?
Share the heater type and label, first wet point, drip or flow pattern, whether it follows heating, water-temperature impression, recent pressure-control changes, expansion-tank presence, corrosion or bulging, and any gas, electrical, or flooding hazard.
Read the exact guide
Official sources
- Technical Bulletins - Bulletin #52 Leaking Temperature and Pressure Relief ValveA. O. Smith · Manufacturer bulletin for distinguishing relief-valve discharge, threaded relief connections, thermal expansion, and tank/spud leak boundaries.
- Technical Bulletins - Bulletin #51 Puddle On The FloorA. O. Smith · Manufacturer bulletin for separating condensation, drain valve, relief valve, piping, gas/electric component areas, and tank leaks.
- Technical Bulletins - Bulletin #41 Bulging HeaterA. O. Smith · Manufacturer bulletin for pressure-reducing/check-valve closed systems, thermal expansion, expansion control, and structural tank warnings.
- Water Heater Maintenance GuideA. O. Smith · Manufacturer guide covering relief-device purpose, pressure/thermal-expansion symptoms, hot-water caution, and safe return-to-service conditions.
Community feedback
Share a repair observation
Share a plain-text repair observation. Accepted observations are published automatically; this page may take a moment to update.