
On this page
Start here
Quick answer
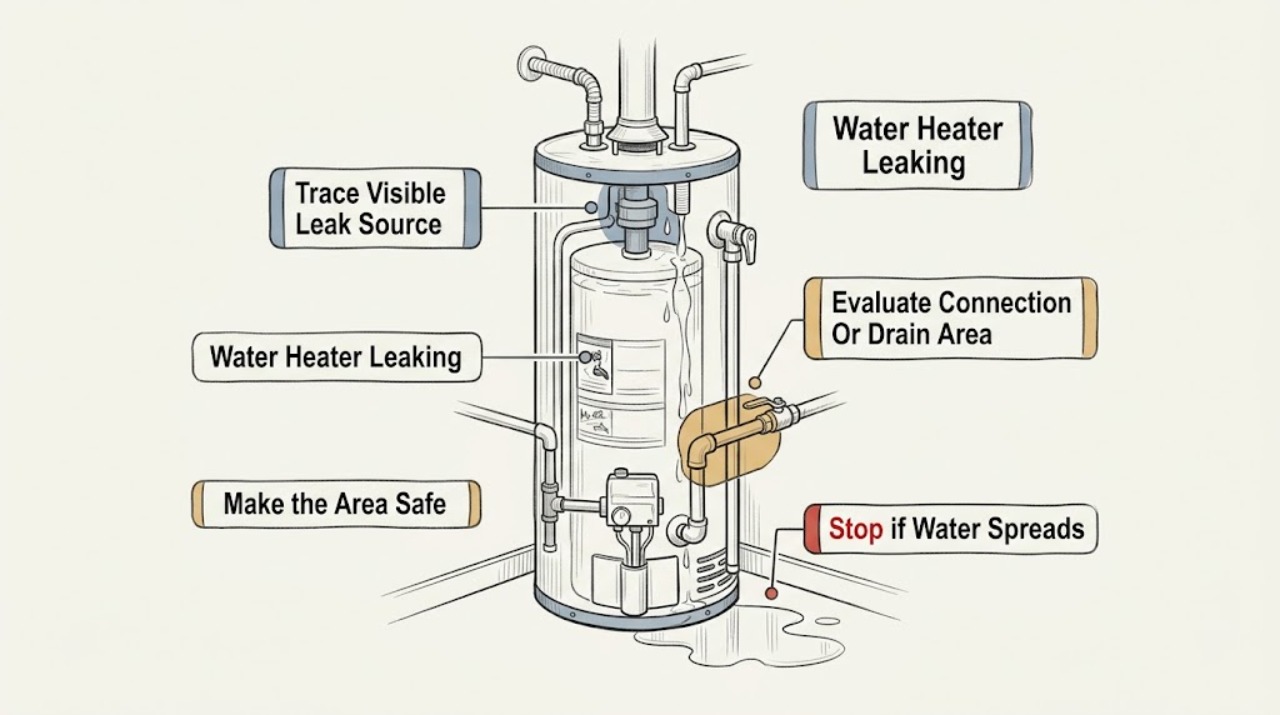
If a water heater is leaking, keep people away from hot water and electricity, then identify whether the water is coming from a visible connection, a relief discharge, a drain fitting, or the tank body. If it is safe and you can identify the correct external controls, isolate the heater's energy and close its water supply; never cap a relief outlet or restore power while water is still leaking. A leak from the tank body, an element or internal cover, a relief path that discharges hot water or steam, gas equipment, or any source you cannot locate needs qualified water-heater service.
Work through in order
Diagnostic checks
Use only checks that match the exact appliance or system and its official guide.
-
Check 1
Keep children and pets away, avoid stepping in water, and identify from a dry location whether the heater is electric, gas, or another type. Look only for a clearly labeled external breaker, disconnect, gas control, and water shutoff; do not remove covers or touch wet controls.
Expected result: Water is near electrical equipment, the heater or vent is hot, there is a gas odor, the leak is rapid, or the energy and water controls are clearly accessible and dry.
Next step: If the controls are clearly identified and can be reached safely, isolate the heater's energy and close its water supply according to the model instructions. Otherwise stop and call qualified emergency plumbing, appliance, or electrical help.
Stop if: Do not touch wet electrical parts, a hot vent, gas fittings, exposed wiring, or controls reached through standing water.
Why this matters
Why: Water, electricity, hot surfaces, fuel gas, and pressure can turn a small leak into an injury or property hazard. Bosch and Whirlpool both direct users to isolate the relevant energy and water supplies, but the exact controls depend on the model and fuel type.
-
Check 2
From a safe position, dry only accessible exterior surfaces with a towel and watch for fresh water. Trace the first wet point without removing insulation or panels: top water connections, a relief discharge pipe, a drain fitting, an element or cover area, the sides or bottom of the tank, or the floor around the unit.
Expected result: Moisture begins at a connection, relief path, drain fitting, cover or element area, tank body, or cannot be traced reliably.
Next step: Photograph the first wet point and keep the heater isolated. Do not loosen fittings, remove a cover, or disturb a relief outlet while trying to confirm the source.
Stop if: Stop if water is flowing quickly, is scalding, or reaches electrical or fuel components.
Why this matters
Why: The location changes the next step. Connection leaks may be plumbing-related; relief discharge can indicate pressure or temperature conditions; a tank-body or internal leak is a service-level failure. A puddle alone is not enough to distinguish condensation from a continuing leak.
-
Check 3
If the first wet point is a visible inlet, outlet, or drain connection, check from the outside whether the connection is visibly loose, corroded, cracked, or actively dripping. Do not use force and do not disconnect a pipe as a first check.
Expected result: The leak is limited to a visible connection or drain fitting, or water is emerging from behind the fitting, insulation, cover, or tank body.
Next step: Keep water and energy isolated and have a qualified plumber or appliance technician repair or replace the model-correct connection. Do not restore heat until the leak is confirmed repaired and the heater is safe to refill and energize.
Stop if: Do not open the heater, remove insulation, or attempt a repair while the piping is hot, pressurized, or electrically energized.
Why this matters
Why: Manufacturers describe connection leaks as a distinct, potentially repairable category, but corrosion, hidden damage, and model-specific thread or gasket requirements can change the repair. Water emerging from behind the fitting does not prove the fitting itself is the source.
-
Check 4
If water is coming from the temperature-and-pressure relief discharge path, observe from a distance whether it is a cool drip, a hot flow, or steaming water. Do not touch the discharge, lift the relief lever, plug the outlet, or try to restrain it.
Expected result: The relief path is dry, dripping, flowing hot water, or discharging steam; the source is uncertain.
Next step: Keep the heater's energy and water supply isolated if this can be done safely, keep clear of the discharge, and call a qualified water-heater professional. Do not substitute a relief valve or alter pressure controls without model and code review.
Stop if: Never cap, plug, clamp, or otherwise obstruct a relief discharge pipe.
Why this matters
Why: A relief discharge can relate to temperature, pressure, thermal expansion, or a control problem. Hot or steaming discharge is an immediate stop condition, and a relief outlet must remain able to discharge safely.
-
Check 5
If water appears from the tank body, bottom, side, rear, an internal element or cover area, or beneath insulation, stop the external inspection. Record the location and whether the tank is corroded or the leak continues, without opening the cabinet.
Expected result: The tank body or an internal area is wet, corrosion is visible, or the leak cannot be confined to an external connection.
Next step: Keep the heater isolated and arrange qualified water-heater service. Provide photographs and the model information so the technician can determine whether a gasket, element assembly, tank, or complete heater is appropriate.
Stop if: Do not drain, remove an element, remove a cover, or re-energize the heater unless the exact manual and a qualified professional establish that it is safe.
Why this matters
Why: Bosch guidance treats a damaged tank or cylinder as not repairable in the ordinary sense and identifies internal cover or element leaks as requiring isolation, draining, and model-specific work. Those steps expose hot water and electrical connections and are not a safe generic DIY procedure.
-
Check 6
Record the heater model and serial information, fuel type, leak location, rate, water temperature, relief-path behavior, visible corrosion, recent installation or plumbing work, and whether the energy and water supplies were isolated.
Expected result: The leak stops after safe isolation, or it continues, returns, cannot be located, or has caused water or electrical damage.
Next step: Use the manufacturer support route or a qualified plumber/water-heater technician. Keep the heater off until the leak is repaired and the professional confirms the correct refill and restart sequence.
Stop if: Do not restore fuel, electrical power, or water pressure merely to see whether the leak recurs.
Why this matters
Why: A stopped leak may still have a failed fitting, relief condition, or internal source. A continuing or unidentified leak needs diagnosis rather than repeated resets or tightening attempts.
Use your observations
Decision map
Find the observation that best matches what you see, then follow the next safe action.
-
PATH 01Next step
What you see
Water is rapid, hot or steaming, near electrical parts, accompanied by a gas odor, or the controls cannot be reached safely.
Do this next
Keep clear, isolate energy and water only from a safe dry position if clearly identified, and obtain qualified emergency plumbing, electrical, or gas help.
Why this path and its safety boundary
Why it matters: This is an immediate safety and property-protection event, not a routine fitting check.
-
PATH 02Next step
What you see
Fresh water starts at an accessible inlet, outlet, or drain connection and the tank body is dry.
Do this next
Keep supplies isolated and have a qualified professional repair the model-correct connection; do not restore heat until verified safe.
Why this path and its safety boundary
Why it matters: A connection or fitting is a plausible source, but hidden corrosion or a tank opening still must be ruled out.
-
PATH 03Next step
What you see
Water exits the temperature-and-pressure relief path.
Do this next
Do not obstruct the outlet; isolate safely and obtain qualified water-heater service, especially for hot or steaming discharge.
Why this path and its safety boundary
Why it matters: Pressure, temperature, thermal expansion, or a control condition may be involved.
-
PATH 04Next step
What you see
Water comes from the tank body, bottom, rear, an internal cover or element area, or behind insulation.
Do this next
Keep the heater isolated and arrange qualified service to assess repair versus replacement for the exact model.
Why this path and its safety boundary
Why it matters: A tank or internal component may be damaged; external tightening is not an adequate diagnosis.
-
PATH 05Next step
What you see
The source cannot be located or the leak returns after a professional repair or safe isolation.
Do this next
Keep the system off as appropriate and have a qualified technician inspect it with the model manual and service history.
Why this path and its safety boundary
Why it matters: Condensation, hidden piping, pressure, relief, and internal causes remain possible and cannot be selected from a puddle alone.
Helpful context
Understand the symptom
A puddle does not identify the failed part. Manufacturer guidance separates condensation, connection leaks, relief-valve discharge, leaks around an element or cover, drain fittings, and a leak through the tank body. The first safe goal is to stop escalation and locate the source from the outside, not to open the heater.
The shutdown method depends on the heater. An electric unit may have a breaker or disconnect; a gas unit has fuel controls and a vent that may be hot. If water is near electrical equipment, do not touch the wet equipment or controls. Use only an external, clearly identified shutoff that you can reach without entering water or touching hot surfaces, and call a qualified professional when that is not safe.
Do not turn an electric heater back on until the leak has been corrected, and never cap or obstruct a temperature-and-pressure relief discharge. A tank-body leak or an unidentified internal leak is not a gasket-tightening problem that can be diagnosed from a puddle; it needs model-specific inspection and may require replacement.
Safety boundary
Stop conditions
- Stop immediately for hot or steaming water, rapid flow, gas odor, smoke, scorching, exposed wiring, or water near electrical equipment.
- Do not touch wet electrical parts, hot venting, fuel-gas controls, or pressurized discharge water.
- Never cap, plug, clamp, or obstruct the temperature-and-pressure relief path.
- Do not open covers, remove insulation, drain the tank, replace elements or relief valves, or work on energized equipment as a generic DIY step.
- Do not restore electrical power, fuel, or water pressure until the leak has been corrected and safe restart has been confirmed.
When checks do not resolve it
Need a professional?
Call a qualified water-heater technician or plumber for any tank-body, internal, relief-path, unidentified, recurring, hot, or rapid leak; for damaged connections that need disassembly; or whenever the heater's energy, venting, pressure, or electrical parts are involved. Use a qualified electrician or gas professional for those respective hazards.
Have this ready
- Provide the model and serial information, fuel type, leak location and rate, photographs, water temperature, relief-path behavior, visible corrosion, recent installation or plumbing work, and isolation steps already taken.
Common questions
FAQ
What should I do first if my water heater is leaking?
Keep clear of hot water and electricity, identify the fuel type and leak source from a safe dry position, and isolate the heater's energy and water only if the controls are clearly identified and safely reachable.
Can a small puddle near a water heater be condensation?
It can be, particularly around some gas heaters or new installations, but dry the area and verify whether fresh water returns. Do not assume condensation when water is hot, flowing, recurring, or coming from a connection or tank.
What if water is coming from the relief valve pipe?
Treat it as a qualified-service issue. Keep clear of hot discharge, do not cap or obstruct the outlet, and have the pressure, temperature, expansion, and control conditions assessed.
Can I turn the water heater back on after a leak?
Not while water is still leaking or the source is unresolved. Bosch specifically warns not to restore electrical supply until leaking is rectified; a qualified professional should confirm safe refill and restart for the model.
When does a leaking water heater need replacement?
A tank-body or cylinder leak may be non-repairable, but the decision depends on the exact model and inspection. Keep the heater isolated and have a qualified technician distinguish a tank failure from a connection, relief, gasket, or other component issue.
Read the exact guide
Official sources
- Leaks and DripsWhirlpool Water Heaters · Official Whirlpool/American Water Heater guidance; included for general leak-identification and safety boundaries, not as a model-specific repair instruction.
- Water Heaters TroubleshootingBosch Home Comfort · Official Bosch troubleshooting page for specified electric water heaters; exact construction and procedures vary by model.
- Water Heaters FAQBosch Home Comfort · Official Bosch FAQ for specified electric water-heater models; use only as general source-backed safety and source-location guidance, not as a universal repair procedure.
- Troubleshooting - DripsWhirlpool Water Heaters · Official Whirlpool electric water-heater support page emphasizing printed installation instructions, labels, and qualified repair when skills are insufficient.
Community feedback
Share a repair observation
Share a plain-text repair observation. Accepted observations are published automatically; this page may take a moment to update.