
Roper appliance guidance
Roper Washing Machine Repair Guides
Troubleshooting and repair guidance for published Roper Washing Machine problems, symptoms, and maintenance questions.
Published Roper Washing Machine guides
Choose the guide whose symptom or condition most closely matches what you are seeing.
-
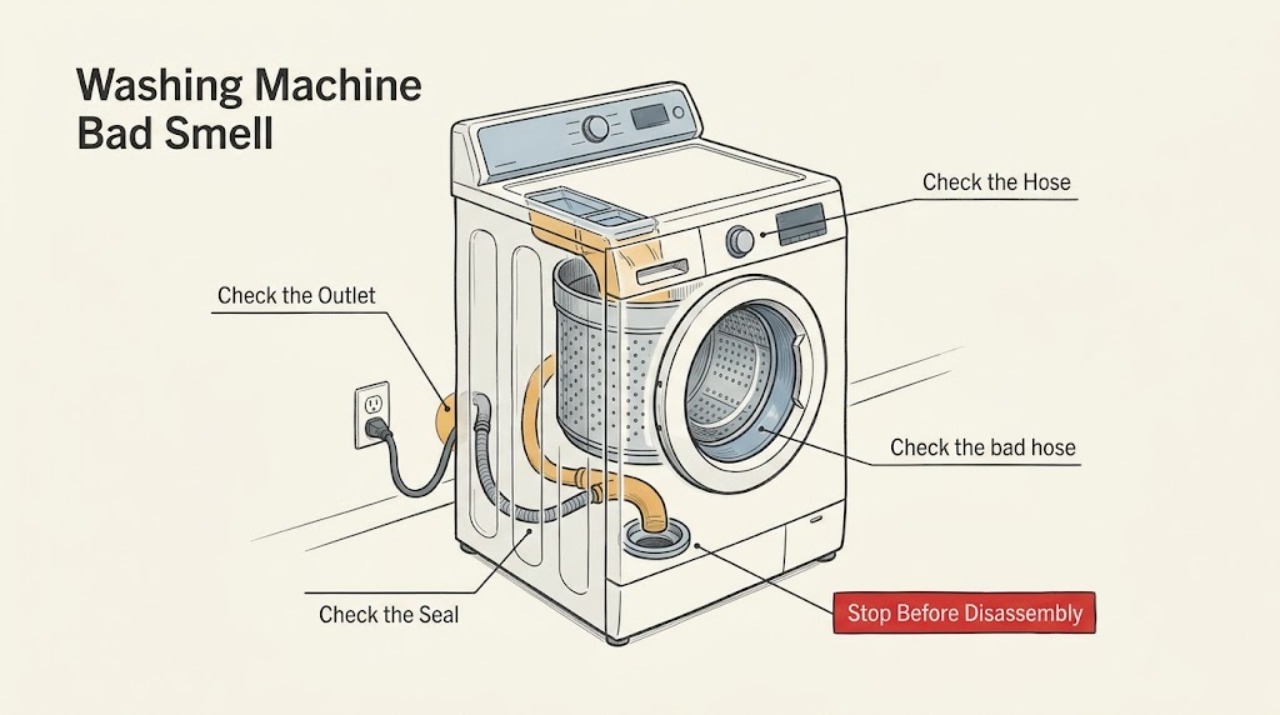
Roper Washing Machine Bad Smell: Separate Mildew, Drain Odor, and Electrical Warning Signs
First classify the odor before cleaning: a musty or sour smell usually follows retained moisture, detergent residue, or wet laundry; a sewage-like smell points to the drain path or house plumbing; a hot-plastic, burning, or electrical smell is a stop condition. Record the Roper model and whether the odor comes from the basket, lid or door, detergent area, drain, floor, plug, or outlet, and when it appears.
-
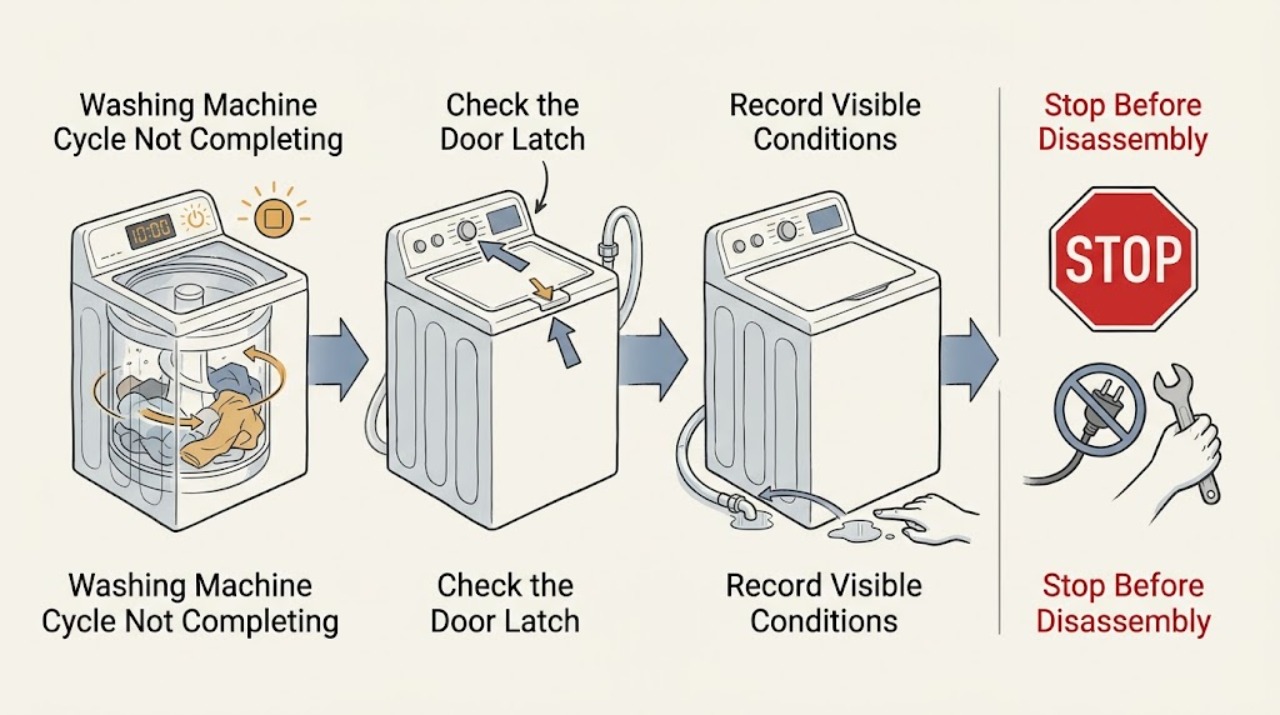
Roper Washing Machine Cycle Not Completing: Find Where It Stops
When a Roper washing machine does not complete its cycle, record whether it stops during fill, wash, rinse, drain, or spin and save any flashing light or code. A pause can be normal, but a closed lid, adequate hot and cold water supply, clear inlet hoses, a balanced load, and a drain path are required for the cycle to advance.
-
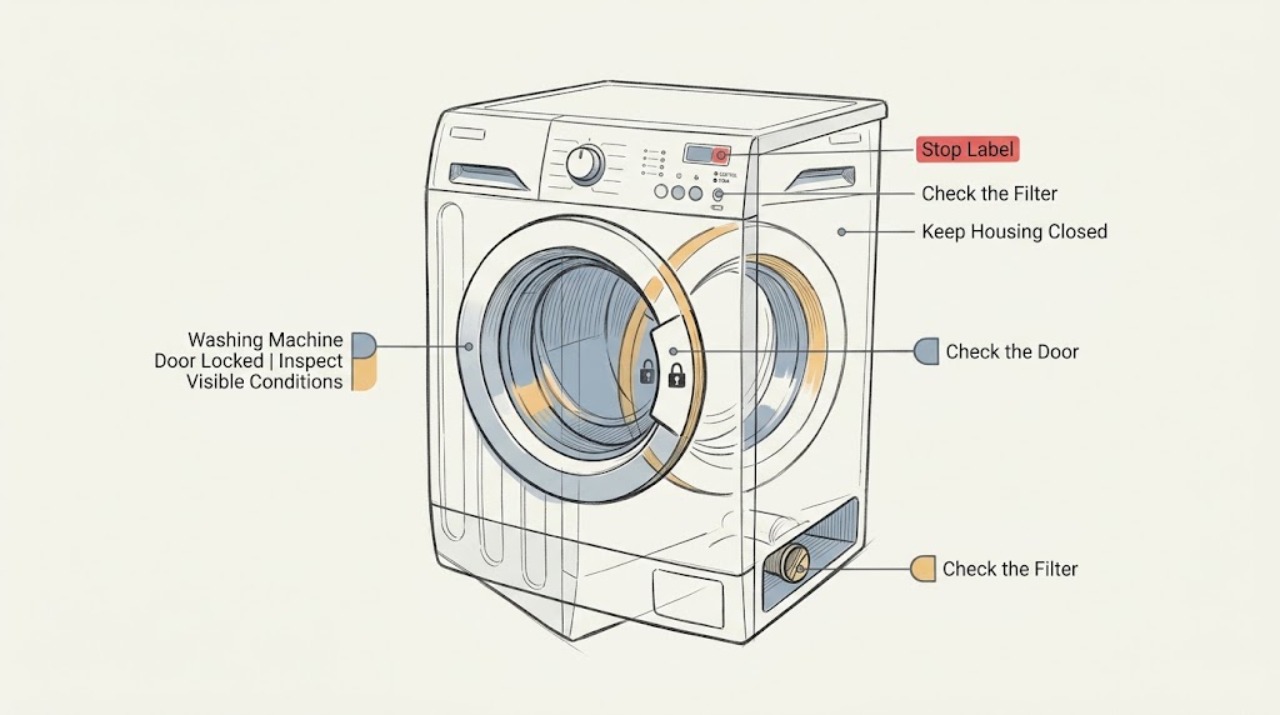
Roper Washing Machine Door Locked: Safe Checks for Water, Cycles, and the Lock
A locked Roper washer door may be normal while a cycle is active, while the tub is still tumbling, while water or hot wash liquid remains, or while a model-specific fresh-air or anti-crease option is running. First wait for motion and heat to end, then note whether water remains and whether the display shows a lock, control-lock, or error message.
-
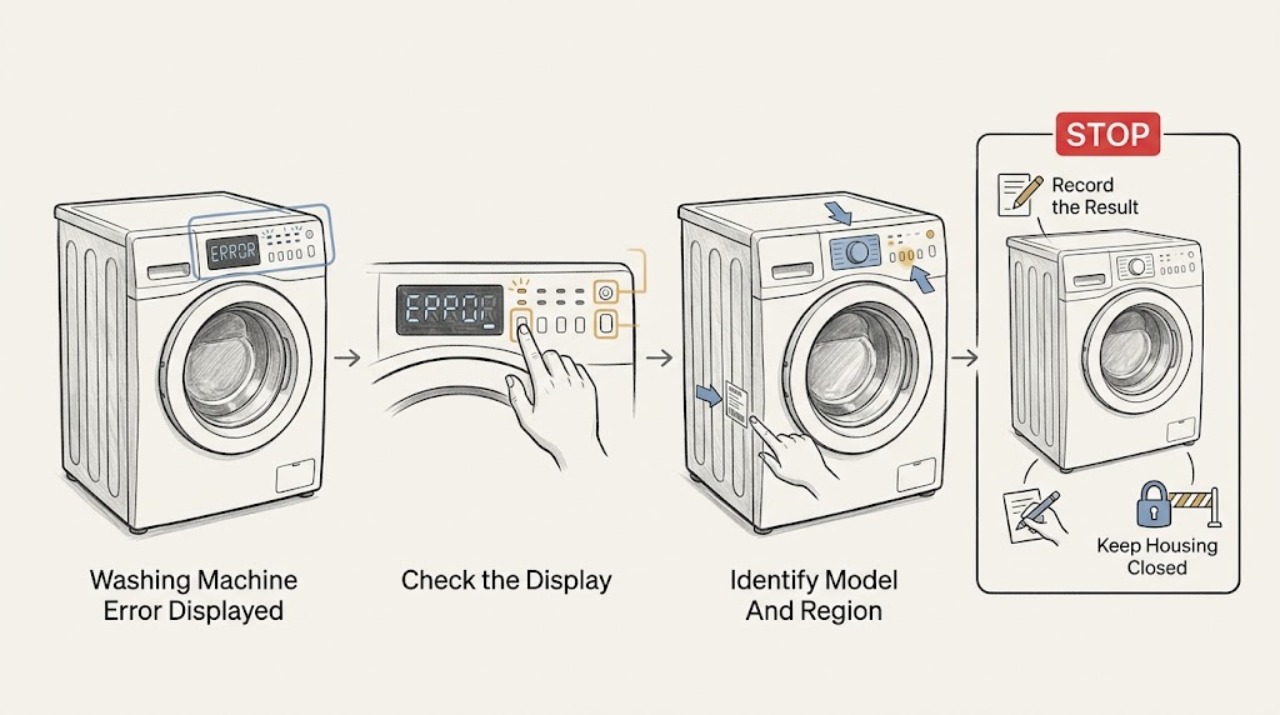
Roper Washing Machine Error Displayed: Record It Before You Reset
Do not diagnose a Roper washer error from the code alone. Photograph the complete code or flashing-light pattern, record the model and serial label, identify whether the washer is a top-load or front-load machine, and note when the code appeared: at power-up, after Start, during fill, drain, spin or after a stop.
-
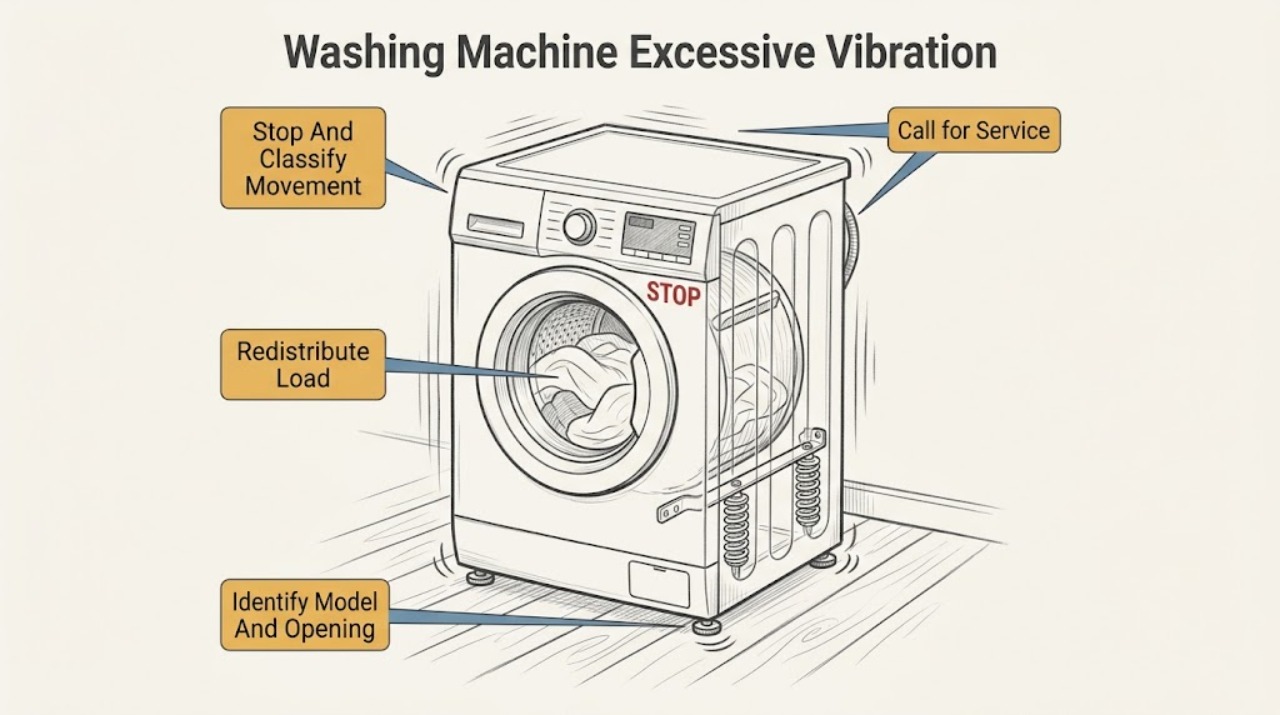
Roper Washing Machine Excessive Vibration: Check the Load, Floor, and Installation
Roper washer vibration is most often tied to a load that is too large or uneven, a washer that rocks on its feet or floor, or installation hardware that was not handled according to the exact model instructions. Start by stopping the cycle safely, noting whether the movement occurs during spin or throughout the cycle, and checking for water, impact, or unusual noise.
-
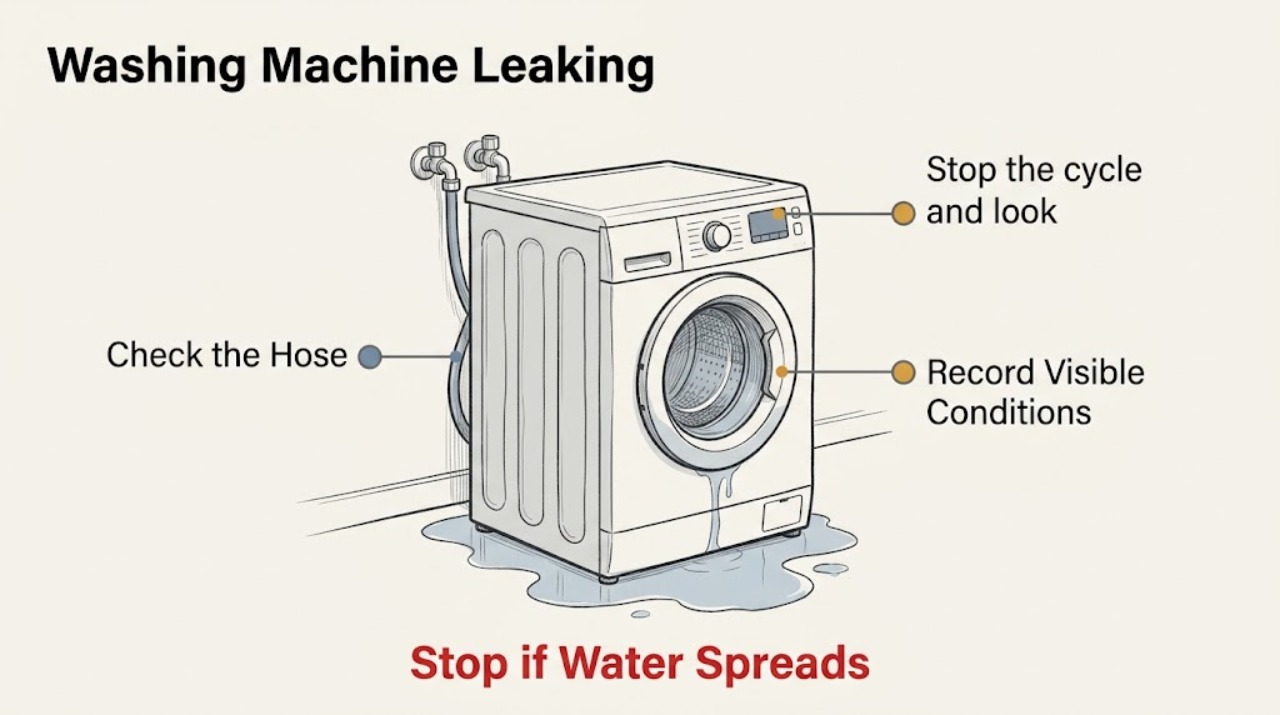
Roper Washing Machine Leaking: Find the Leak Safely
Stop the cycle and identify where the water first appears: behind the washer, over the top, inside the tub while idle, or underneath. If the water is near the outlet, cord, or other electrical parts, do not touch the plug or enter the wet area; isolate the water only from a dry, safe location and arrange qualified help.
-
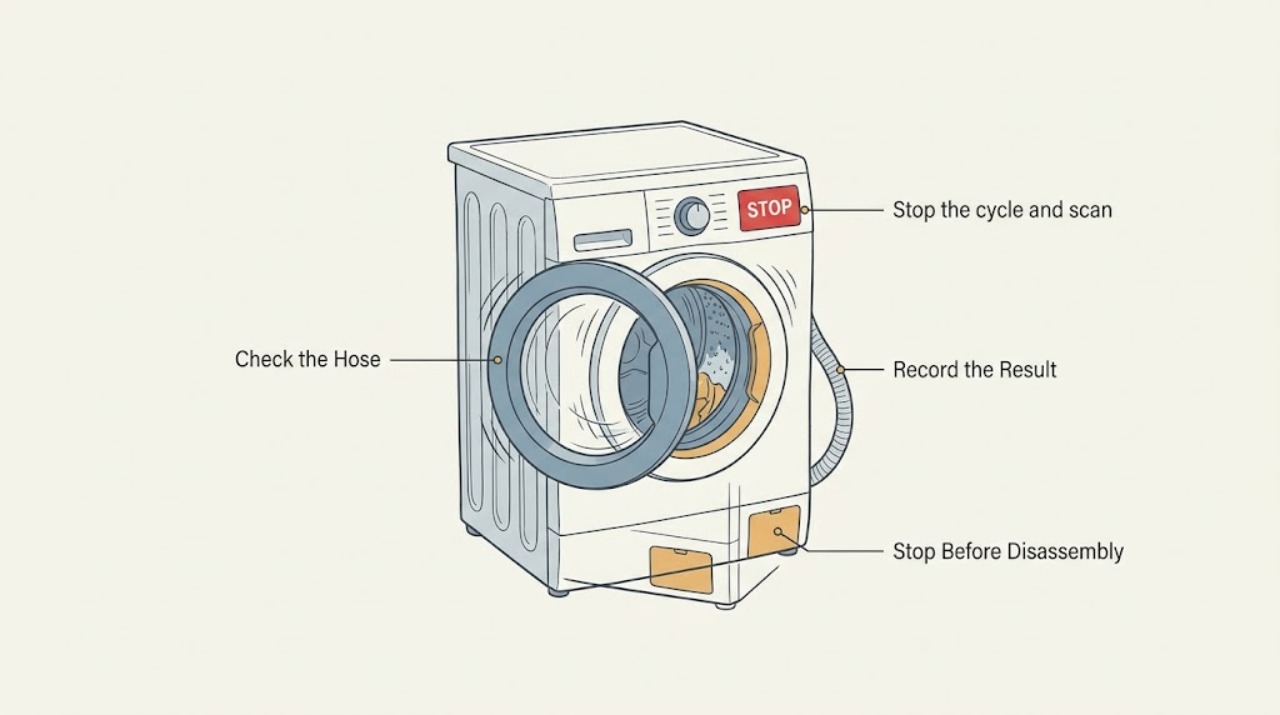
Roper Washing Machine Making Noise: Find the Sound by Cycle Phase
First note whether the sound occurs while filling, washing, draining, or spinning, then locate it at the rear hoses, cabinet, basket, pump area, or floor. A brief hum, pump sound, click, or motor/drive change can be normal, while a new scrape, repeated metal contact, cabinet impact, walking, leak, smoke, burning odor, or electrical symptom is a reason to stop.
-
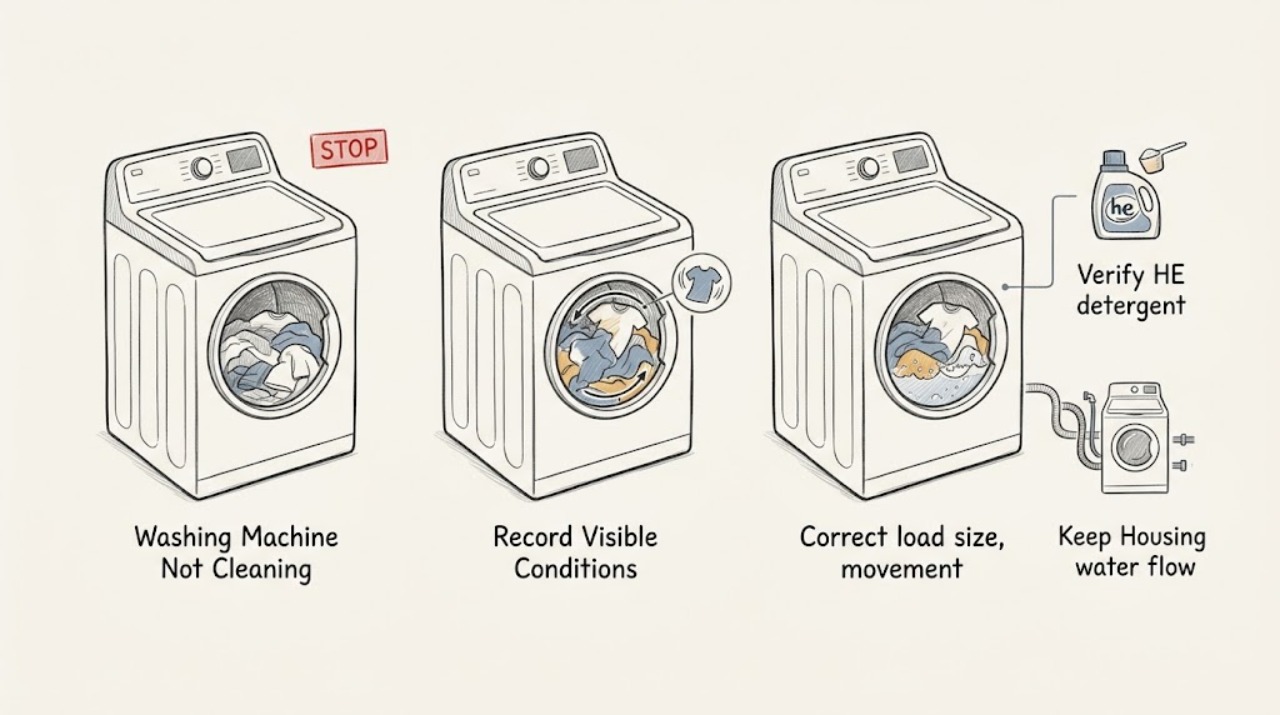
Roper Washing Machine Not Cleaning: Safe Checks That Improve Wash Results
If a Roper washer is running but clothes are not getting clean, first identify whether the result is soil left behind, detergent residue, dye transfer, or a cycle that does not complete. Sort the load and leave room for items to move freely, use only HE detergent, and measure the amount for the load and soil level instead of adding more.
-
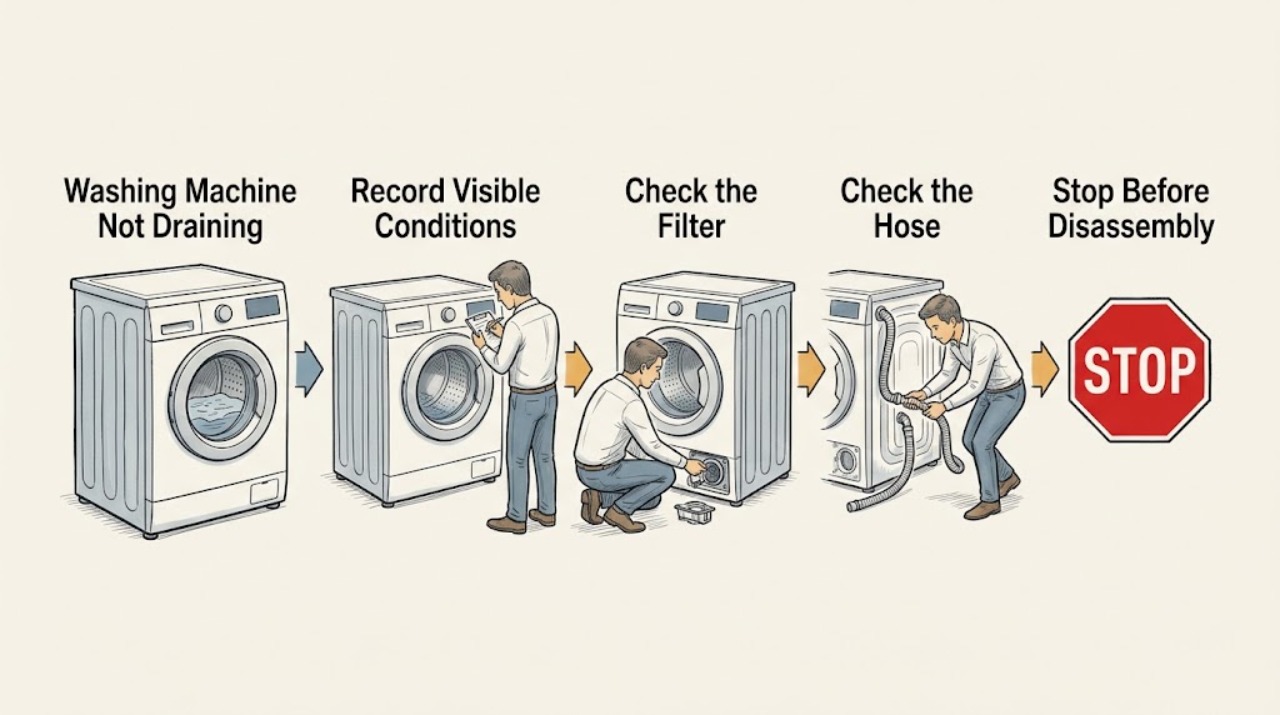
Roper Washing Machine Not Draining: Find the Blockage Safely
If a Roper washing machine is not draining, first note whether water remains in the basket, where the cycle stopped, and whether the machine hums, clicks, or is silent. Identify the exact model and whether it is a top-load or front-load design before opening any filter or drain access.
-
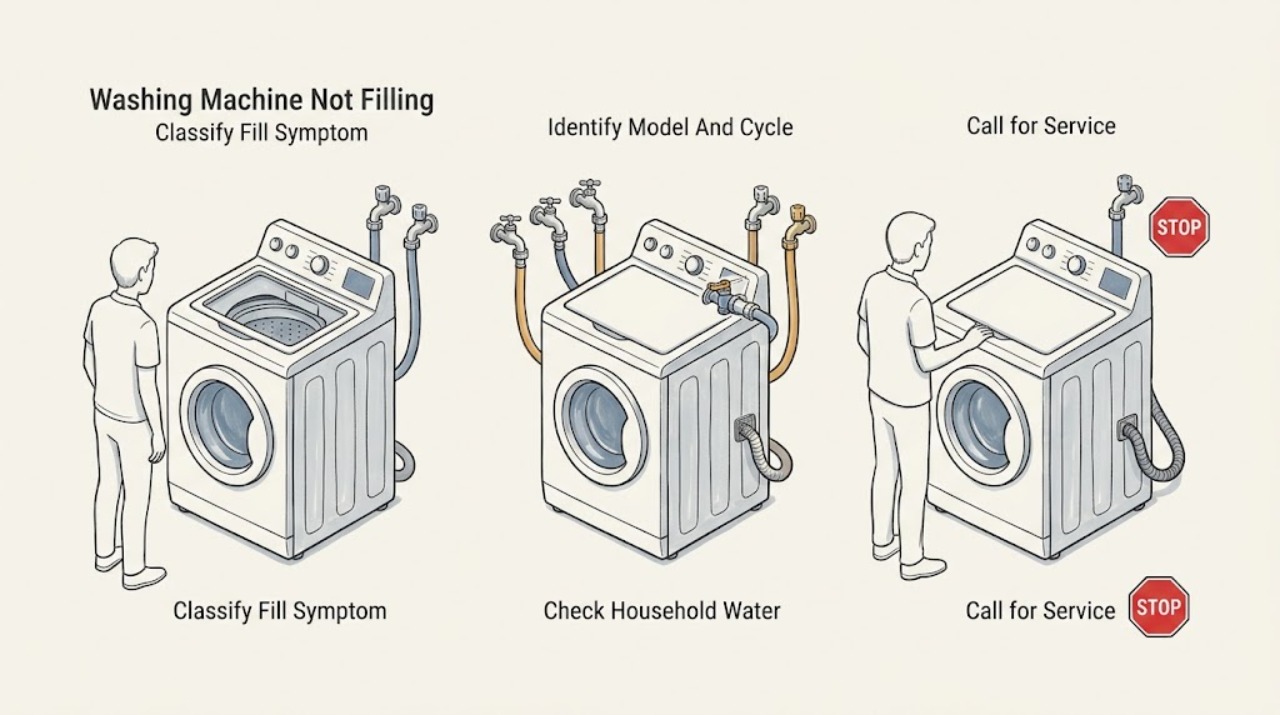
Roper Washing Machine Not Filling: Check Water, Lid, and Inlet Flow
A Roper washer that does not fill may have closed household water valves, kinked or restricted hot or cold hoses, sediment at an inlet screen, an unlatched lid or door, a program that is paused, an incorrectly installed drain hose that siphons water away, or a failed inlet valve or pressure-sensing system. First identify the exact Roper model and top-load or front-load design, confirm the required water supplies are available, and check the lid or door and controls.
-
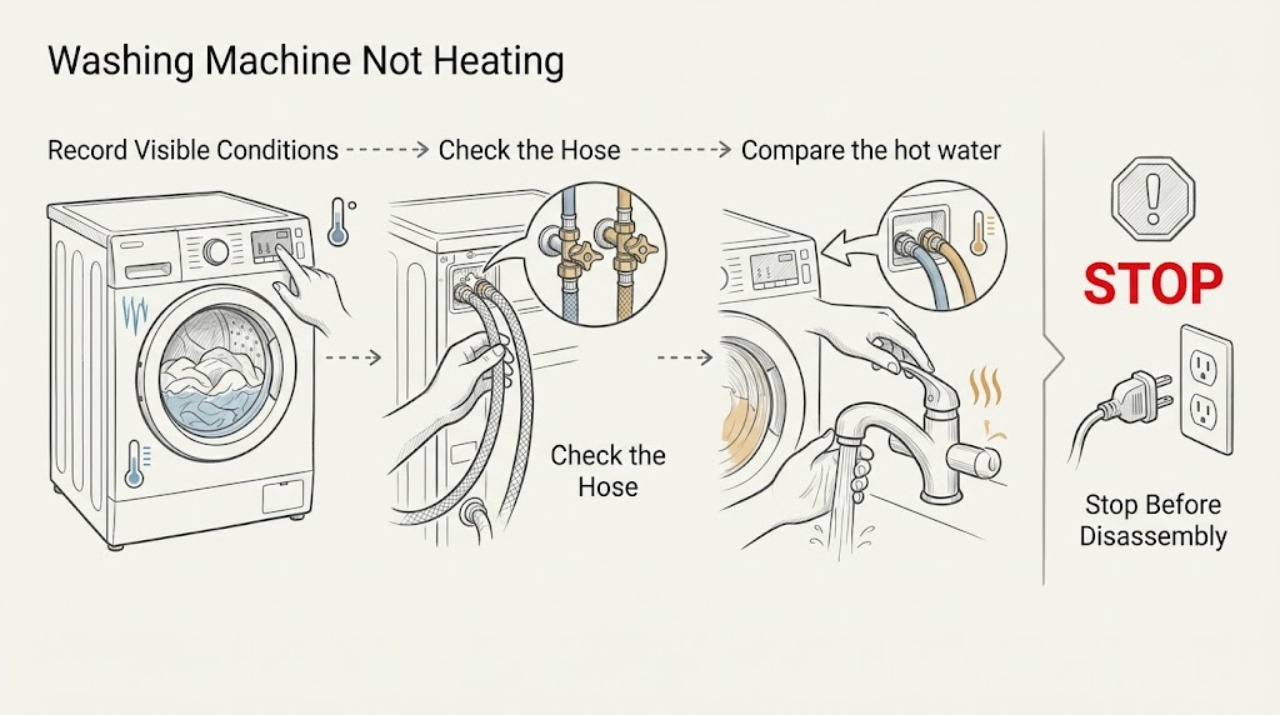
Roper Washing Machine Not Heating: Check the Water Path First
A Roper washer usually gets wash temperature from the household hot and cold water supplies, not from a user-adjustable internal heater. First identify the exact model and cycle, then confirm the temperature setting, both water faucets, and that the hot and cold hoses are not reversed or kinked.
-
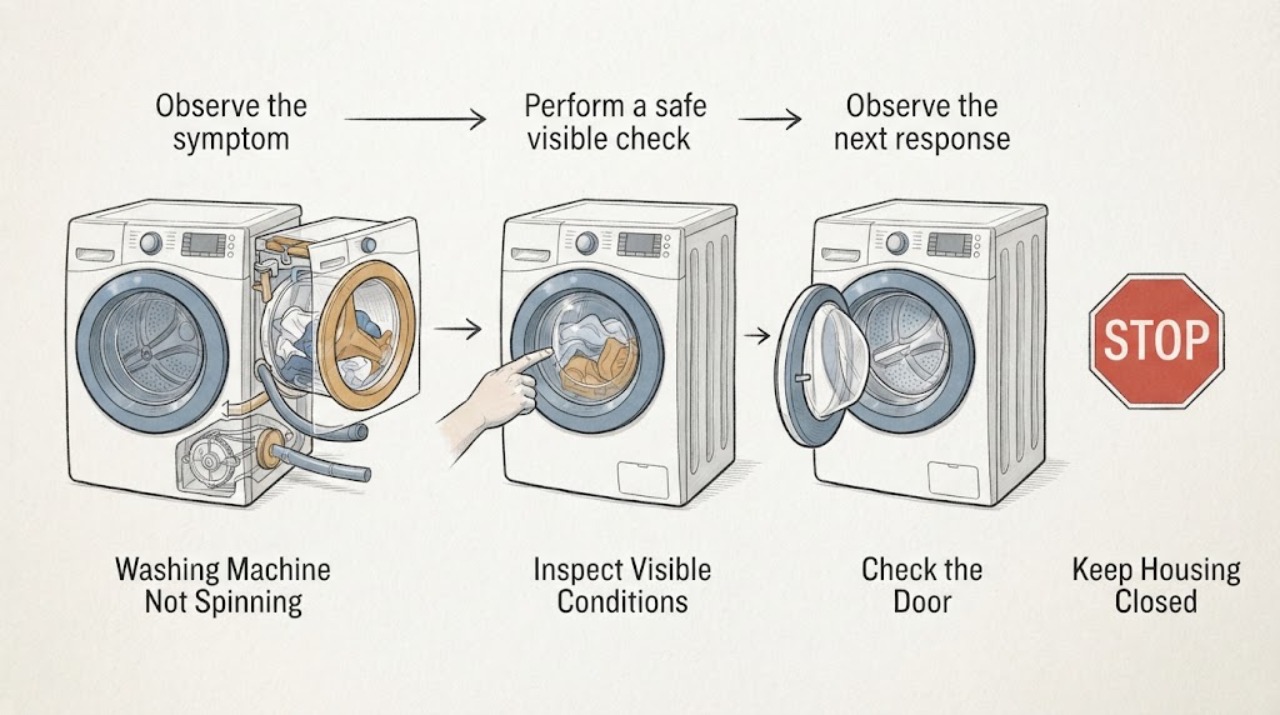
Roper Washing Machine Not Spinning: Check Drainage, Load Balance, and the Lid
A Roper washer that will not spin is often waiting for the tub to drain, protecting itself from an unbalanced load, using a low- or no-spin setting, or waiting for the lid to latch. First note whether the washer is top-load or front-load, whether water remains, and where the cycle stops.
-
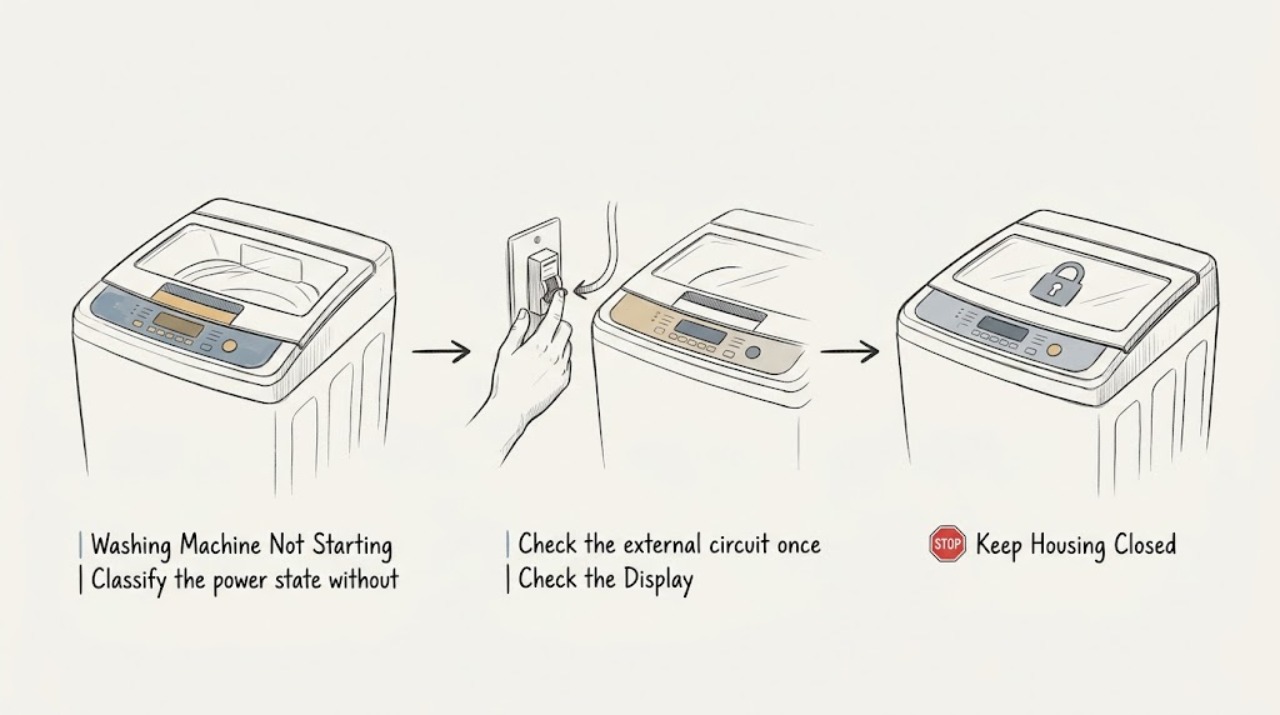
Roper Washing Machine Not Starting: Safe Checks Before Service
When a Roper washing machine will not start, first separate a completely dead control panel from a washer that has power but will not begin a cycle. From a dry, safe position, check the grounded outlet and household breaker or GFCI without repeatedly resetting a circuit.
-
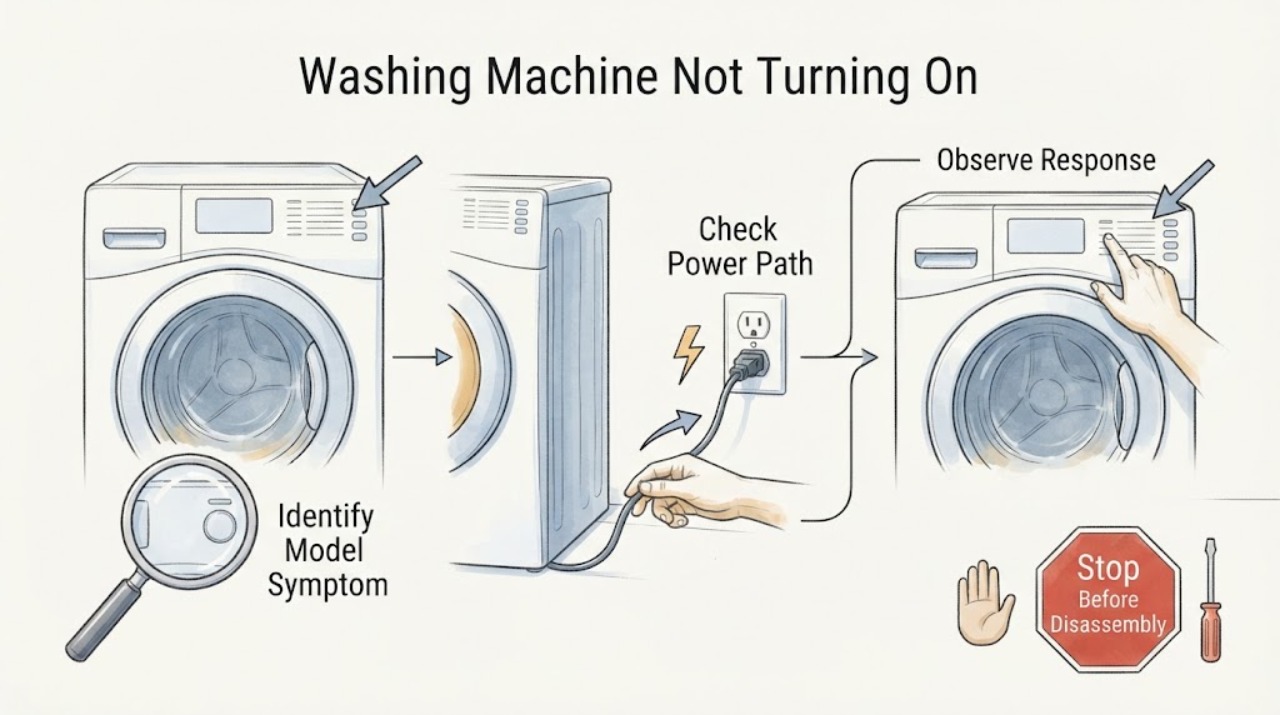
Roper Washing Machine Not Turning On
First separate a Roper washer with no lights from one that has power but rejects Start. From a dry, safe position, confirm the cord is in a grounded three-prong wall outlet, do not use an extension cord, and check the household breaker, fuse, or GFCI.
-
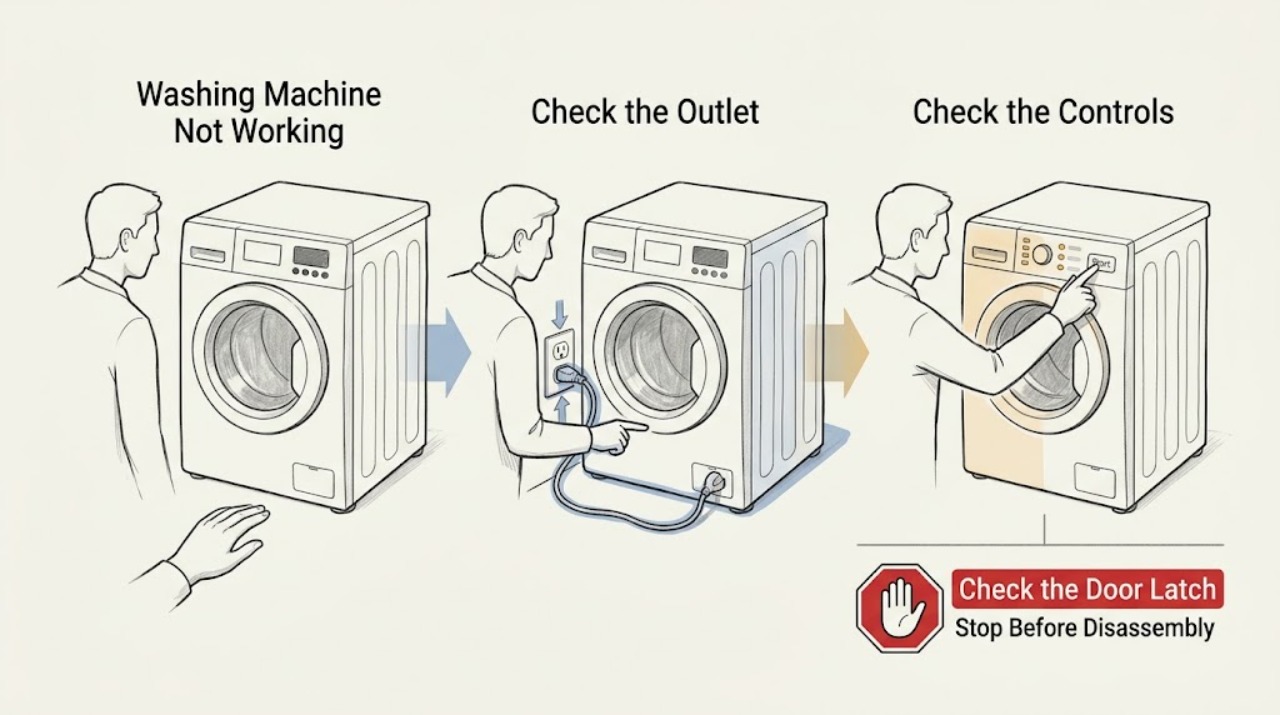
Roper Washing Machine Not Working: Find the Failed Stage Safely
Start by separating a completely dead Roper washer from one that has power but will not start, fill, drain, spin, or stay dry. Identify the exact model and the last stage that worked, then check the outlet and controls, the closed lid, both water faucets and inlet hoses, the visible drain hose and household drain, and the load balance.