
Repair service
Kitchen Remodeling Guides
Kitchen fixtures, surfaces, and remodeling guidance.
Published kitchen remodeling guides
Choose the guide that best matches the service and problem you are seeing.
-
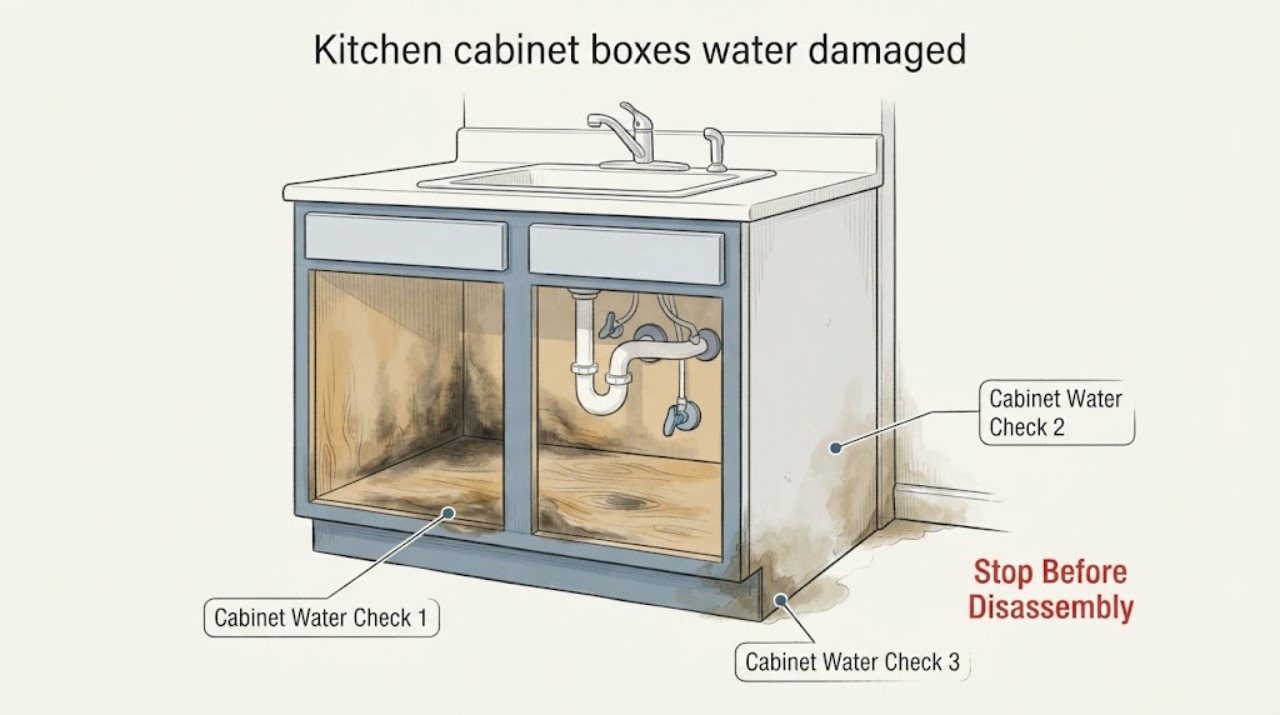
Kitchen cabinet boxes water damaged: What to Check and What to Do Next
Stop the leak first, then document how far water reached before deciding whether a cabinet box can dry and be repaired or needs replacement. From a safe, dry position, remove contents and drawers, open the doors, blot reachable standing water, and inspect for swelling, delamination, soft panels, odor, or moisture behind the sink base.
-
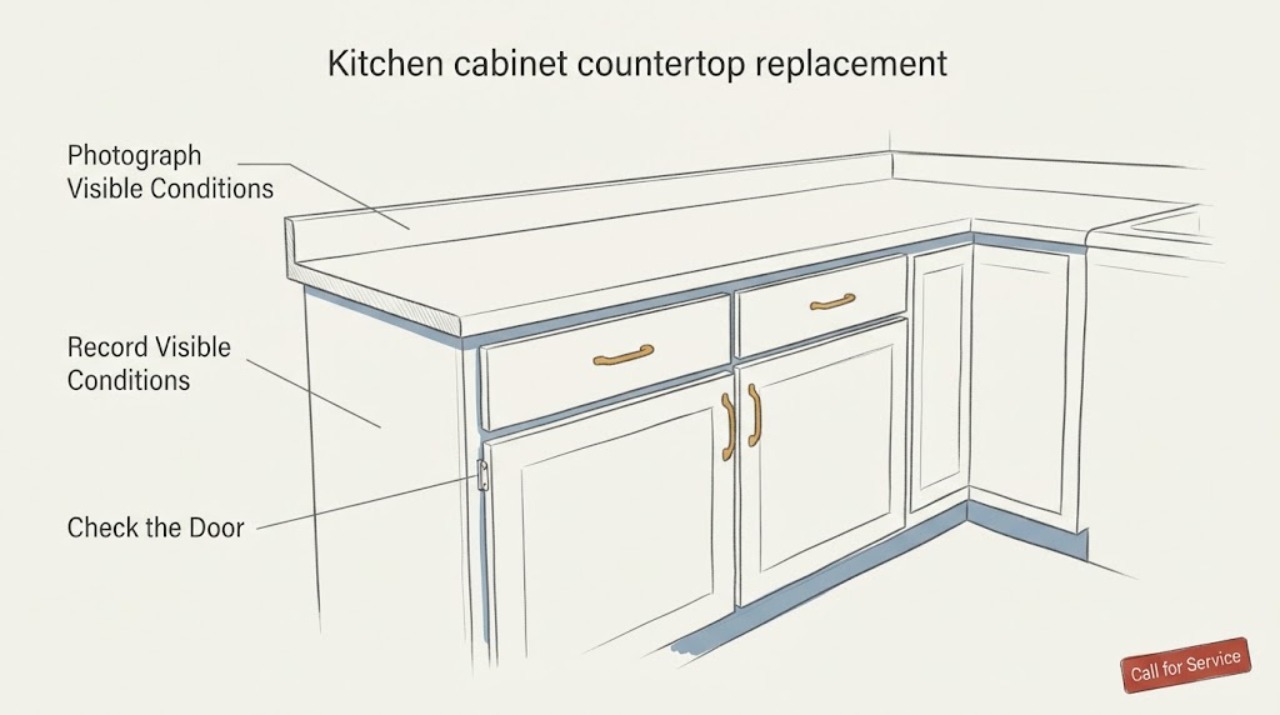
Kitchen cabinet countertop replacement: What to Check and What to Do Next
A kitchen countertop replacement should begin with a documented scope and a professional site measure, not countertop removal. From a safe, clear kitchen, photograph visible cracks, swelling, stains, cabinet movement, wall or backsplash constraints, sink and cooktop locations, and all utility interfaces.
-
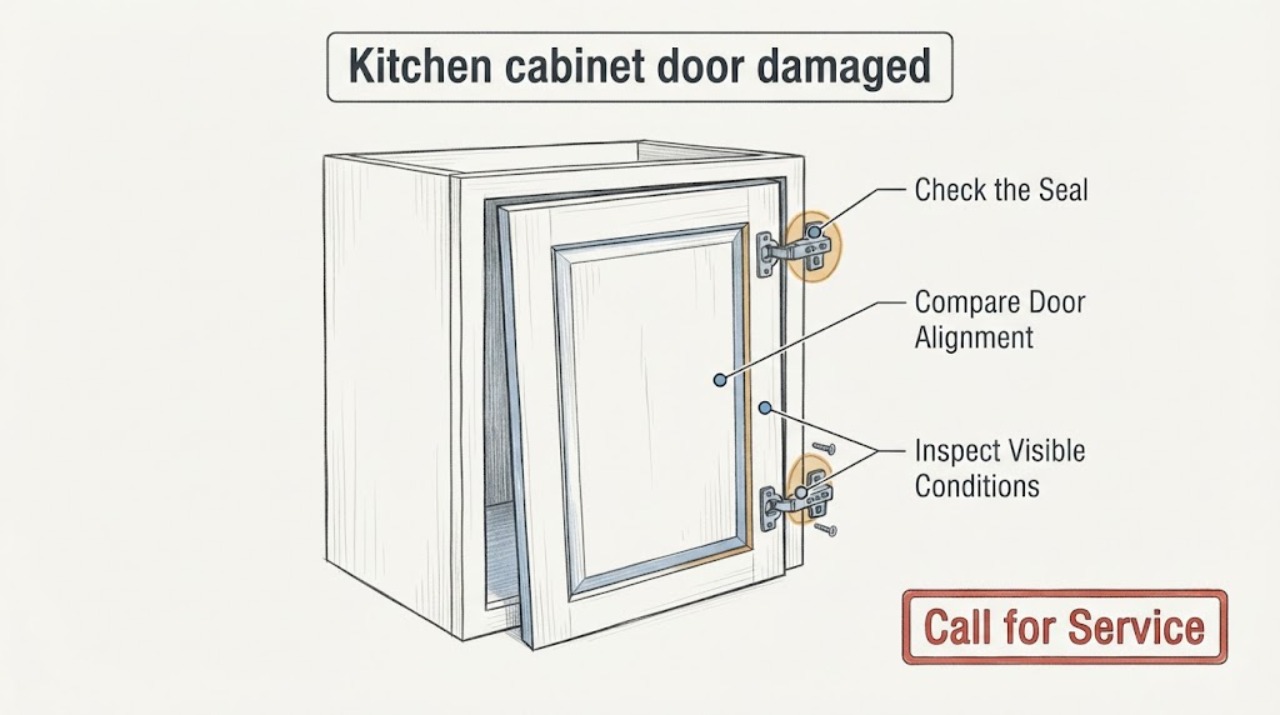
Kitchen cabinet door damaged: What to Check and What to Do Next
First decide whether the damage is limited to loose or misaligned hinge hardware or whether the door or cabinet material is swollen, split, soft, delaminated, or otherwise deformed. From a normal standing position, photograph the gaps, hinge area, door edges, and any moisture near the sink.
-
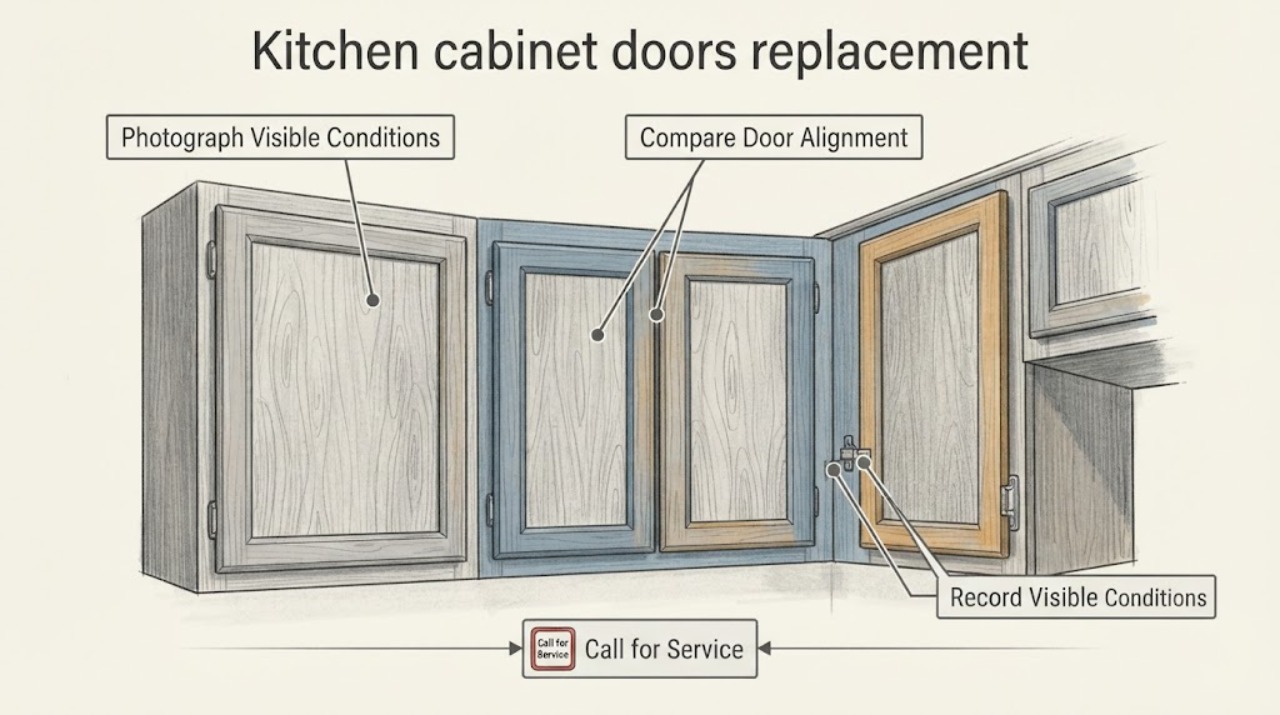
Kitchen cabinet doors replacement: What to Check and What to Do Next
Replacing kitchen cabinet doors is usually a planning and fitment project rather than a one-size-fits-all swap. First document the cabinet layout, door dimensions, overlay, hinge style, finish, and visible damage from safe positions.
-
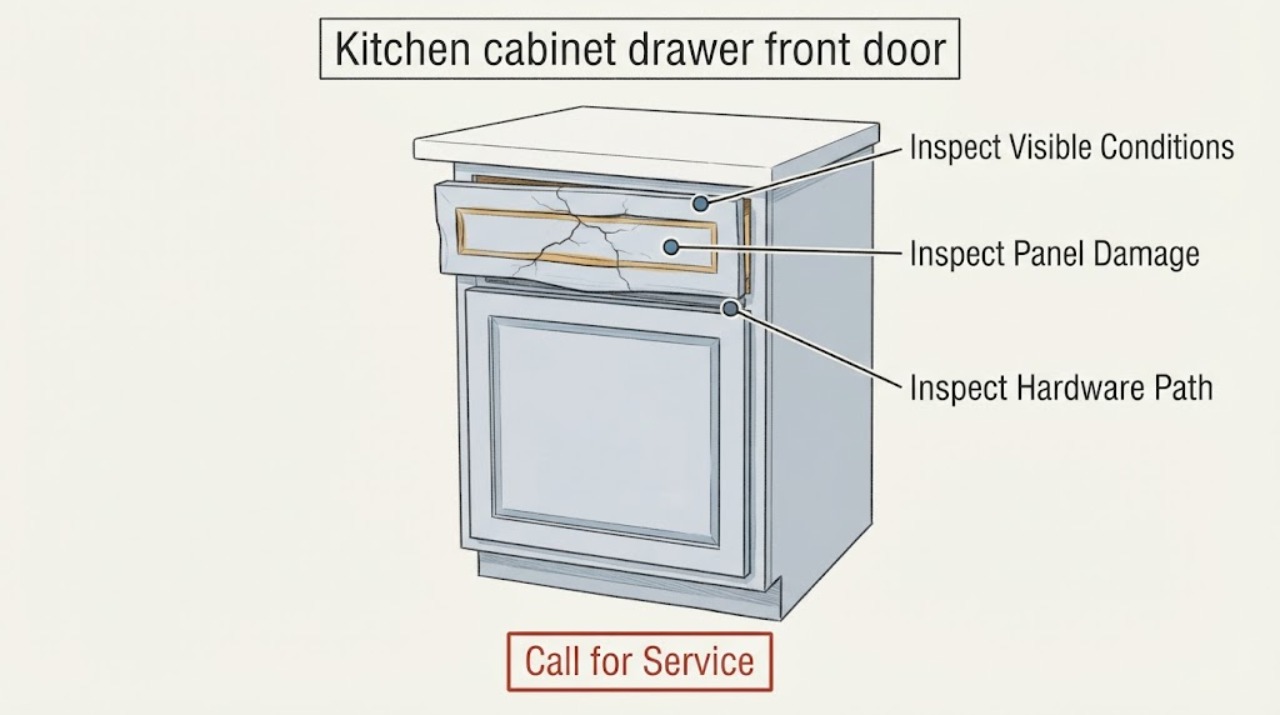
Kitchen cabinet drawer front door damaged: What to Check and What to Do Next
First decide whether the damage is limited to the visible drawer front or door face, or whether the hinge, slide, attachment, or cabinet box has also moved. Unload the drawer or cabinet, inspect from a stable standing position, and look for a tilted or loose front, cracks, sharp fragments, swelling, water staining, displaced hardware, and binding.
-
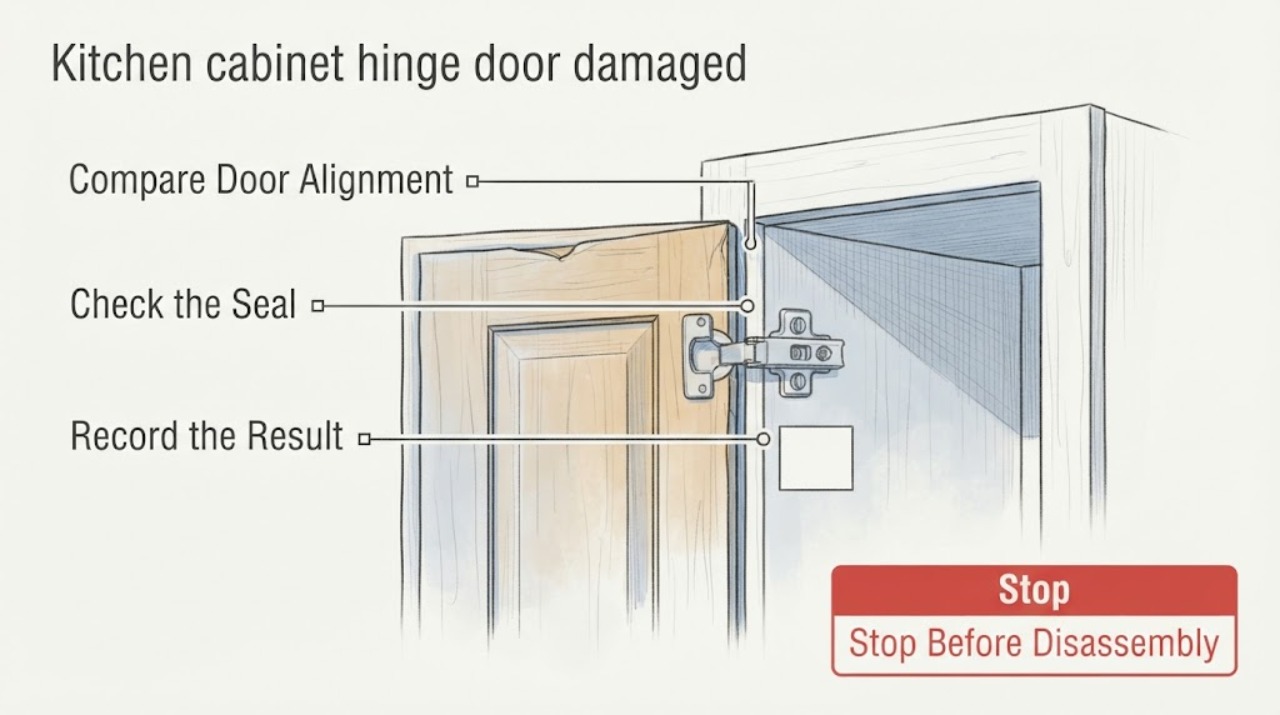
Kitchen cabinet hinge door damaged: What to Check and What to Do Next
First decide whether the damage is limited to a hinge adjustment or whether the door, hinge cup, mounting plate, cabinet side, or screw holes are cracked, loose, swollen, or pulling away. With the cabinet empty near the door and your hands clear of pinch points, observe the closed-door gaps, hinge movement, and visible mounting surfaces.
-
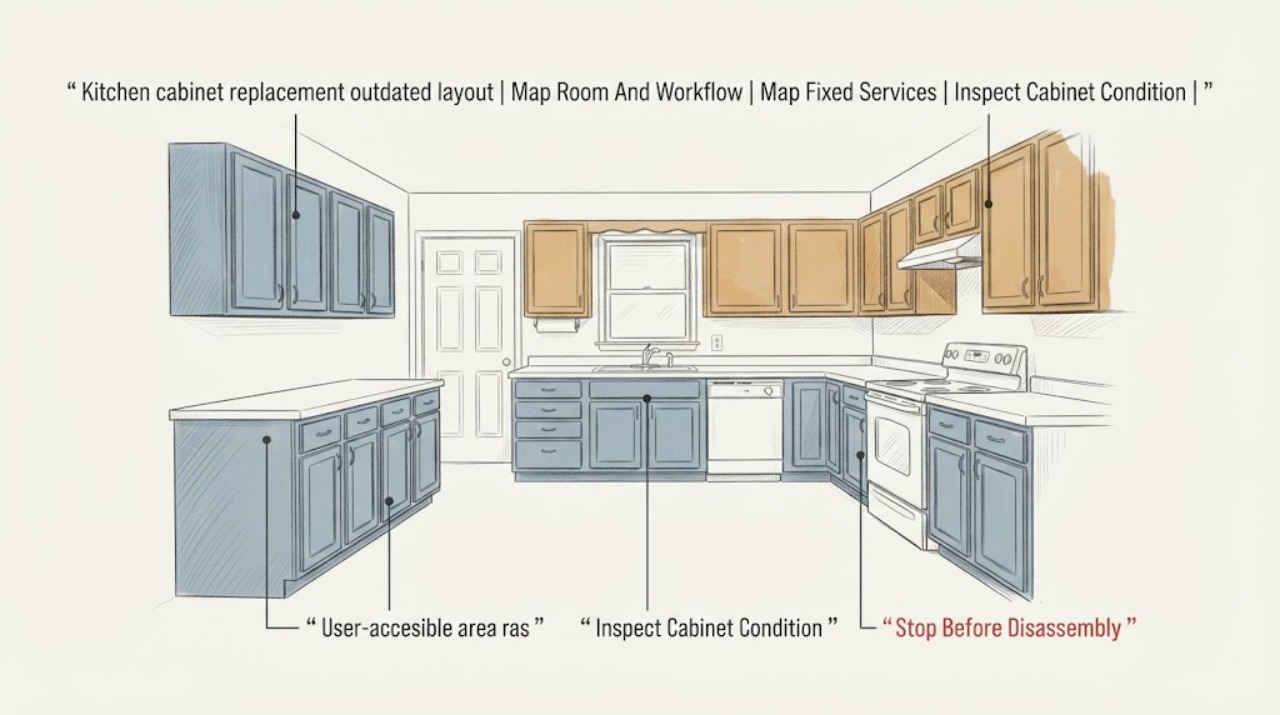
Kitchen cabinet replacement outdated layout: What to Check and What to Do Next
Replace kitchen cabinets because the layout no longer works only after separating a storage problem from a room, appliance, utility, moisture, or safety constraint. Measure the existing room and traffic paths, map doors, windows, appliances, plumbing, electrical locations, and range-hood exhaust, then inspect cabinet boxes and the wall and floor around sinks for movement or moisture.
-
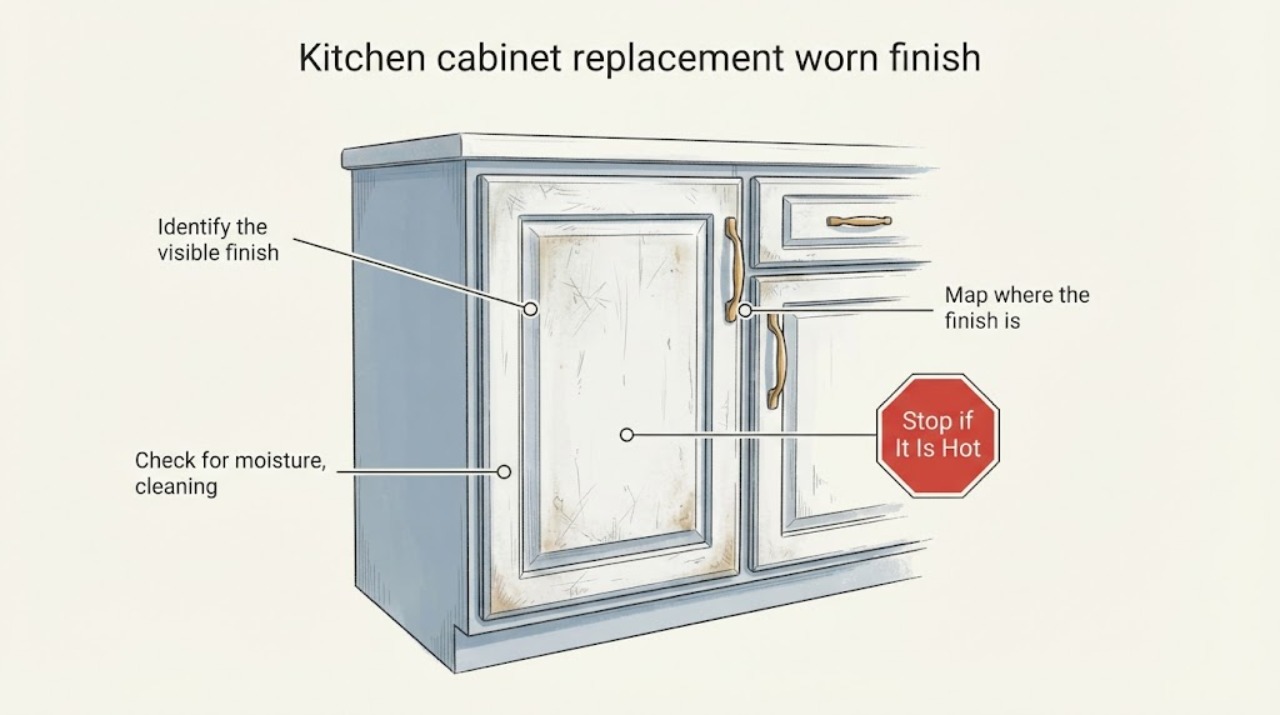
Kitchen cabinet replacement worn finish: What to Check and What to Do Next
Before replacing cabinets because the finish looks worn, determine whether the problem is surface soil, a small scuff, widespread finish failure, moisture or heat damage, or damage to the door, box, or hardware. Photograph the finish and identify the door style and material from a safe visual inspection; use only gentle care while deciding.
-
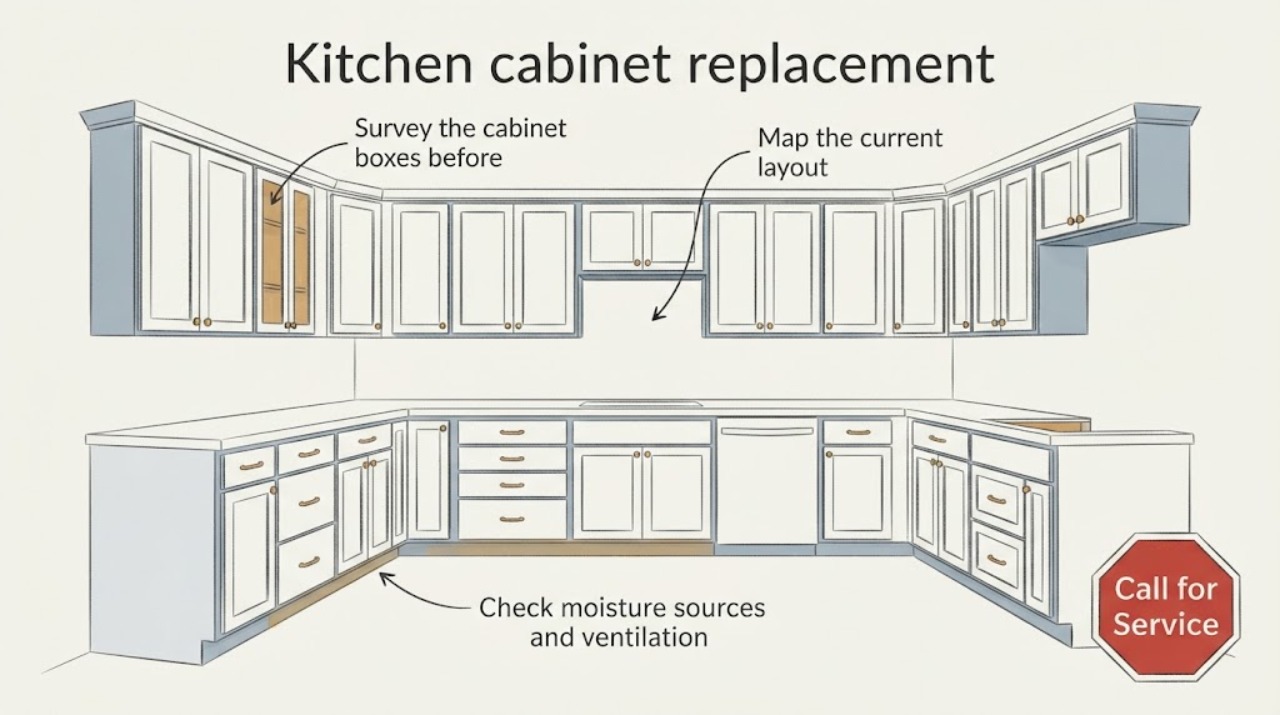
Kitchen cabinet replacement: What to Check and What to Do Next
Start a cabinet replacement project by documenting the existing boxes, moisture and damage, kitchen layout, appliance openings, and visible plumbing, electrical, and ventilation constraints. A sound box may only need doors or hardware, while warped, delaminated, chronically wet, or poorly supported cabinets can justify a broader professional scope.
-
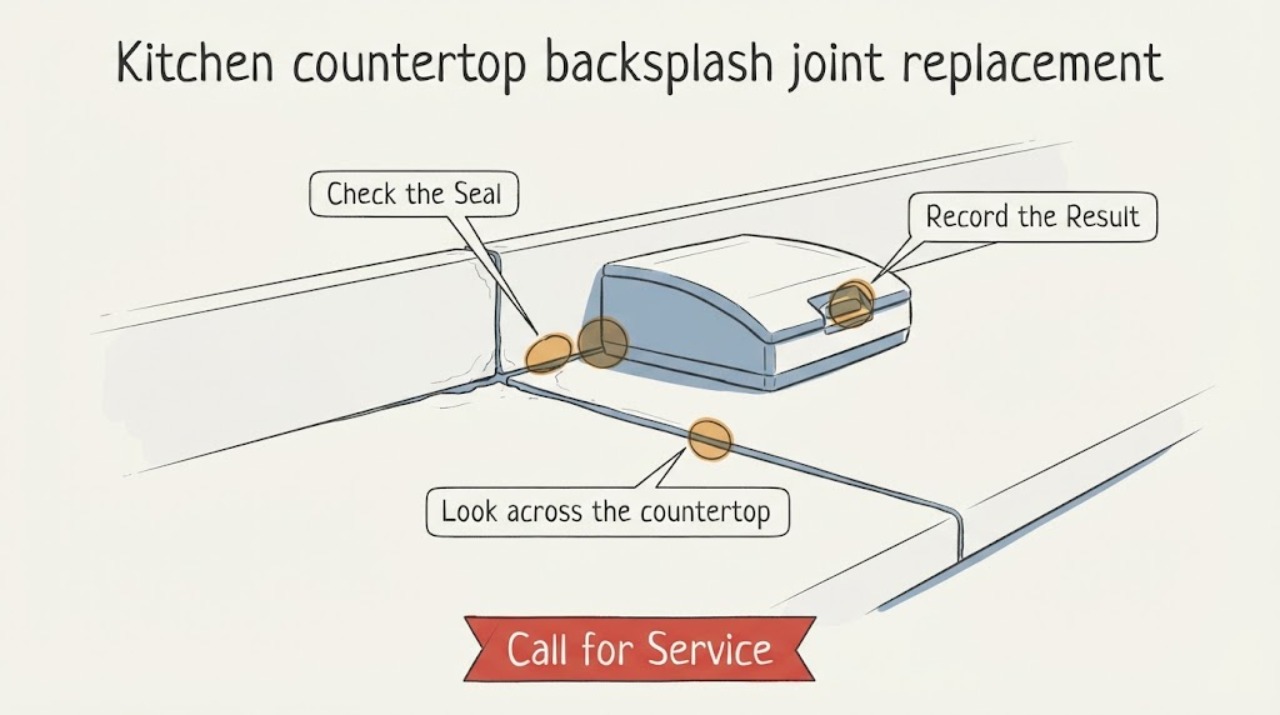
Kitchen countertop backsplash joint replacement needed: What to Check and What to Do Next
First determine whether the failure is limited to the seal at the countertop-to-backsplash joint or whether the countertop, backsplash, cabinet support, or surrounding area is cracked, loose, swollen, or repeatedly wet. From a dry, normal-access position, photograph the joint, note its length and movement, stop splash and wipe the area dry, and do not cut the countertop, remove cabinets, or force the backsplash.
-
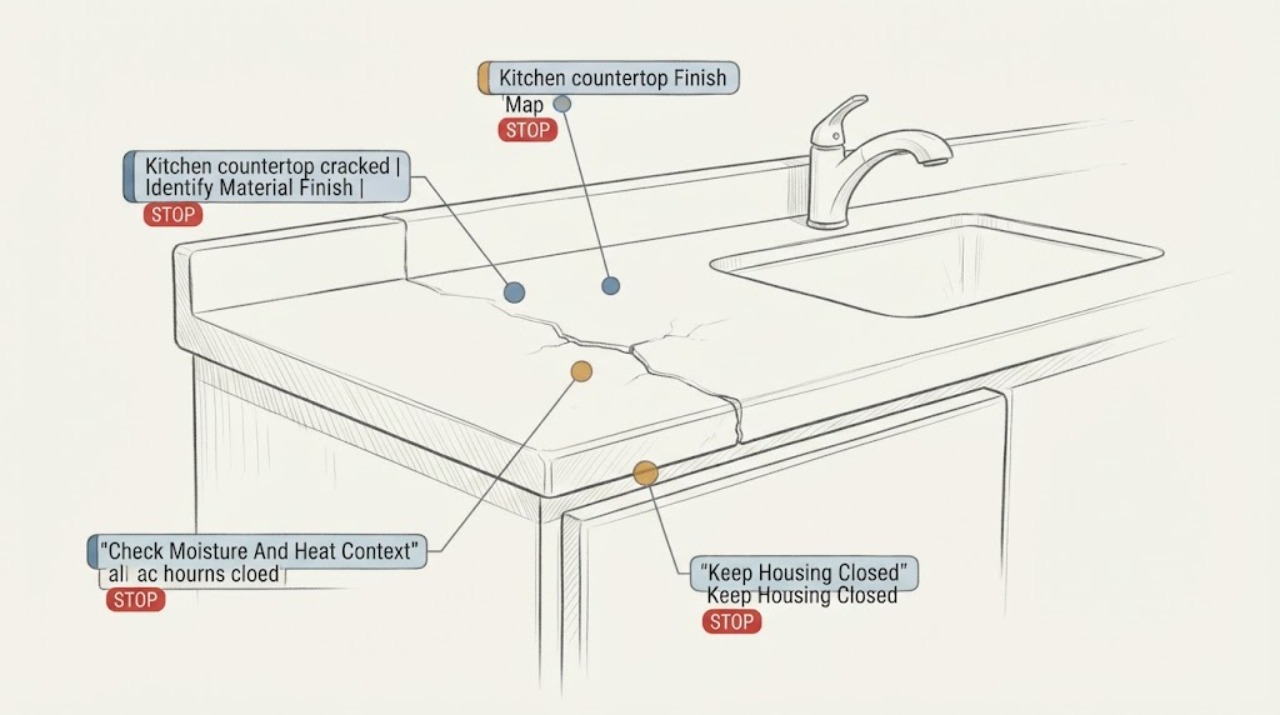
Kitchen countertop cracked: What to Check and What to Do Next
Do not fill or sand a cracked countertop until you know what the crack is traveling through. First photograph it, clean and dry the area with a material-appropriate mild method, and trace whether it is a short surface mark, an opened seam, a crack from a sink or cooktop opening, an edge impact, or a line that continues across the slab.
-
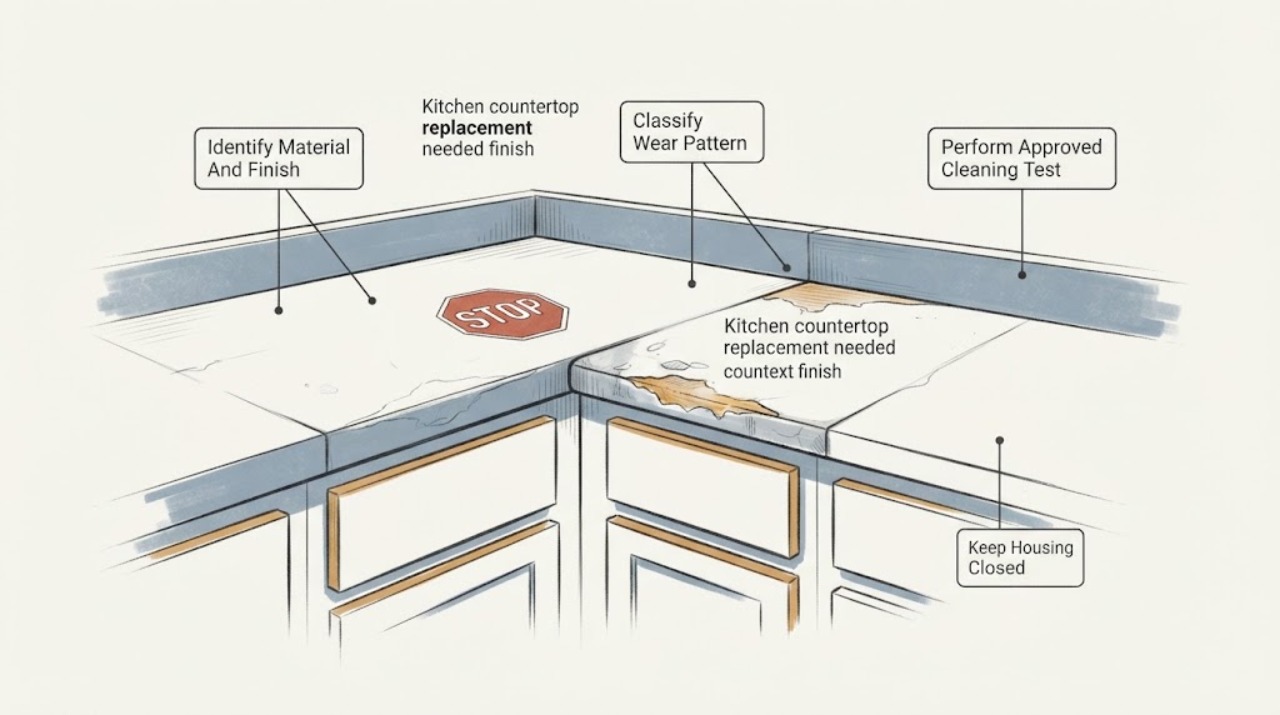
Kitchen countertop replacement needed finish wear: What to Check and What to Do Next
Finish wear does not automatically mean a kitchen countertop needs full replacement. First identify the material and finish, then distinguish removable residue or normal patina from etching, deep scratches, chips, delamination, swelling, cracks, movement, or damage around a sink or appliance cutout.
-
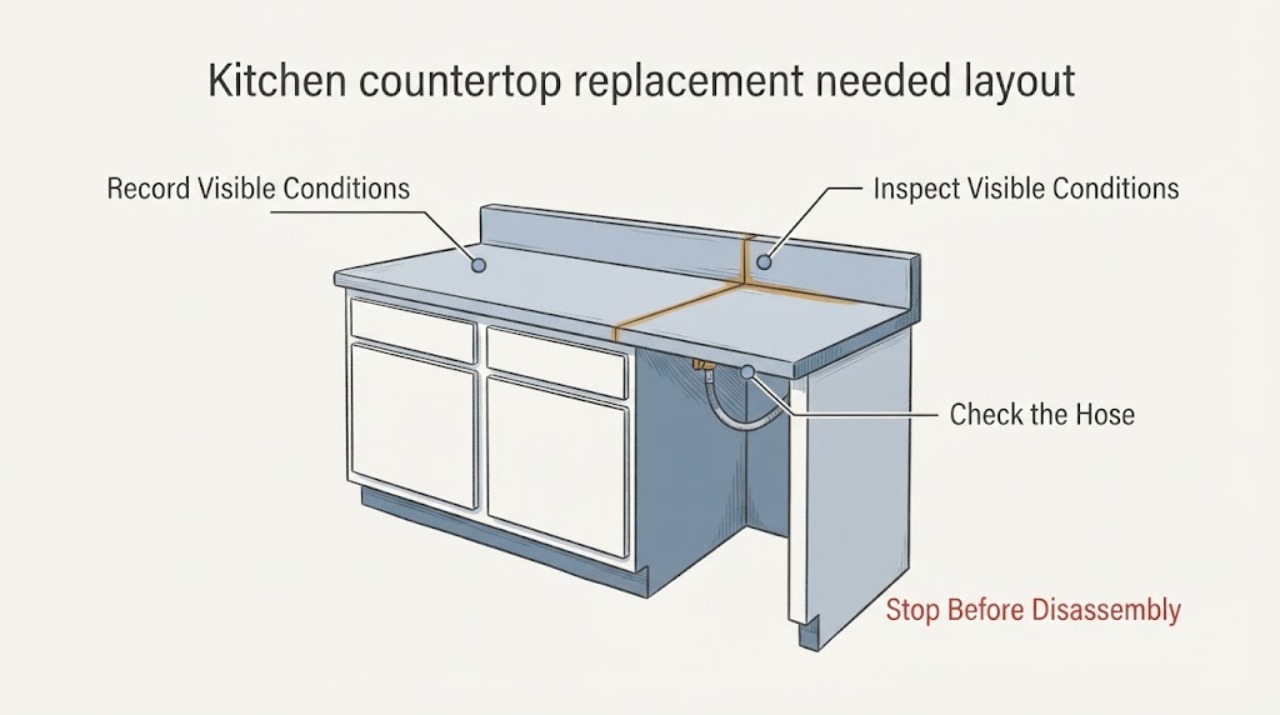
Kitchen countertop replacement needed layout change: What to Check and What to Do Next
A kitchen countertop replacement for a layout change is more than a slab swap. First record the new workflow and measure the cabinet runs, walls, openings, appliances, sink and cooktop positions, and door swings.
-
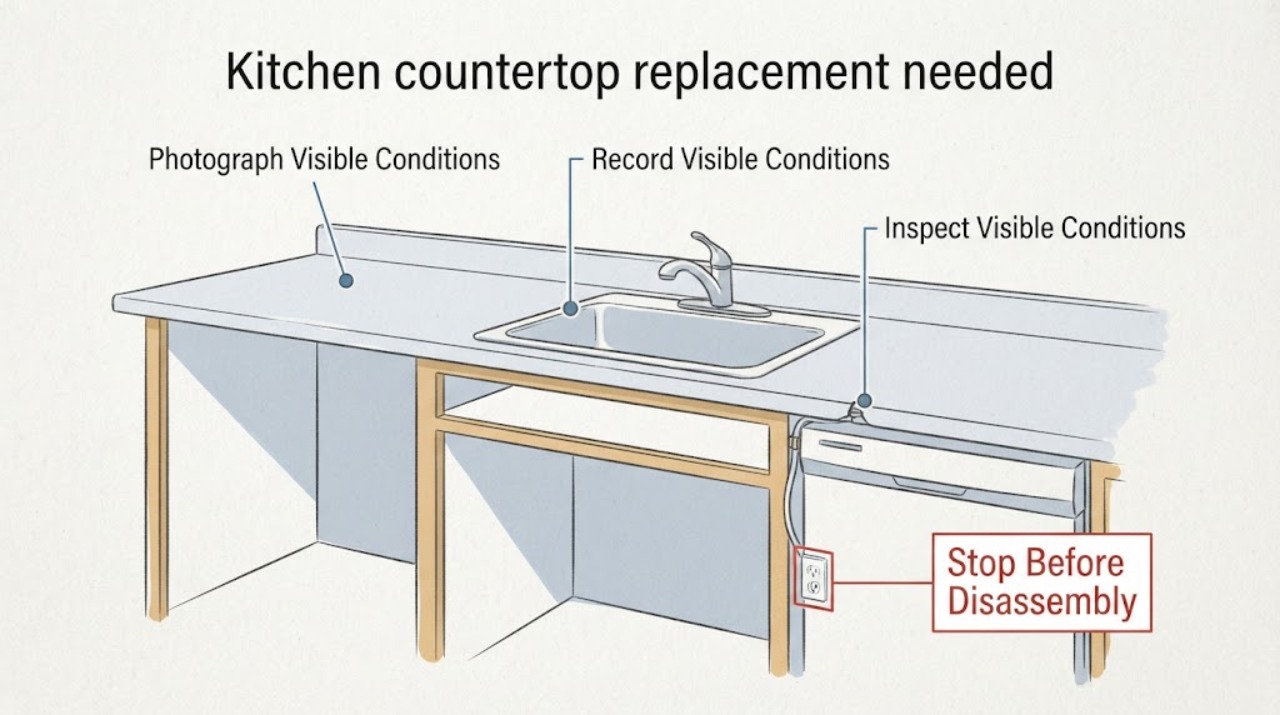
Kitchen countertop replacement needed: What to Check and What to Do Next
A countertop that is badly damaged, swollen, separating at seams, or no longer fits the sink or appliances usually needs an on-site replacement assessment rather than a quick patch. Before requesting a quote, document the visible material and finish, safe overall dimensions, openings and appliance relationships, cabinet-support symptoms, and any moisture near the sink.
-
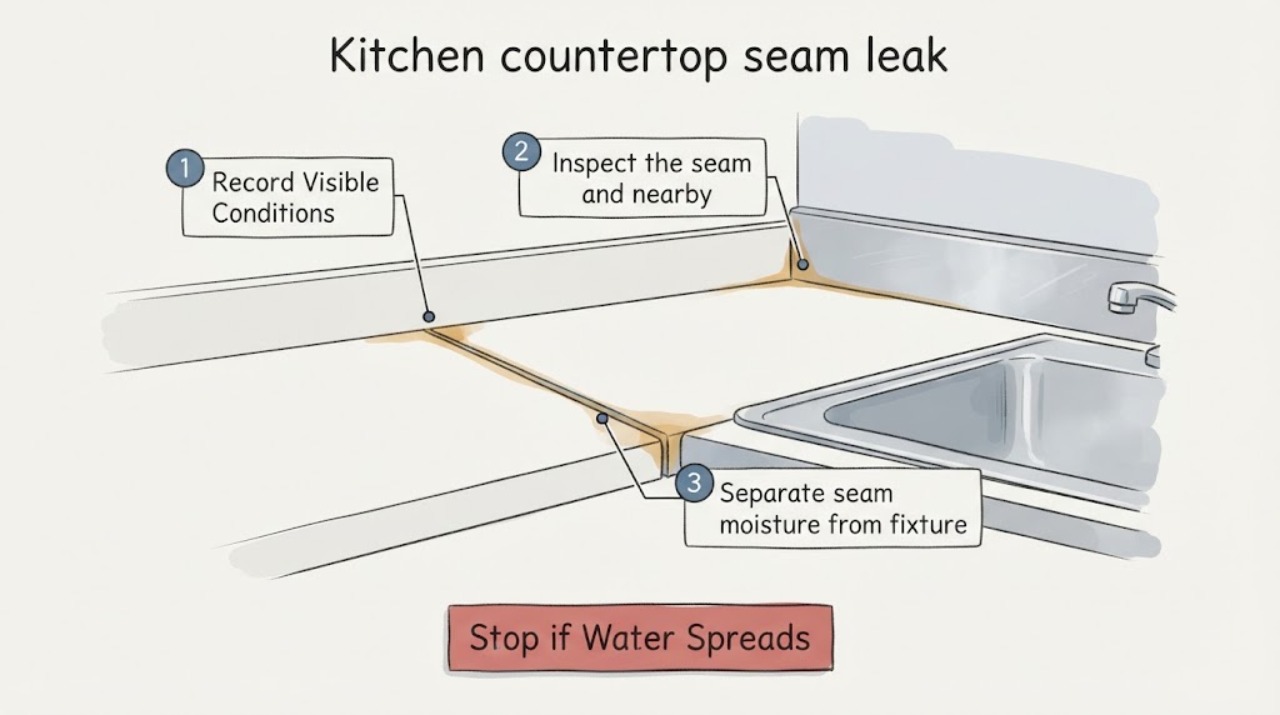
Kitchen countertop seam leak: What to Check and What to Do Next
First determine when the leak appears and whether it is at the seam itself, the sink or faucet edge, the backsplash, or a cabinet-side plumbing connection. From a dry, safe position, document existing moisture, stains, swelling, seam separation, and movement without adding water or pulling the countertop.
-
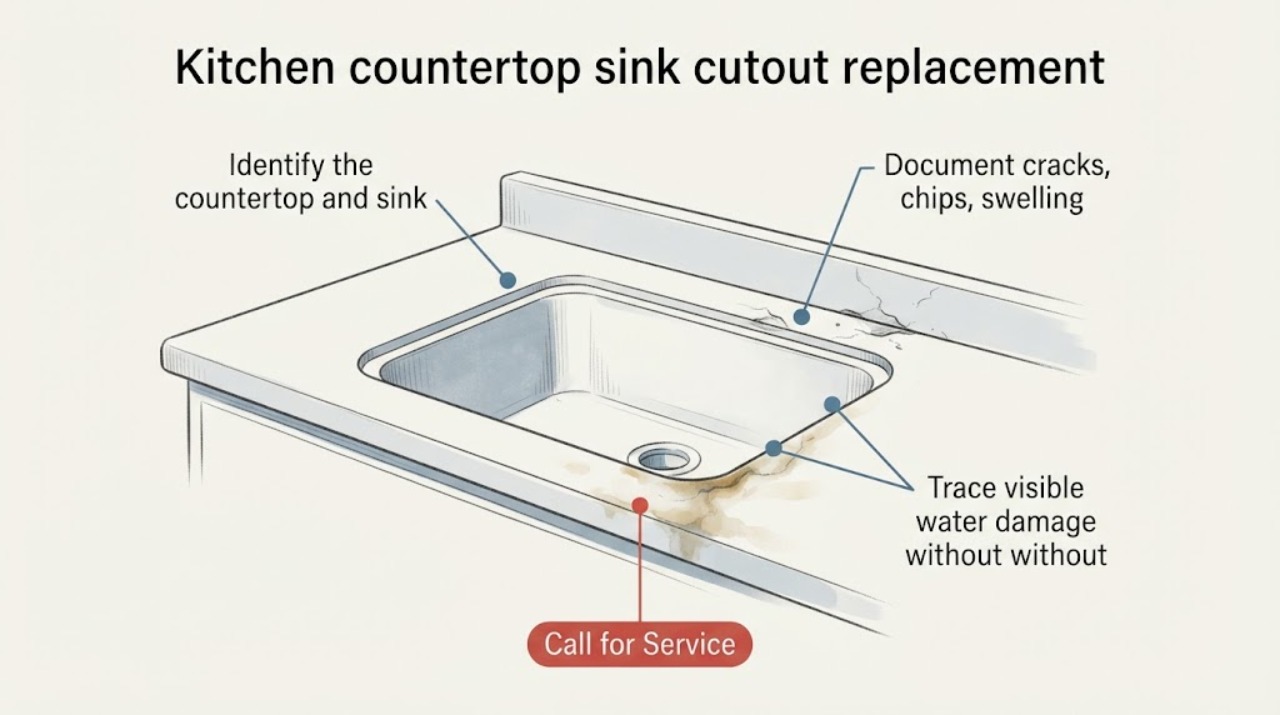
Kitchen countertop sink cutout replacement needed: What to Check and What to Do Next
A sink cutout does not automatically mean the whole kitchen countertop must be replaced. First document whether the visible problem is limited to a failed seal or loose sink, or whether the cutout edge is cracked, swollen, delaminated, unsupported, or allowing water into the cabinet structure.
-
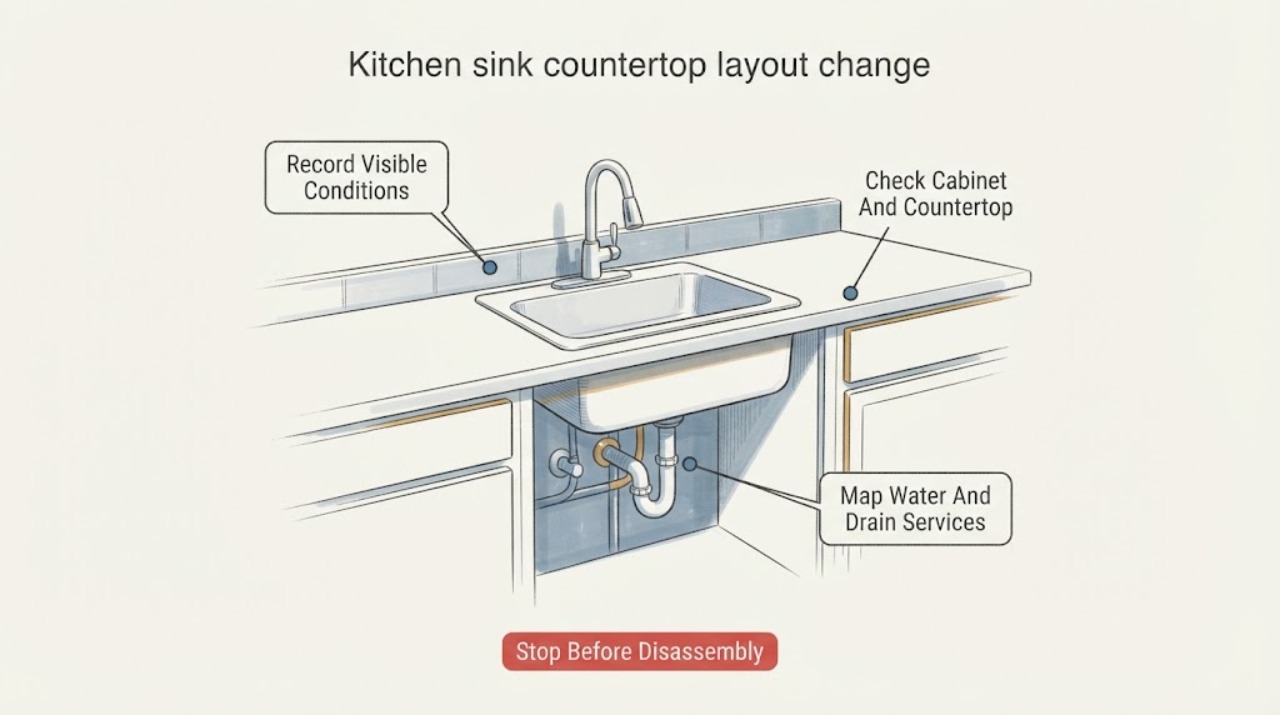
Kitchen sink countertop layout change: What to Check and What to Do Next
Before changing a kitchen sink layout, document the existing sink, countertop opening, cabinet, faucet, supply lines, drain, vent, disposal, seams, and nearby electrical or structural constraints. A replacement that uses the same cutout may be a contained fixture project; moving the sink, enlarging or reshaping the opening, changing cabinet support, or rerouting plumbing is a remodeling job that needs a measured professional quote.
-
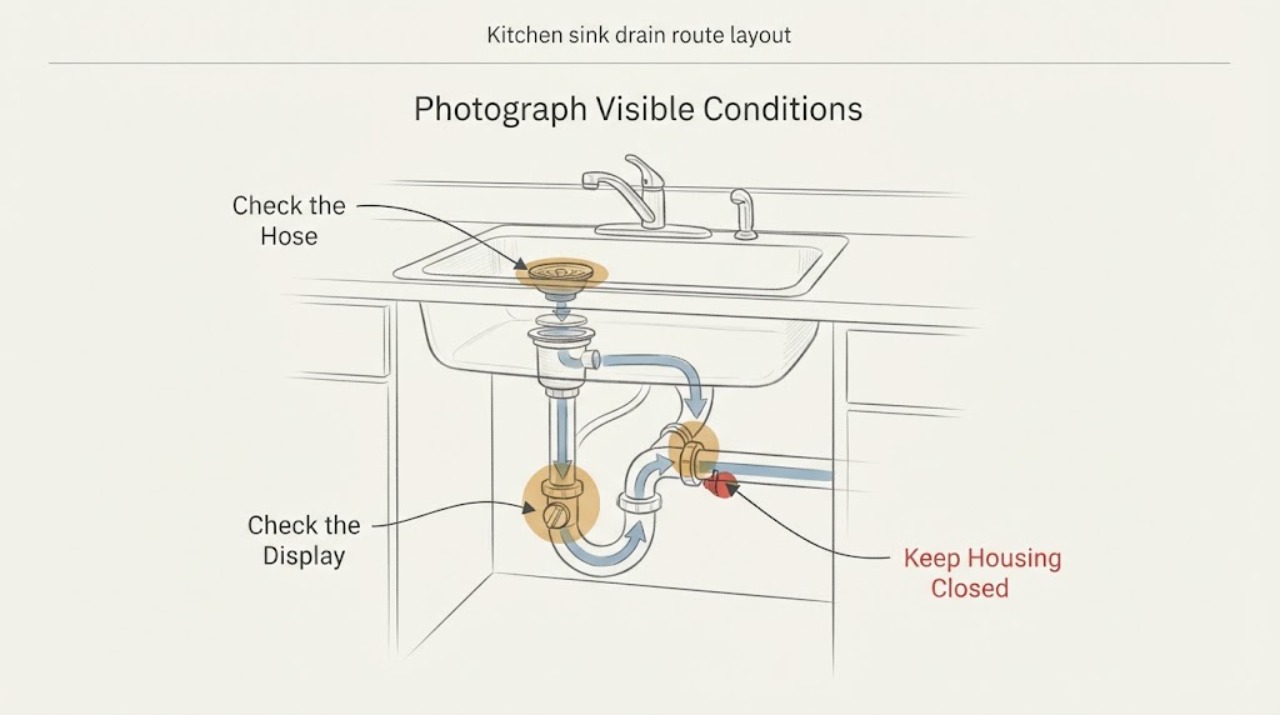
Kitchen sink drain route layout change: What to Check and What to Do Next
Before moving a kitchen sink, document the current and proposed sink centerline and height, the cabinet and joist constraints, and the visible drain, trap, vent, disposal, dishwasher, and cleanout relationships. A same-location fixture swap may need only exposed connection work, while moving the sink can require a new drain route, vent strategy, permits, and a licensed plumbing design.
-
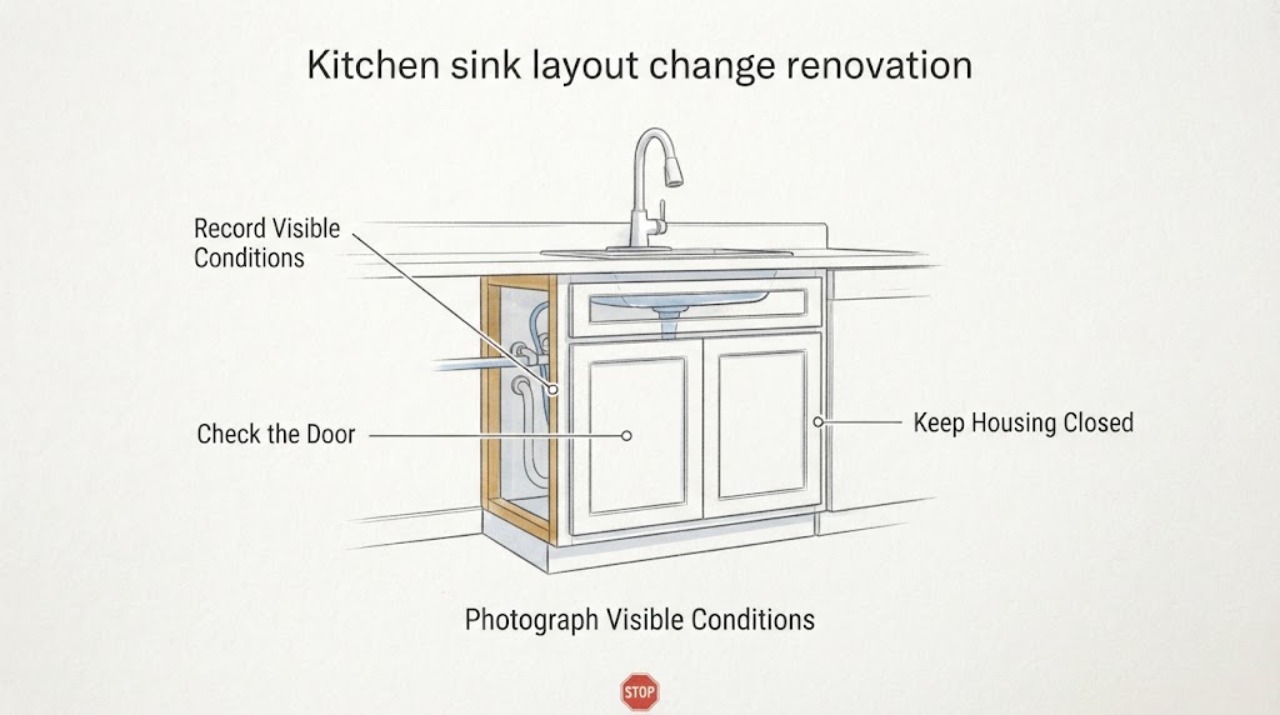
Kitchen sink layout change renovation: What to Check and What to Do Next
A kitchen sink layout change during a renovation is a coordination problem, not just a faucet or drain repair. Before any demolition, measure the existing sink, cabinet, countertop, wall, appliance, door, and walking clearances; photograph visible supply, drain, vent, electrical, and ventilation routes; and sketch the proposed sink position.
-
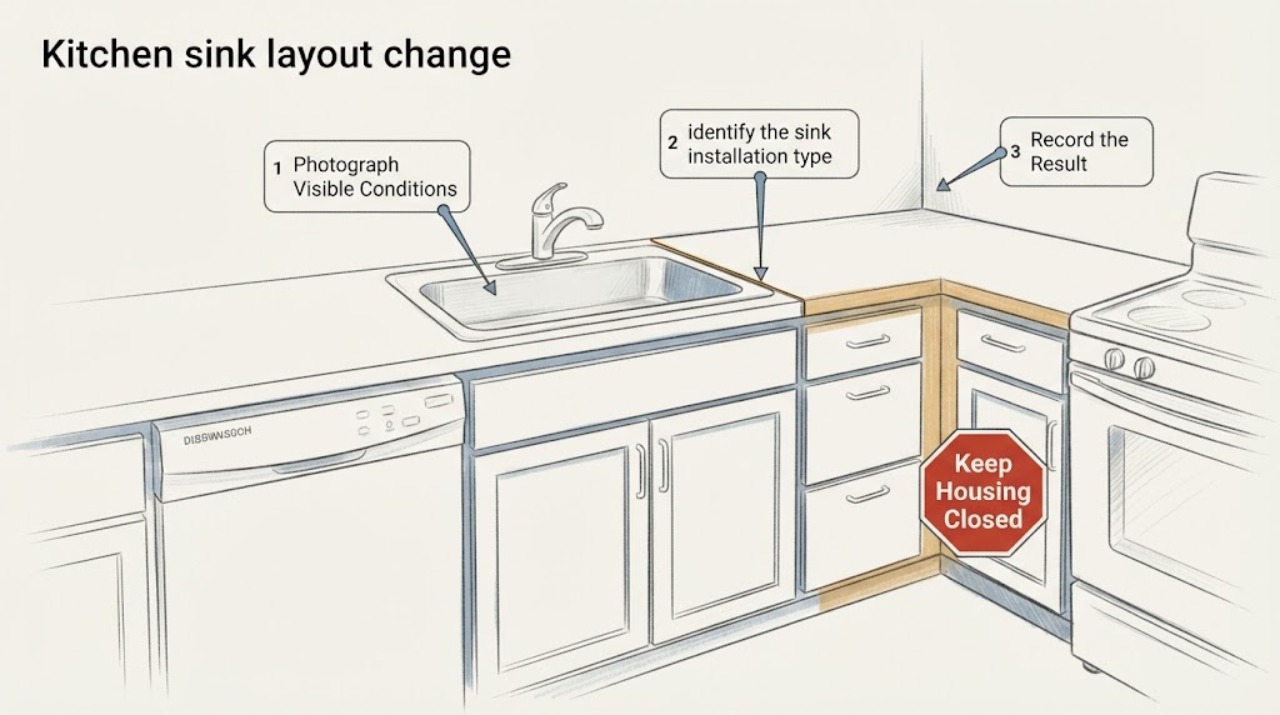
Kitchen sink layout change: What to Check and What to Do Next
A kitchen sink layout change should begin with a measured plan and a trade review, not with cutting or disconnecting anything. Record the existing and proposed sink centerline, cabinet and countertop dimensions, sink type and depth, faucet/window relationship, dishwasher opening and door swing, disposal and drain route, shutoff locations, and any visible electrical or plumbing constraints.
-
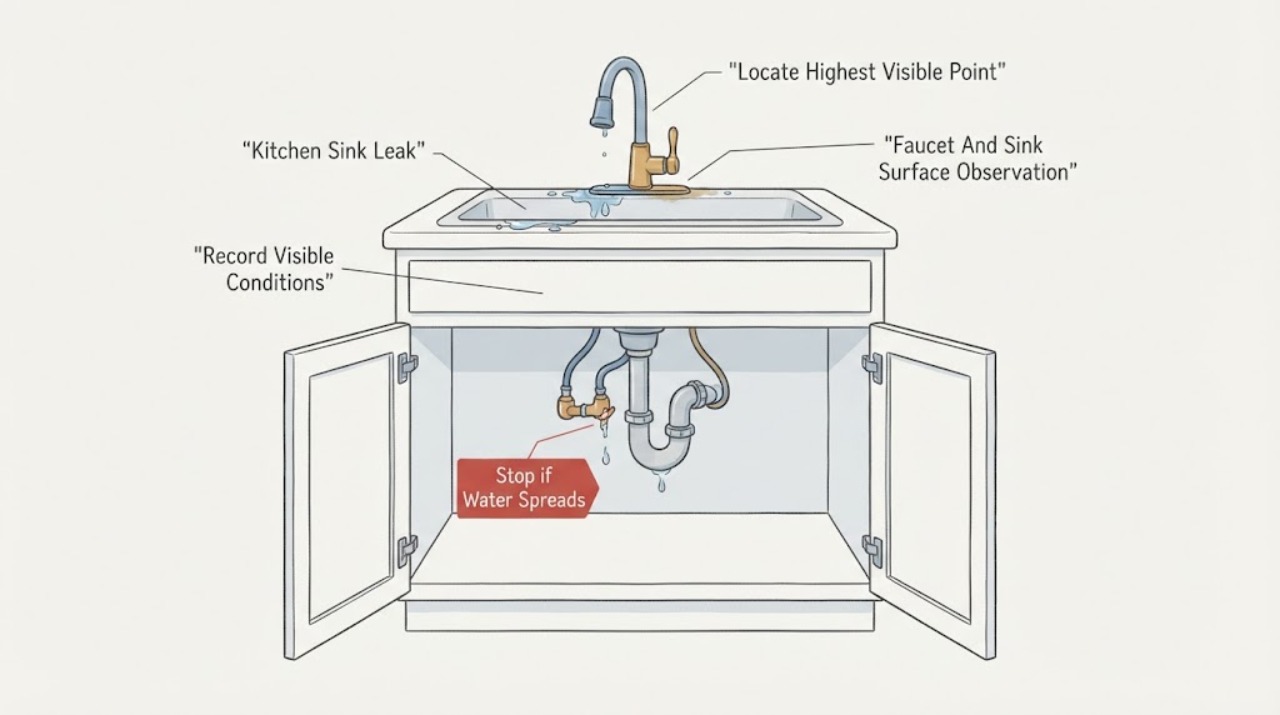
Kitchen sink leak: What to Check and What to Do Next
First determine when the leak appears: during faucet use, while the basin drains, when the disposal runs, or even when the sink is untouched. From a dry, safe position, look for the highest visible wet point and record whether water is at the faucet base, sink rim, drain or trap, supply connection, cabinet side, or floor.