
Repair service
Pest Control Guides
Pest identification, prevention, and control guidance.
Published pest control guides
Choose the guide that best matches the service and problem you are seeing.
-
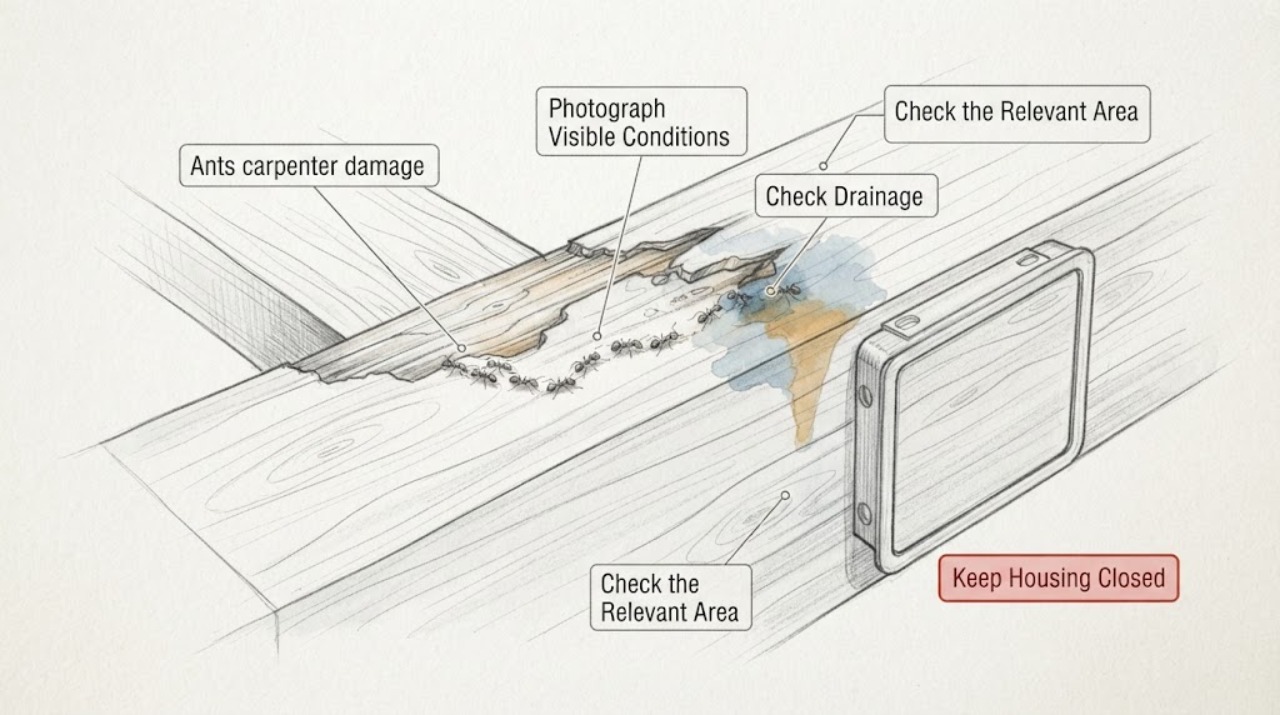
Ants carpenter damage: What to Check and What to Do Next
Do not assume that seeing ants proves carpenter-ant damage. From safe, accessible areas, document the ant type and activity, look for coarse debris or smooth openings at existing surfaces, and check for visible moisture or decay nearby.
-
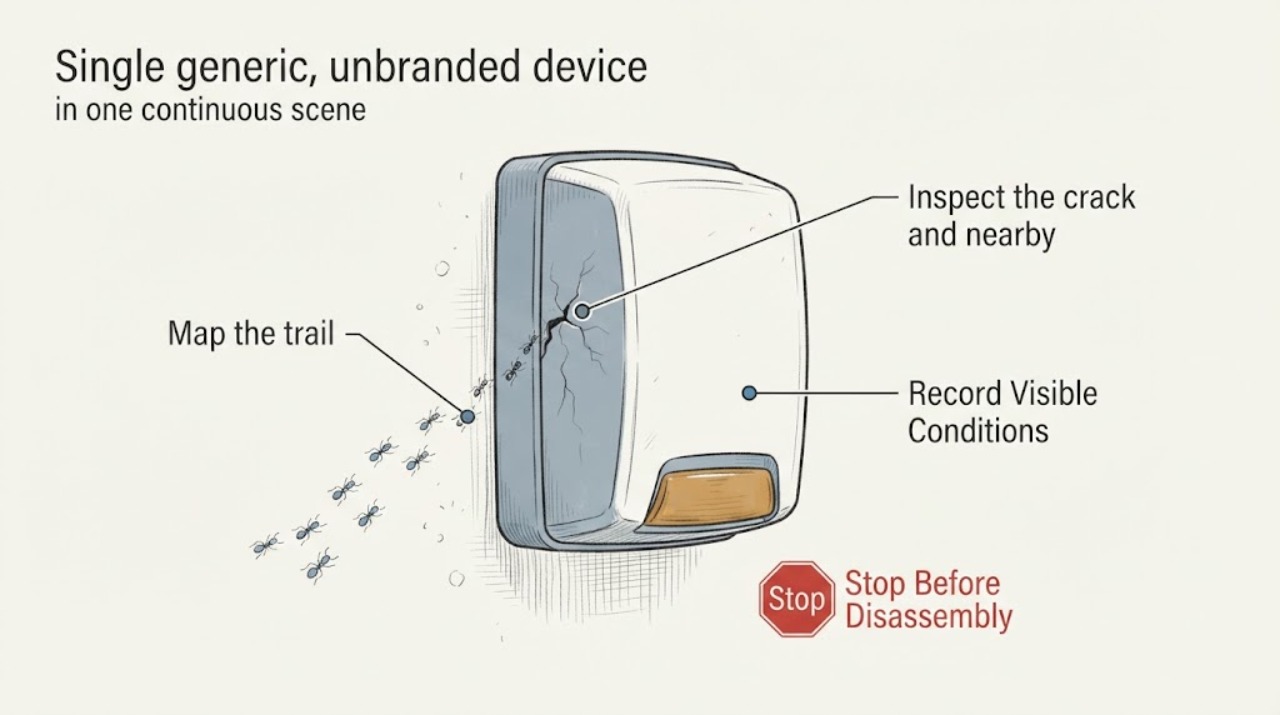
Ants entry crack recurrence: What to Check and What to Do Next
When ants keep returning through a crack, first map the trail and the exact entry point, then record whether activity follows food, moisture, weather, or a repeatable time of day. A crack may be only an access route, while recurring activity can also reflect an outdoor nest, a hidden indoor nest, or moisture-damaged wood.
-
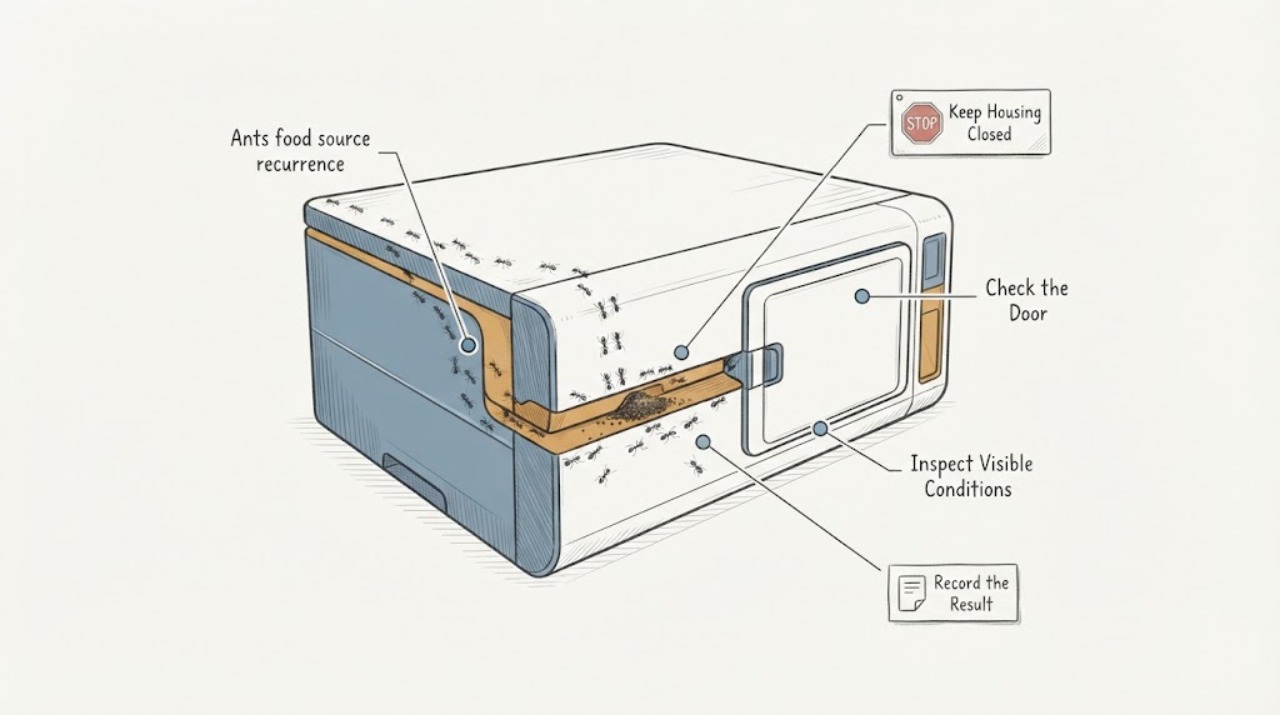
Ants food source recurrence: What to Check and What to Do Next
Recurring ants usually mean that a food, water, shelter, or entry condition remains available, but a trail alone does not identify the species or nest. Observe the trail route, food residue, moisture, time, and location from safe positions; store food and clean ordinary food-contact surfaces without applying pesticide to them.
-
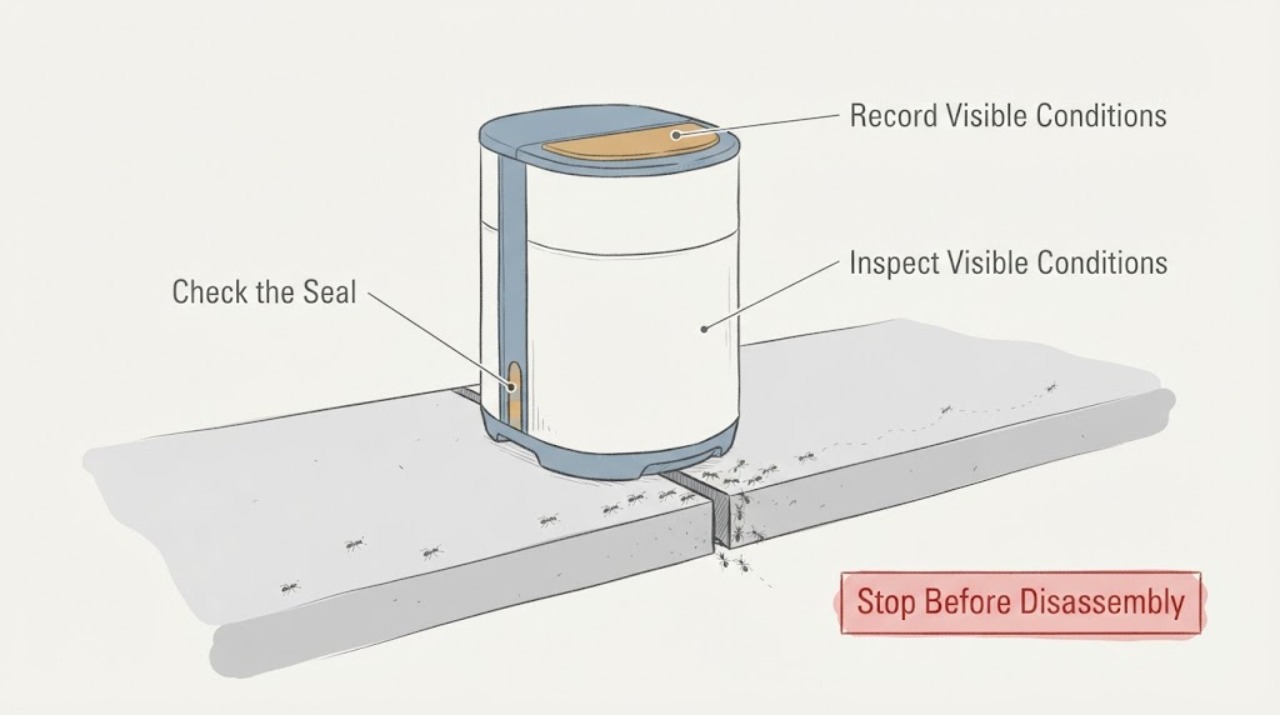
Ants foundation joint recurrence: What to Check and What to Do Next
When ants keep returning at a foundation joint, first observe the trail, entry location, timing, moisture, food or shelter conditions, and any visible wood or foundation damage from a safe ground-level position. Recurrence often means the entry path or a moisture and shelter condition remains, not that stronger pesticide is automatically needed.
-
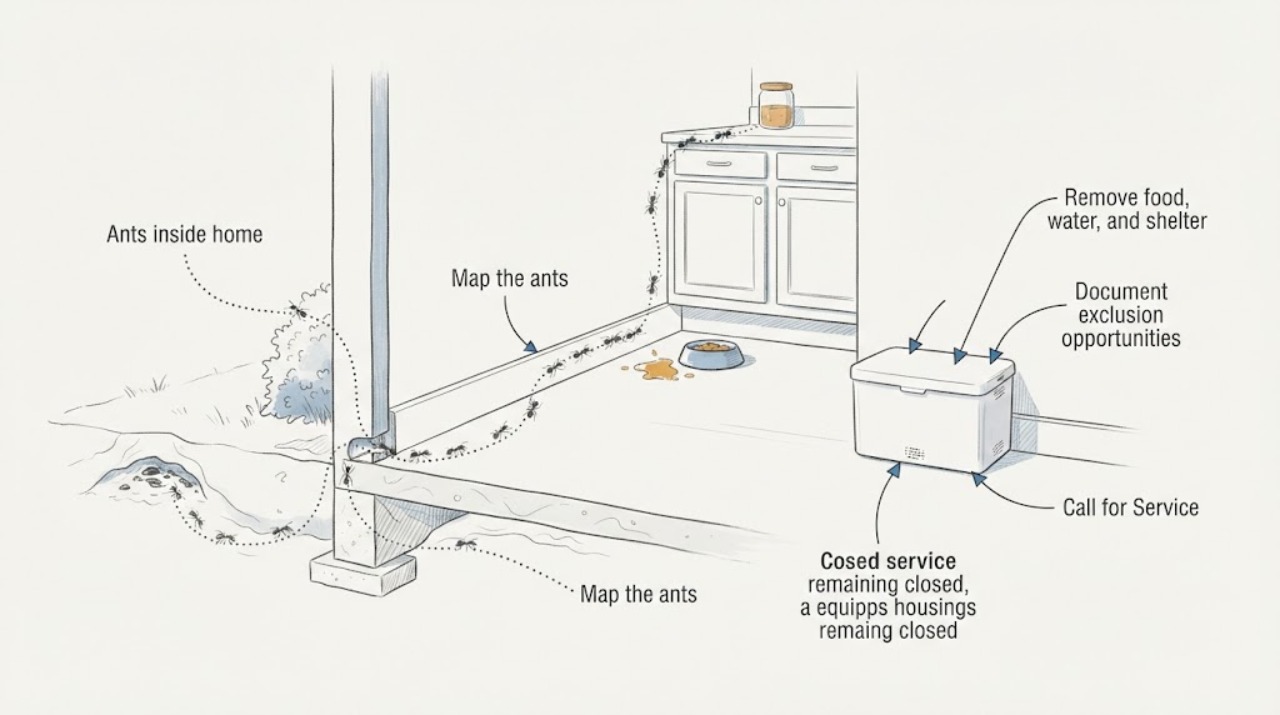
Ants inside home: What to Check and What to Do Next
Start by finding the trail and removing the food, water, or shelter that is making the home attractive; do not begin by spraying every ant you see. Take photos of the trail and entry area, clean crumbs and spills, store food and pet food in closed containers, address accessible moisture, and document cracks or gaps.
-
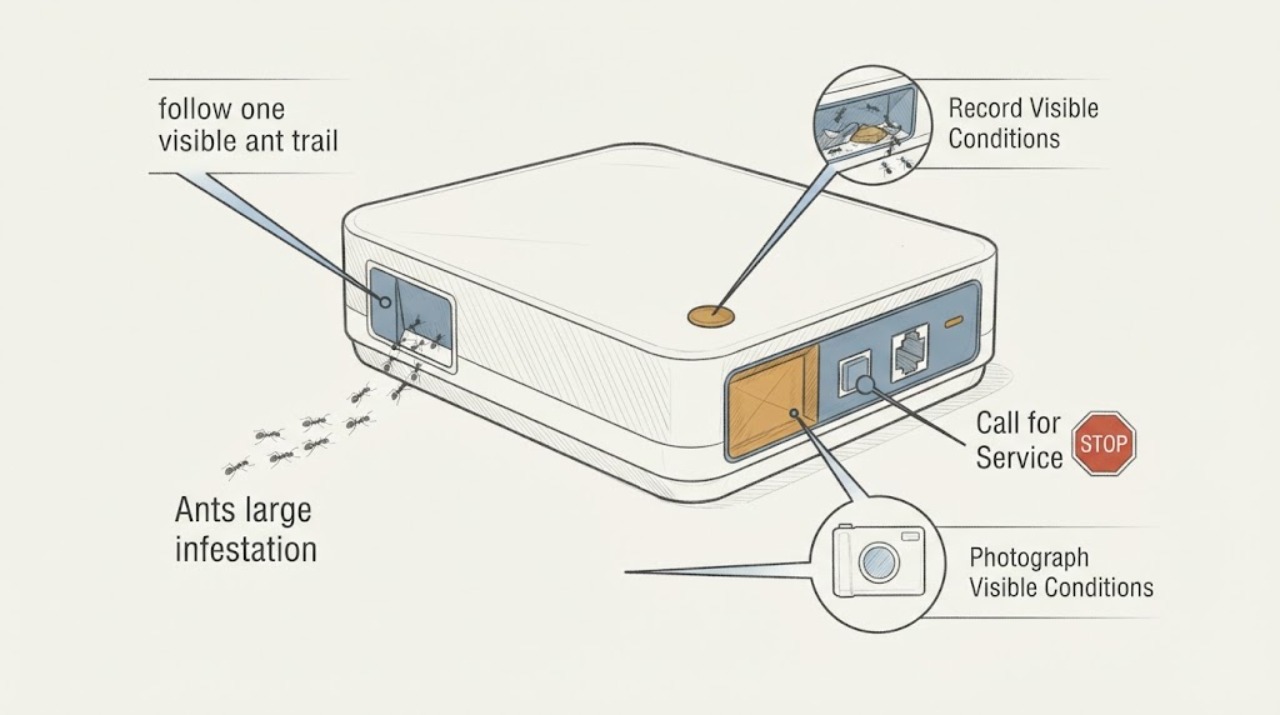
Ants large infestation: What to Check and What to Do Next
When ants appear in several rooms or keep returning, map the trails and document the extent before applying anything. From safe, accessible areas, record where ants enter, where they travel, whether they are winged or worker ants, whether there is coarse wood debris, and whether the activity follows damp or decayed wood, leaks, food, or outdoor vegetation.
-
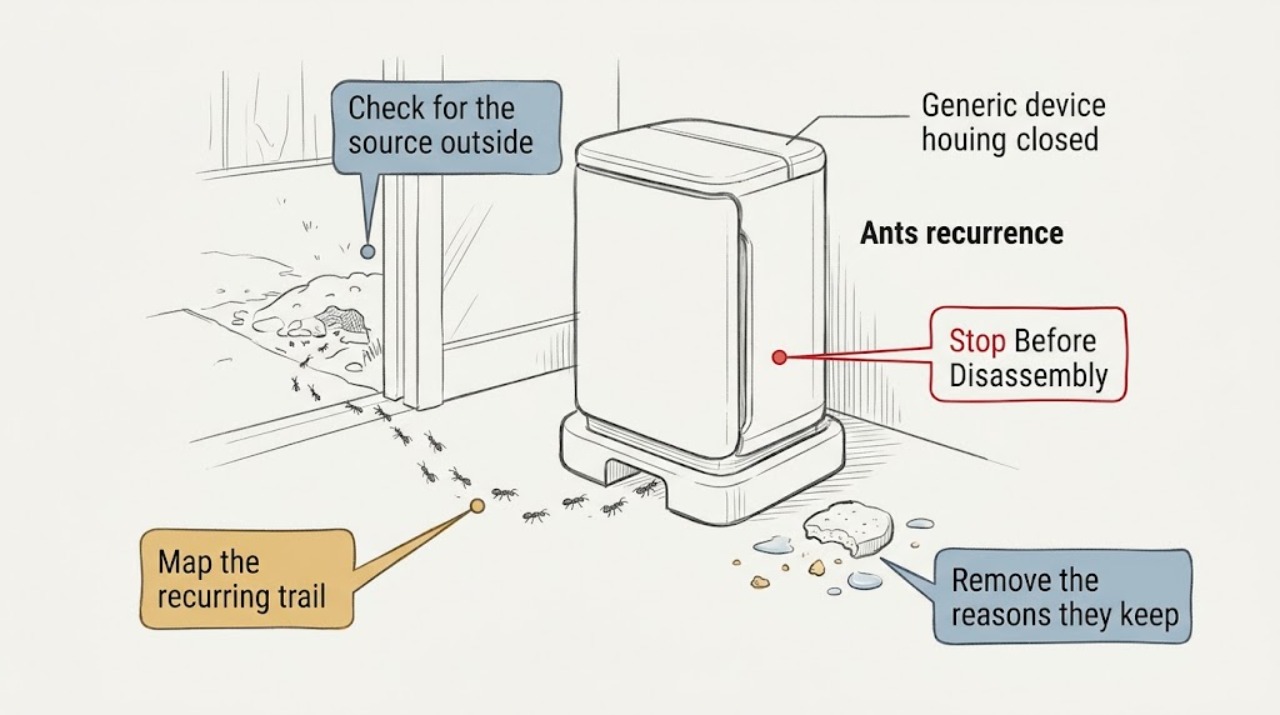
Ants recurrence: What to Check and What to Do Next
When ants return after a prior treatment, look for the reason the colony still has access: a food or water source, an unsealed entry route, an outdoor nest or moisture-damaged wood, or a treatment that did not match the ant species. Follow one trail to its entry point, clean away food and pheromone residue, correct leaks and vegetation contact, and seal accessible cracks.
-
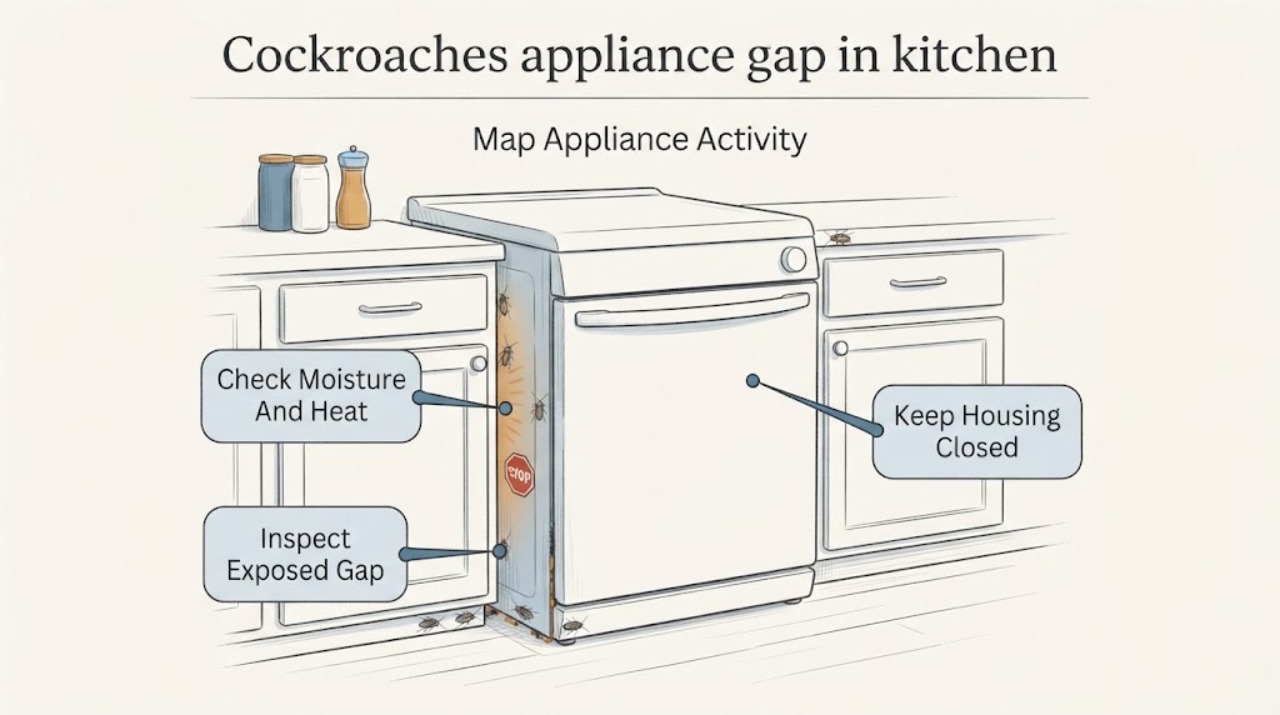
Cockroaches appliance gap in kitchen: What to Check and What to Do Next
A cockroach seen beside or behind a kitchen appliance may be using the gap for food, water, warmth, shelter, or travel rather than living in the appliance itself. Start by logging which appliance gap is involved and when activity appears.
-
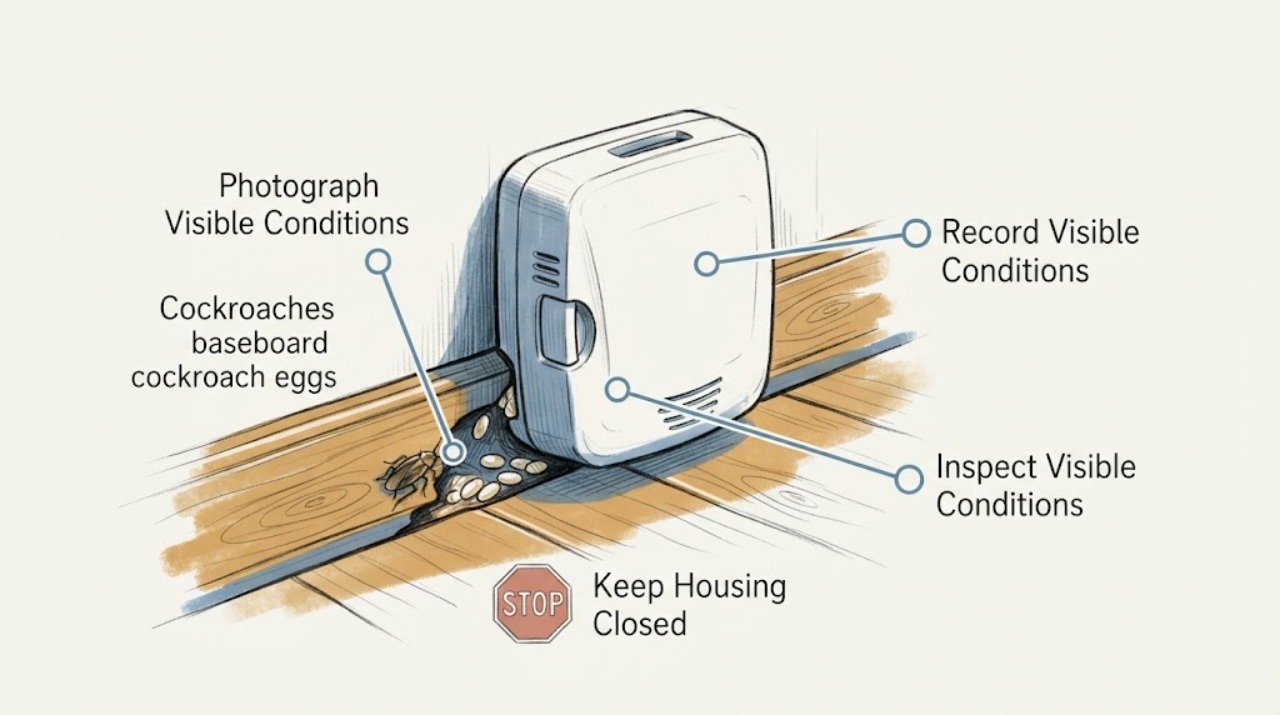
Cockroaches baseboard cockroach eggs or nymphs: What to Check and What to Do Next
Small roaches or suspected egg cases along a baseboard usually mean the area is close to shelter, food, or moisture, but a single sign does not identify the species or prove an infestation. Photograph the sign without touching or opening the baseboard, note when and where activity appears, and look for accessible food, water, clutter, and entry gaps.
-
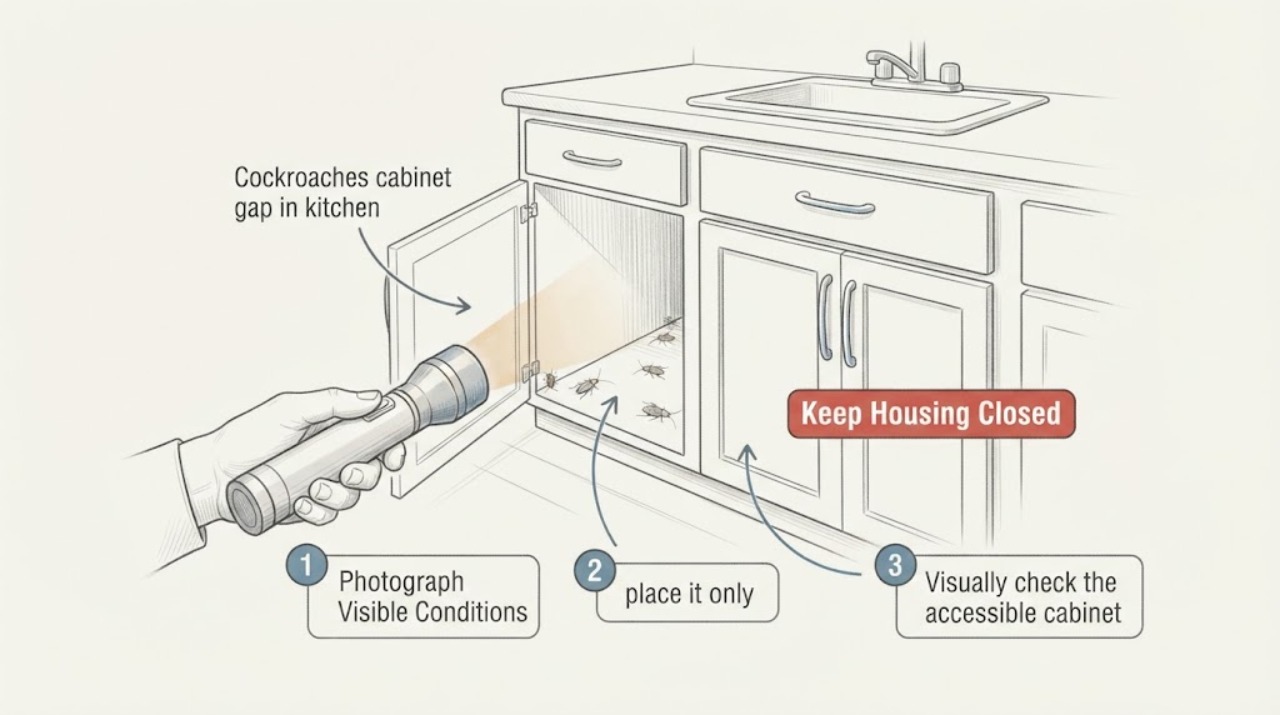
Cockroaches cabinet gap in kitchen: What to Check and What to Do Next
A kitchen cabinet gap can be a cockroach hiding or travel route, but a sighting there does not by itself prove the gap is the source. First document signs from a safe, accessible position: live or dead roaches, droppings, shed skins, egg cases, grease or food residue, and moisture near the sink or pipes.
-
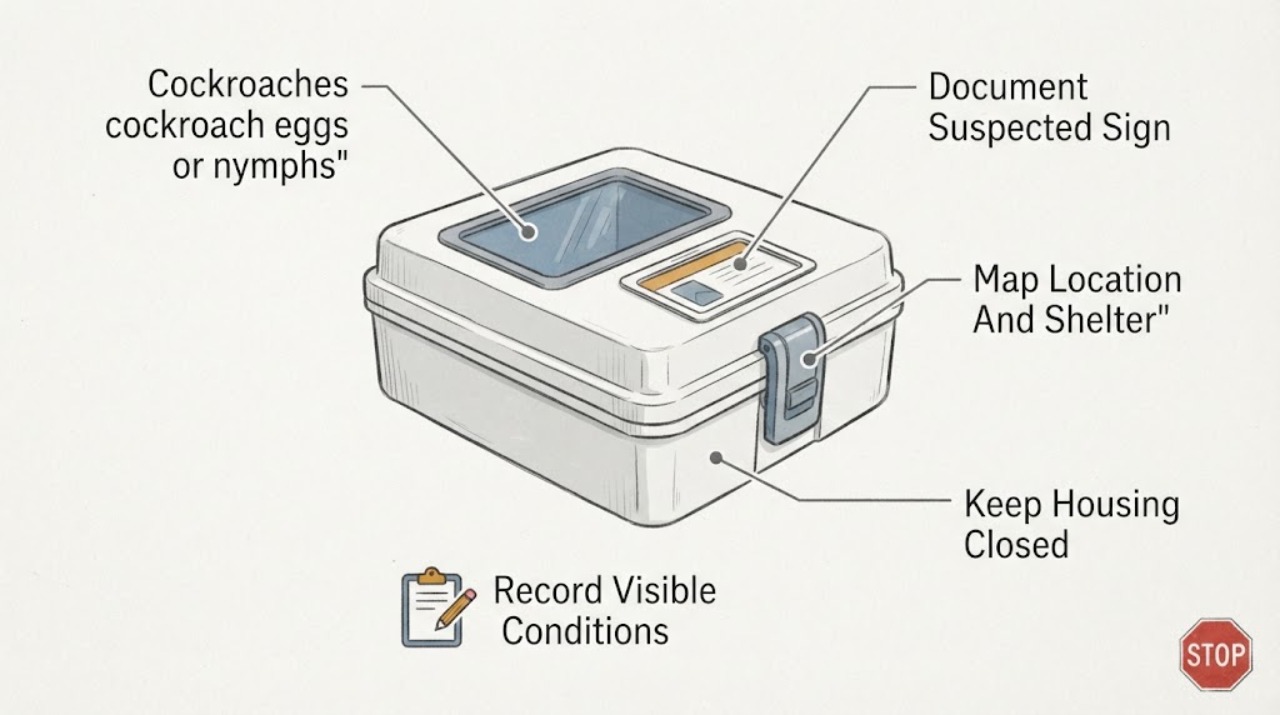
Cockroaches cockroach eggs or nymphs: What to Check and What to Do Next
A suspected cockroach egg case or nymph is a reason to document and identify the pattern, not proof of an infestation from one sign. From a safe distance, photograph the object or insect, note where and when it appeared, and map nearby food, water, warmth, clutter, and repeated activity without touching droppings, egg cases, dead insects, or contaminated materials.
-
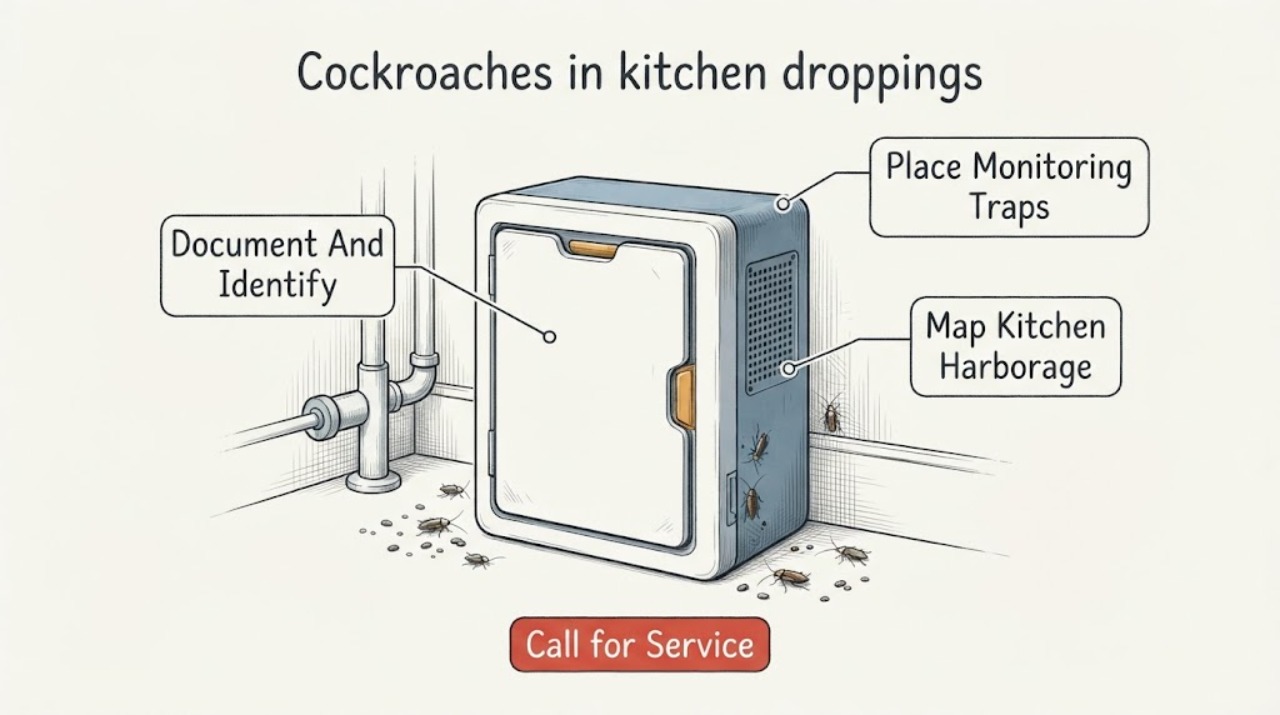
Cockroaches in kitchen droppings: What to Check and What to Do Next
Cockroach droppings are evidence to investigate, not proof of a species or the size of an infestation. Photograph the material without disturbing it, record whether it is a pellet, smear, cast skin, or possible egg case, and map its location against food, water, warmth, appliances, cabinets, and plumbing.
-
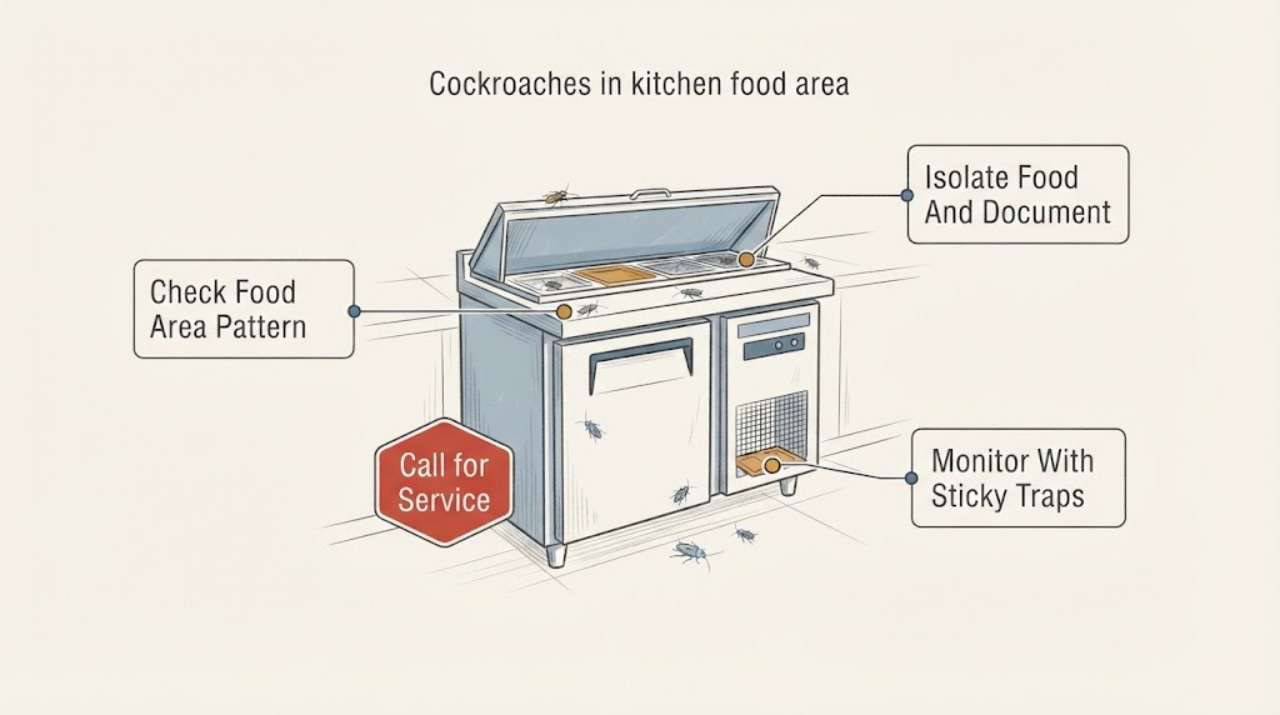
Cockroaches in kitchen food area: What to Check and What to Do Next
When cockroach signs are in a food area, protect food and people first. Do not eat or serve food that has been exposed to droppings, bodies, shed skins, or an insecticide, and separate clean dishes and utensils from the affected surface.
-
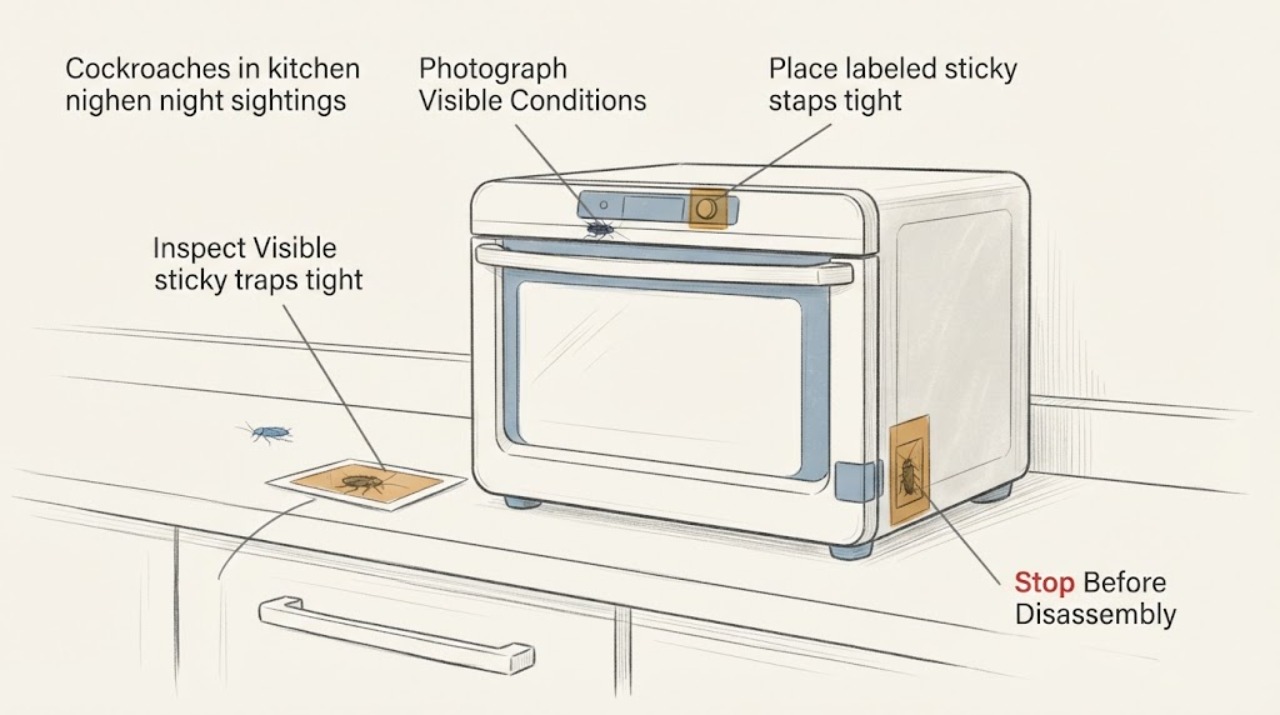
Cockroaches in kitchen night sightings: What to Check and What to Do Next
Seeing a cockroach at night is useful timing evidence, but it does not by itself prove the number of roaches or the species. Start a night-specific log with the time, exact kitchen location, direction of travel, nearby food or water, and a photo if one can be taken without chasing it.
-
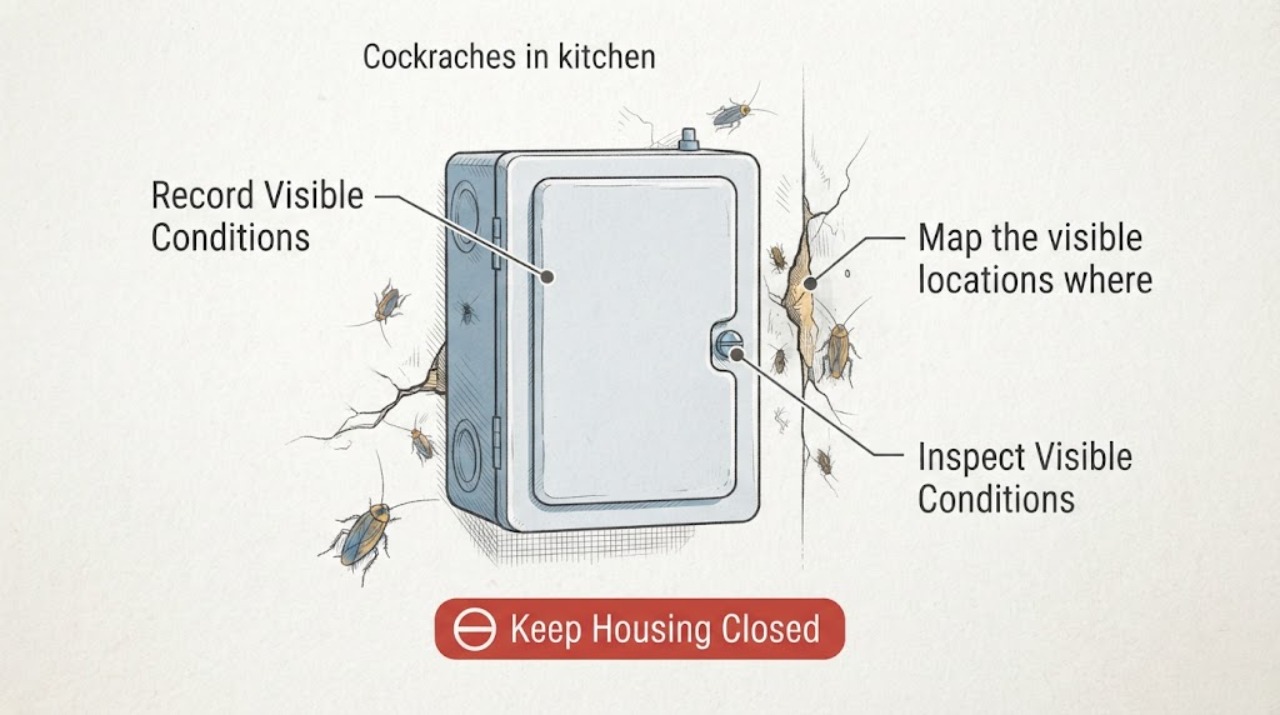
Cockroaches in kitchen: What to Check and What to Do Next
One kitchen sighting does not prove an infestation, but repeated sightings, activity in daylight, small nymphs, egg cases, or signs in several areas justify a pest inspection. Make a safe record of when and where activity appears, then look only for visible moisture, food access, clutter, and entry gaps.
-
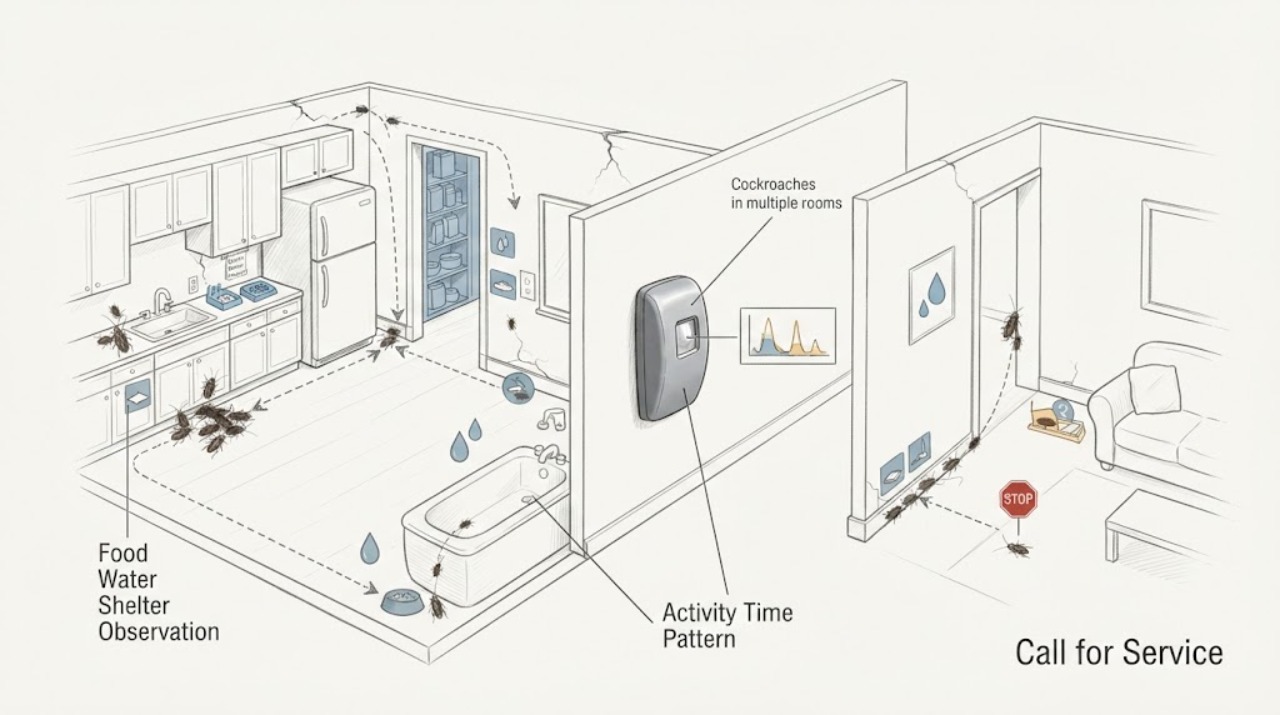
Cockroaches in multiple rooms: What to Check and What to Do Next
Cockroaches or evidence in multiple rooms should be treated as a whole-property pest-management issue, not as a reason to spray each room independently. From a safe distance, map which rooms show live sightings or evidence, when activity occurs, and whether food, water, leaks, clutter, or building-entry conditions are shared between rooms.
-
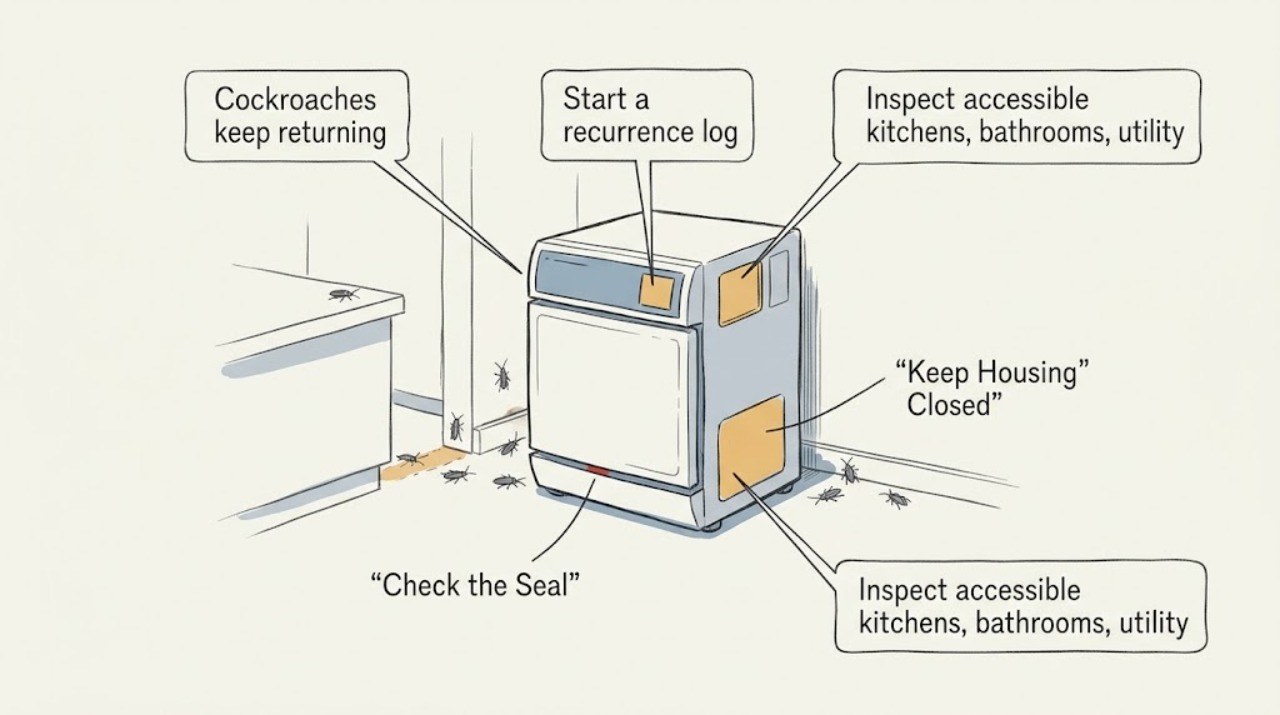
Cockroaches keep returning: What to Check and What to Do Next
Recurring cockroaches usually need a pattern-based inspection, not another random spray. Record when sightings happen, where they occur, and whether you also find droppings, egg cases, shed skins, moisture, food residue, clutter, or openings around pipes and doors.
-
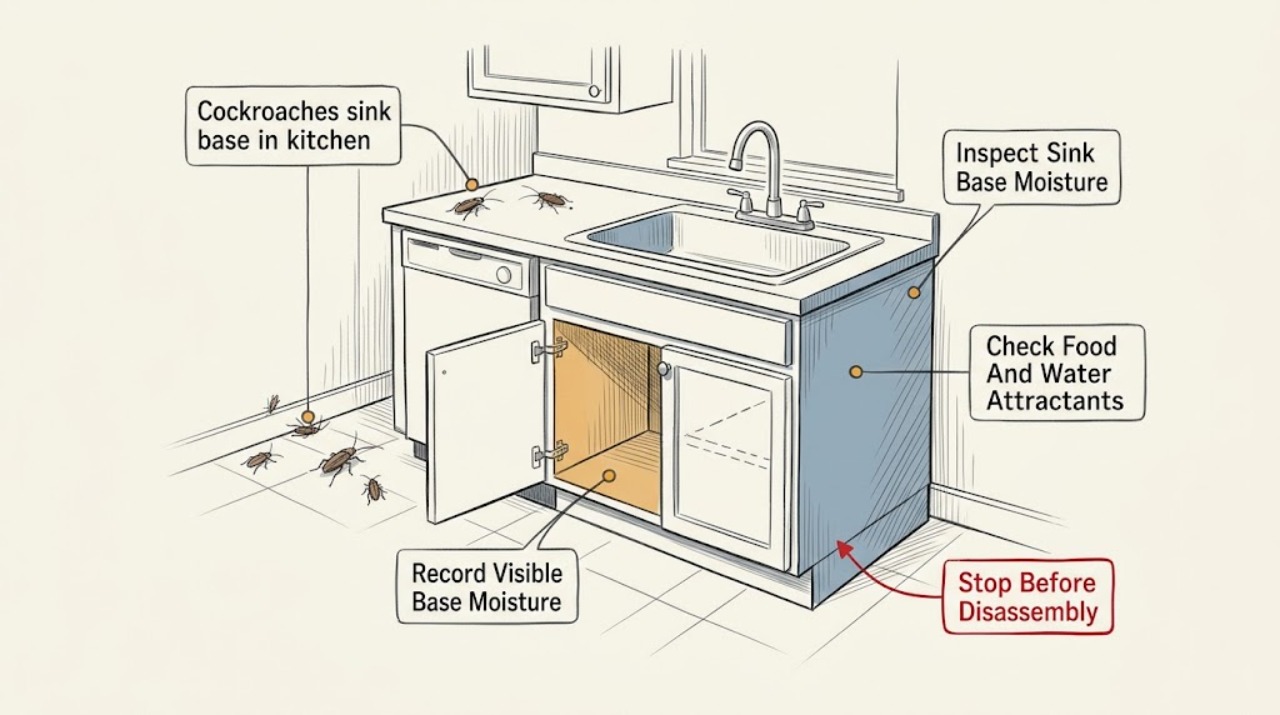
Cockroaches sink base in kitchen: What to Check and What to Do Next
Cockroaches around a kitchen sink base usually mean the area offers some combination of water, food residue, shelter, or an opening around plumbing. Keep people and pets away from visible droppings, bodies, egg cases, and standing or contaminated water; do not touch them bare-handed or spray into plumbing, food storage, or a wet cabinet.
-
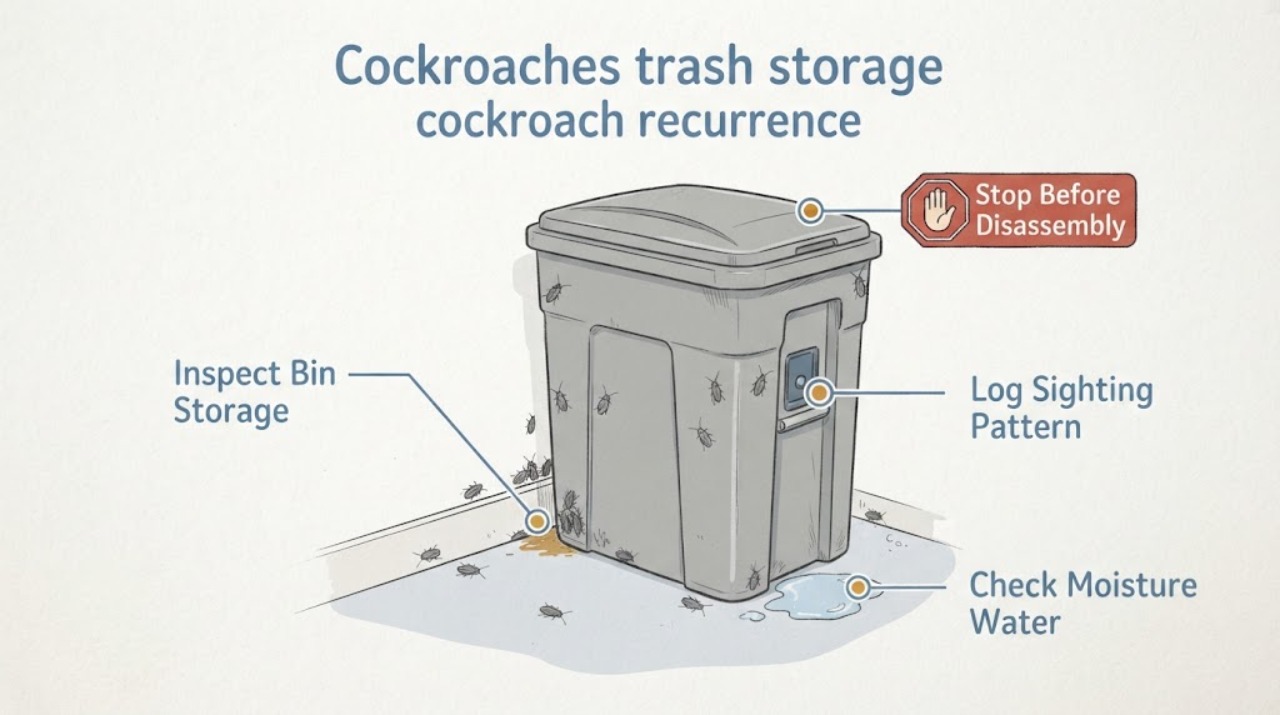
Cockroaches trash storage cockroach recurrence: What to Check and What to Do Next
When cockroaches keep returning around trash storage, treat the bin area as a food, water, shelter, and entry-route investigation. Record where and when sightings occur, then check for loose lids, leaks, food residue, overflowing bags, wet recyclables, cardboard, cracks, and nearby drains.
-
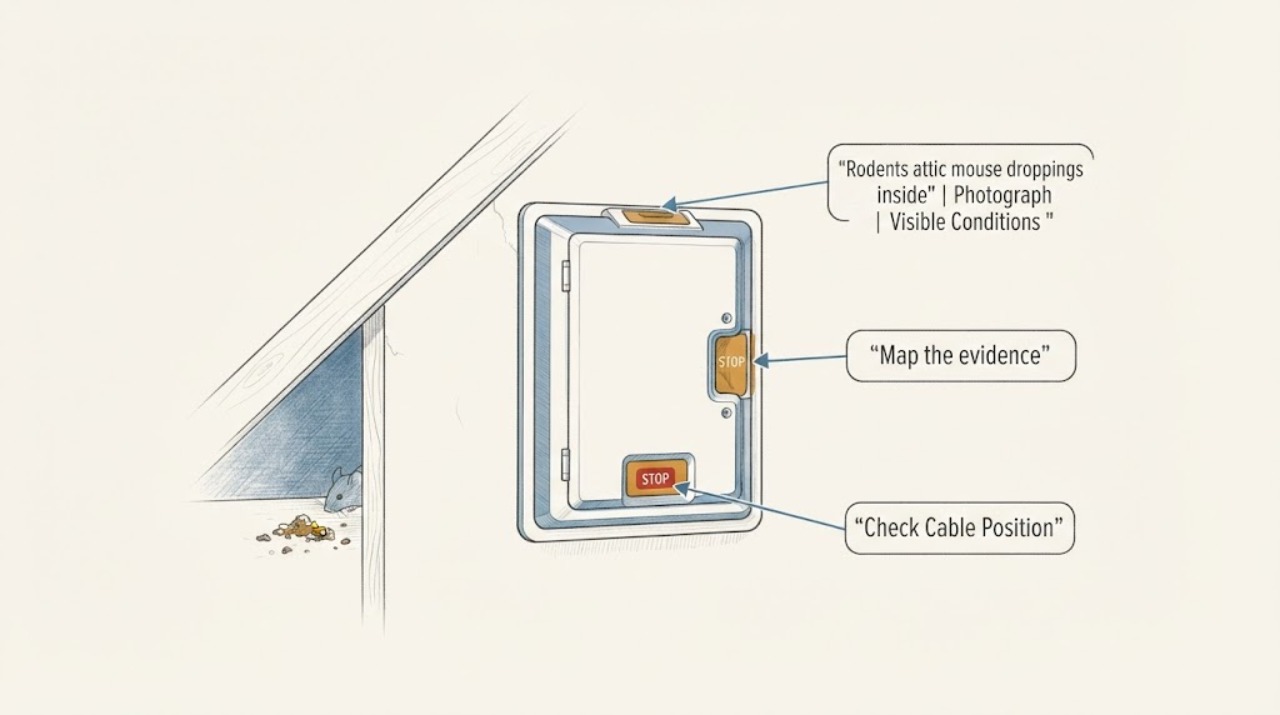
Rodents attic mouse droppings inside: What to Check and What to Do Next
Treat mouse droppings in an attic as evidence of a rodent-access and contamination problem, not as ordinary dust. From the attic entrance or another safe position, document where droppings, urine staining, nesting, gnaw marks, sounds, or odors appear.
-
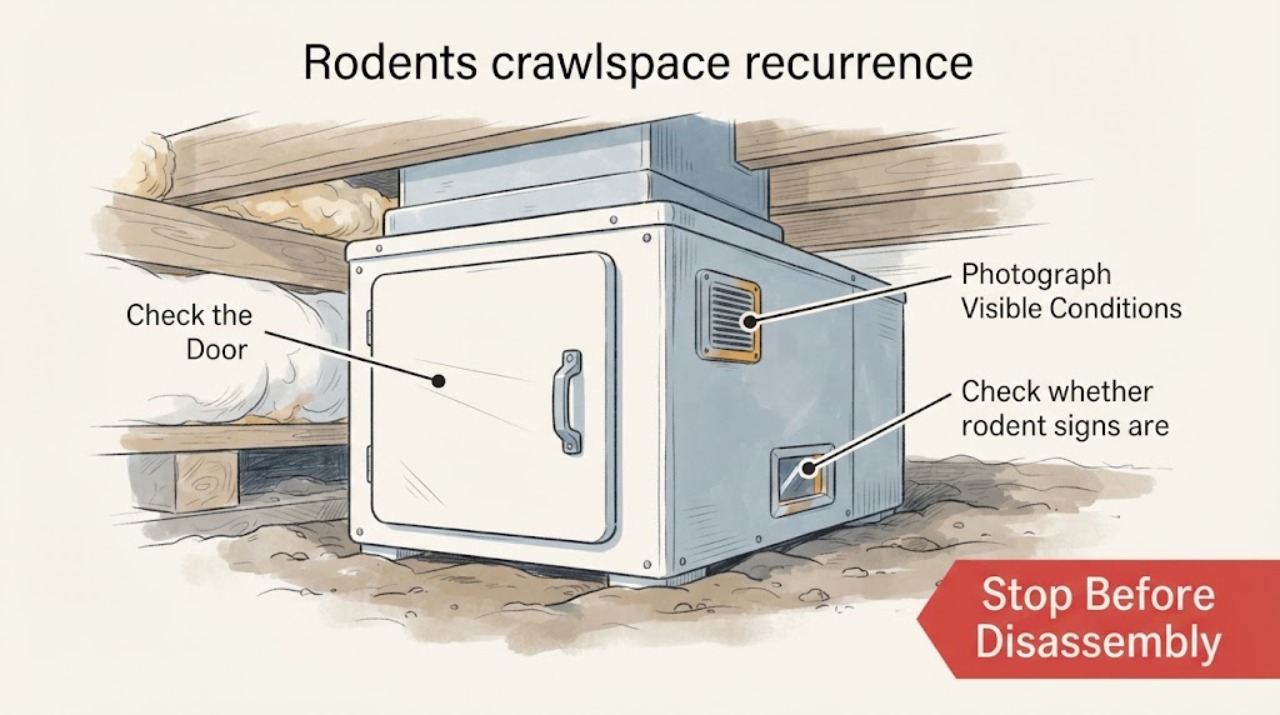
Rodents crawlspace recurrence: What to Check and What to Do Next
Recurring rodent activity in a crawlspace usually means an entry route, food or water source, shelter, or an unresolved contaminated area remains. From outside or a safe access point, record droppings, gnawing, sounds, gaps, moisture, and recurrence timing; do not crawl into a confined or heavily contaminated space, sweep or vacuum waste, mix chemicals, handle wildlife, or place poison where children, pets, or wildlife can reach it.
-
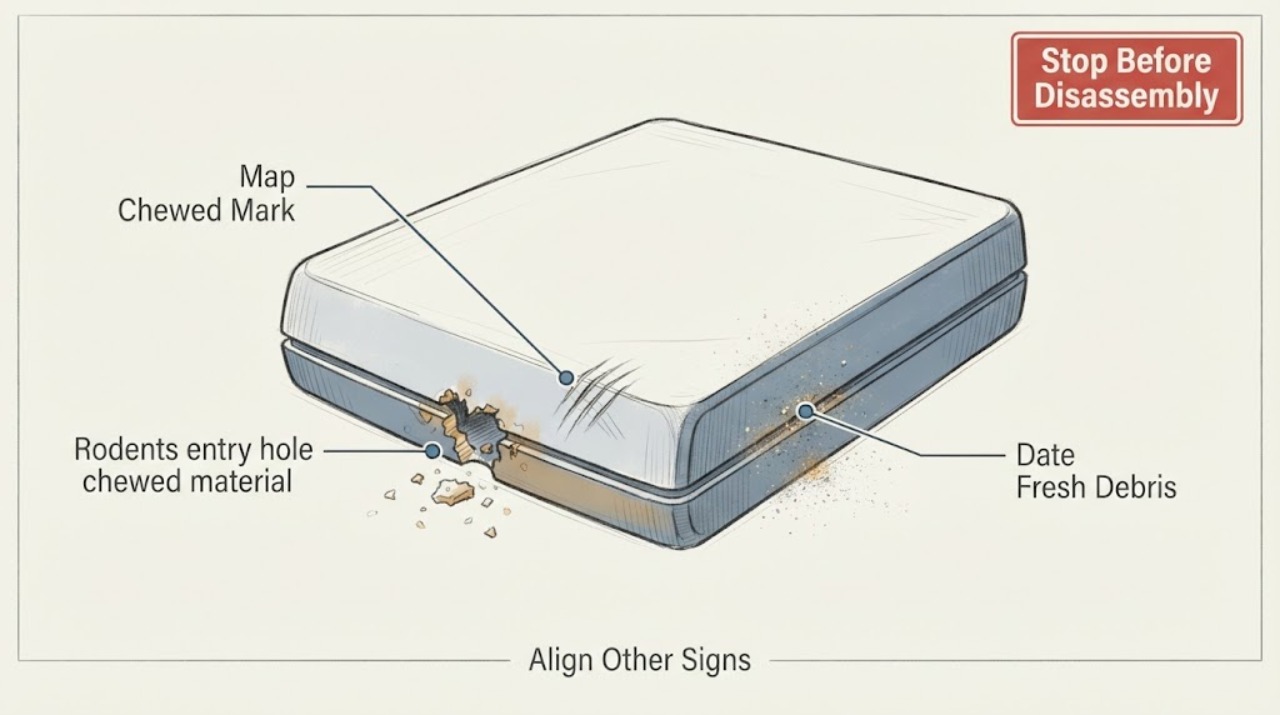
Rodents entry hole chewed material: What to Check and What to Do Next
Chewed material is a clue, not proof of a rodent species or a currently used entry hole. From a safe, already accessible position, photograph the mark and record the material, location, fresh fragments, new droppings or nesting signs, food contamination, monitoring results, and any pipe, cable, vent, or shared-wall route.
-
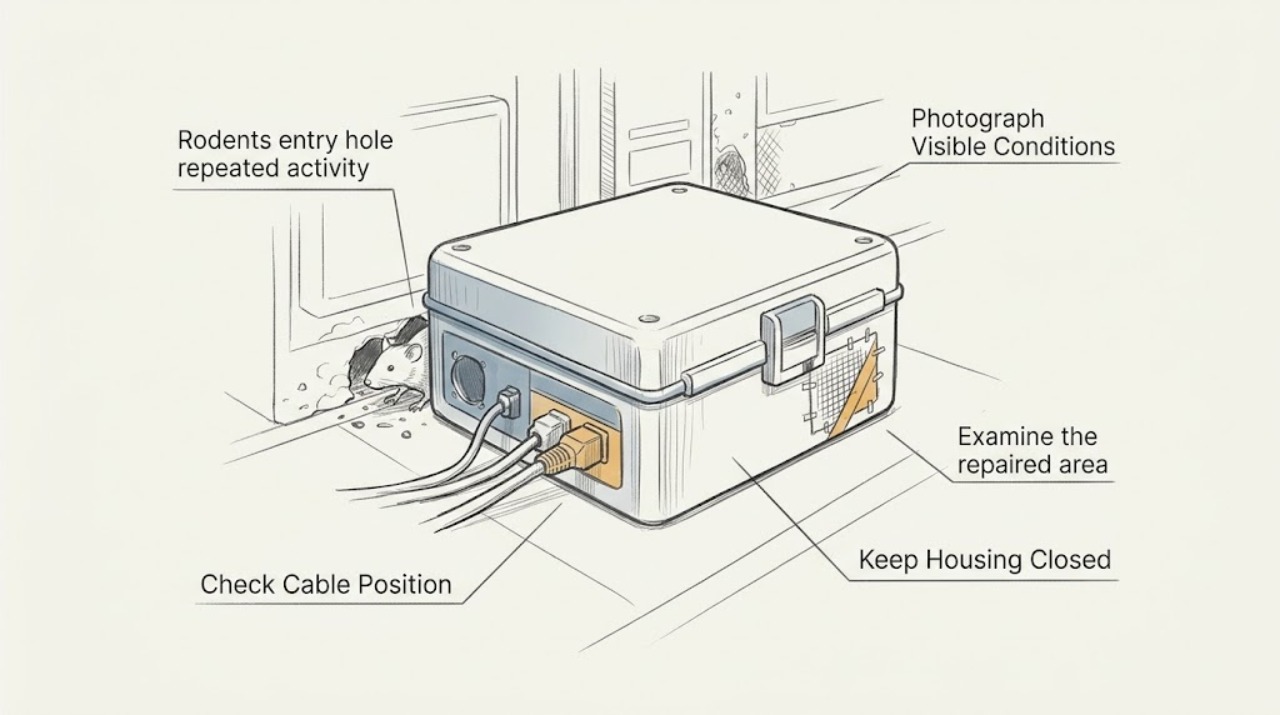
Rodents entry hole repeated activity: What to Check and What to Do Next
If rodents remain active after an entry hole was sealed, do not assume the first repair failed or immediately add more poison or sealant. First establish whether the new signs are fresh, then inspect every accessible route around the building—not only the repaired spot—for gaps around doors, vents, foundations, roofs, and utility lines.
-
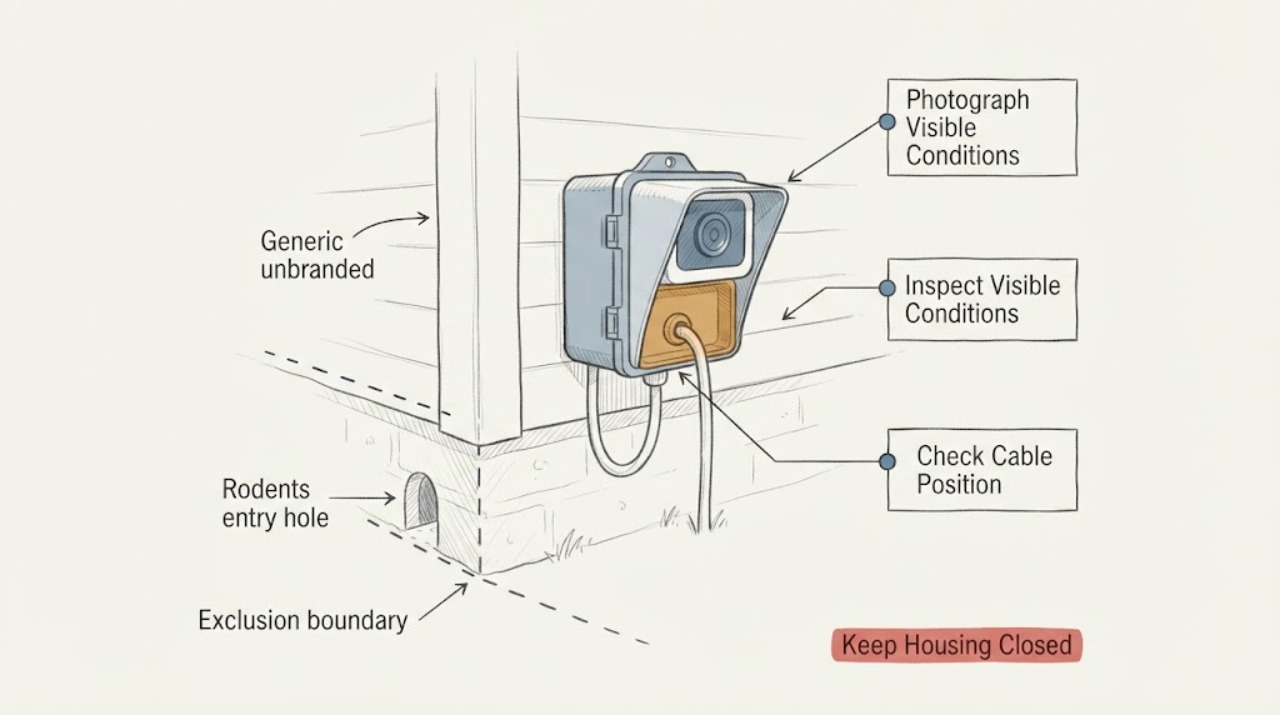
Rodents entry hole: What to Check and What to Do Next
A hole near a foundation, door, vent, pipe, or utility line can be a rodent entry point, but closing it immediately can trap an animal inside or hide a larger building problem. From safe ground and clean interior surfaces, document the location, approximate opening, activity signs without touching them, nearby food or water, and any wiring or pipe damage.
-
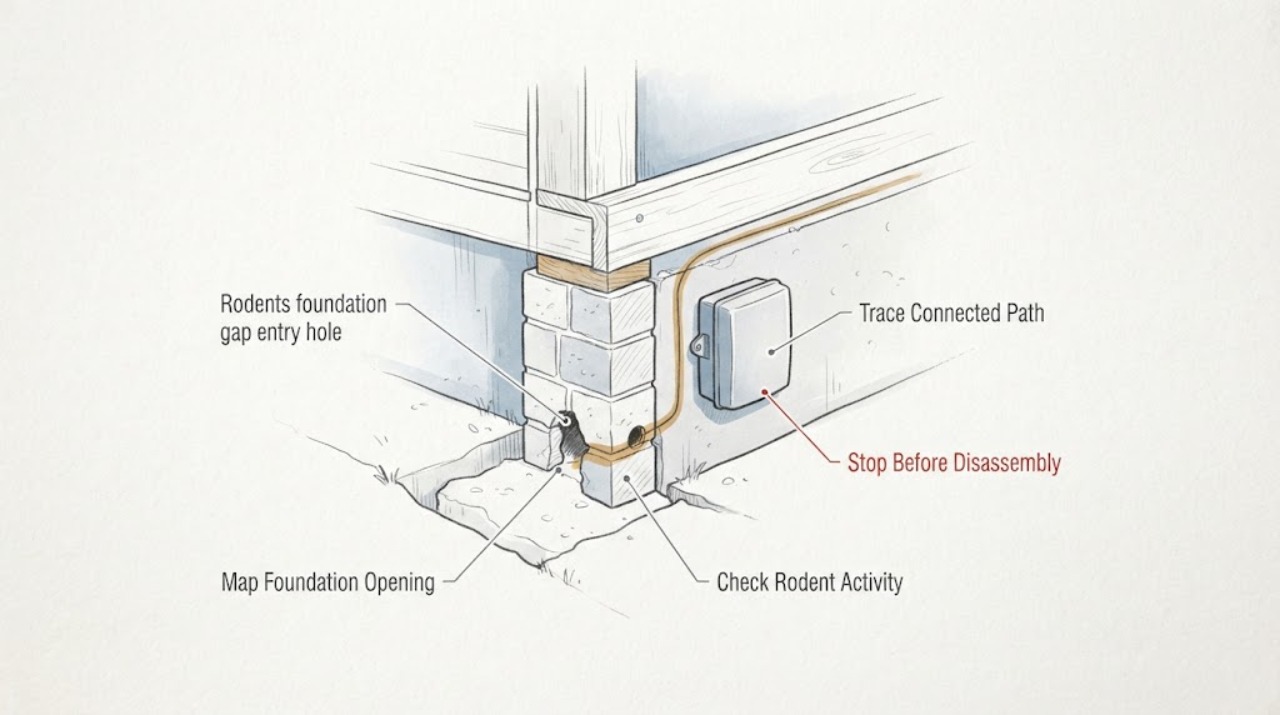
Rodents foundation gap entry hole: What to Check and What to Do Next
Inspect the foundation-to-ground seam and nearby utility or vent penetrations from a dry, stable position. Treat an opening about the width of a pencil (1/4 inch or 6 mm) as a possible mouse route, then look for fresh droppings, gnaw marks, nesting material, scratching, moisture, erosion, or a widening crack.
-
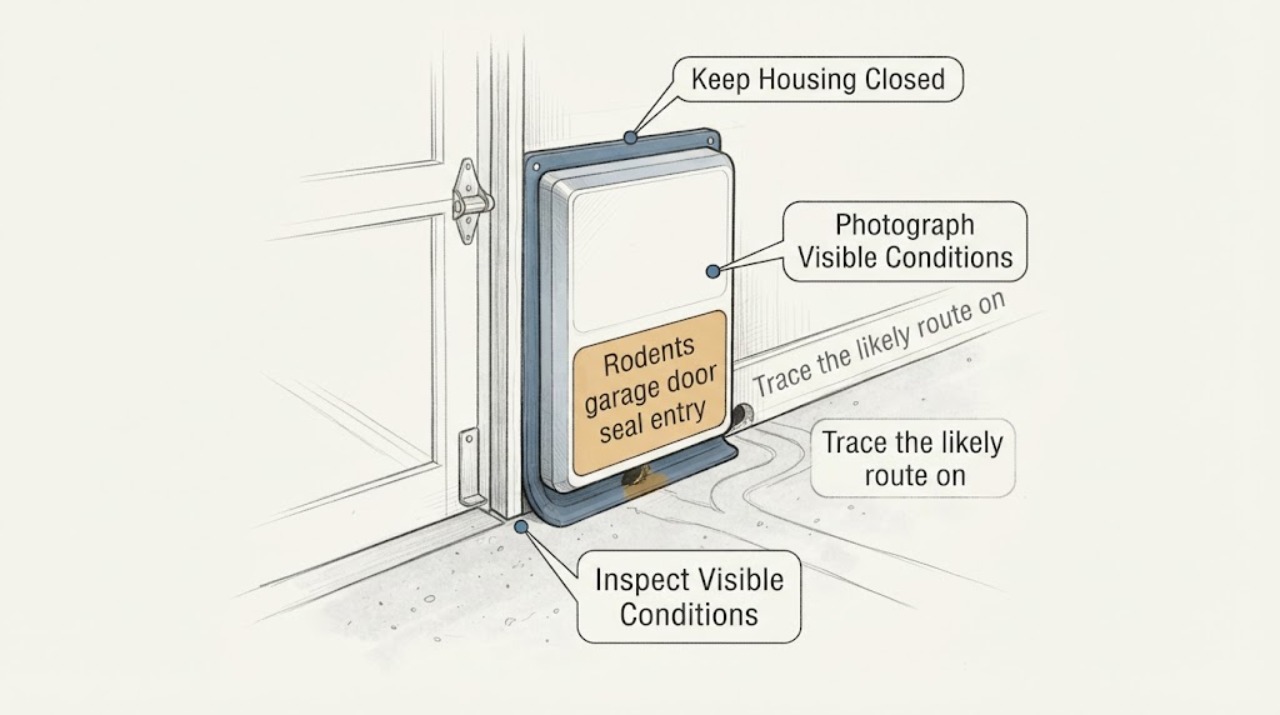
Rodents garage door seal entry hole: What to Check and What to Do Next
A gap at the garage-door seal can be a rodent entry route, but the visible gap may be only one part of a larger pathway. From a safe position, document the gap, droppings, gnaw marks, nesting material, tracks, and whether activity is current.
-
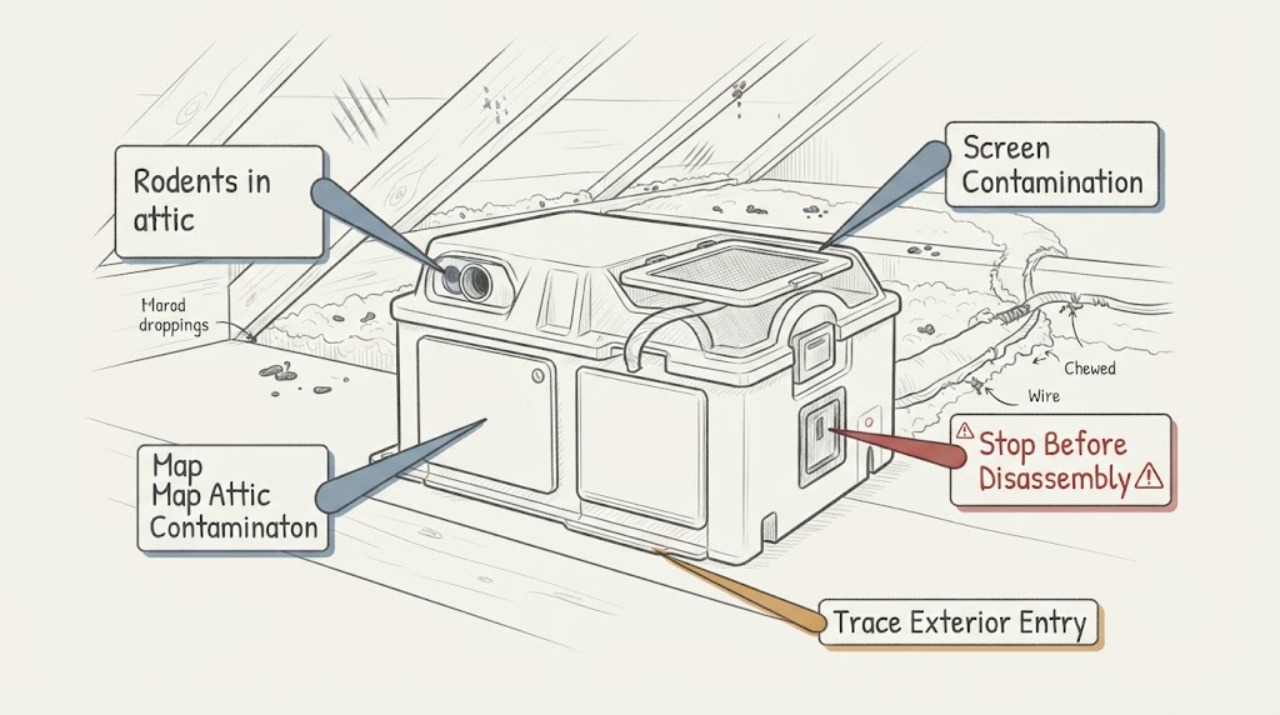
Rodents in attic: scratching, droppings, and chewed wire insulation
Scratching, droppings, and chewed insulation in an attic should be treated as a possible active rodent infestation with two separate risks: contaminated material and damaged wiring. From a safe position, document where the signs occur, whether they are fresh or increasing, and whether insulation or wiring is affected.
-
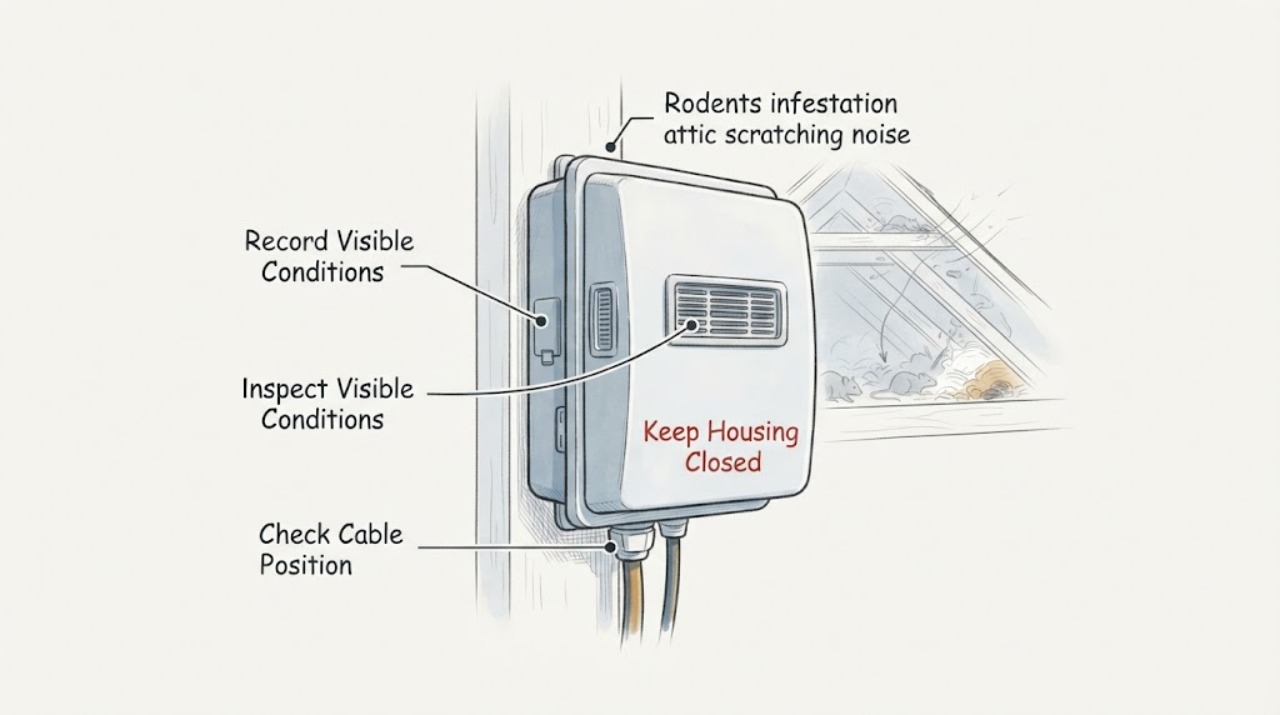
Rodents infestation attic scratching noise: What to Check and What to Do Next
Scratching in an attic is a clue, not proof of rodents; confirm it with droppings, gnaw marks, nesting material, urine odor, or a repeatable path of activity. Start with a safe observation from the living space, attic hatch, or ground, then check likely entry points around eaves, vents, roof joints, and utility penetrations without climbing onto the roof or disturbing waste.
-
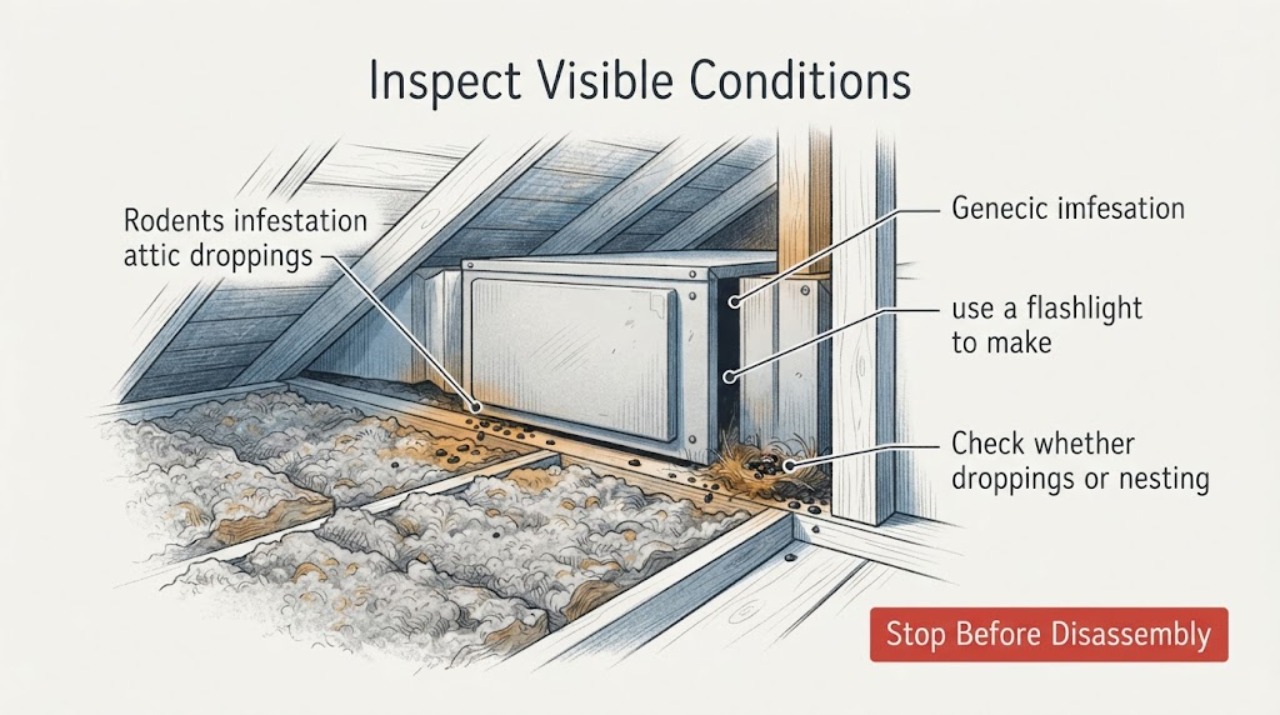
Rodents infestation attic droppings: What to Check and What to Do Next
Droppings in an attic are evidence of rodent activity, but the safest next step depends on how much material is present and what it touches. From a safe standing point, look for additional droppings, nests, gnaw marks, urine staining, damaged insulation, and paths toward vents or the roofline.
-
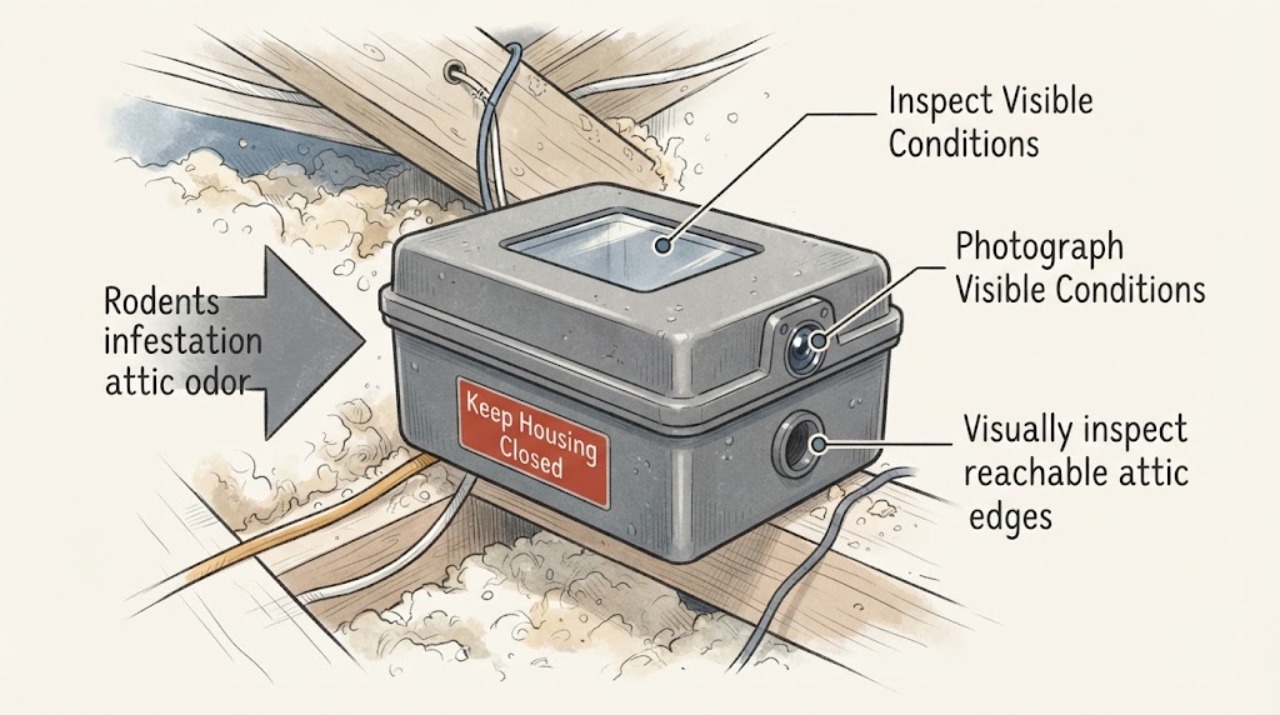
Rodents infestation attic odor: What to Check and What to Do Next
An odor in an attic with suspected rodents can come from urine, droppings, nesting material, a dead rodent, or another hidden moisture or animal source, so smell alone cannot locate or size the infestation. From the attic access point or another safe position, record where the odor is strongest and look for droppings, gnaw marks, nests, disturbed insulation, and entry gaps.
-
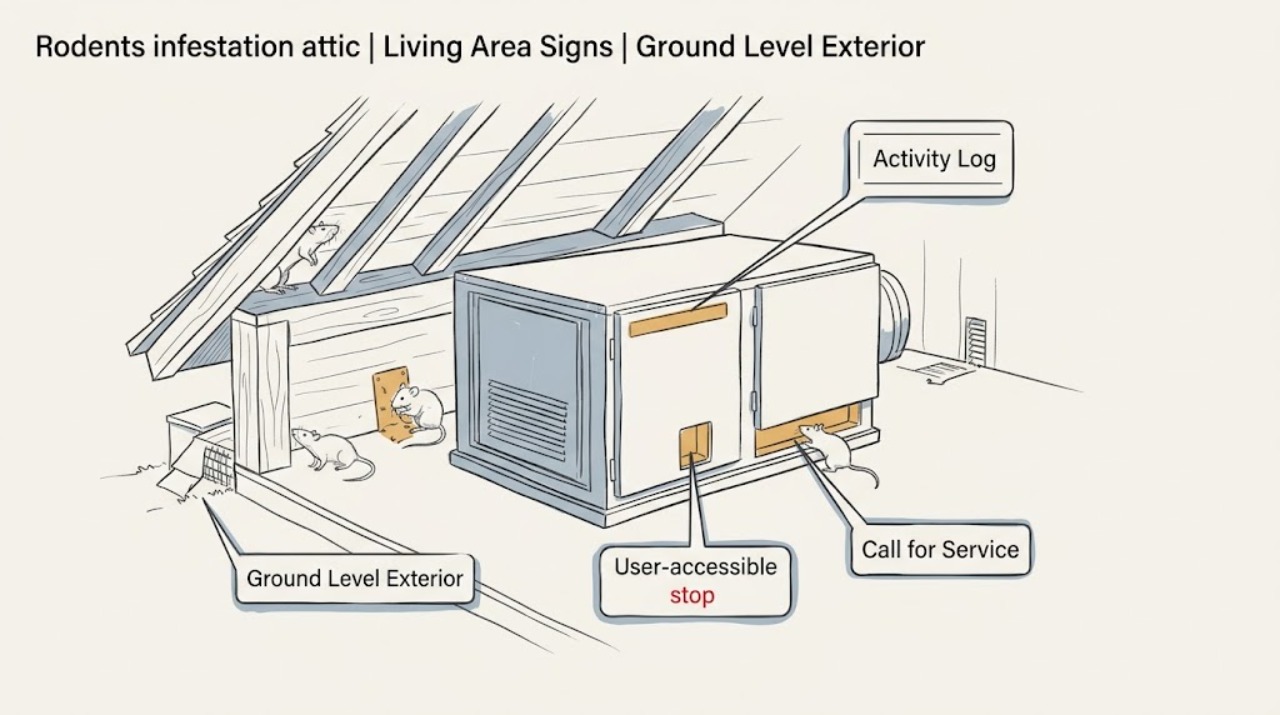
Rodents infestation attic: What to Check and What to Do Next
Scratching, stale odor, droppings, nesting material, or gnaw marks near an attic can indicate rodent activity, but one sign does not prove that animals are still present. Do not enter the attic, touch an animal, droppings, nests, insulation, or wiring, and do not put out poison or traps for this professional-service topic.
-
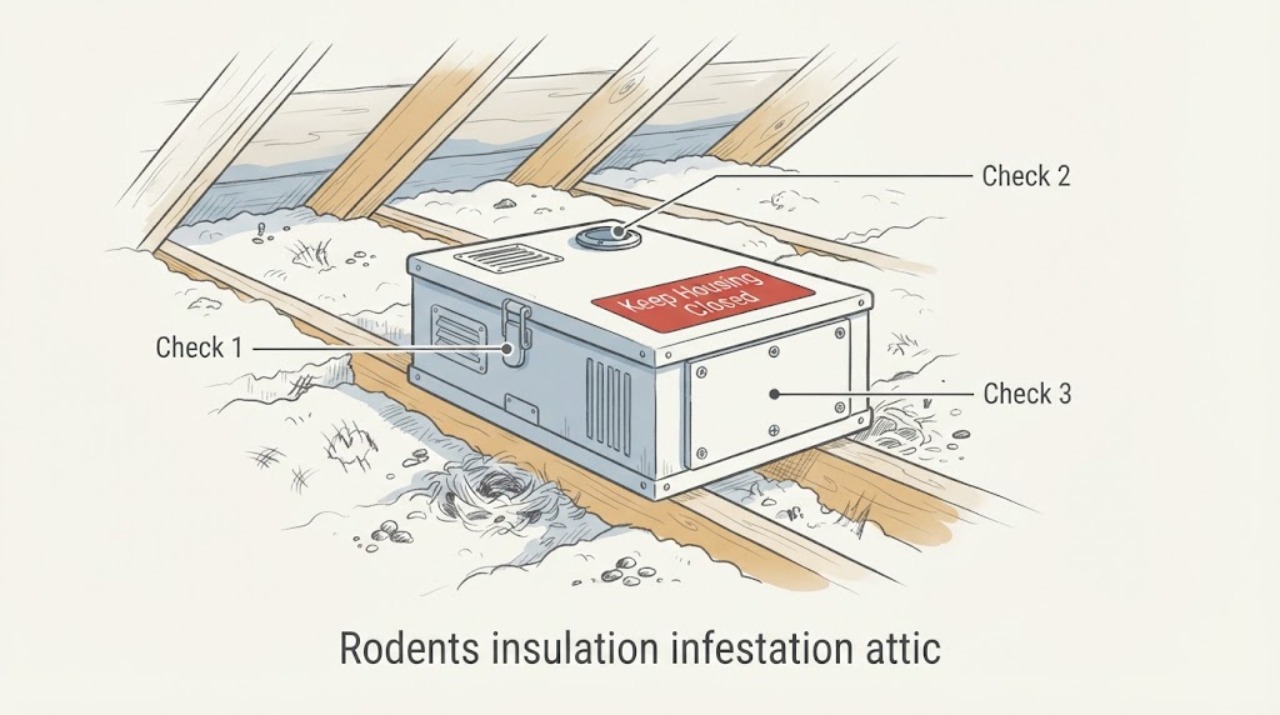
Rodents insulation infestation attic: What to Check and What to Do Next
Rodent signs in attic insulation need a contamination and access assessment, not ordinary surface pest treatment alone. From a safe location, document whether insulation is displaced or soiled, whether droppings or nesting are visible, and whether ducts, wiring, roof leaks, or entry gaps are nearby.
-
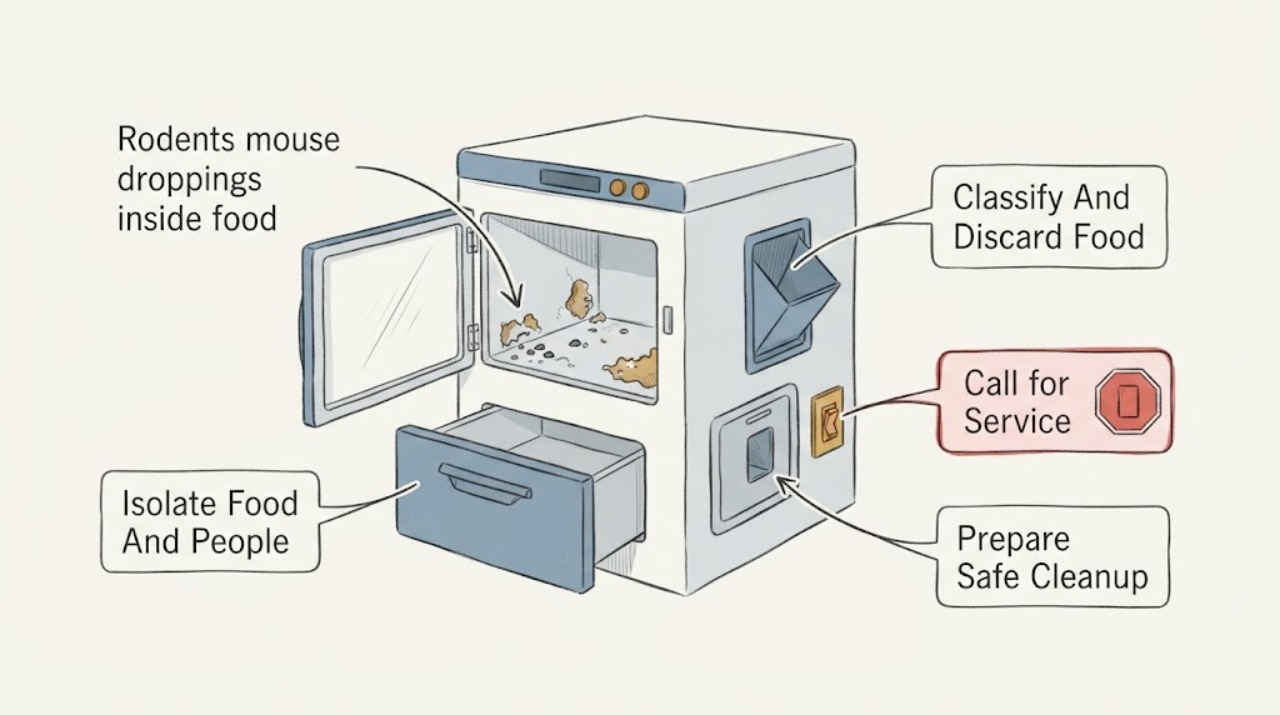
Rodents mouse droppings inside food damage: What to Check and What to Do Next
Treat mouse droppings inside a food-storage area as both a contamination and an active-infestation problem. Keep people, pets, and food away from the area; do not sweep or vacuum dry droppings.
-
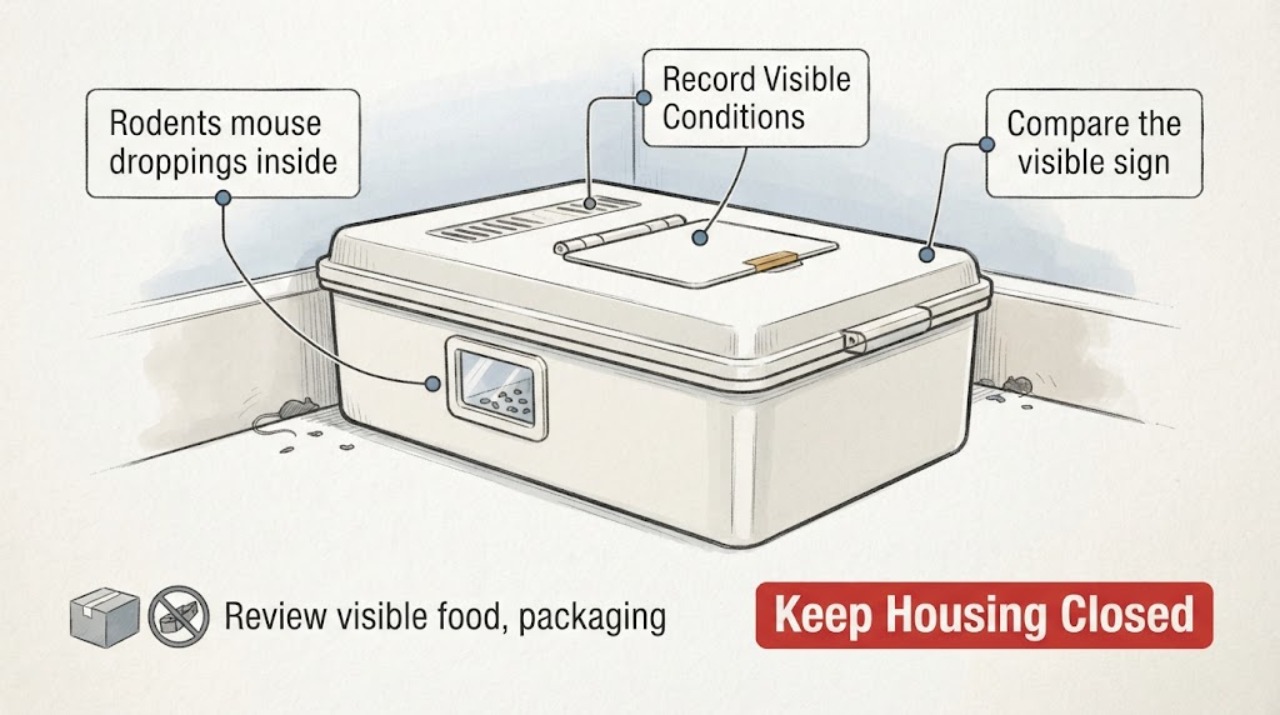
Rodents mouse droppings inside: What to Check and What to Do Next
Treat indoor mouse droppings as a safe-cleanup and pest-inspection issue, not as something to sweep or vacuum. From a distance, record where the sign appears, whether similar signs recur, nearby food or packaging damage, moisture or shelter conditions, and visible entry gaps.
-
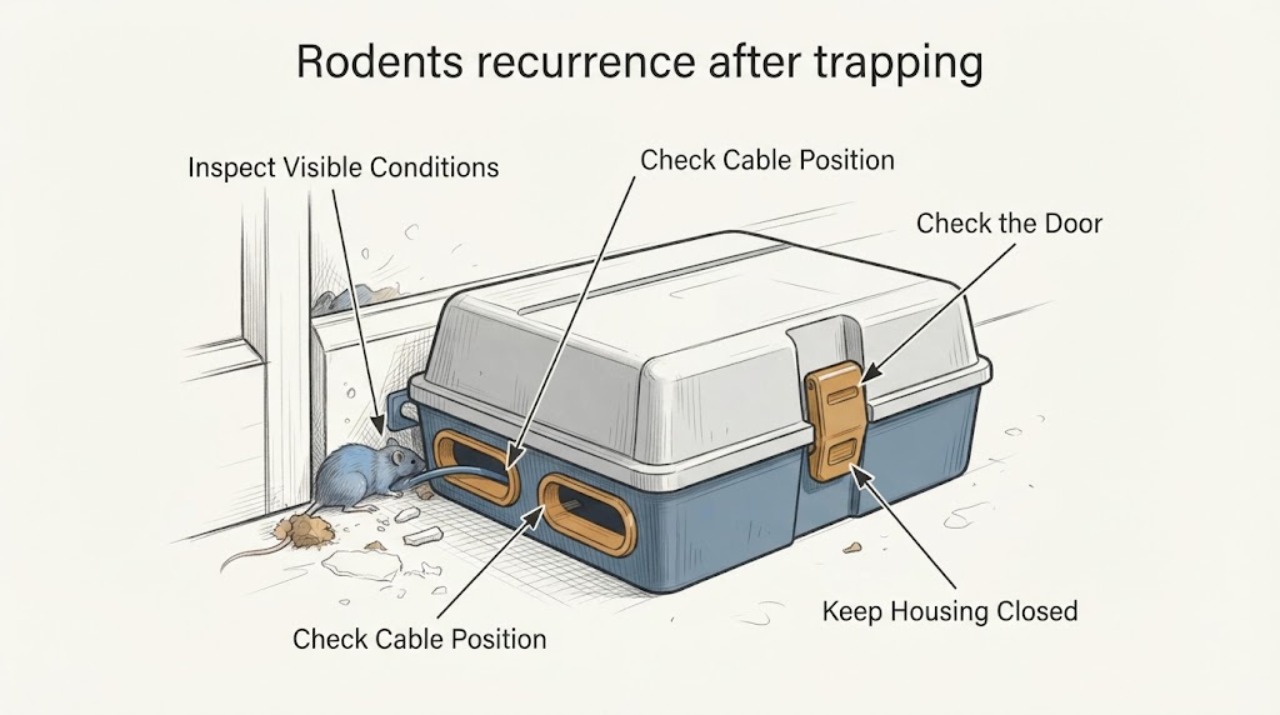
Rodents recurrence after trapping: What to Check and What to Do Next
If rodents return after trapping, a trap usually removed an animal without removing the reason they can keep entering or feeding. First distinguish fresh activity from old droppings or nesting material, then inspect accessible interior and exterior gaps around doors, foundations, roof edges, vents, and utility penetrations.
-
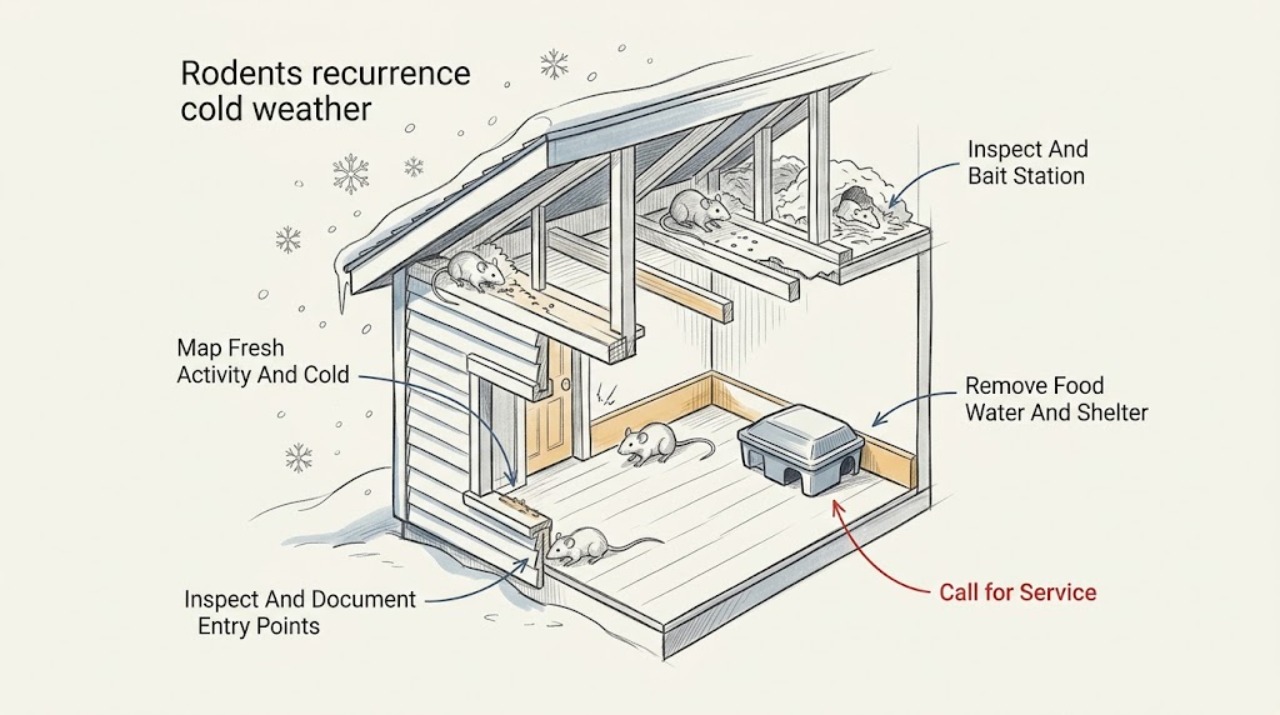
Rodents recurrence cold weather: What to Check and What to Do Next
Rodent sightings that return as weather turns cold usually mean an entry point, indoor food or water, or a protected nesting place is still available; the cold weather explains the timing but does not identify the route. First record fresh droppings, gnaw marks, urine, nesting material, or sounds without disturbing them.
-
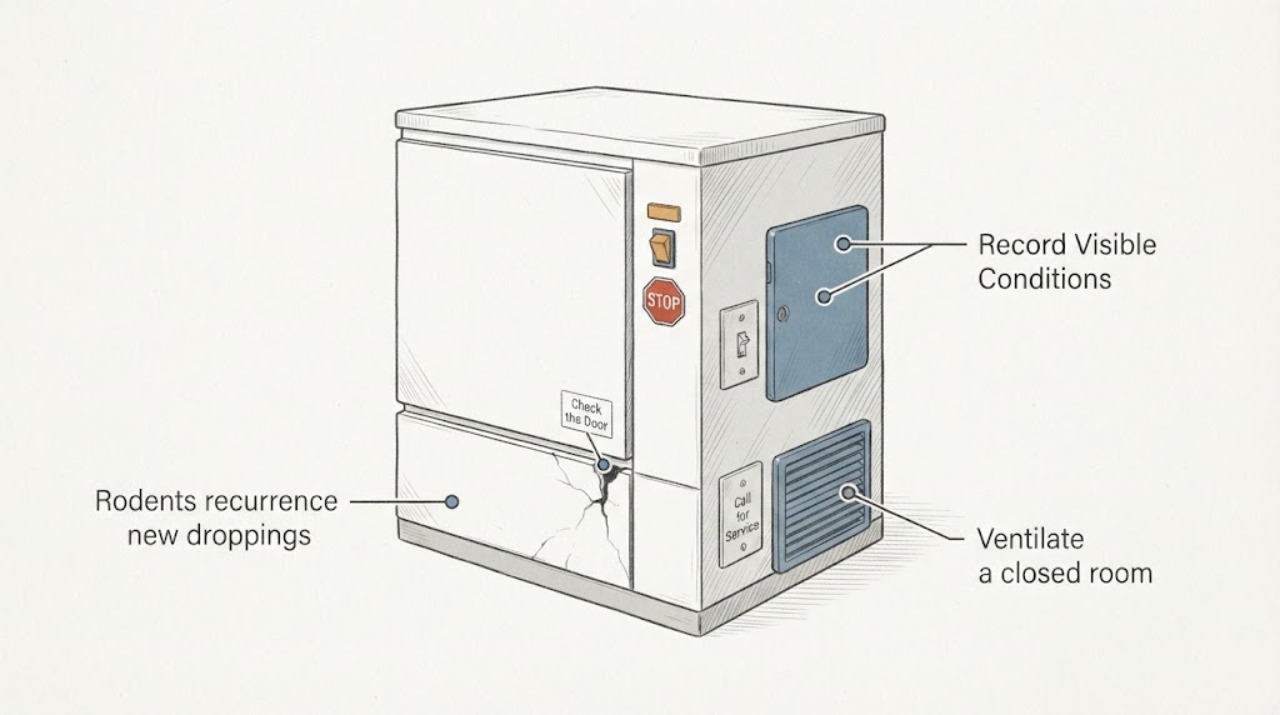
Rodents recurrence new droppings: What to Check and What to Do Next
Droppings that reappear after a safe cleanup are evidence of continuing rodent activity, but the pattern alone does not identify the species, nest, or entry point. First document where and when the signs appear, then ventilate and wet the waste with disinfectant before wiping it up; do not sweep or vacuum dry droppings.
-
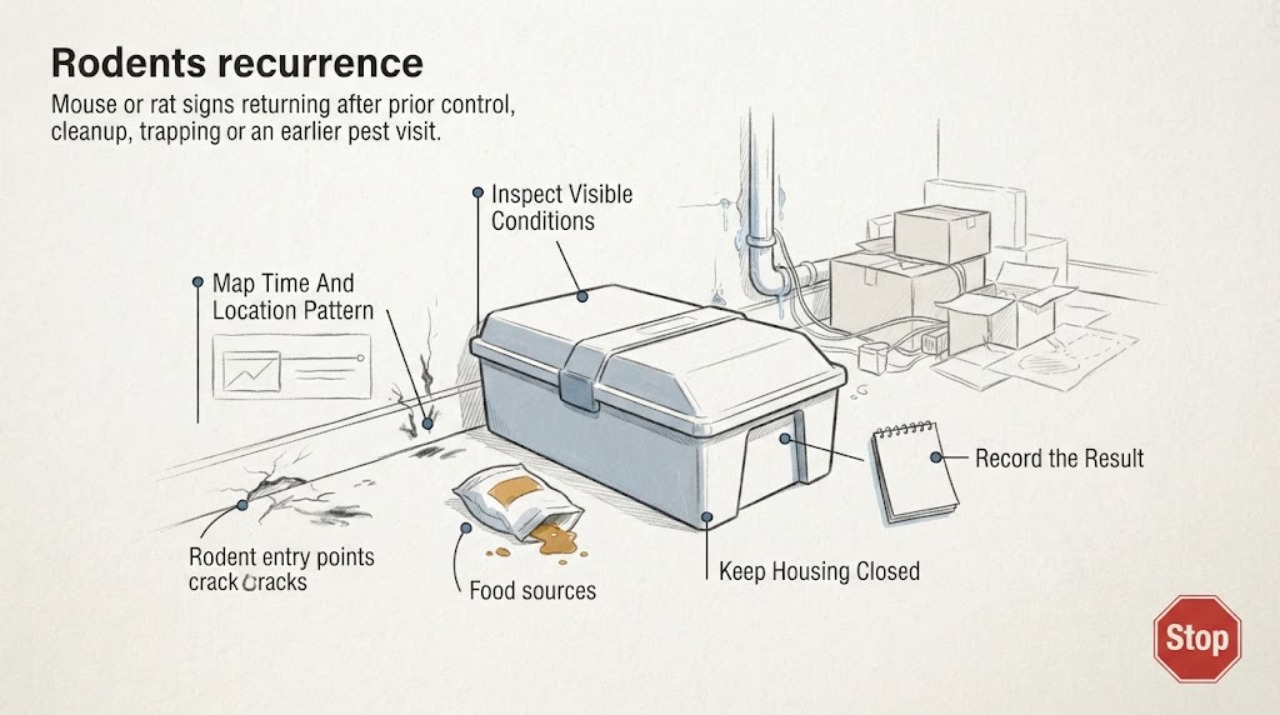
Rodents recurrence: What to Check and What to Do Next
Recurring rodent signs usually mean that an entry path, food or water source, shelter area, or untreated part of the building remains available; a single missed sign does not prove why they returned. From safe living areas and the exterior ground level, document fresh droppings or gnawing without touching them, map the room and time pattern, look for visible gaps or disturbed material without reaching into them, and record accessible food, water, trash, or shelter conditions.
-
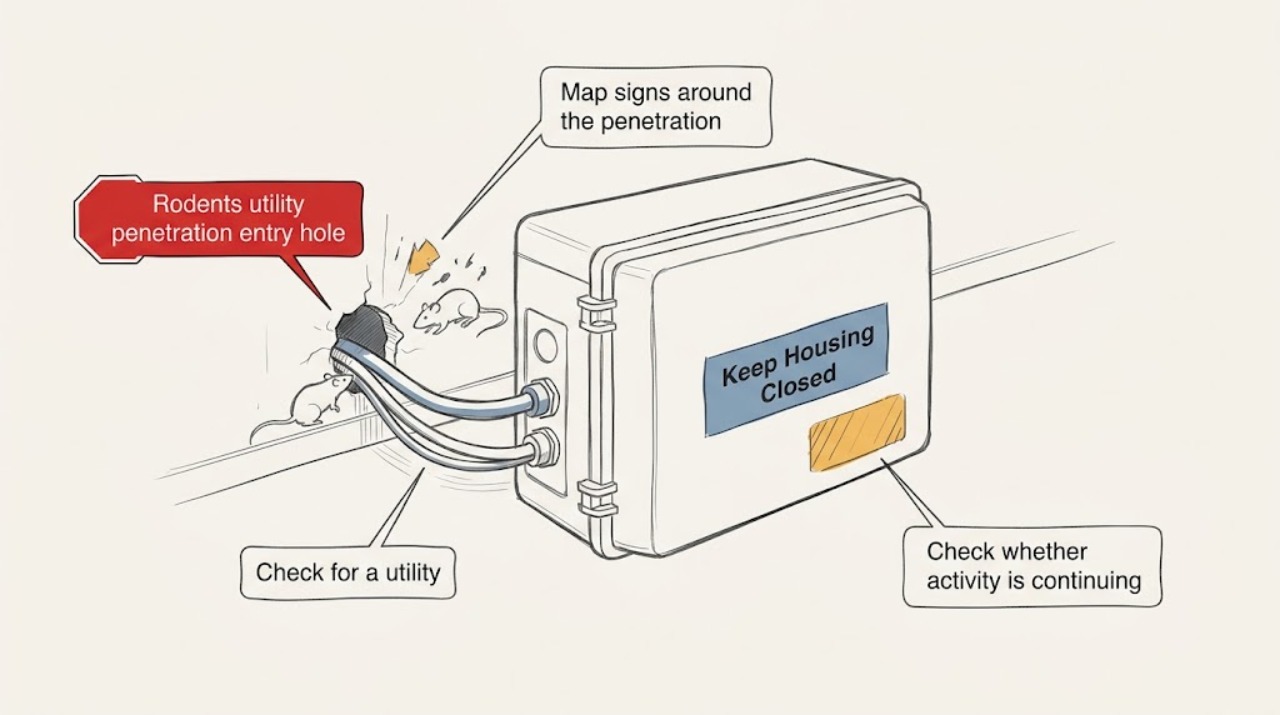
Rodents utility penetration entry hole: What to Check and What to Do Next
A hole where a pipe, cable, conduit, or service line enters the building can be a rodent route, but do not plug it blindly. From a safe, accessible position, document the opening, check for droppings, gnawing, grease marks, nesting, moisture, and live utilities, and note whether signs continue on both sides.
-
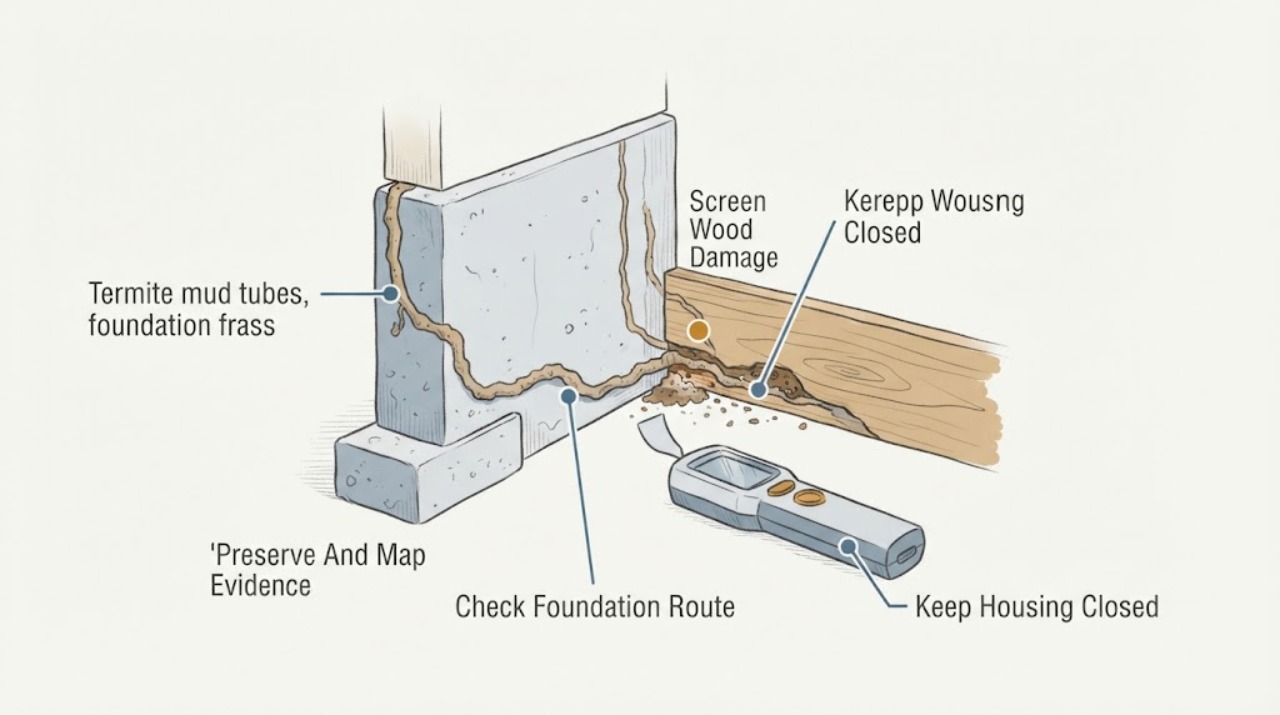
Termite mud tubes, foundation frass, and baseboard wood damage: What to check next
Mud tubes rising from soil or a foundation are a strong sign of subterranean termite activity, while a pile of dry, pellet-like frass pushed from wood is more associated with drywood termites. Seeing both clues near a foundation or baseboard does not identify one species or prove that all damage is active; the material may represent different activity, old evidence, or another source.