
Repair problem
Leaking Troubleshooting Guides – Page 6
Published FixGraph guidance for diagnosing and responding to leaking.
Matching published guides
Choose a guide that matches the service, equipment, and conditions you are seeing.
-
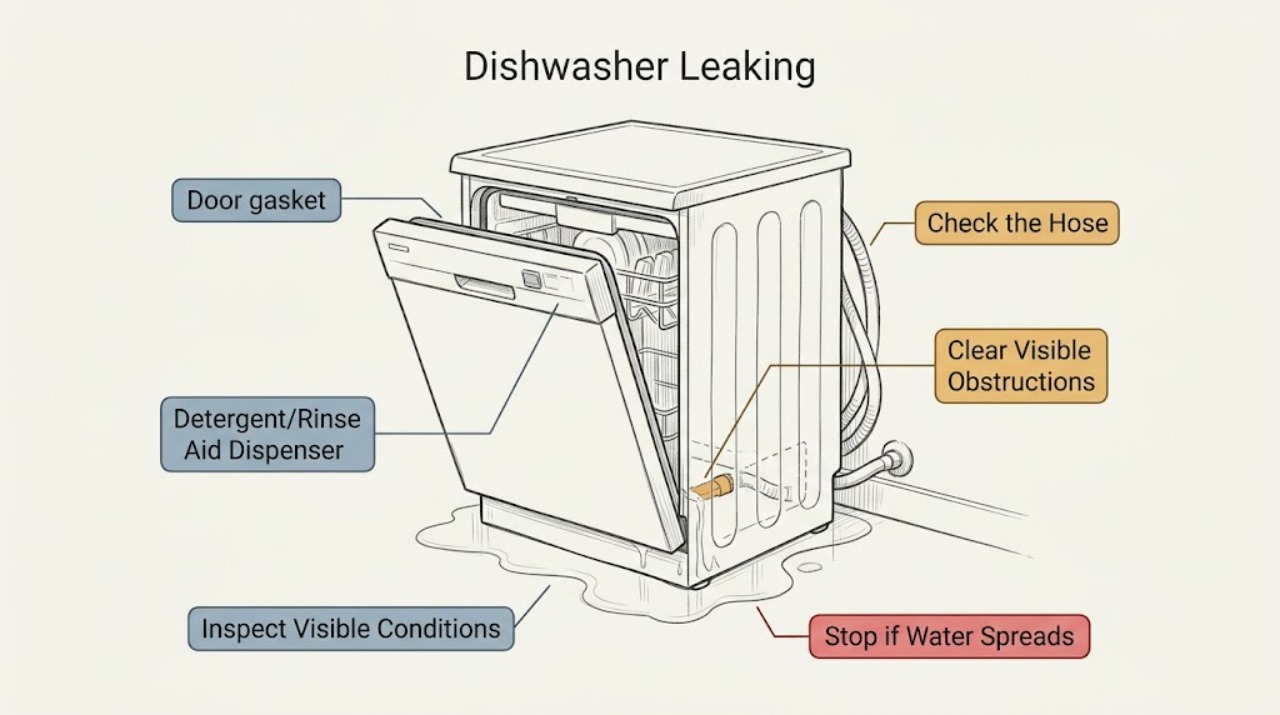
Roper Dishwasher Leaking: Check the Door, Detergent, and Accessible Drain Path
When a Roper dishwasher leaks, stop the cycle, protect the floor, and identify whether water comes from the door, dispenser, sink connection, or underneath. Check the load and gasket, use only automatic dishwasher detergent, and inspect the external drain air gap or visible connections without opening panels. The Roper guide warns against excess suds and directs internal leaks or recurring water to qualified service.
-
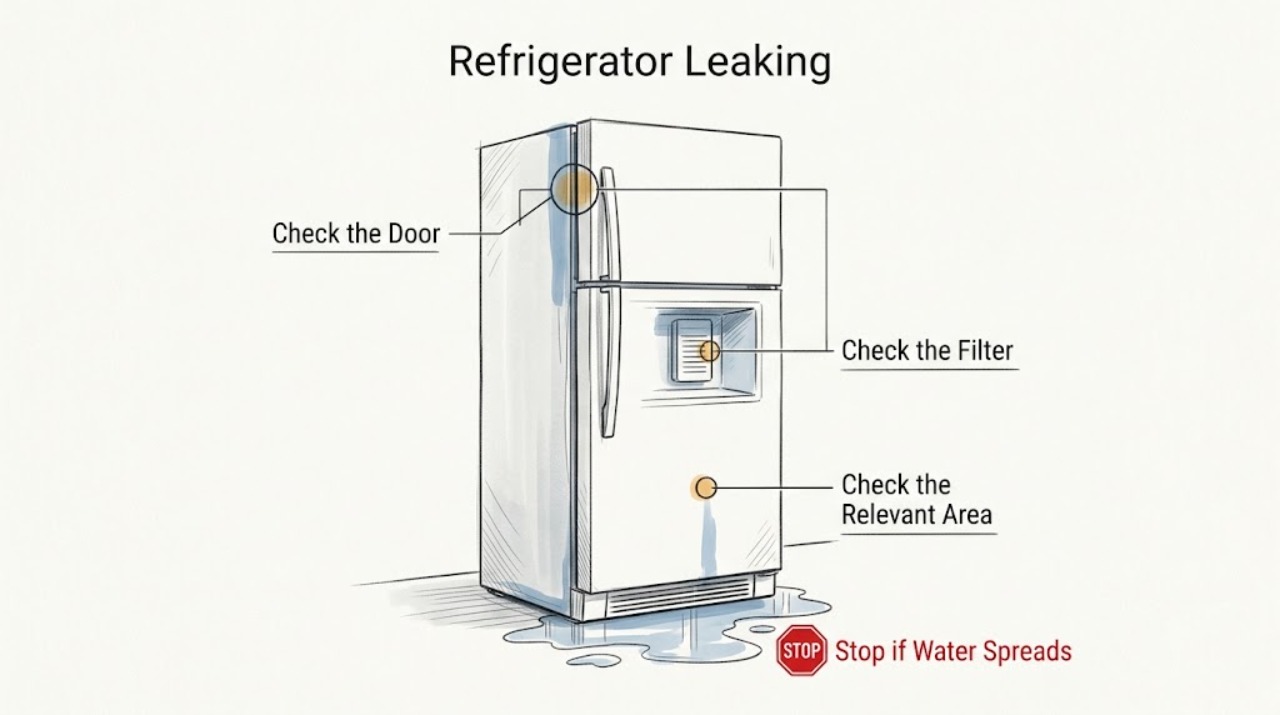
Roper Refrigerator Leaking
Protect the floor, trace the first wet point, and shut off the refrigerator water supply if the leak is active. Water at the filter, behind the cabinet, or under a door points to different checks; inspect only accessible connections and call service for a cracked line, persistent leak, or water near electrical parts.
-
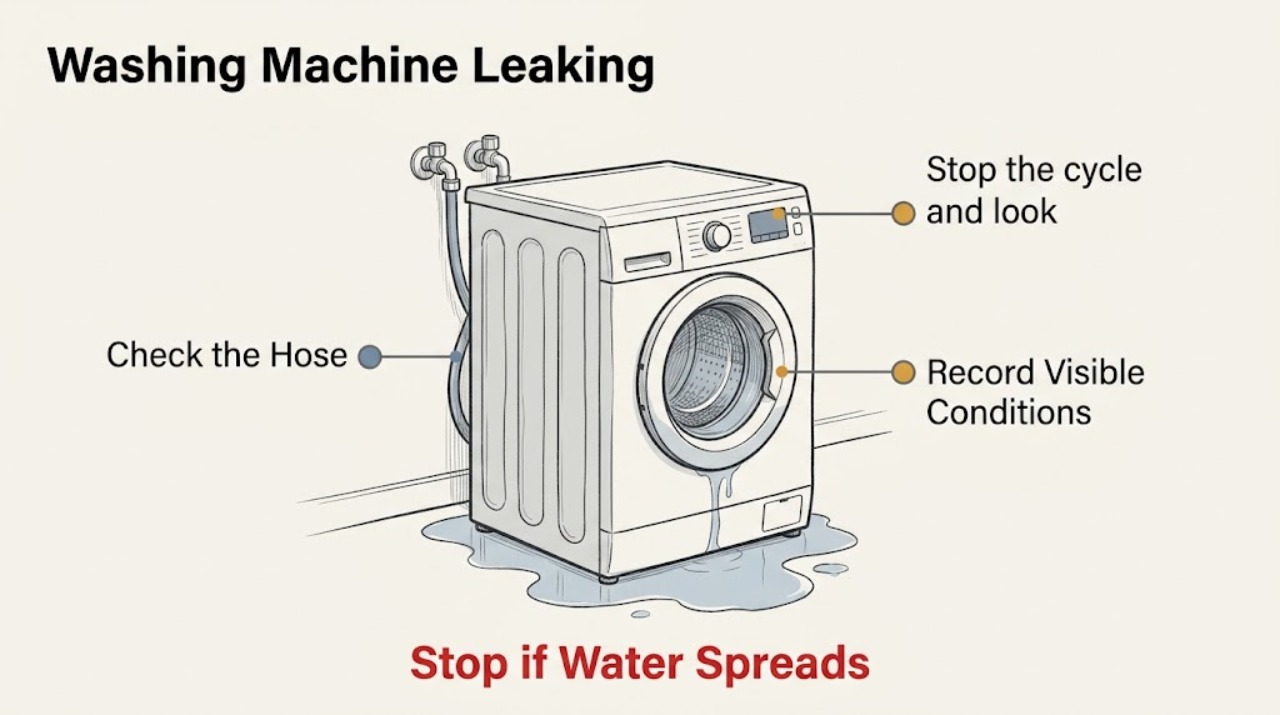
Roper Washing Machine Leaking: Find the Leak Safely
Stop the cycle and identify where the water first appears: behind the washer, over the top, inside the tub while idle, or underneath. If the water is near the outlet, cord, or other electrical parts, do not touch the plug or enter the wet area; isolate the water only from a dry, safe location and arrange qualified help.
-
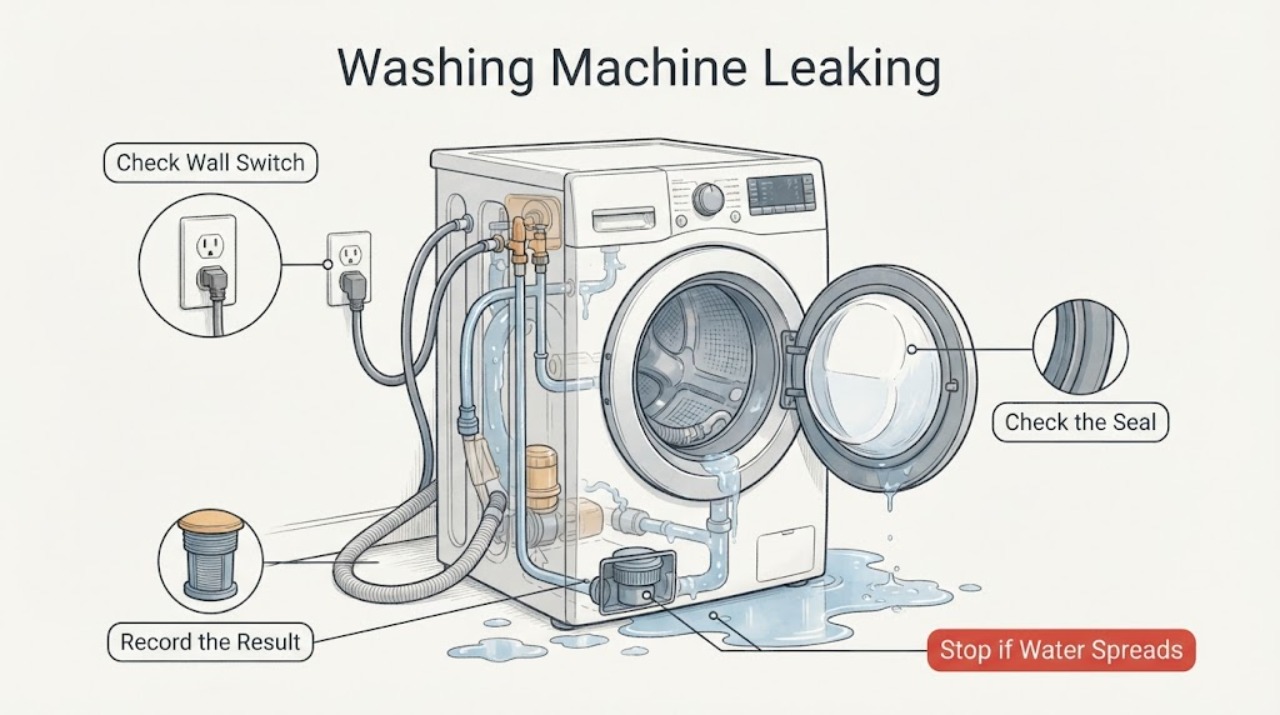
Russell Hobbs Washing Machine Leaking: Find the First Wet Point Safely
Stop the cycle, close the washing machine's water supply, and keep clear of any water near the plug, socket or other electrical parts. If the floor is dry and access is safe, switch the appliance off at its normal control and isolate its power; never reach through standing water.
-
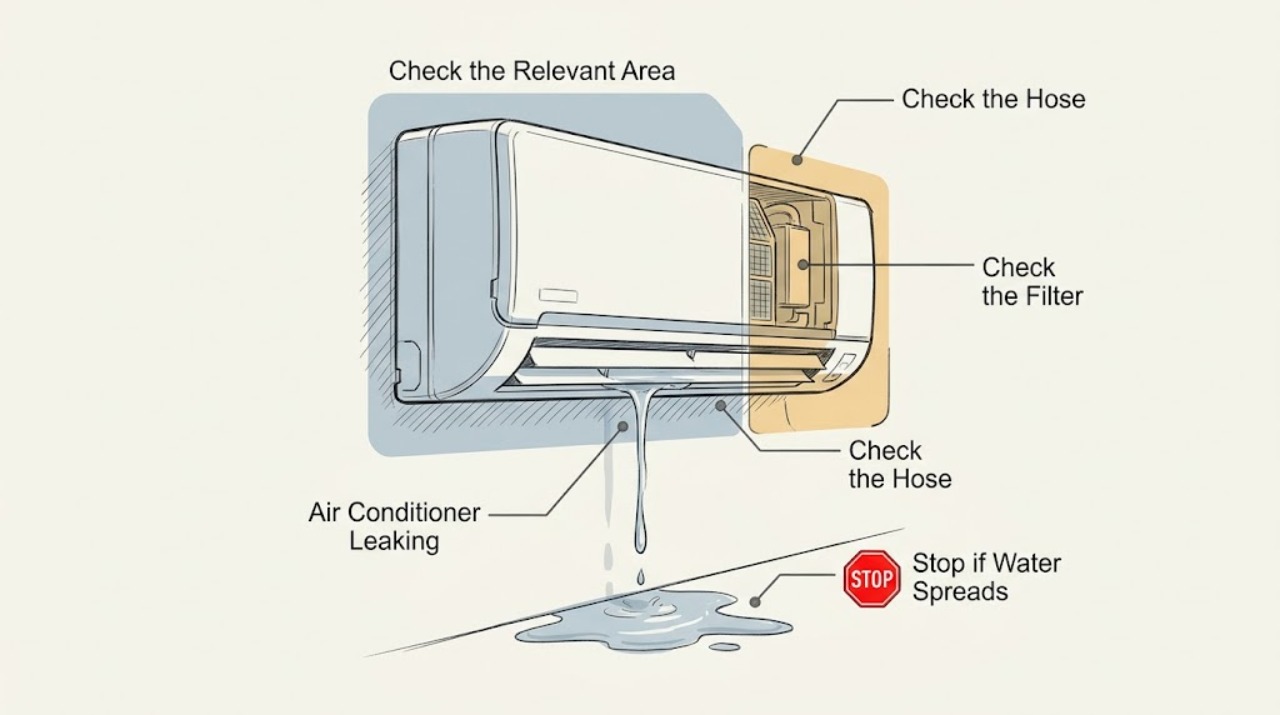
Samsung Air Conditioner Leaking: Trace the Condensate Path Safely
A Samsung air conditioner that leaks indoors usually has a condensate path, hose routing, level, filter, or airflow issue; a small amount of outdoor pipe condensation can be normal. First switch the unit off, protect the area, and identify where the water appears.
-
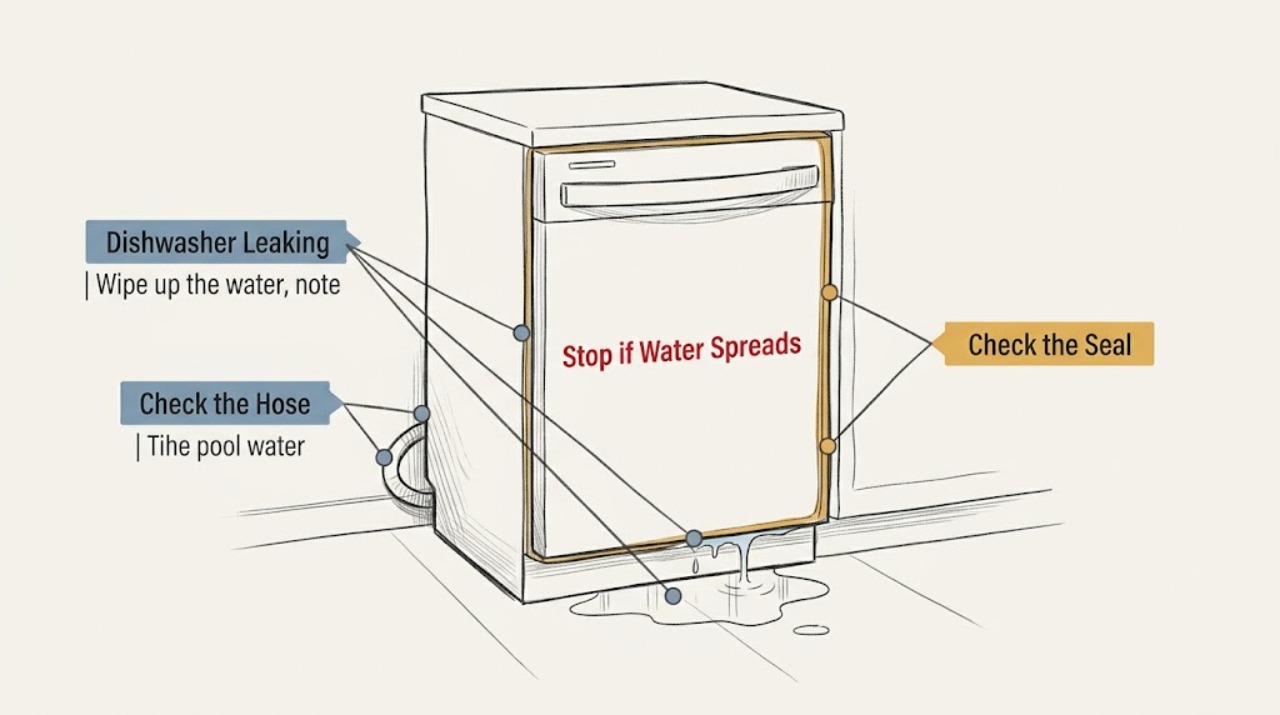
Samsung Dishwasher Leaking
Wipe up the water first and determine whether it returns during a controlled cycle. If it does, stop the dishwasher, inspect the supply and drain-hose connections, door seal, detergent type, level, and spray nozzles. Turn off water for a supply leak and arrange service for a damaged seal, persistent leak, or anything requiring cabinet access.
-
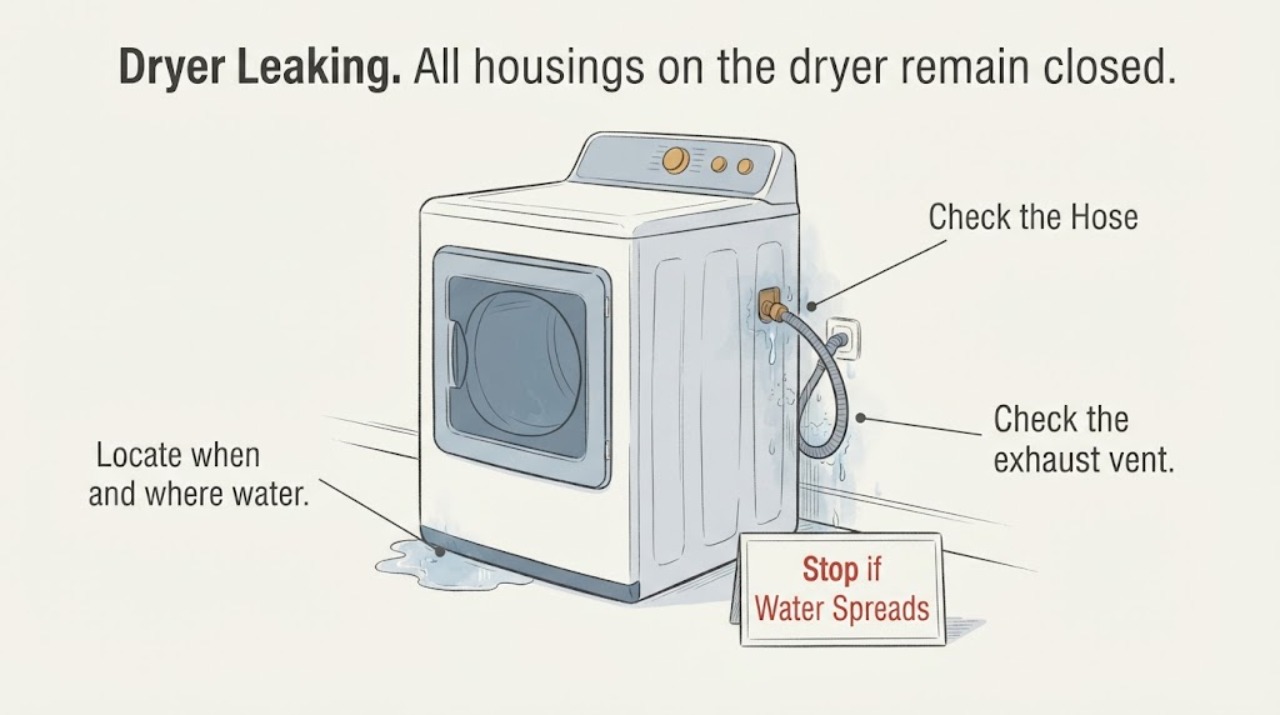
Samsung Dryer Leaking: Find the Water Source Safely
Start by locating where the water appears. On a Samsung steam dryer, moisture left in the drum after a steam-dry cycle can be normal, but dripping from the water supply hose calls for an inspection of the hose, cracks or holes, and both end gaskets or O-rings.
-
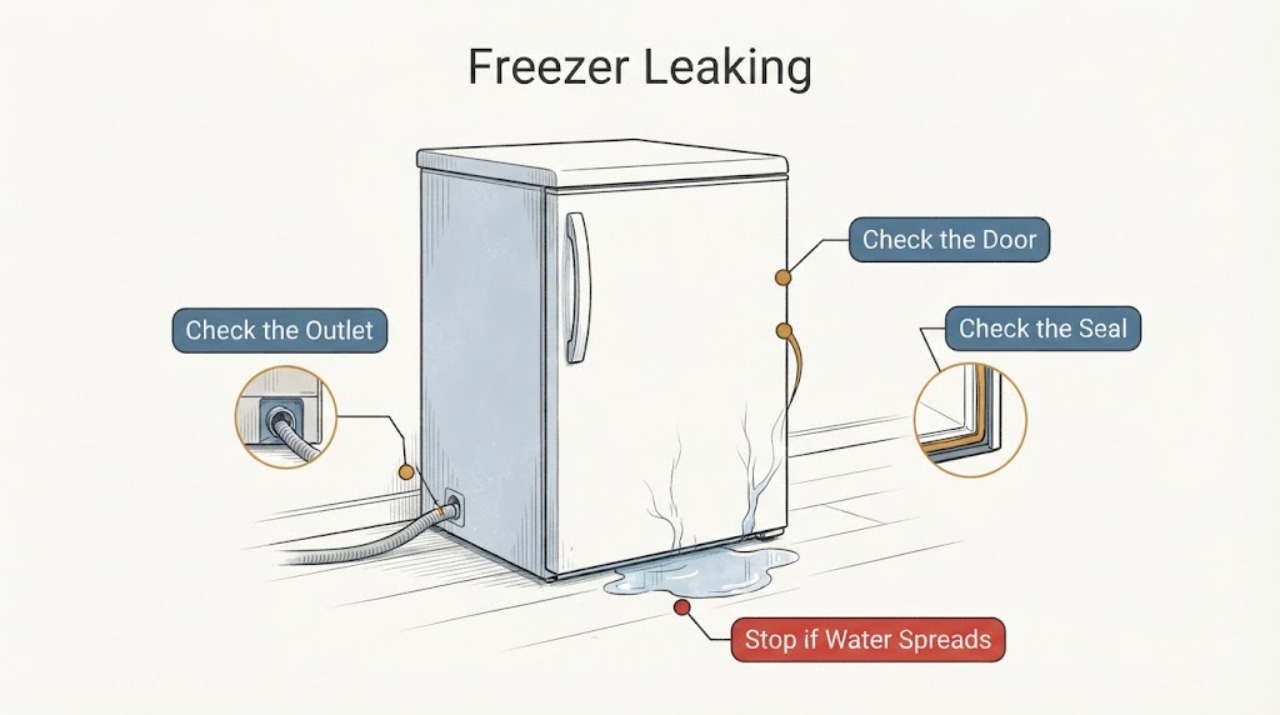
Samsung Freezer Leaking: Find the Water Source Safely
First find where the water begins instead of diagnosing from the puddle alone. Dry the floor safely, then check for a spill or condensation, a door or lid that is not sealing, frost or a blocked drain path, and an accessible ice-maker or water-line connection.
-
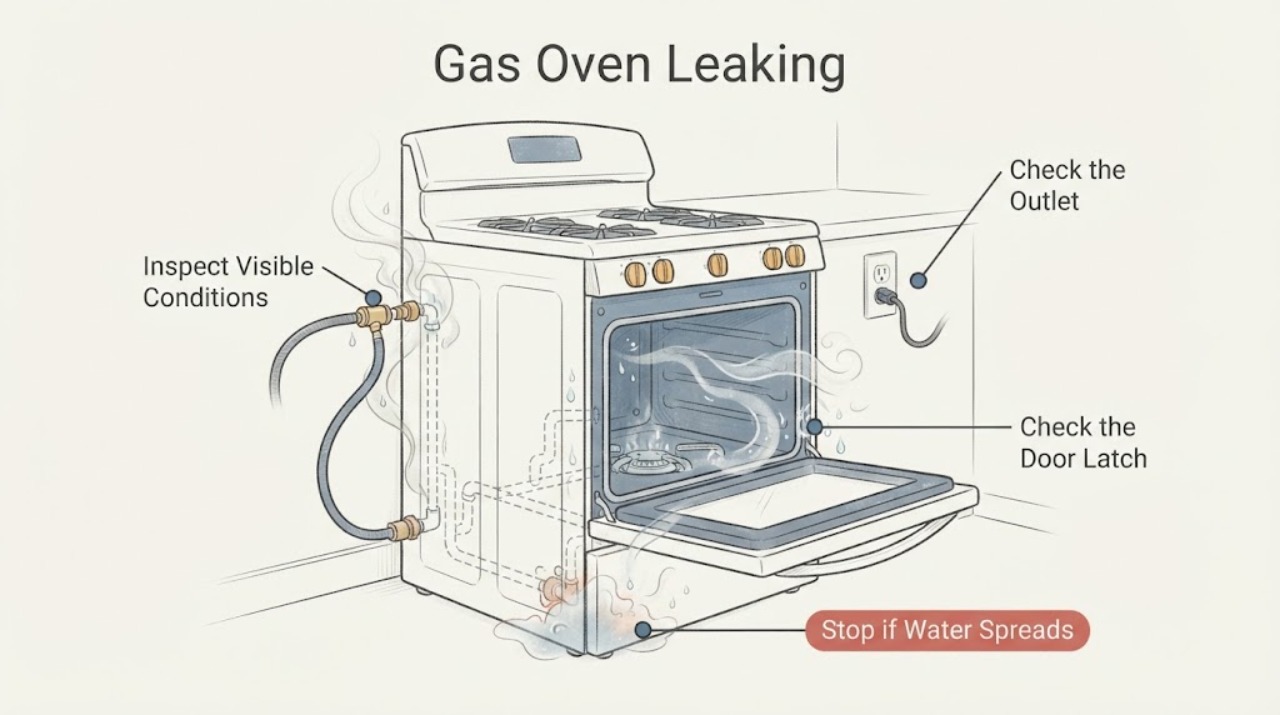
Samsung Gas Oven Leaking: Separate Gas Smell, Water, and Door-Seal Problems
Treat a Samsung gas oven that is leaking as a source-identification problem, not as one generic fault. If you smell gas, hear hissing, or suspect a gas connection or burner leak, stop using the range, leave the area, avoid flames and electrical switches, do not move or test the appliance, and contact the gas supplier or emergency service from a safe location.
-
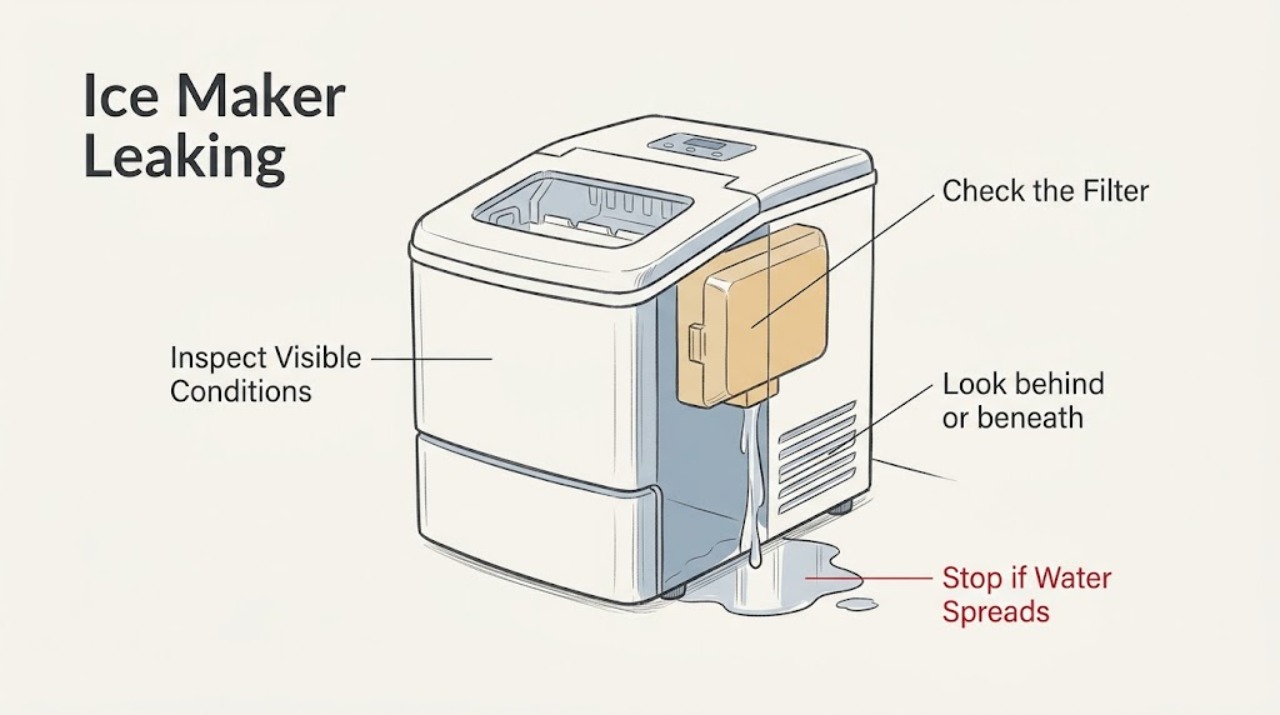
Samsung Ice Maker Leaking
For a Samsung refrigerator ice-maker leak, first identify whether water is coming from the ice chute/dispenser, filter or water connection, or the ice-maker compartment. A few drops immediately after dispensing can be normal, but water that returns, leaks while making ice, or appears near electrical parts needs service. Keep the floor dry, avoid using the affected dispenser, and do not remove sealed panels.
-
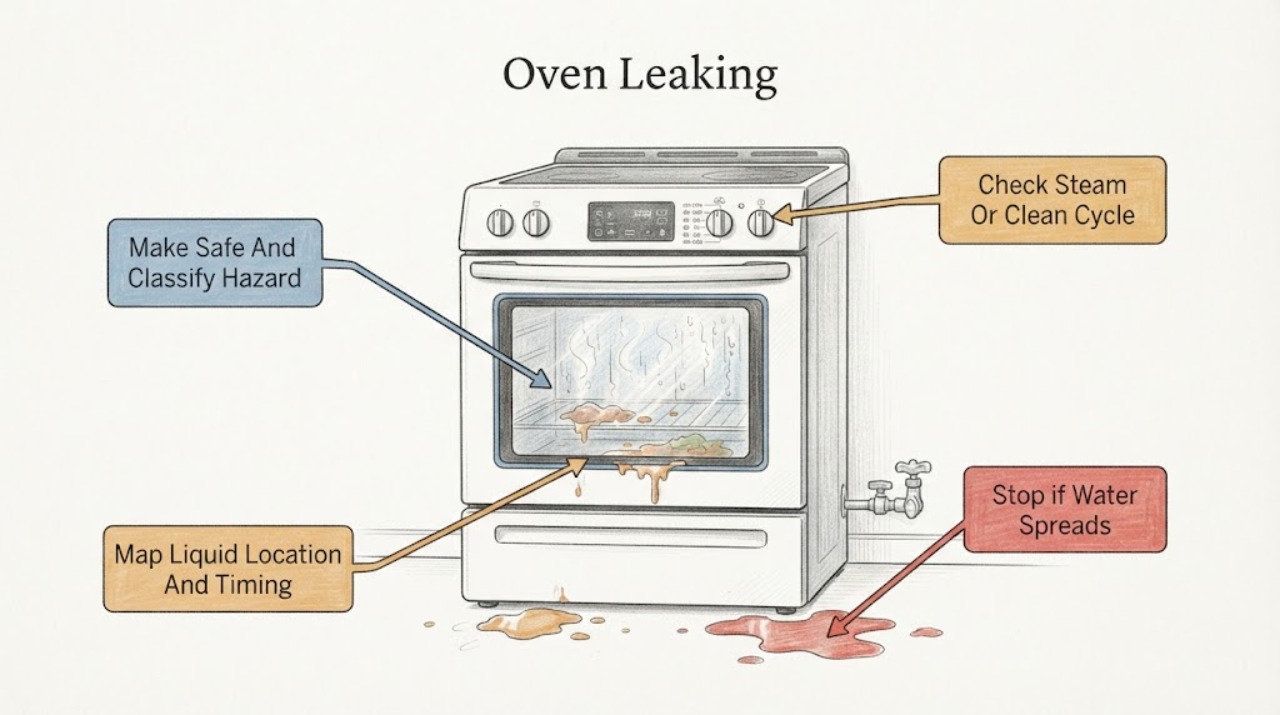
Samsung Oven Leaking
A Samsung oven that appears to be leaking may be releasing steam or condensation, retaining water after an applicable Steam Clean cycle, or allowing liquid food residue to run toward the door. Samsung says Steam Clean models can have a significant amount of hot water left in the cavity after the cycle, and that some wall-oven models use water for Steam Cook; let the oven cool before wiping it and follow the exact model manual.
-
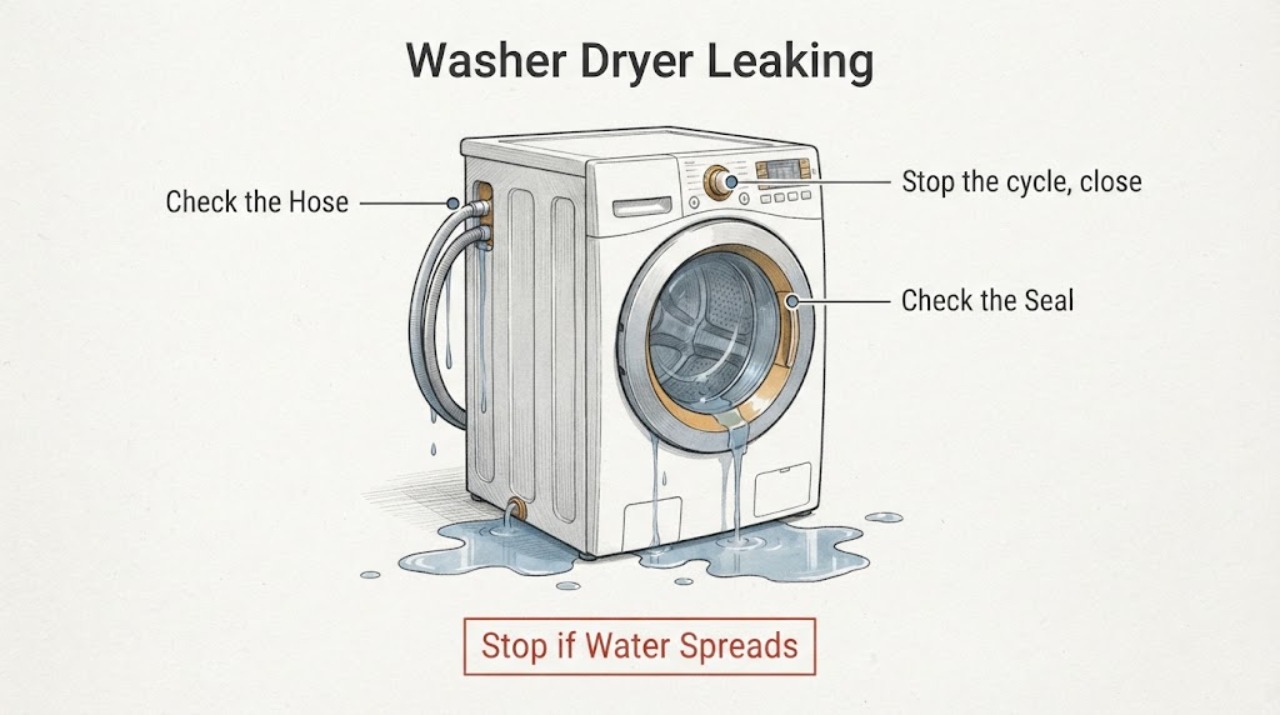
Samsung Washer Dryer Leaking: Find the Safe Water Source
Stop the Samsung washer-dryer, turn off its water supplies, and disconnect power only if you can do so without standing in water or touching damaged electrical parts. Wipe up enough water to locate where it first returns, then check the supply-hose connections, front-door gasket, drain hose and holder, pump-filter area, detergent drawer, load size, and level.
-
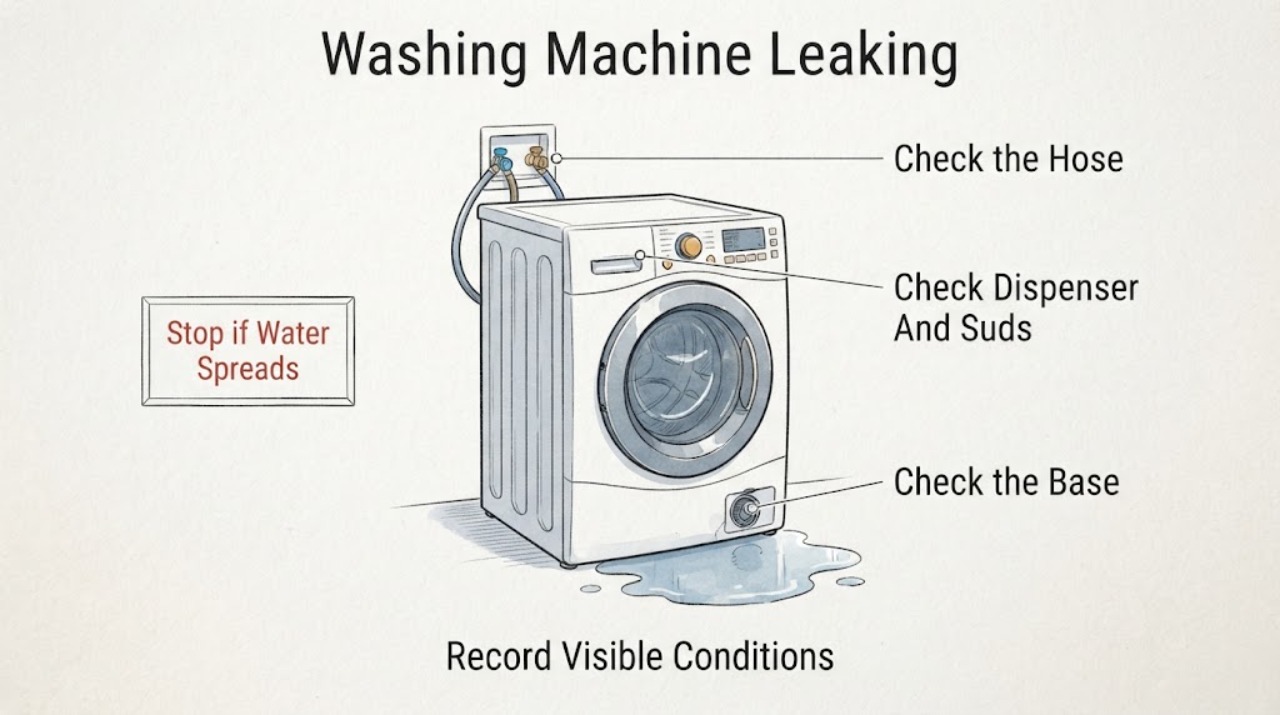
Samsung Washing Machine Leaking: Find the First Wet Point Safely
Stop the Samsung washer, keep water away from the plug and outlet, and close both household water valves if the leak is active. Find the first wet point rather than assuming the puddle's location is the source: check the supply hose and inlet connections, dispenser and suds, front-load door gasket, drain hose and pump-filter area, then the underside only from a safe standing position.
-
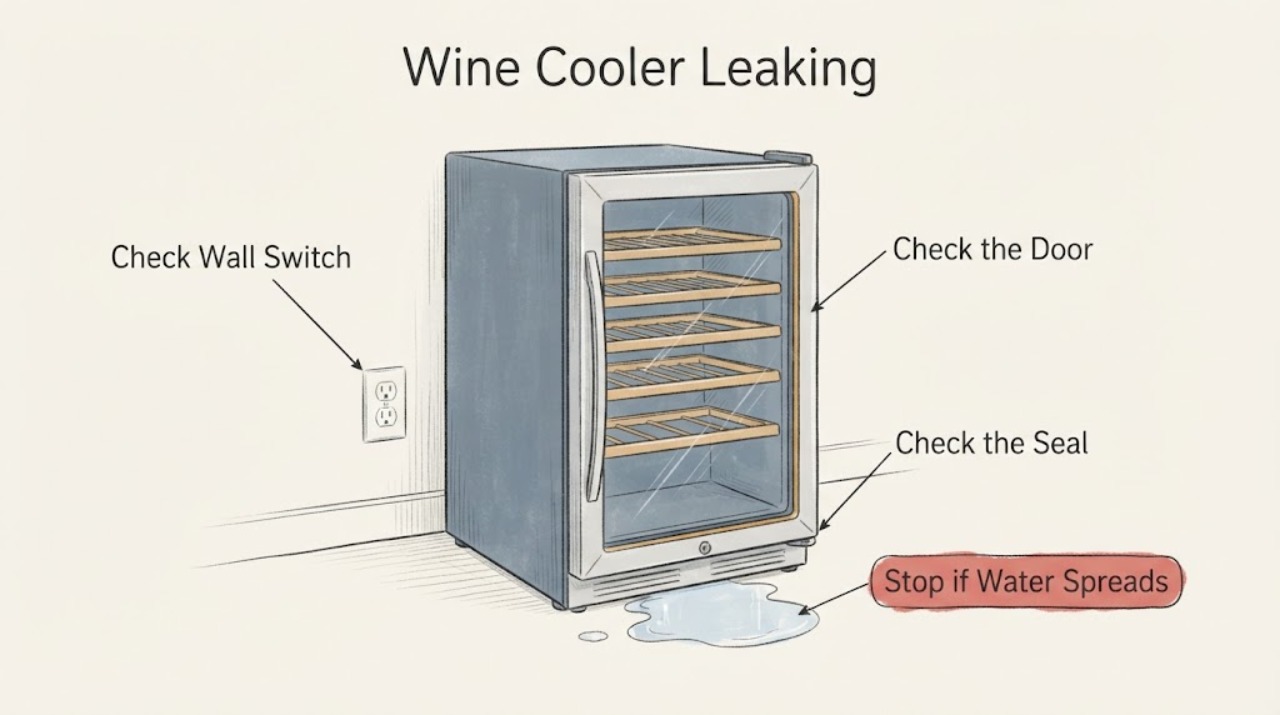
Samsung Wine Cooler Leaking
First determine whether the water is a spill, light condensation inside the Samsung wine cooler, or a continuing pool coming from the cabinet or floor. Wipe up the water, keep the door closed, and do not spray water into the unit.
-
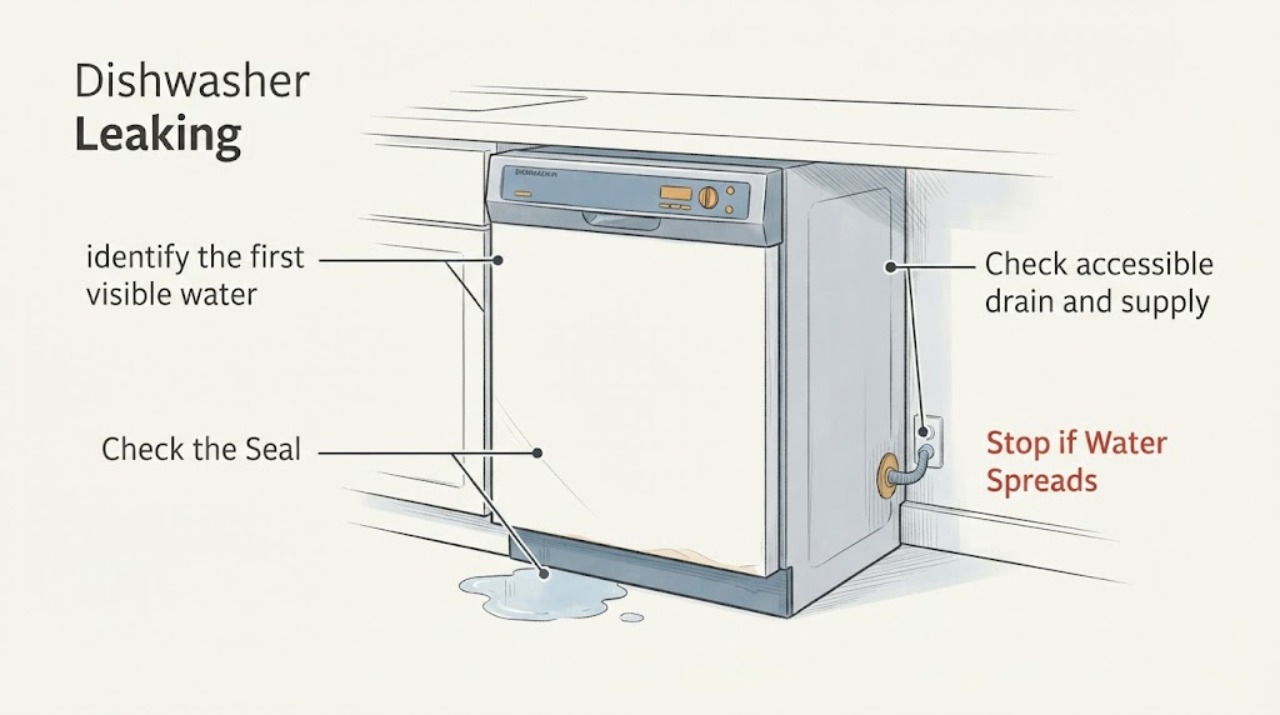
Sharp Dishwasher Leaking
A leaking Sharp dishwasher should be stopped while you identify whether water is at the door, hose connection, tub base, or floor. Inspect only visible seals and connections; persistent or internal leaks require qualified service.
-
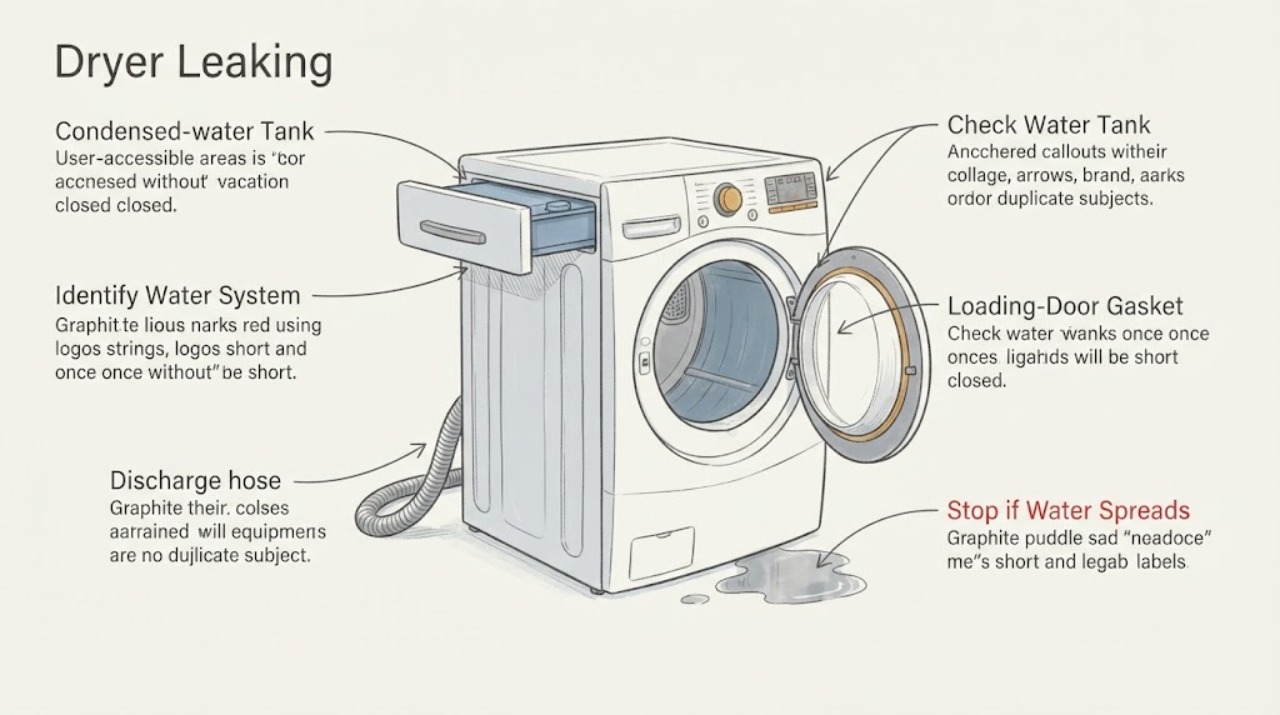
Sharp Dryer Leaking: Check the Water Tank, Hose, and Door Seal
A Sharp heat-pump dryer can produce condensed water during drying. If water is leaking, stop the cycle and identify whether it is coming from the loading-door gasket, the removable water tank, or an optional direct-drain hose.
-
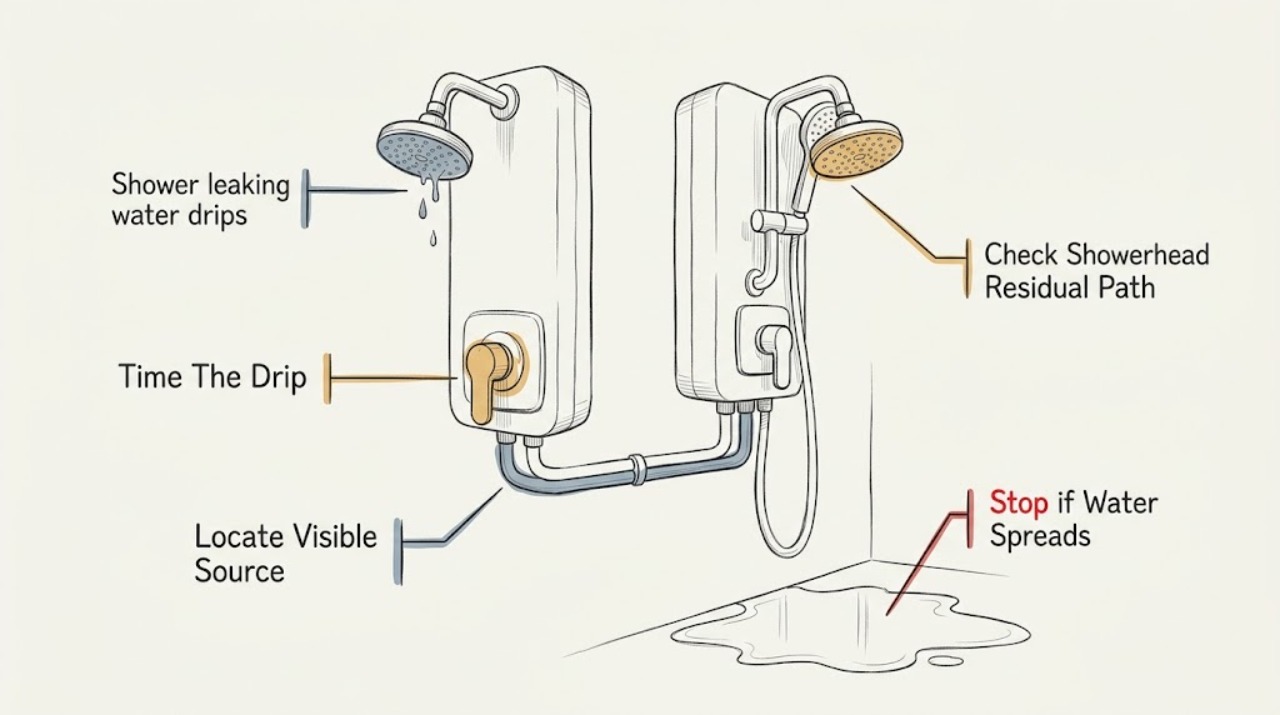
Shower leaking water drips with valve closed: What to Check and What to Do Next
A shower that keeps dripping after the valve is closed may only be draining water left in the showerhead, but a steady or recurring drip can indicate a worn cartridge, internal seal, valve, diverter, or a concealed leak. First note where the water appears and whether it stops within roughly 90 seconds.
-
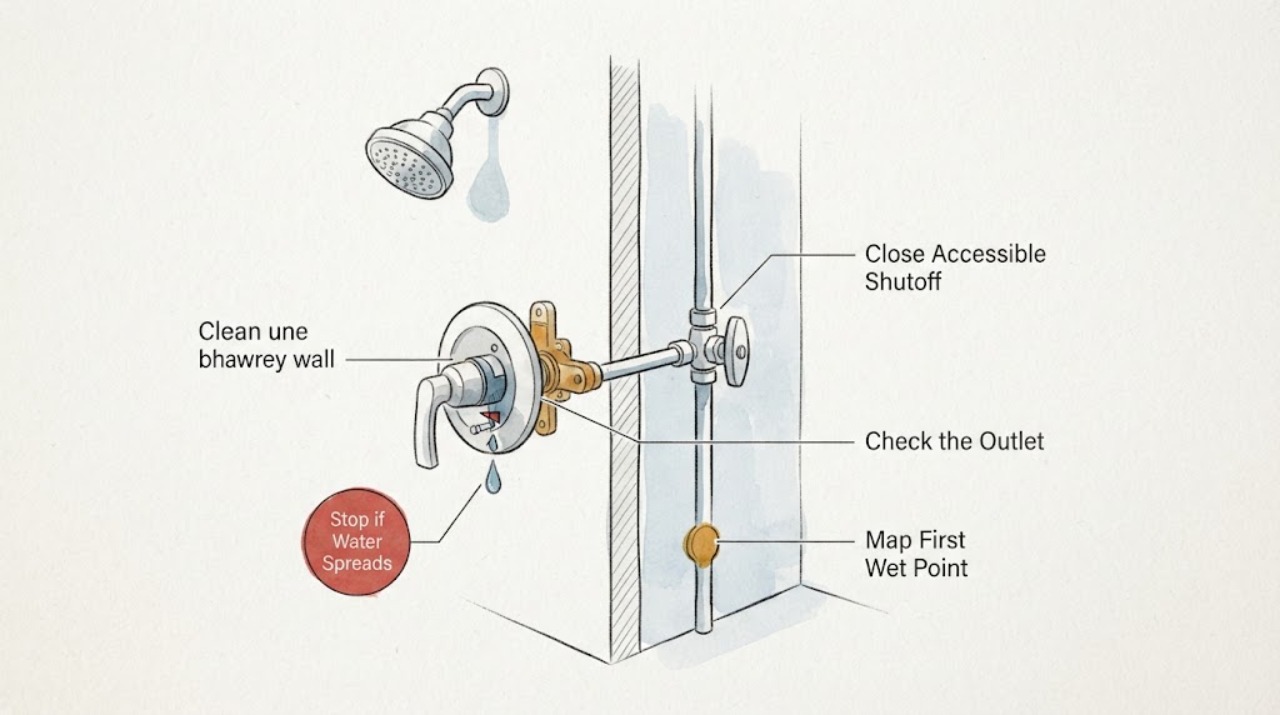
Shower leaking with an accessible shutoff: What to Check and What to Do Next
Use the accessible water shutoff first, then determine where and when the shower leaks. Close the supply stop without forcing it, briefly open the shower control to release residual pressure, and confirm whether the water stops or only slows.
-
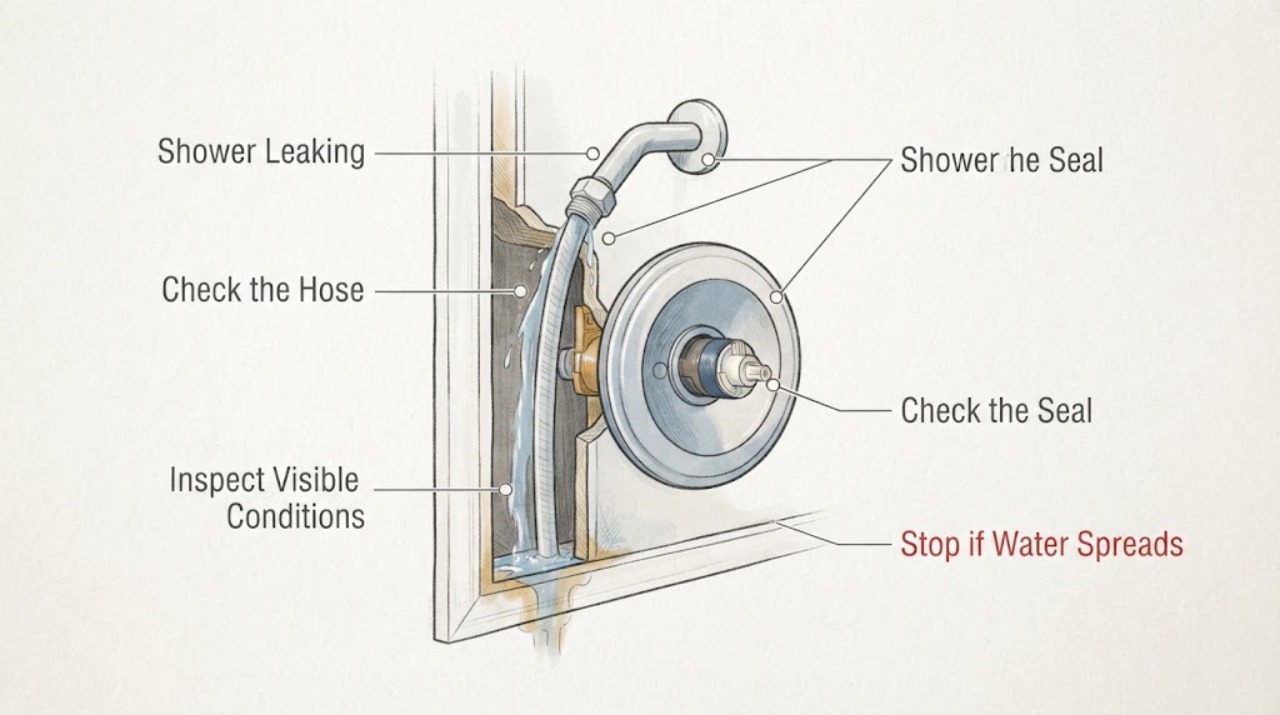
Shower Leaking: Wall or Trim Is Wet—What to Check and What to Do Next
A wet shower trim or wall does not by itself prove that the valve is leaking: water can splash onto the escutcheon, run along the handle, or condense on a cool surface. Dry the area, note exactly where moisture first returns, and test only from a safe position.
-
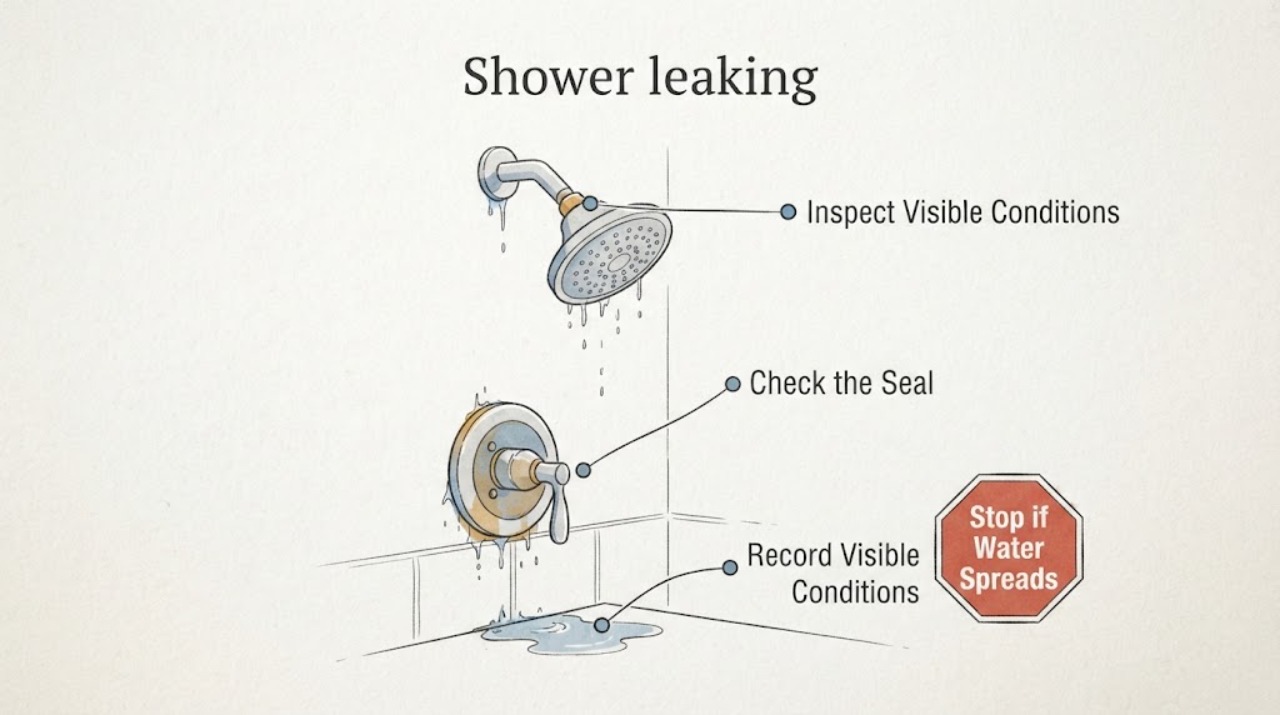
Shower leaking: What to Check and What to Do Next
First identify where and when the water appears: from the showerhead while the handle is off, around the handle or trim, from the tub spout while diverted, or behind the wall or onto the floor. A few visible drips can have a different cause from continuous flow or hidden moisture.
-
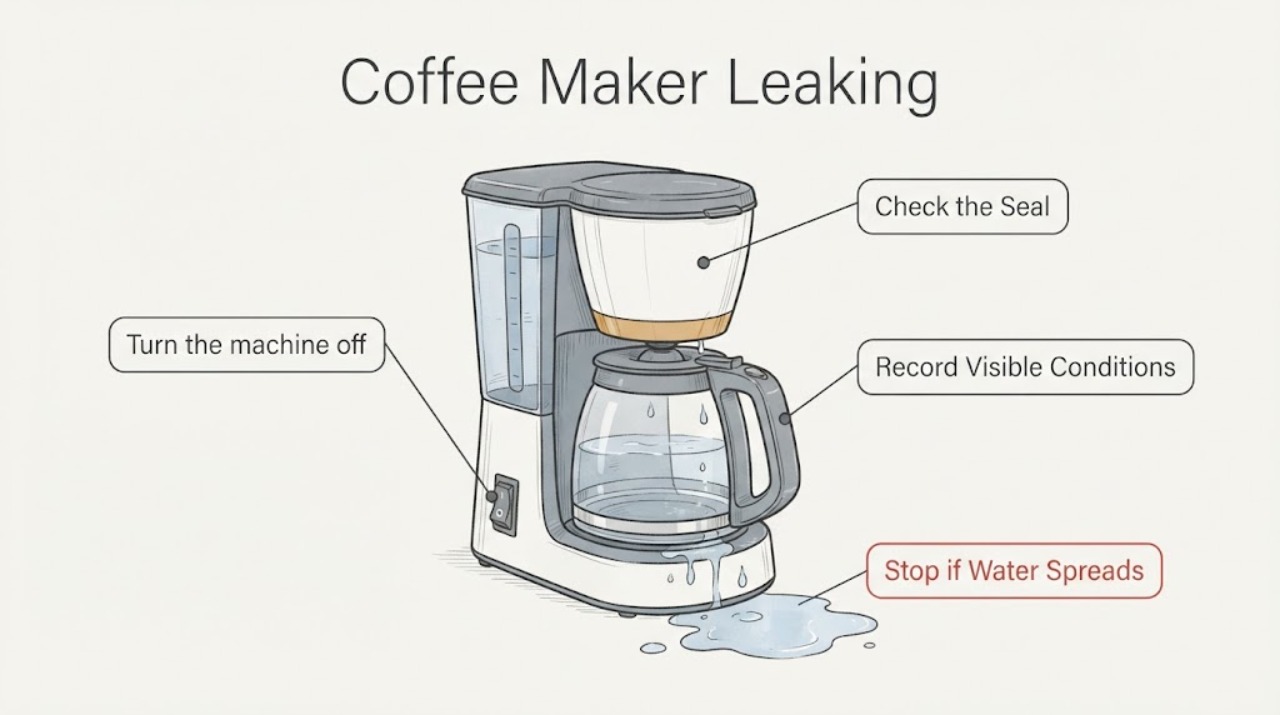
Siemens Coffee Maker Leaking
For a Siemens coffee maker that is leaking, identify the exact model and display message first because Siemens troubleshooting steps differ across EQ families. Use only the model manual’s accessible cleaning, water, brewing-unit, or restart step. Do not force the mechanism or open the appliance; persistent faults, leaks, or repeated messages belong with Siemens service.
-
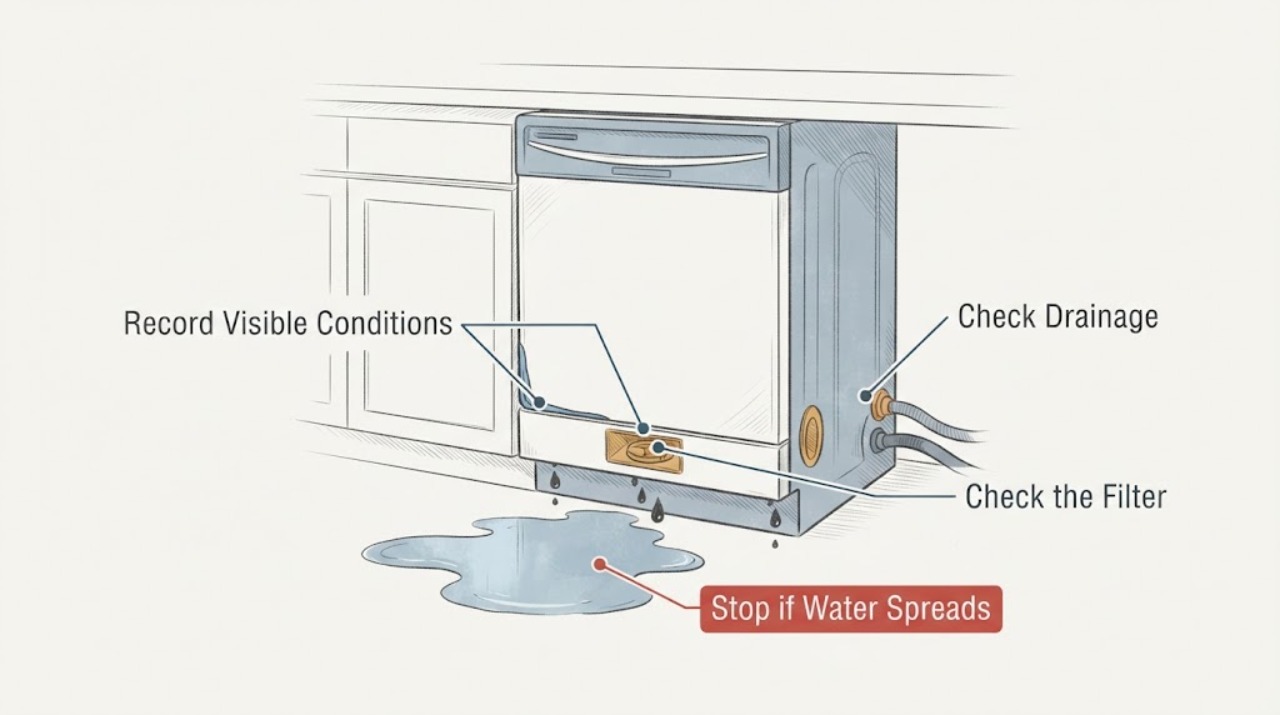
Siemens Dishwasher Leaking
For a Siemens dishwasher that is leaking, begin with the symptom’s observable path: filter and pump for draining or odour, water supply for filling, detergent and spray arms for dispensing or wash results, and the model manual for display messages. Switch off and isolate water or power when the official guidance calls for it. If the issue persists, leaks, or the dishwasher will not heat, arrange Siemens service.
-
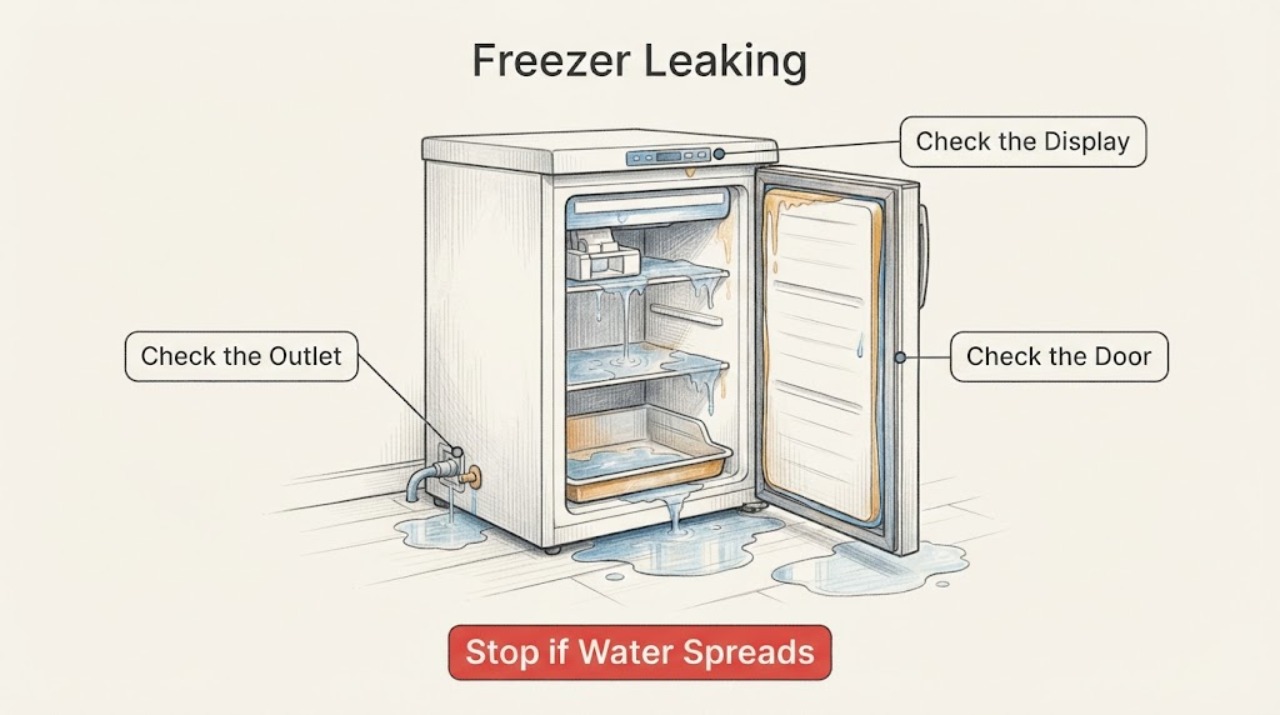
Siemens Freezer Leaking: Trace the Water Safely Before It Reaches Power
First protect people, electricity, and frozen food. If water is touching a plug, outlet, controls, or wiring, or if the leak is rapid or reaches the floor, stop using the freezer and isolate power only if you can do so without touching water or creating another hazard.
-
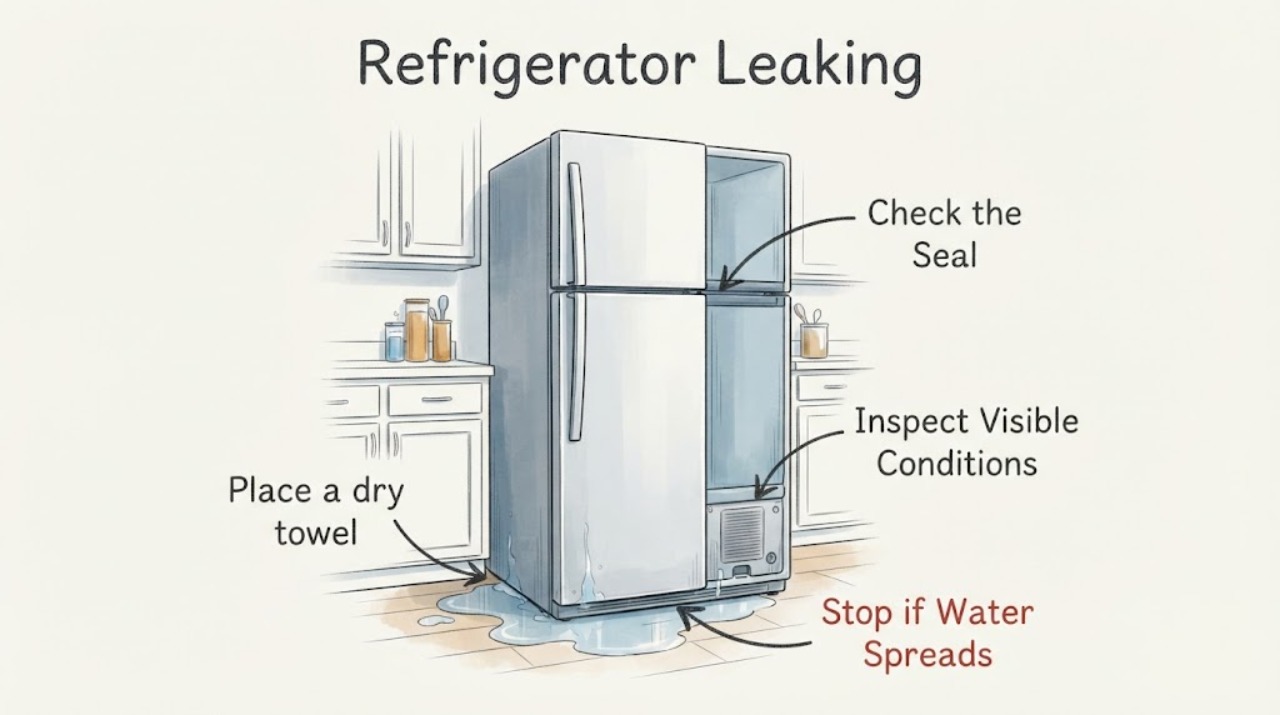
Siemens Refrigerator Leaking
Water around a Siemens refrigerator should be traced from the dispenser or collecting area to the drain path and water connections. If water is actively escaping, stop the water supply if it can be reached safely and keep the appliance off until the source is controlled.
-
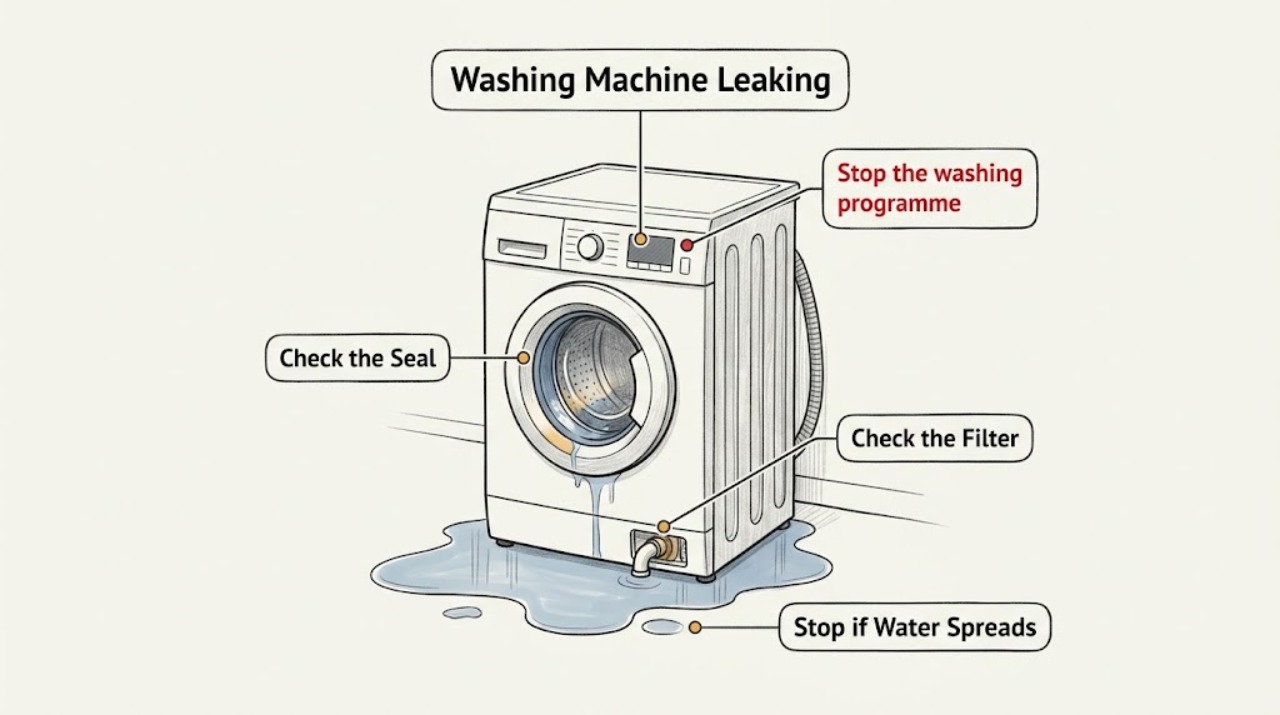
Siemens Washing Machine Leaking: Find the First Wet Point Safely
Stop the cycle, keep people away from the water, and close the water supply tap before tracing a Siemens washing-machine leak. If it is safe to do so from a dry position, disconnect power; do not touch a plug or appliance that is wet or standing in water.
-
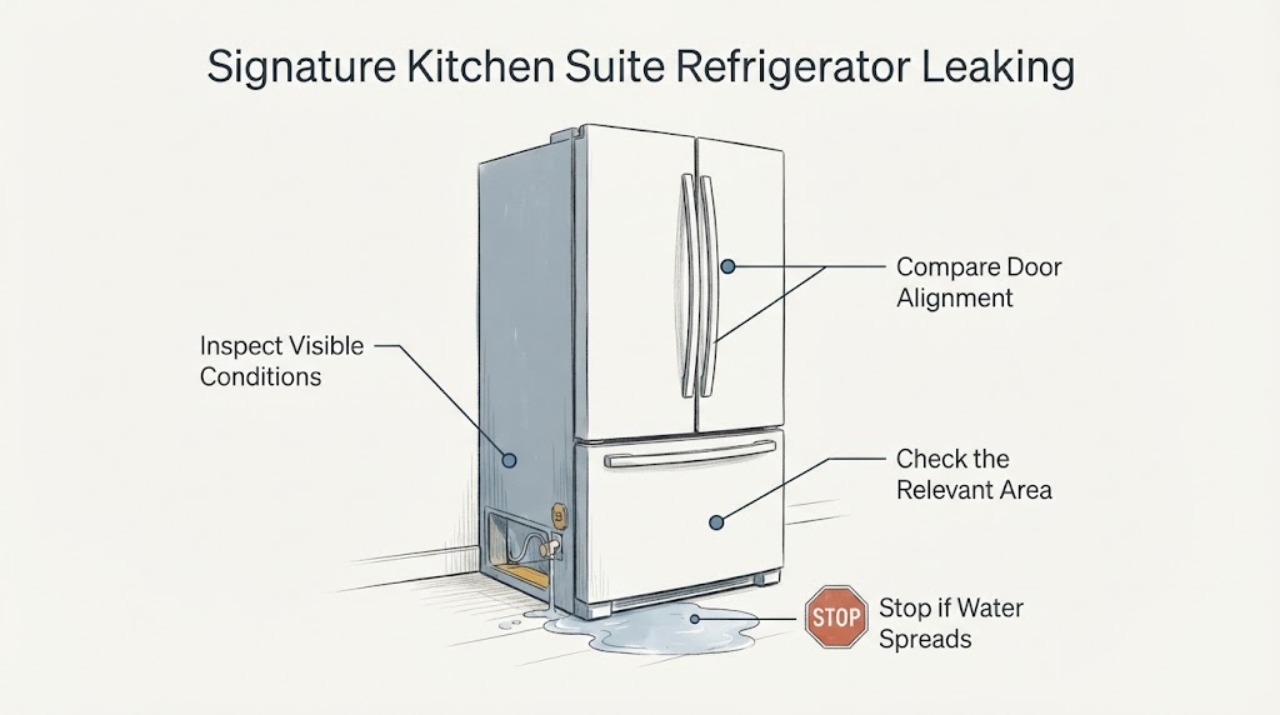
Signature Kitchen Suite Refrigerator Leaking
For a Signature Kitchen Suite refrigerator that is leaking, first identify whether water starts inside the cabinet, at the dispenser or water filter, at the rear water line, or only on the floor around the appliance. SKS sells several refrigerator types with model-dependent dispenser, filter, and ice features, so do not assume one water path.
-
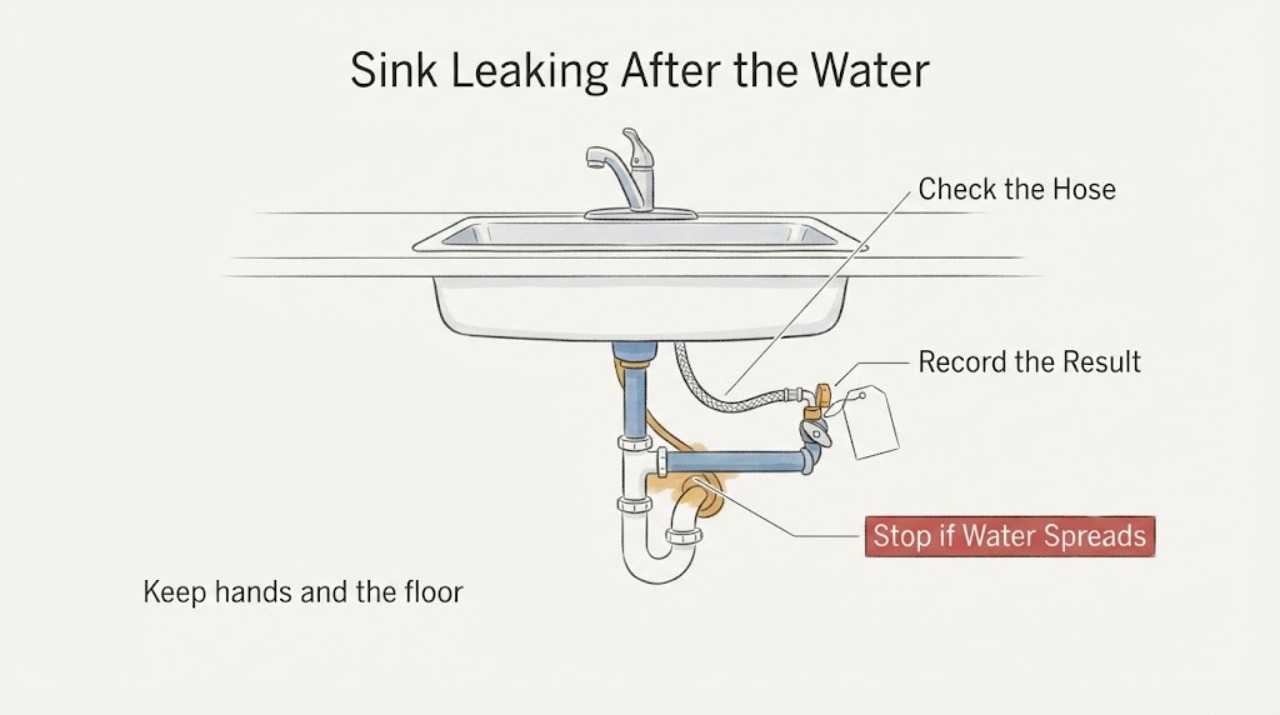
Sink Leaking After the Water Was Shut Off in a New House
Do not assume a new-house sink leak is normal after the water was shut off. Close the local sink valves, and if the leak continues or the valves do not isolate it, close the home's main water shutoff from a dry, safe location.
-
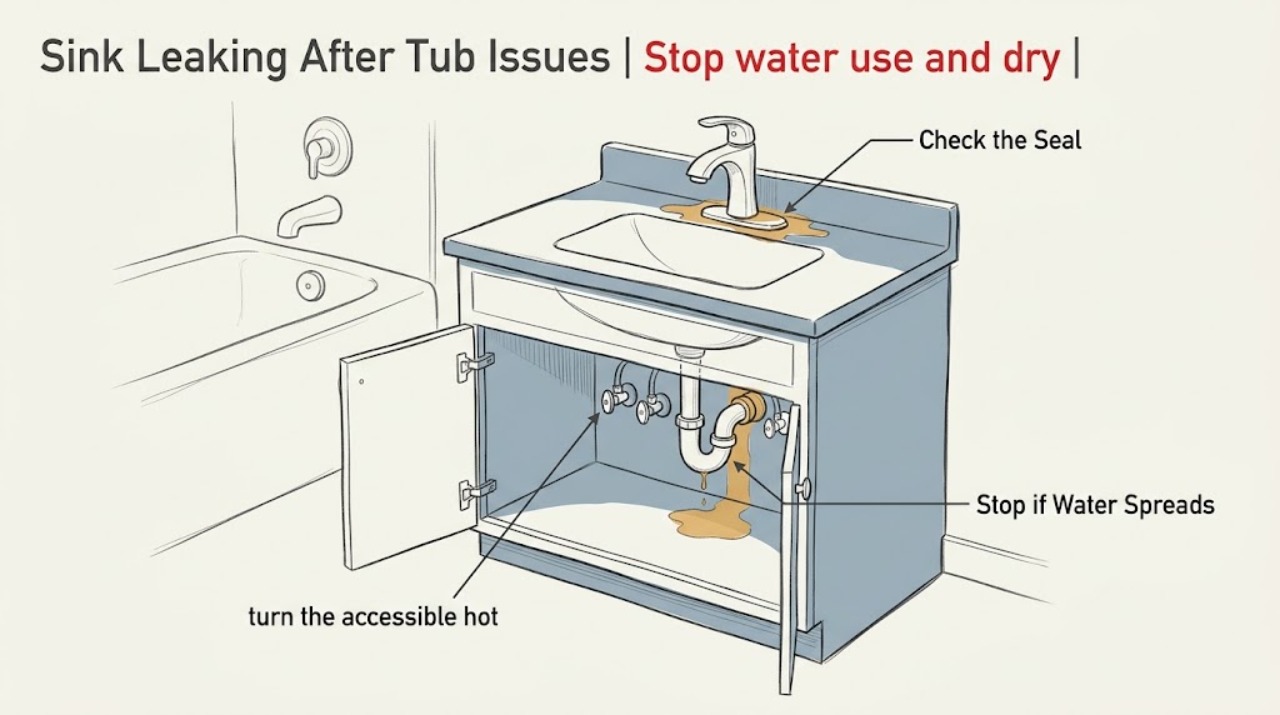
Sink Leaking After Tub Issues: Find the First Wet Point Safely
The timing after tub trouble or after something was put in the tub does not prove that the tub caused the sink leak. Find the first wet point while no water is running: sink faucet or supply connection, drain or trap, cabinet wall and floor, or a nearby tub, wall, or ceiling.
-
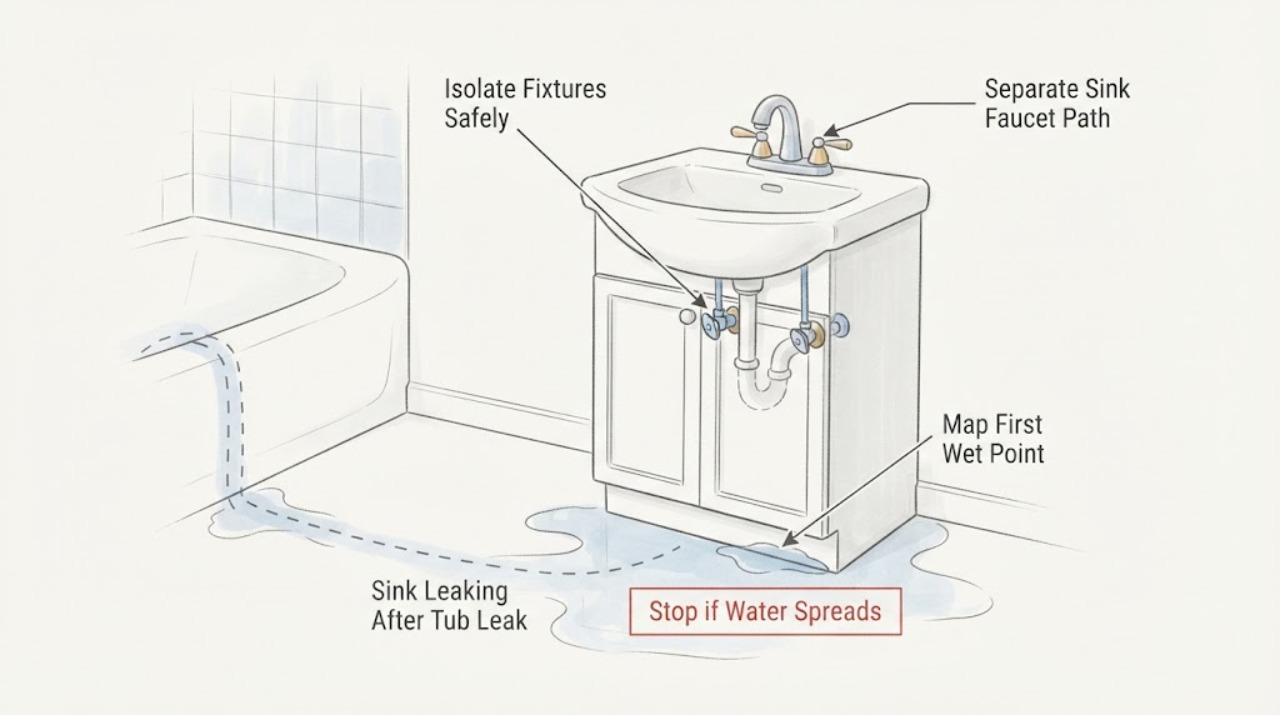
Sink Leaking After Tub Leak Problems: Separate the Fixture from the Shared Plumbing
A sink that starts leaking after tub leak problems may have a separate faucet, supply, drain, or seal failure, or the tub event may have exposed a shared drain, wall, floor, or cabinet path. Do not assume the tub caused the sink leak.
-
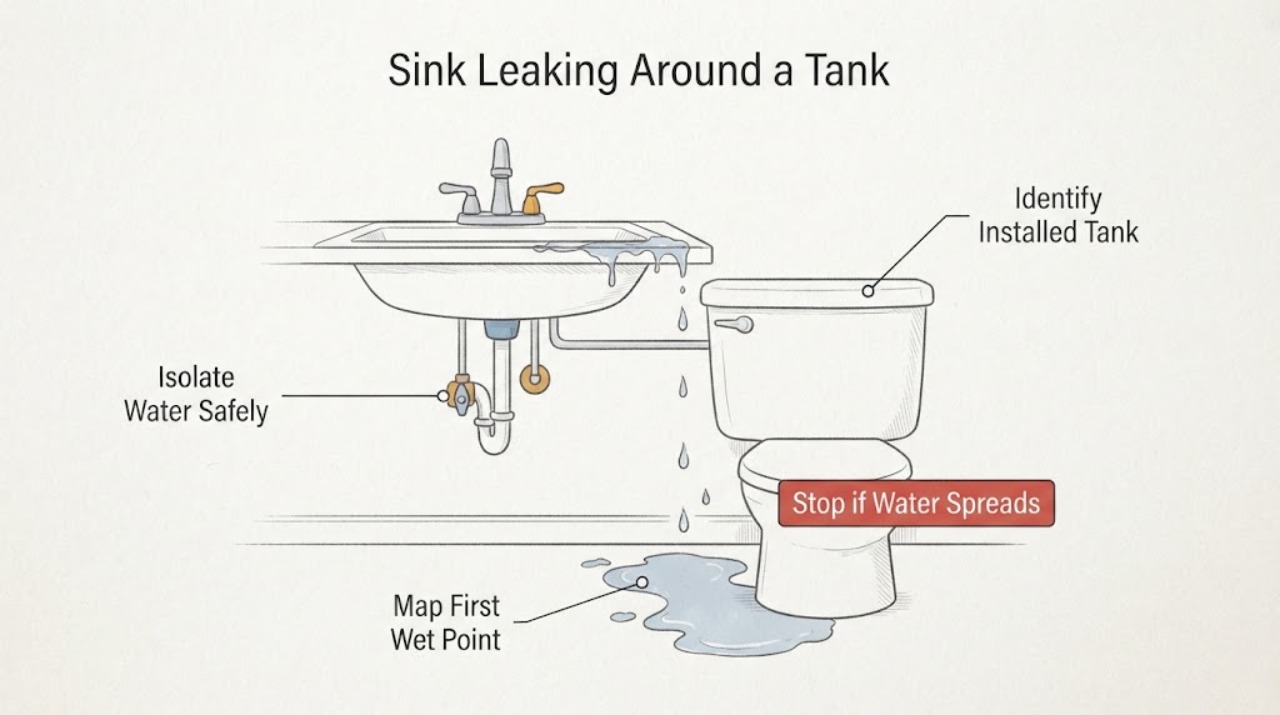
Sink Leaking Around a Tank: Find the First Wet Point Safely
A leaking sink with a tank underneath is not automatically a failed tank: the water may come from a supply connection, filter or reverse-osmosis tube, faucet, drain, or an under-sink hot-water device. First keep the cabinet safe, close the local water shutoff when you can reach it without touching wet electrical equipment, and find the first point that becomes wet rather than guessing from the puddle.
-
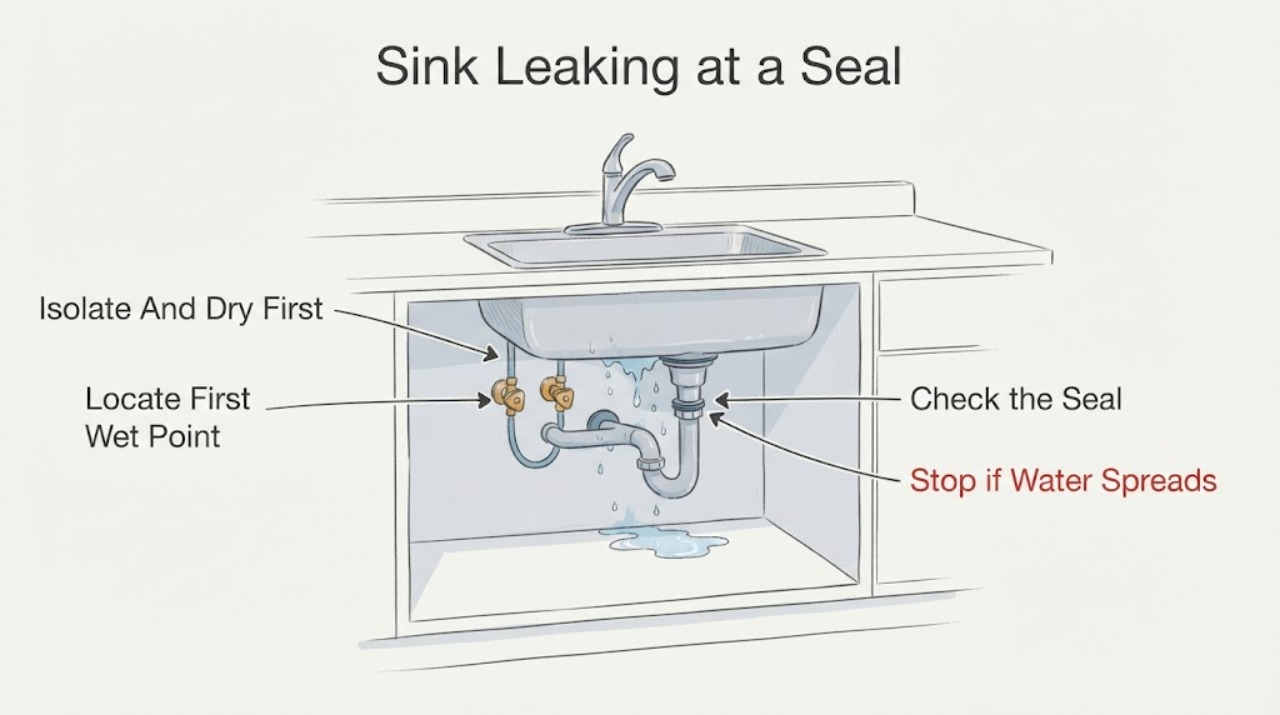
Sink Leaking at a Seal: Find the First Wet Point Before Replacing Parts
A sink leak that looks like a failed seal may actually start at the faucet, supply connection, drain strainer, trap, disposal flange, dishwasher hose, sink seam, or a higher point that runs downward. Close the affected shutoff valves, keep the cabinet dry, and place a towel or paper beneath the plumbing to locate the first wet point.
-
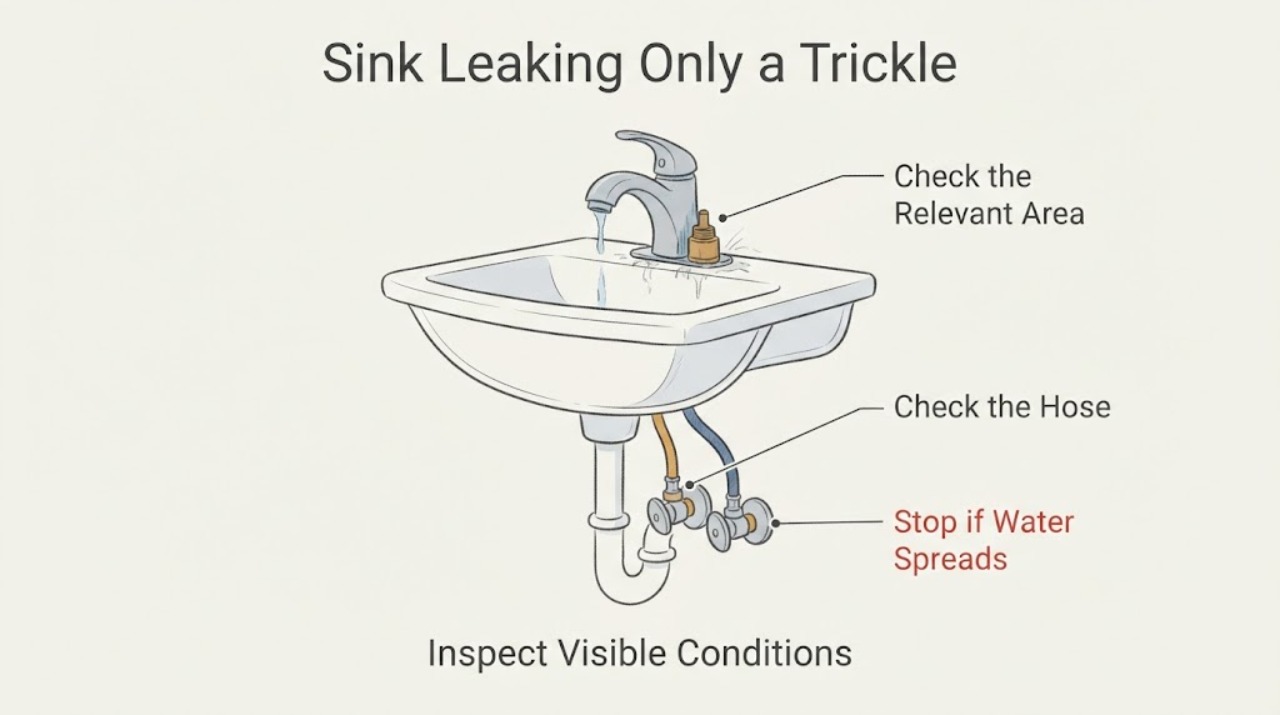
Sink Leaking Only a Trickle: Find the First Wet Point Safely
A sink that is leaking only a trickle still needs its source identified, because a slow faucet drip, a leak under the sink, a drain-joint seep, and a supply connection leak have different repairs. Empty the cabinet, keep electrical items and stored goods dry, and use a dry cloth or tissue to find the first wet point without loosening anything.
-
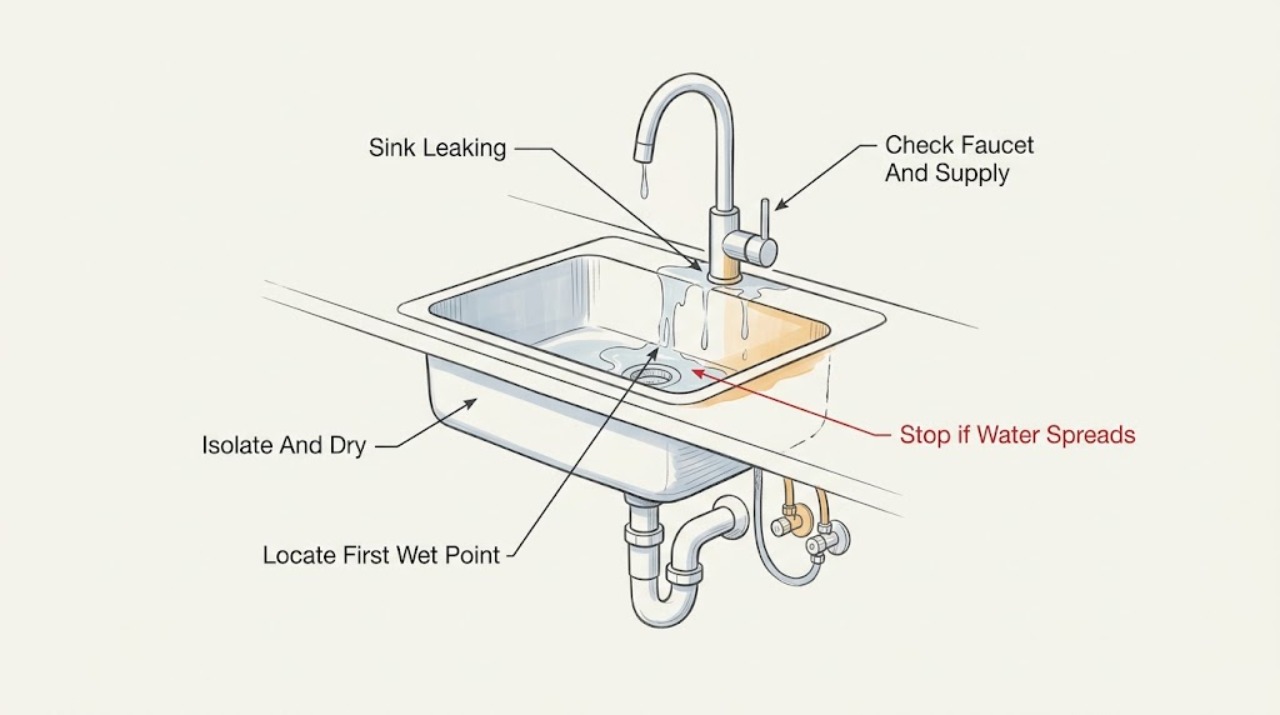
Sink Leaking: Find the First Wet Point Before Replacing a Seal
If a sink is leaking and the concern is where it starts in the first place, begin with the first wet point rather than the largest puddle. Close the affected shutoff valves if they turn normally, keep the cabinet dry, and use paper towels to separate the faucet and supplies, sink strainer and overflow, trap, disposal, dishwasher hose, cabinet wall, and floor.
-
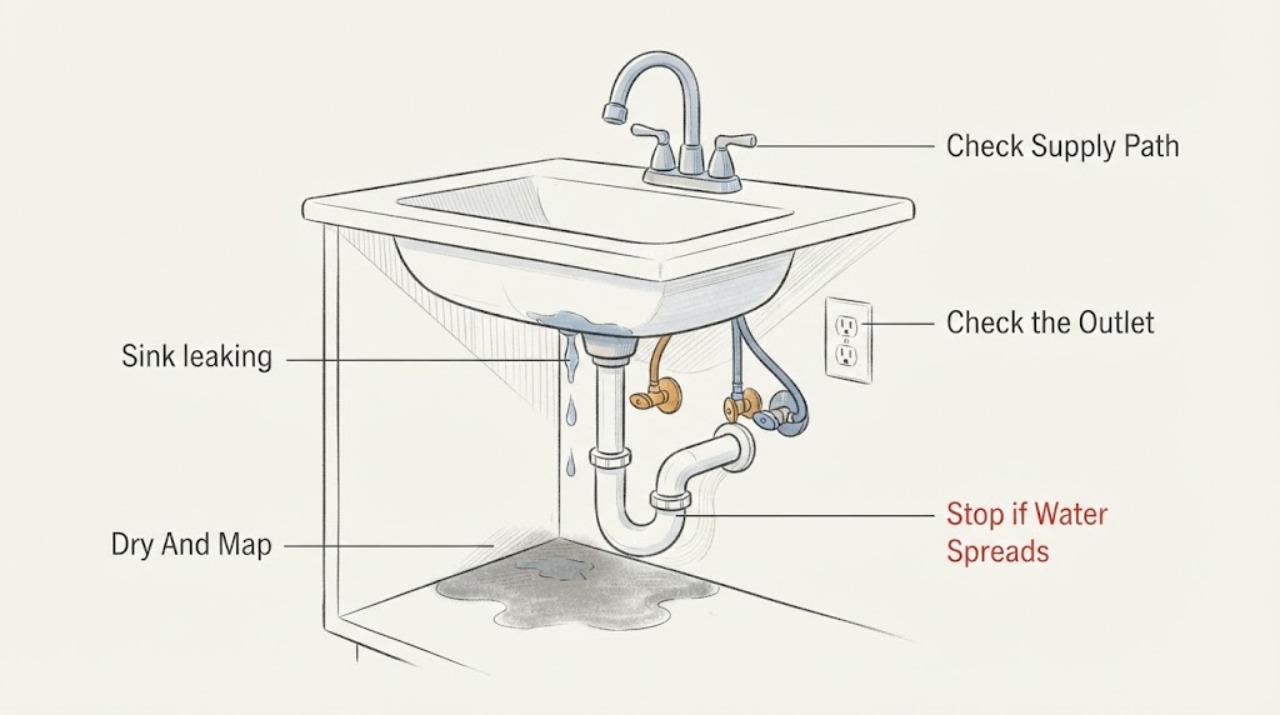
Sink leaking: locate the water path before choosing a repair
A leaking sink can leak from the faucet outlet, around the faucet base or handles, a hot or cold supply connection, the drain or strainer, the trap, an overflow opening, or a pipe hidden behind the cabinet. First dry the area, run the faucet briefly while watching from a safe position, and trace the first place that becomes wet.
-
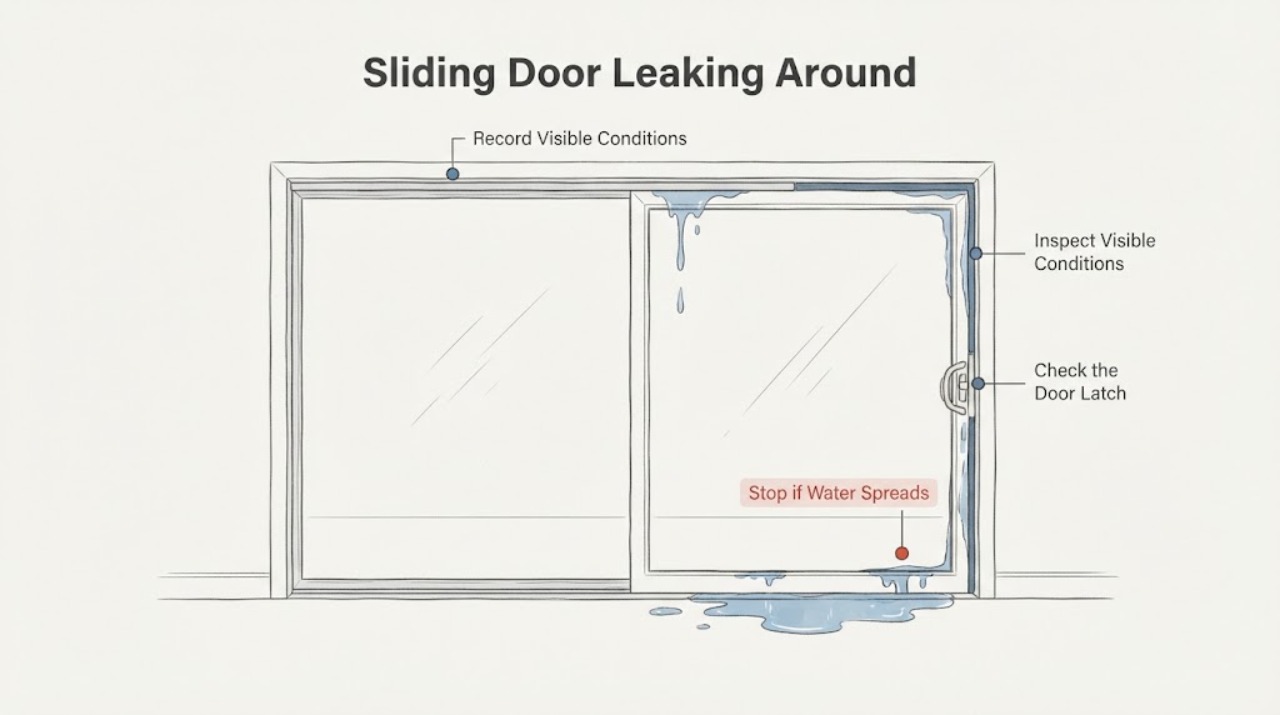
Sliding Door Leaking Around the Frame: Check the Sill, Weep Path, and Seals
When a sliding door leaks, first locate whether water appears at the sill or track, at a jamb or frame joint, around the moving panel, or in the wall beside the opening. Sliding patio doors commonly use a sill drainage or weep system to move incidental water outside, so clear visible debris without sealing over a drain path.
-
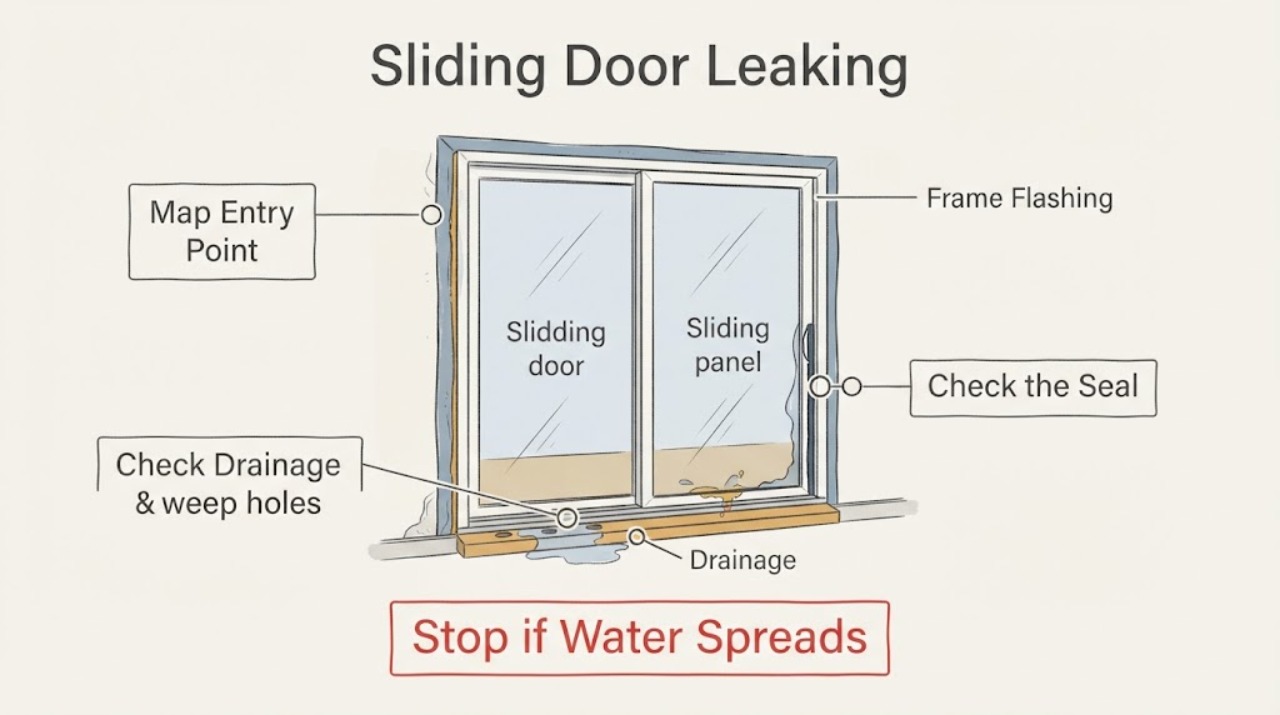
Sliding Door Leaking: Trace Water at the Panel, Sill, or Frame
Water at a sliding door can come from a blocked or damaged sill drainage path, a panel that does not close squarely against its seals, water entering at the fixed-panel or interlock area, or failed flashing and air or water sealing around the frame. First locate the entry point after rain without removing the panel, check the visible track, drain openings, gasket, latch, and exterior joints, and keep drainage paths open.
-
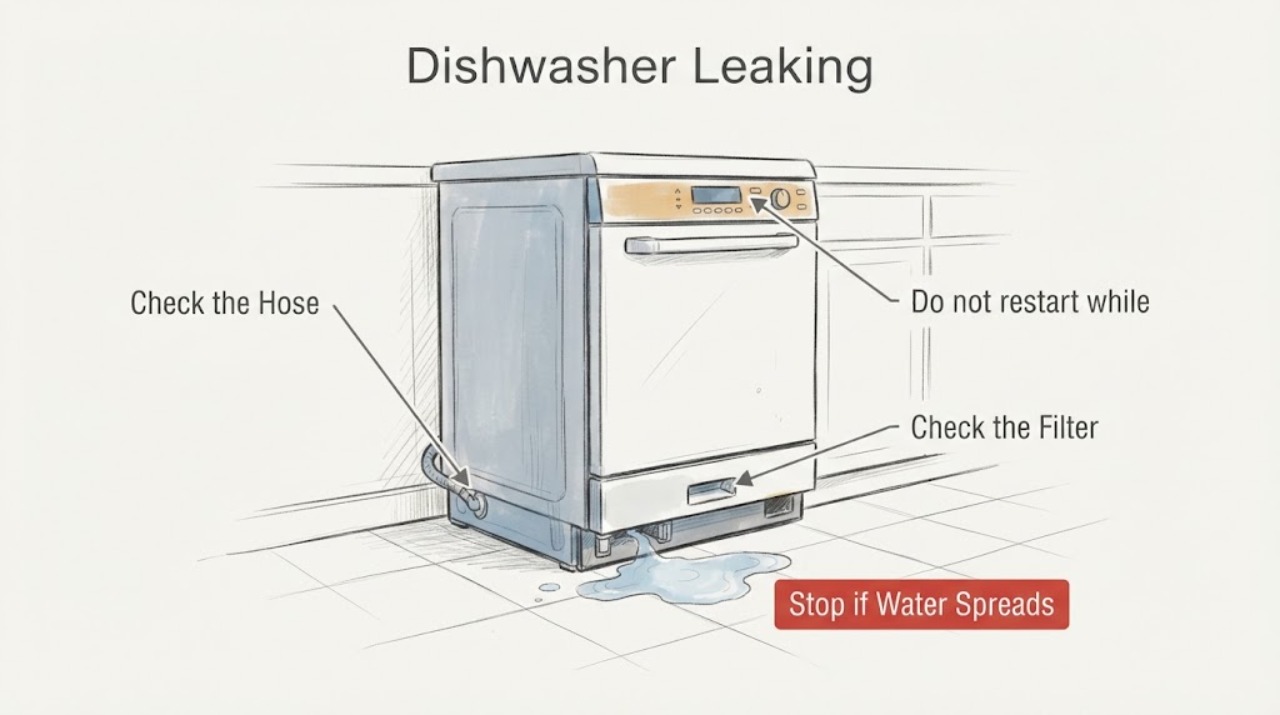
Smeg Dishwasher Leaking
Water leaking from a Smeg dishwasher should be contained immediately and traced to the door seal, filter area, hose, or inlet protection. Close the water supply and keep the dishwasher off if water reaches the floor or electrical area.
-
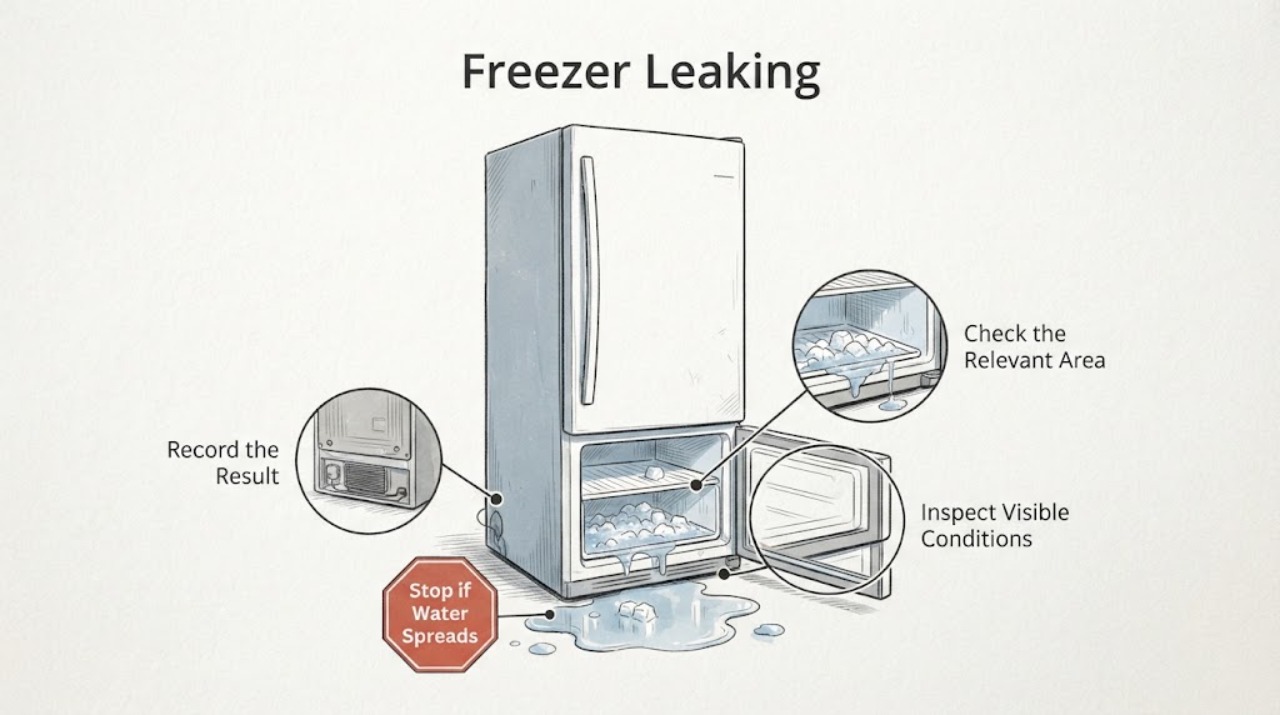
Smeg Freezer Leaking: Find the Water Source Safely
Start by stopping the leak and identifying where the water begins. A wet interior or frost around the door can point to humid air entering through a door that is not sealing; Smeg also identifies the door gasket and a restricted condensation drain as checks.
-
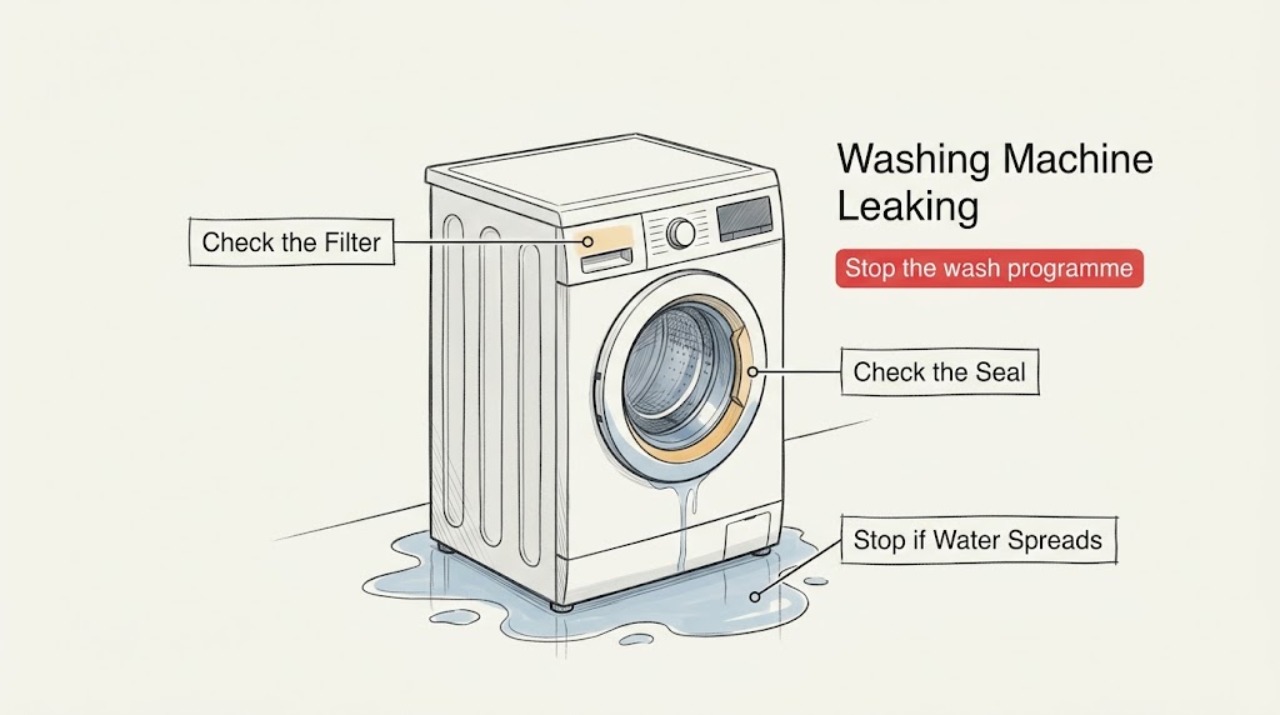
Smeg Washing Machine Leaking: Find the First Wet Point Safely
Stop the programme and close the water supply tap before tracing a Smeg washing-machine leak. If the floor and electrical connection are dry and safely accessible, isolate power; never touch a wet plug, socket, or appliance standing in water.
-
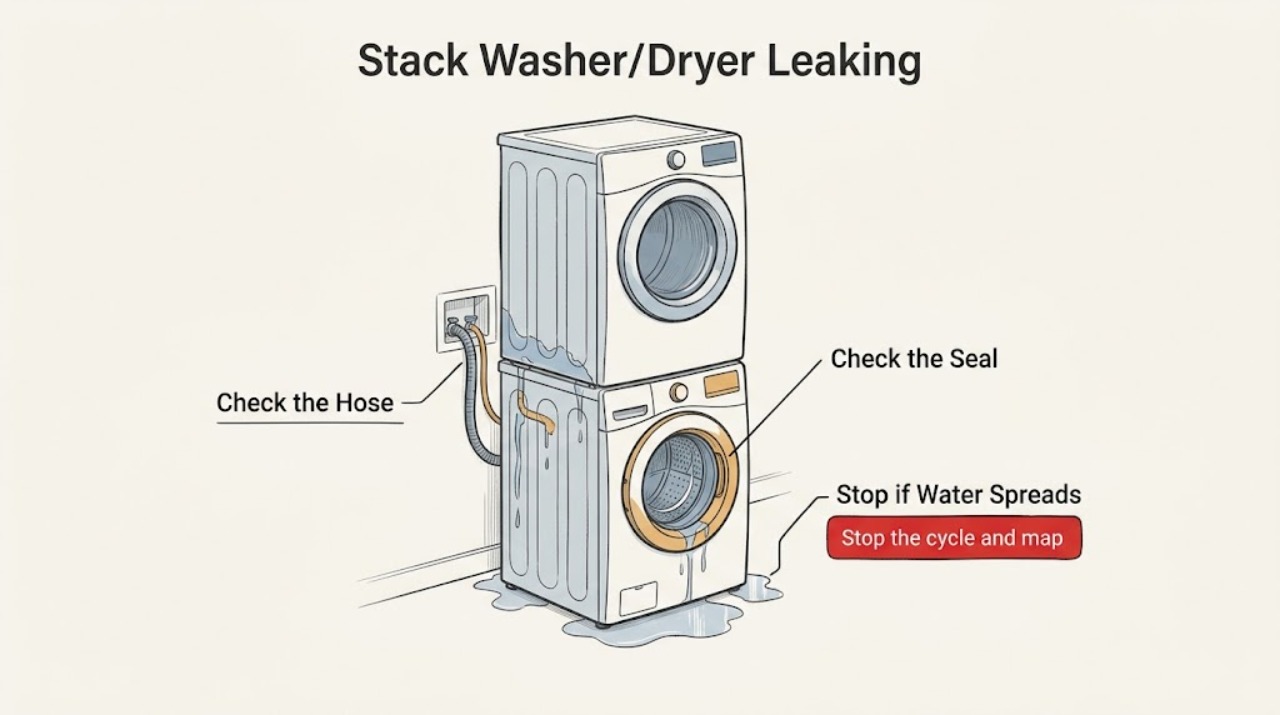
Speed Queen Stack Washer/Dryer Leaking: Safe Checks and Next Steps
First identify whether liquid is coming from the washer's fill path, door, drain path, or the room plumbing; a dryer-side moisture problem needs the exact model's manual because stacked units do not all use the same dryer arrangement. Stop the cycle if water is reaching the floor, power connection, or the stacked cabinet.
-
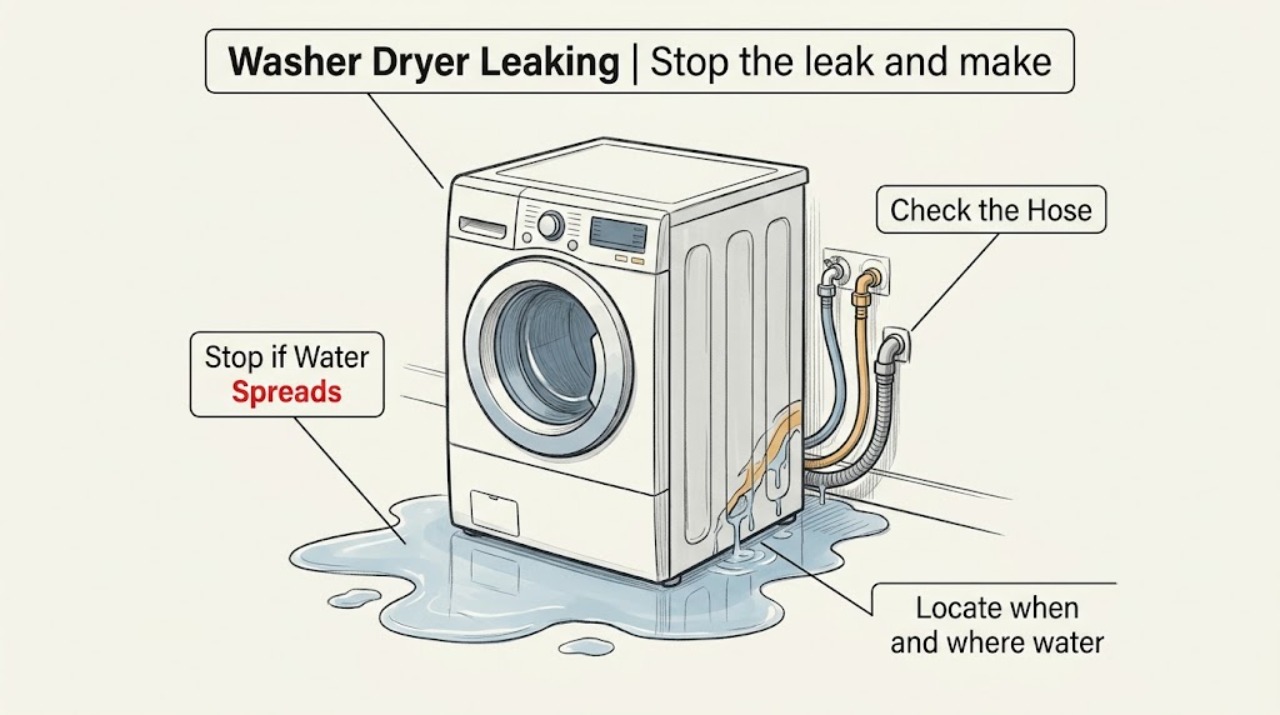
Speed Queen Washer Dryer Leaking
Stop the Speed Queen washer-dryer, keep water away from the electrical connection, and turn off the water taps if the leak continues. Dry the floor and identify whether water appears during filling, draining, or tumbling.
-
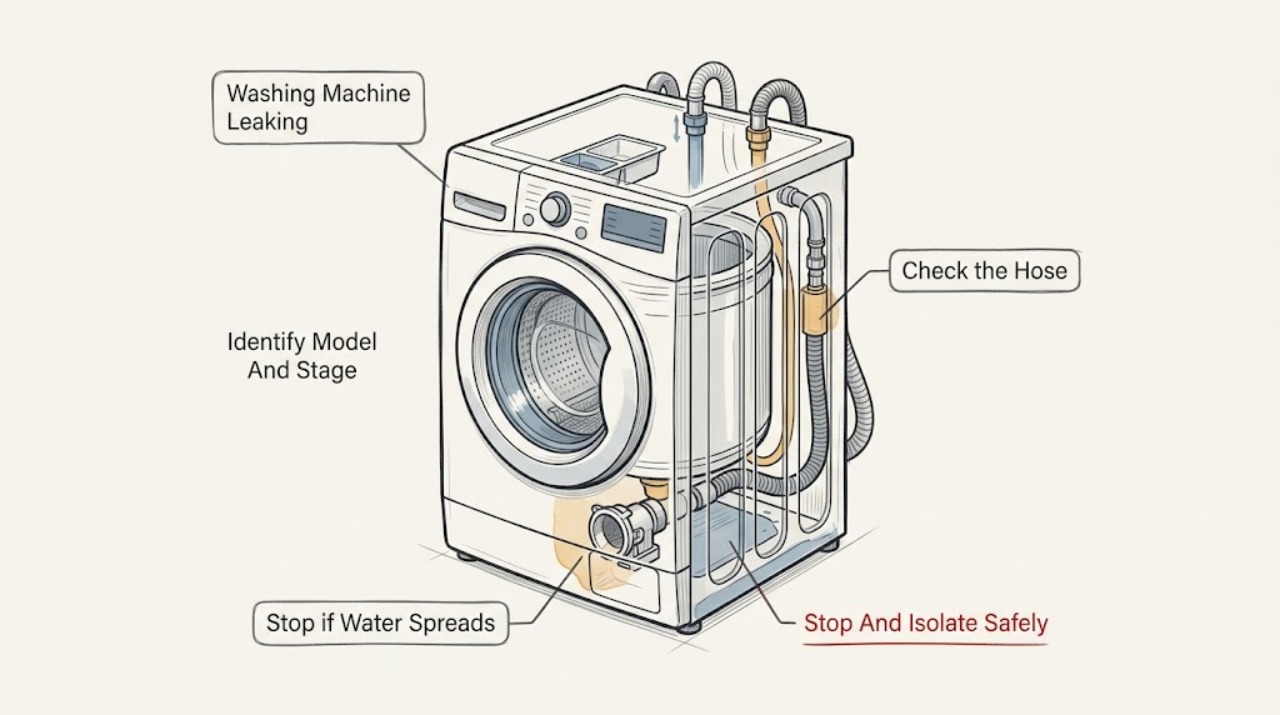
Speed Queen Washing Machine Leaking
Stop the cycle and identify the first wet point before moving or opening anything. Water that appears while filling points toward a faucet, fill hose, connection, inlet screen, or valve; water from the dispenser or front door can follow a detergent, oversudsing, gasket, or loading problem; water during draining points toward the drain hose, standpipe, pump, or model-specific trap.
-
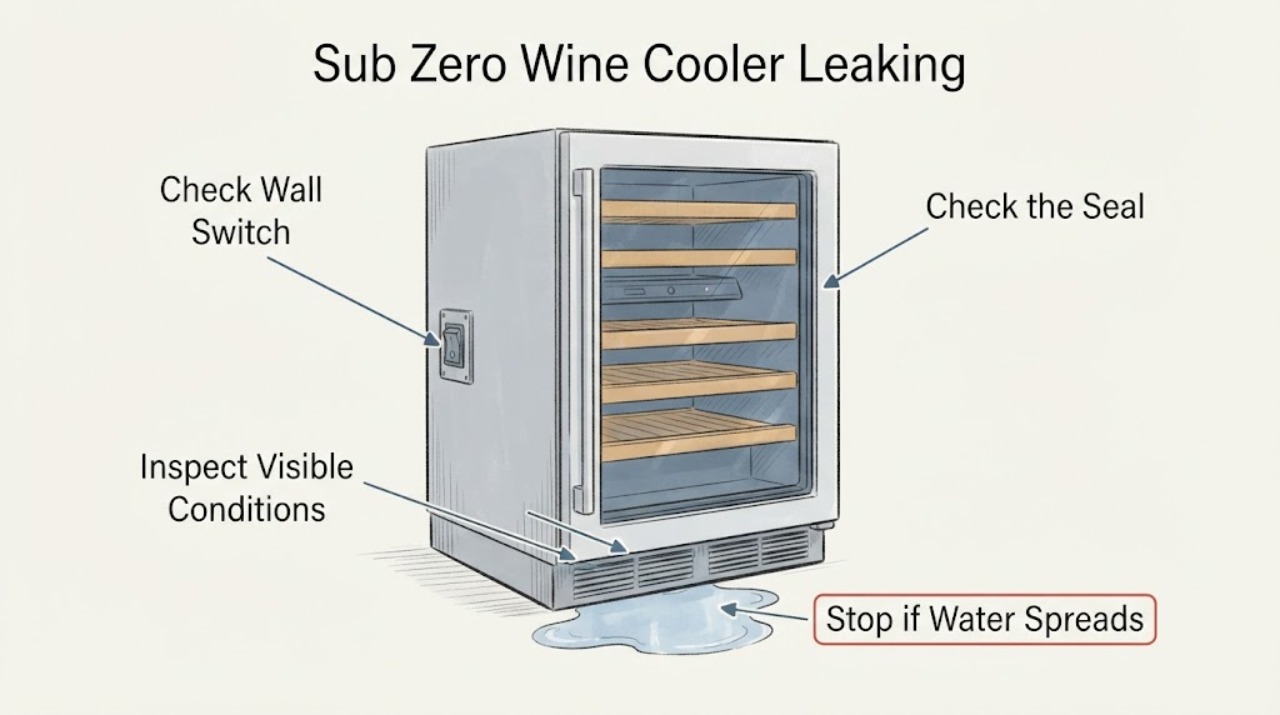
Sub Zero Wine Cooler Leaking Troubleshooting Guide
A leaking Sub-Zero wine cooler should be isolated from electrical contact first, then traced from the first wet point. Check the water shutoff if the unit is connected to a supply, the gasket and door closure, and the approved condenser area; persistent or internal leaks need Factory Certified Service.
-
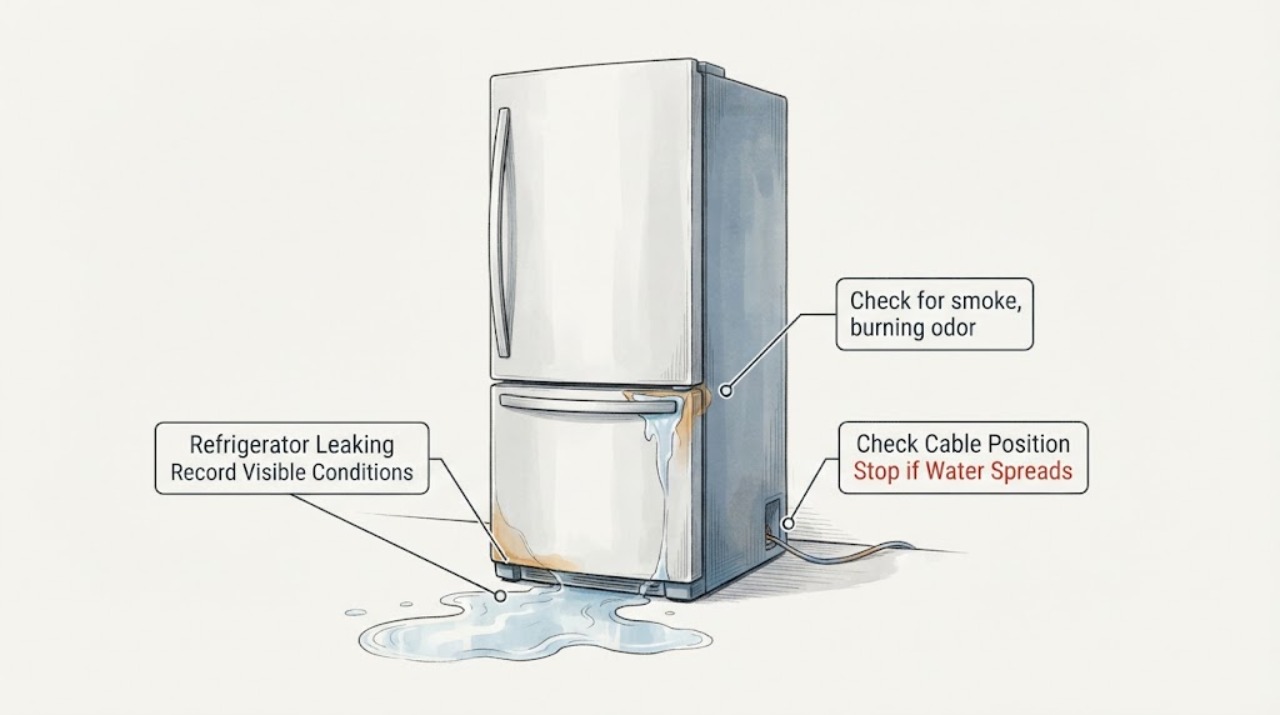
Sub-Zero Refrigerator Leaking: Safe Checks and Service Boundaries
For a leaking Sub-Zero refrigerator, isolate the home water supply if active, trace the source from the top, door, interior, or below the unit, and use the exact model guide. Continuing or concealed leaks need Factory Certified Service.
-
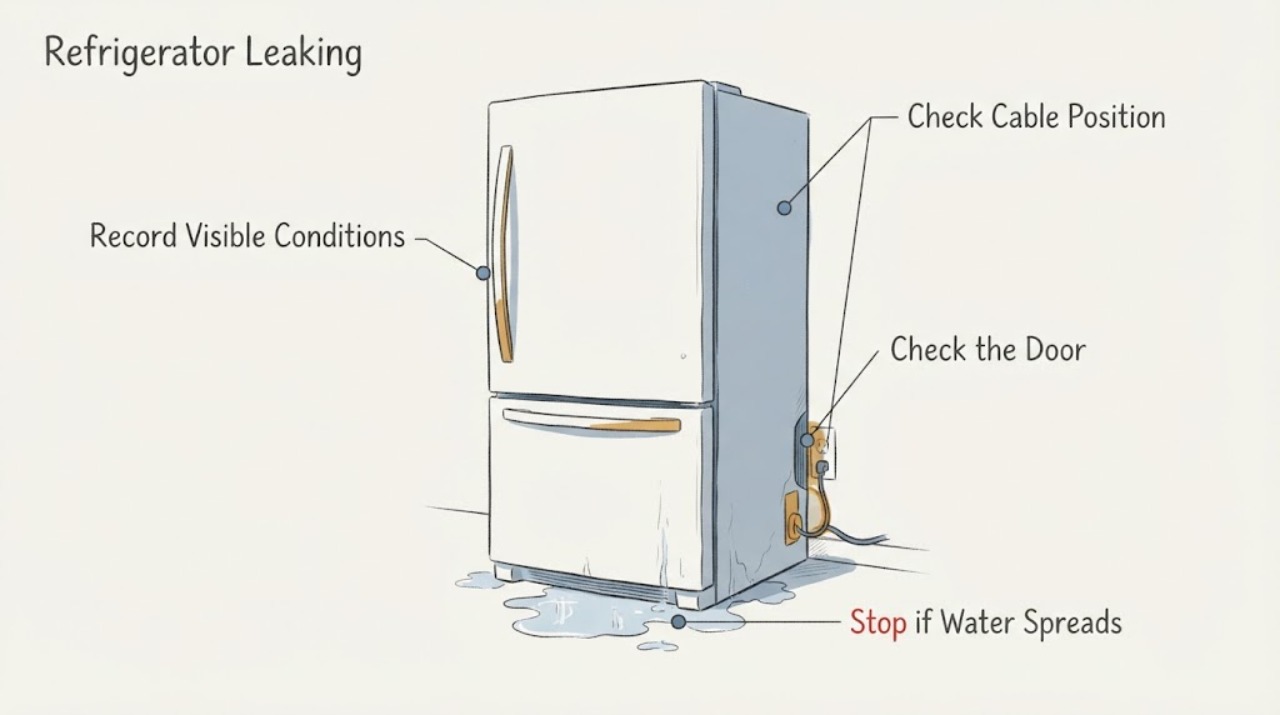
Summit Refrigerator Leaking: Find the Drain, Seal, or Water-Supply Cause
For a leaking Summit refrigerator, first identify whether the water is a normal droplet on the rear interior wall, a pool inside the cabinet, water on the floor, or a leak at a water connection if the model has one. Summit's troubleshooting guidance points to a clogged discharge opening or water gutter, a thick ice layer, poor door sealing, a dirty or damaged gasket, and an unlevel appliance.
-
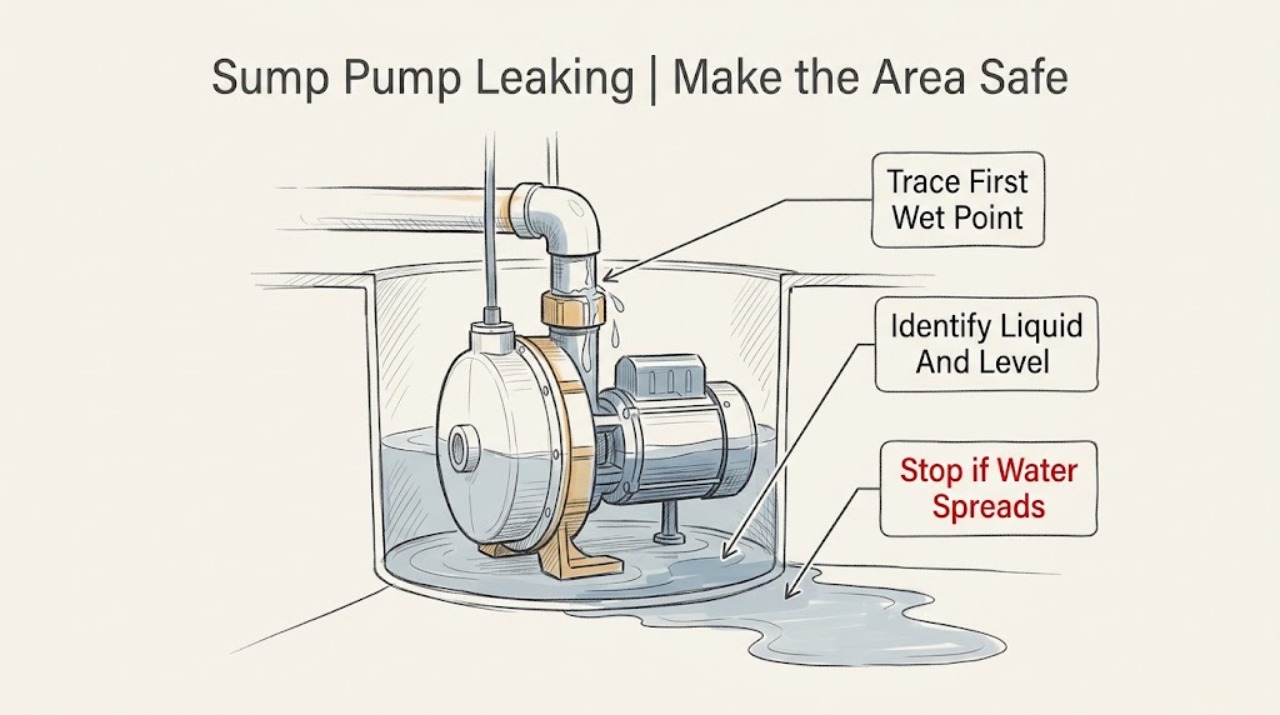
Sump Pump Leaking: Find the First Wet Point Safely
A sump pump leak may come from the tank or lid, the pump discharge connection, a check valve or pipe joint, a failed or overflowing pump, or water entering the basin from another source. Do not reach into a wet pit or handle a pump cord, plug, or junction box while standing in water.
-
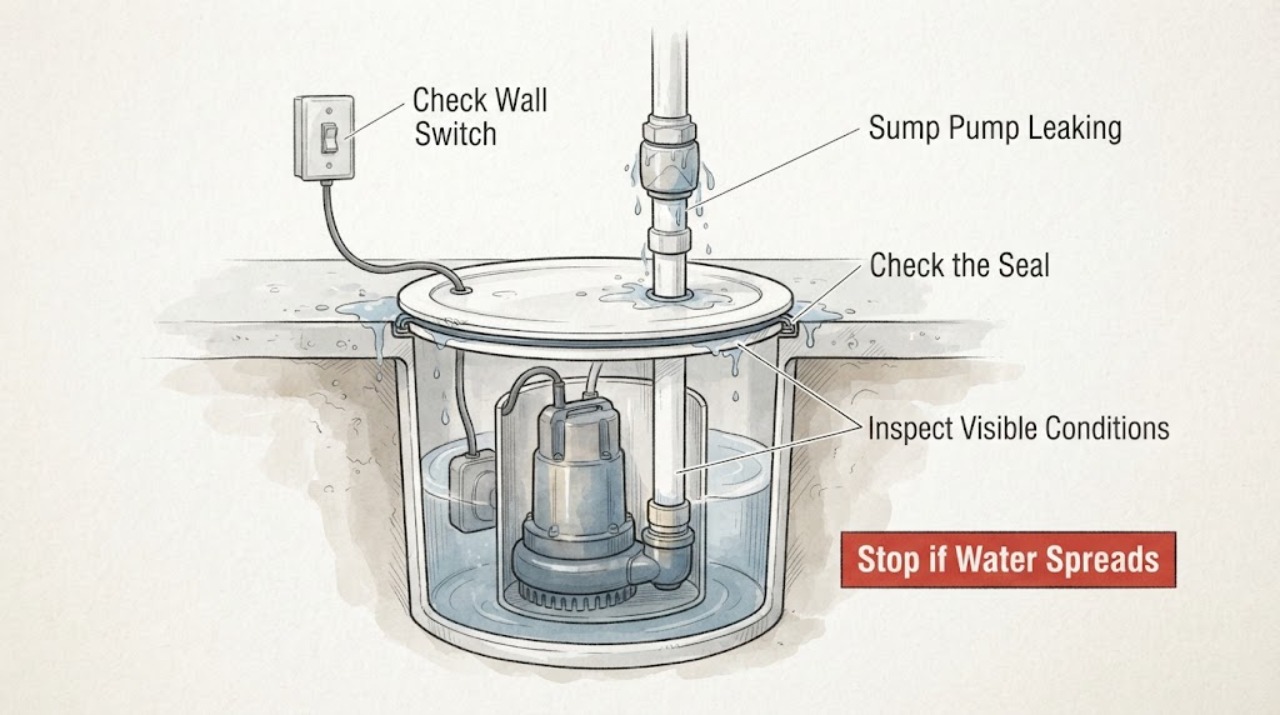
Sump Pump Leaking: Find the Leak Without Creating a Shock or Flood Risk
First decide whether water is leaking from the pump or piping, and whether it is near energized equipment or a rising sump. Keep clear of water around the plug, outlet, or control box, and disconnect the pump only from a safe, dry position; if the pit is flooding or the pump cannot keep up, use a backup pump or qualified emergency help.
-
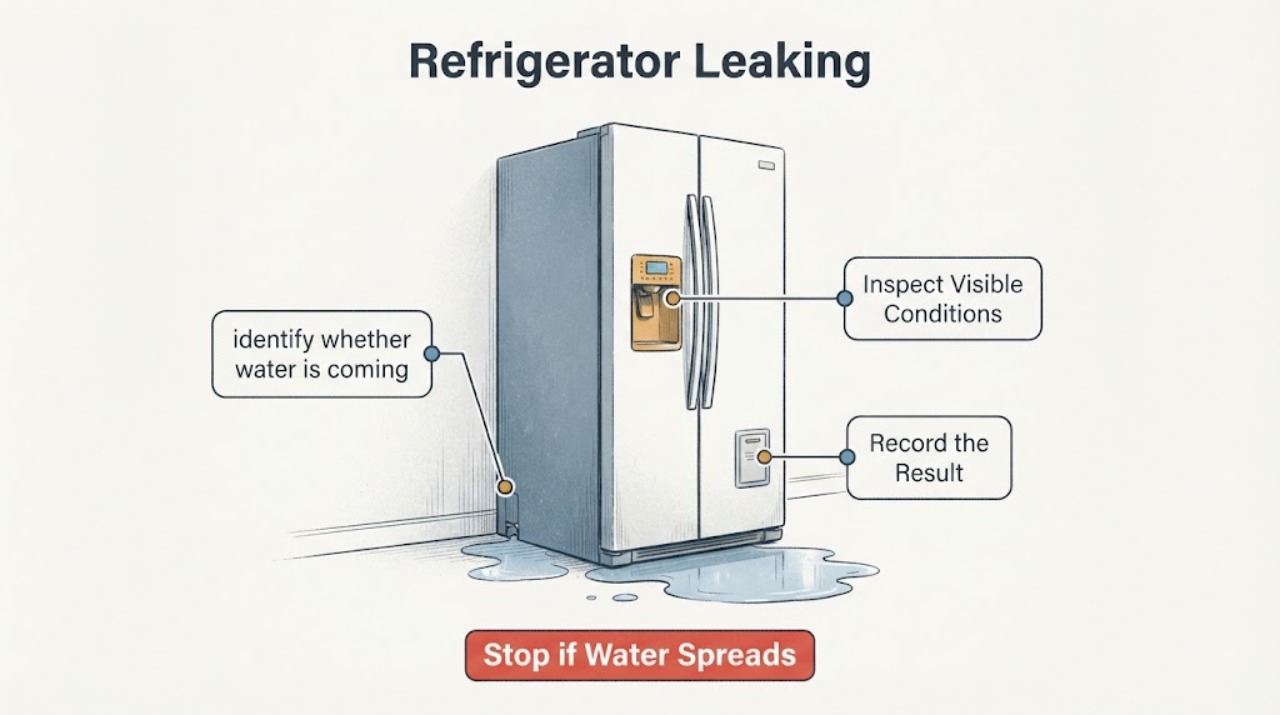
Tappan Refrigerator Leaking: Safe Checks
For a leaking Tappan refrigerator, first locate whether water is on the floor, inside the cabinet, or at the dispenser. Check only accessible connections, the filter fit, door closure and visible ice or frost; the exact model manual controls any filter or dispenser procedure. Tappan provides customer support for problem solving, while the manufacturer leak guidance used here routes unresolved leaks to service. Stop if water is near electrical connections or the leak is heavy.