
Repair problem
Leaking Troubleshooting Guides – Page 5
Published FixGraph guidance for diagnosing and responding to leaking.
Matching published guides
Choose a guide that matches the service, equipment, and conditions you are seeing.
-
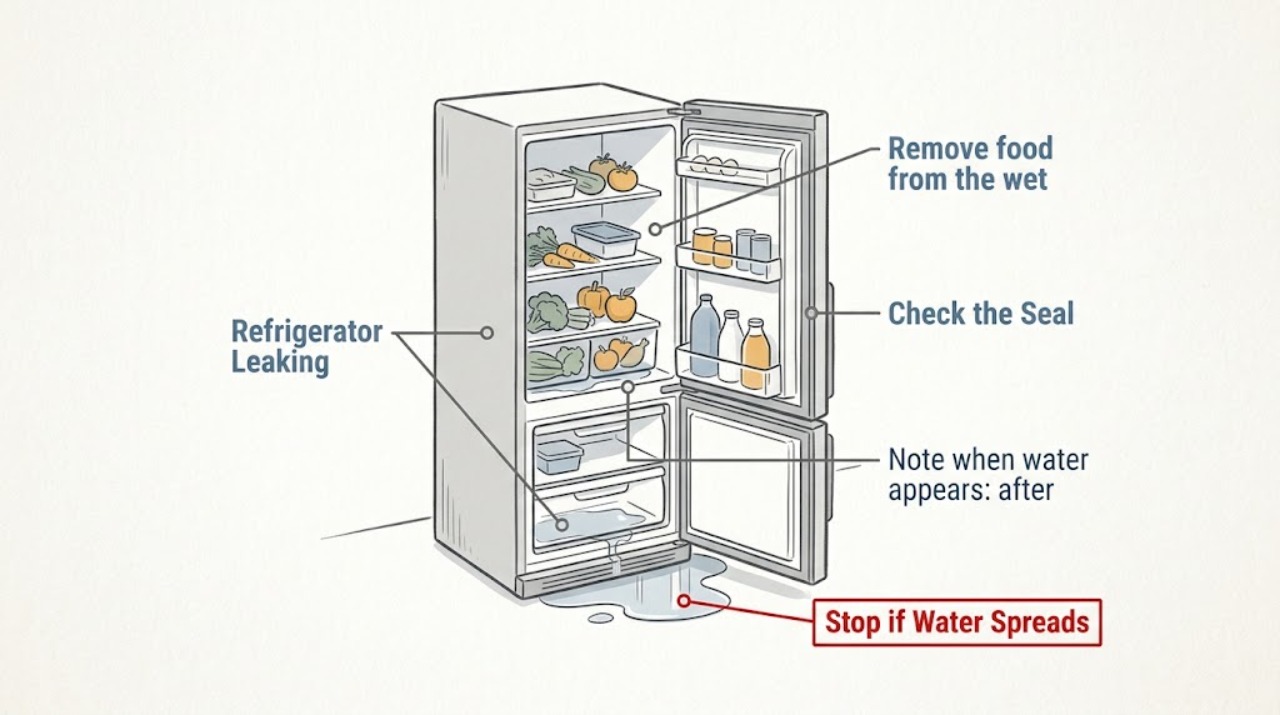
Liebherr Refrigerator Leaking: Trace the Water to Its First Point
When a Liebherr refrigerator is leaking, find whether water begins at the rear-wall defrost gutter, under a drawer, around the door seal, or outside the appliance. A blocked gutter, damaged seal, overloaded storage area, warm food, or frequent door opening can create different water patterns. Dry the area and perform only accessible checks; persistent water, a damaged line, or water near electrical parts requires Liebherr service.
-
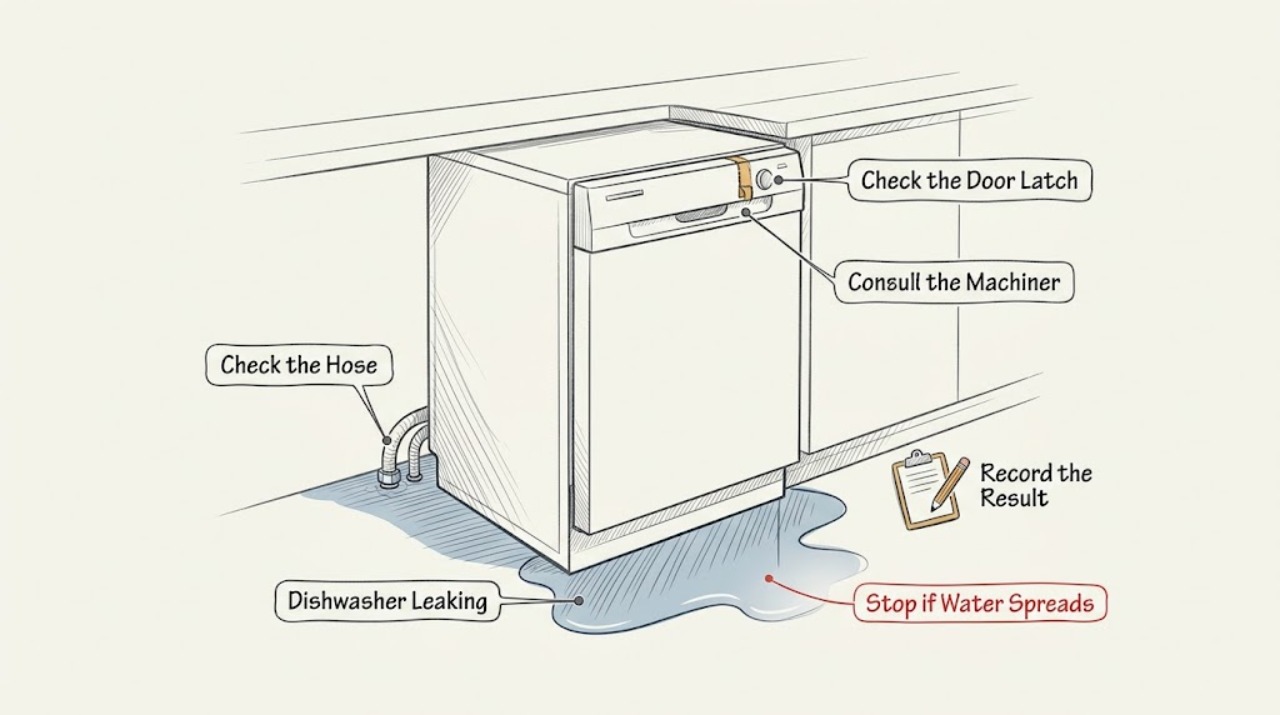
Magic Chef Dishwasher Leaking
Stop the cycle and identify whether water came from the door edge, a visible hose connection, or underneath the dishwasher. Keep power and water isolated if the leak can reach electrics; only correct an obvious loading or external connection issue, and use the model manual before removing a seal or panel.
-
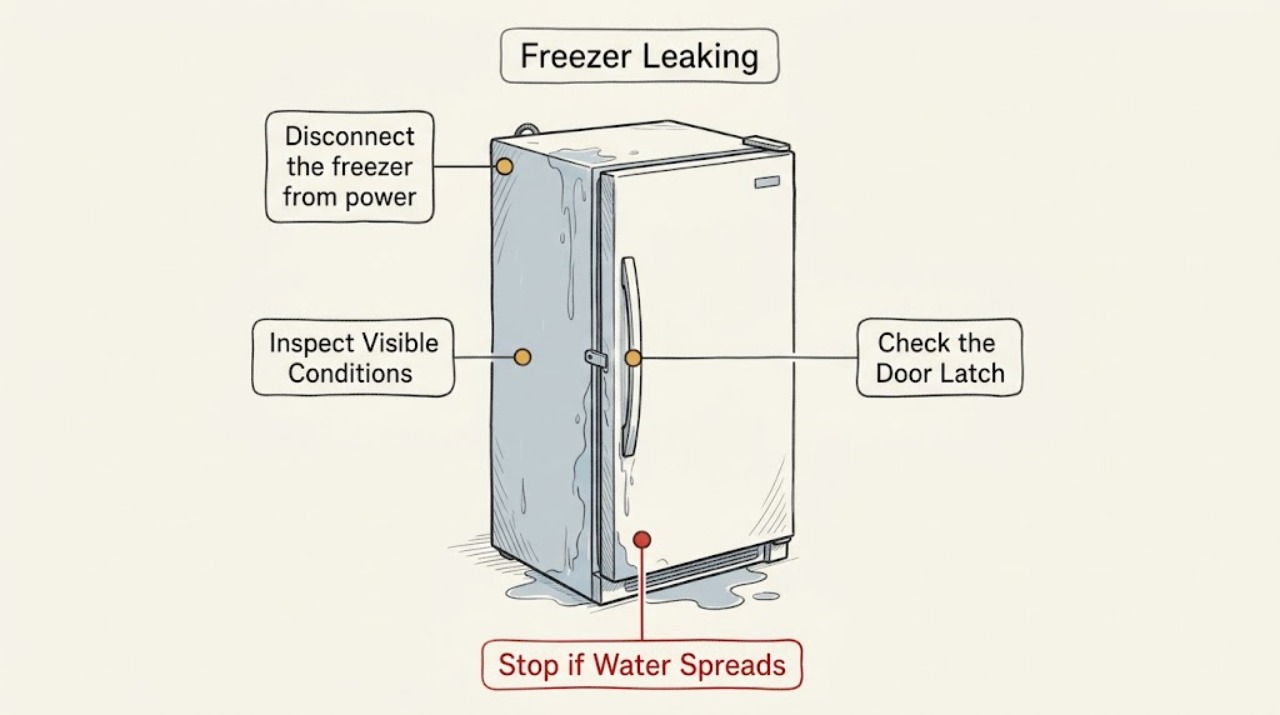
Magic Chef Freezer Leaking: Find the Water and Stop the Recurrence
Find the first wet location before trying to fix a Magic Chef freezer leak. On a manual-defrost model, water near a model-specific defrost drain may be handled by that drain, while water at the door, inside the cabinet, or on the floor can point to a poor seal, blocked drainage, ice melt, a cabinet problem, or an outside source.
-
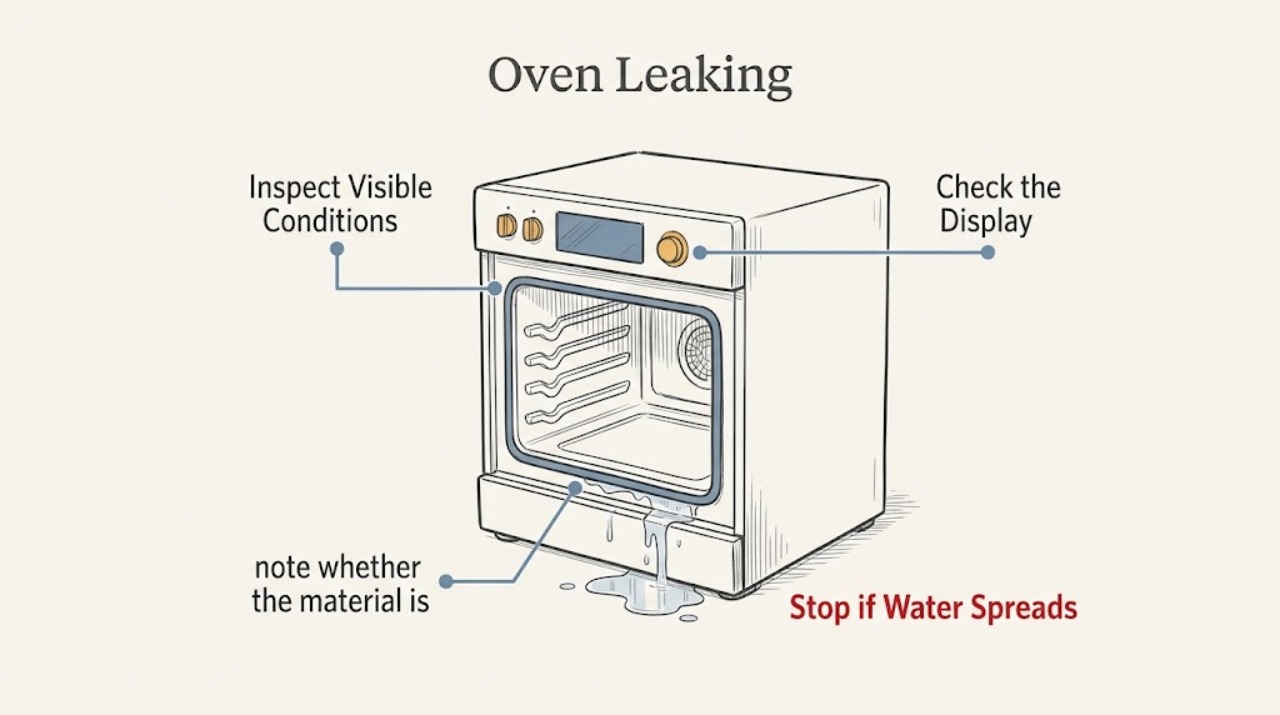
Magic Chef Oven Leaking: Condensation, Spills, and Door-Seal Checks
First identify what is leaking and where it starts. Clear drops after cooking can be steam or condensation; food or cleaning residue usually points to a spill; and gas odor is a gas-safety problem, not a liquid leak.
-
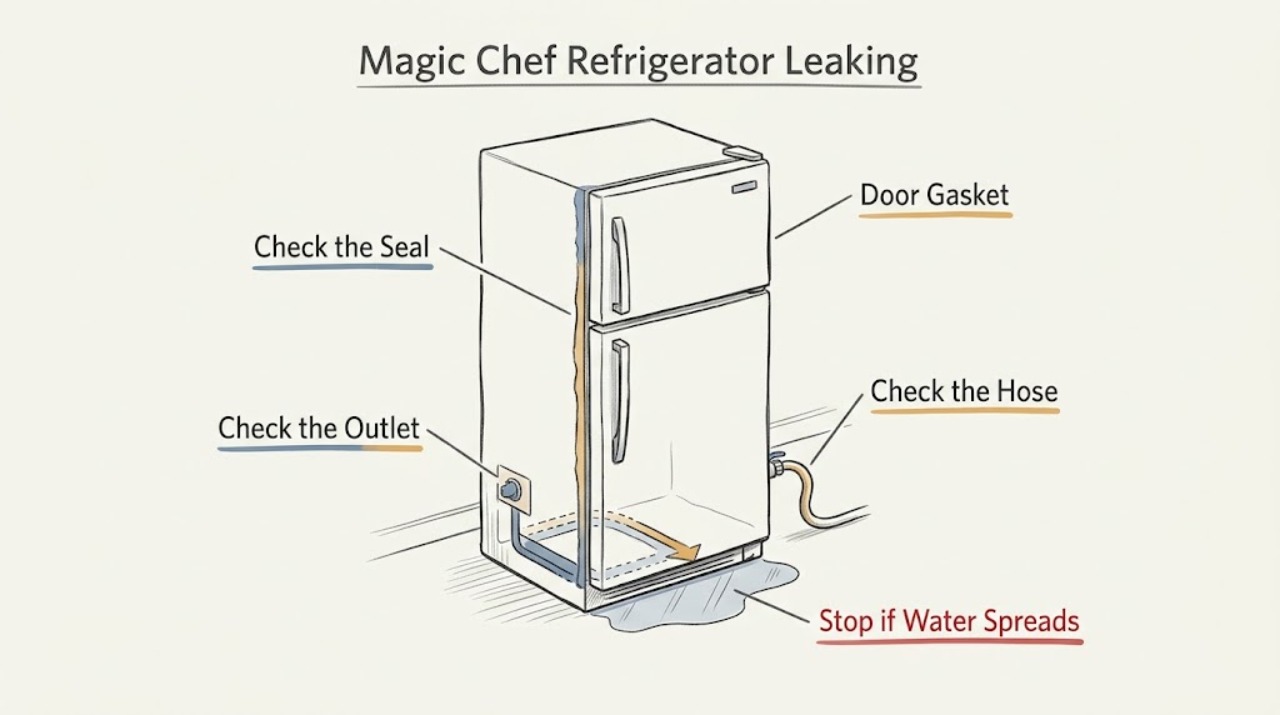
Magic Chef Refrigerator Leaking: Find Whether Water Starts Inside or Behind the Cabinet
Protect the floor and locate the first wet point in the Magic Chef refrigerator before wiping it up. A spill or blocked interior drain, melting frost, condensation around a poor seal, and a water-line connection are different paths. Check only accessible areas and the exact manual; stop the water supply and arrange service for a recurring leak, damaged tubing, electrical contact, or a refrigerator that cannot hold food at 40°F or below.
-
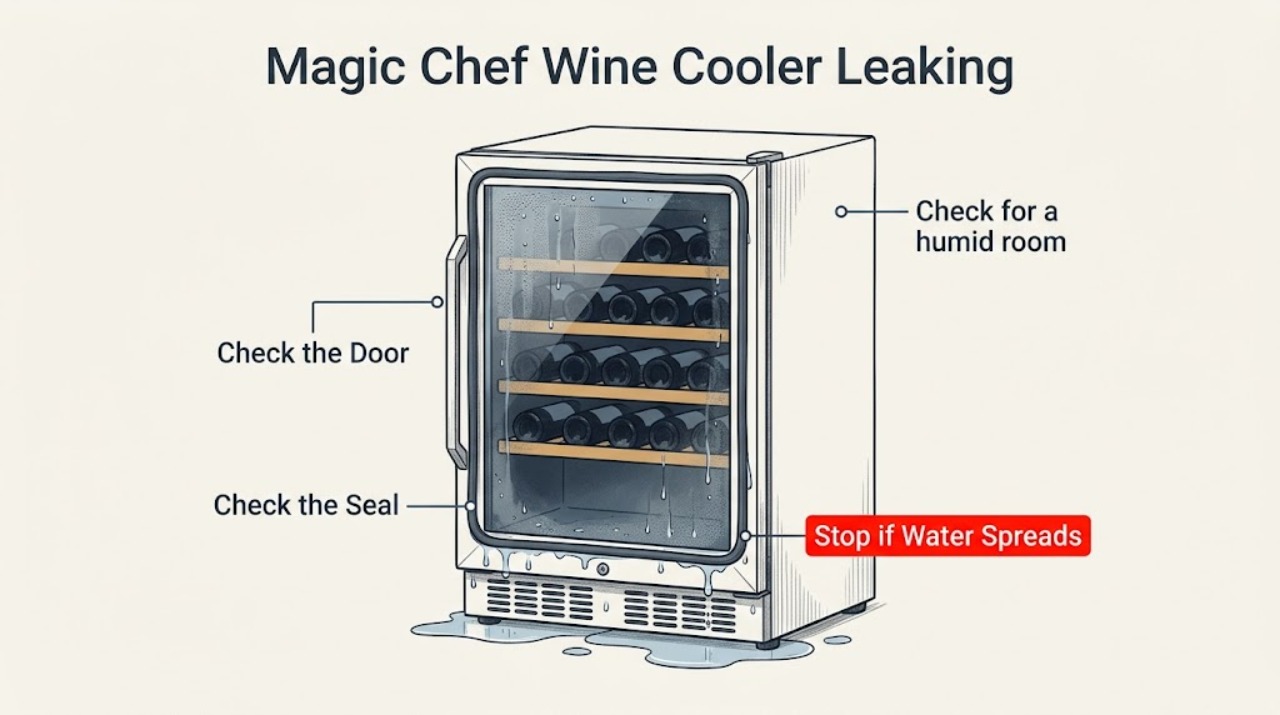
Magic Chef Wine Cooler Leaking: Trace Condensation Before the Drain Path
A Magic Chef wine cooler leak may be room moisture collecting around the cabinet, a door that is not sealing, or water reaching the floor from a model-specific drain or evaporation path. First locate whether moisture is inside the cabinet, at the door, or underneath; dry the area and check level, clearance, door closure, and humidity without removing panels.
-
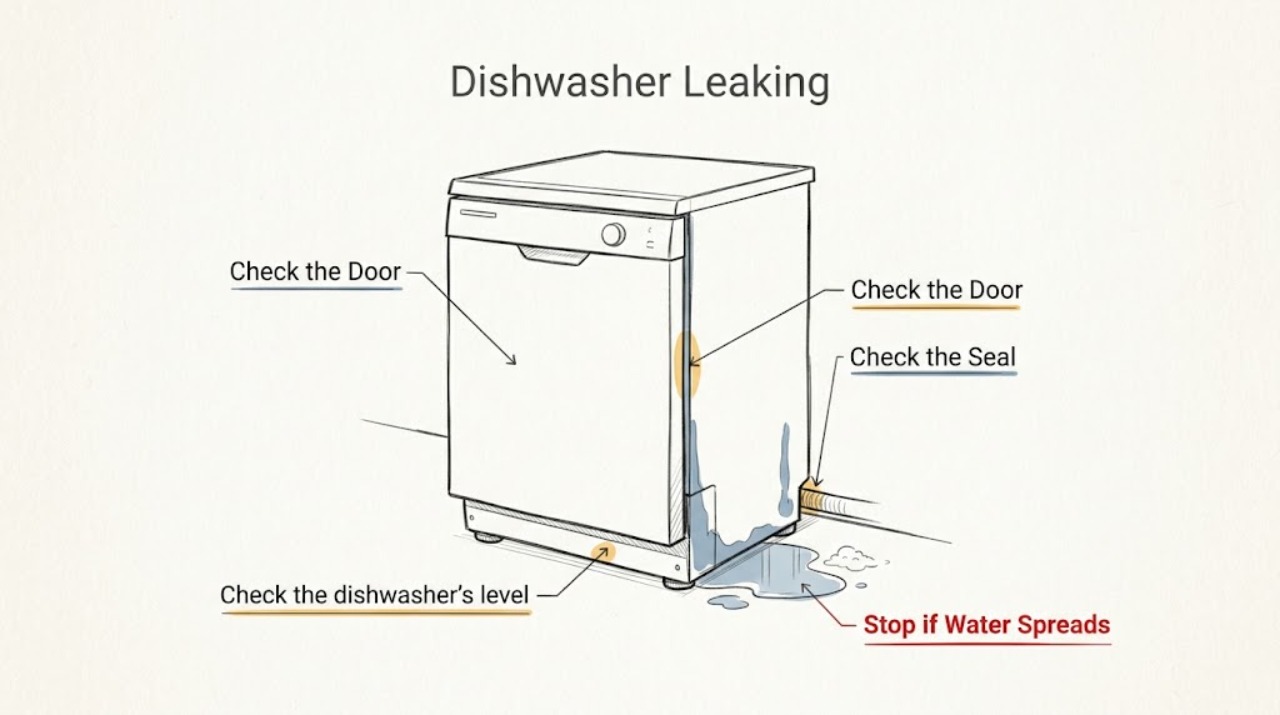
Maytag Dishwasher Leaking
Stop the cycle and identify whether water is coming from the door, underneath the unit, or the plumbing connection. Maytag points to door obstructions or seal problems, excessive suds, leveling, and loose supply or drain connections as distinct paths. If water is actively reaching the floor or cabinet, shut off the dishwasher's water supply and electrical power safely and do not run it again until the source is corrected.
-
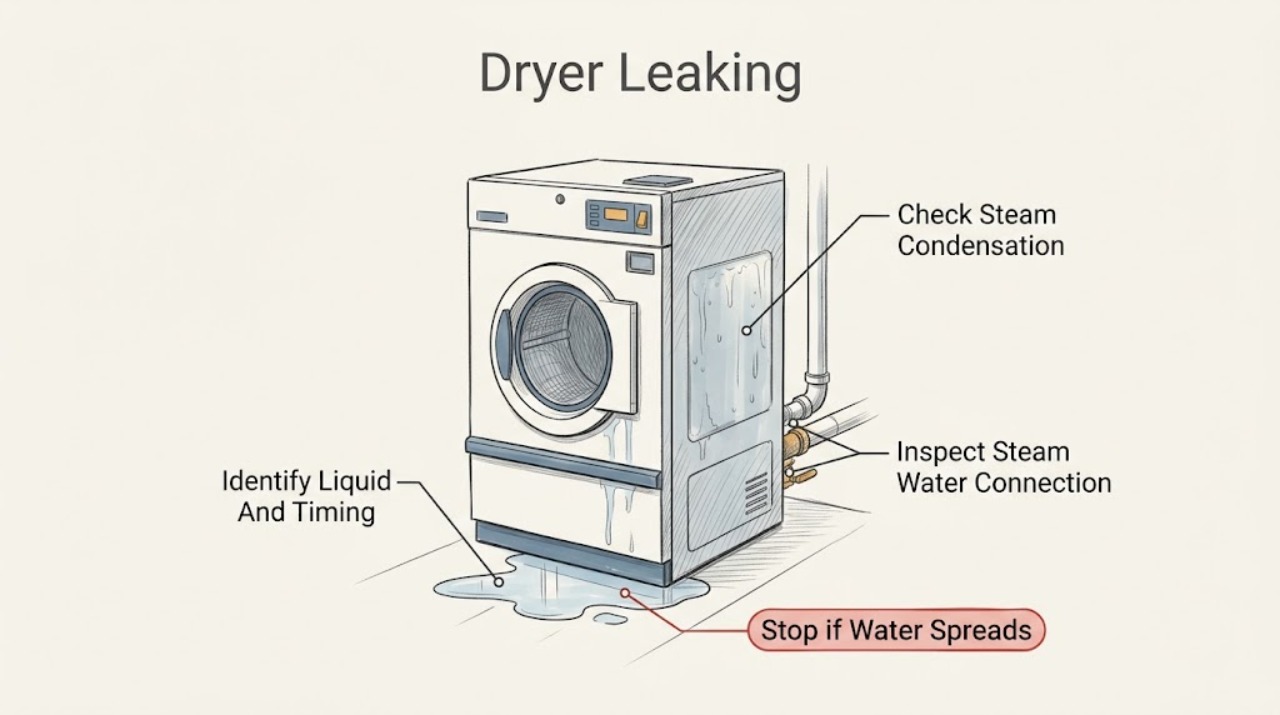
Maytag Dryer Leaking
First identify whether the liquid is water and whether it appears only during a Steam cycle. Maytag says a steam dryer can leave a few drips from normal condensation on the door, while a small load can create wet spots or condensation; a leak at the rear points to the steam dryer's water connections and requires checking the inlet hose and connection points.
-
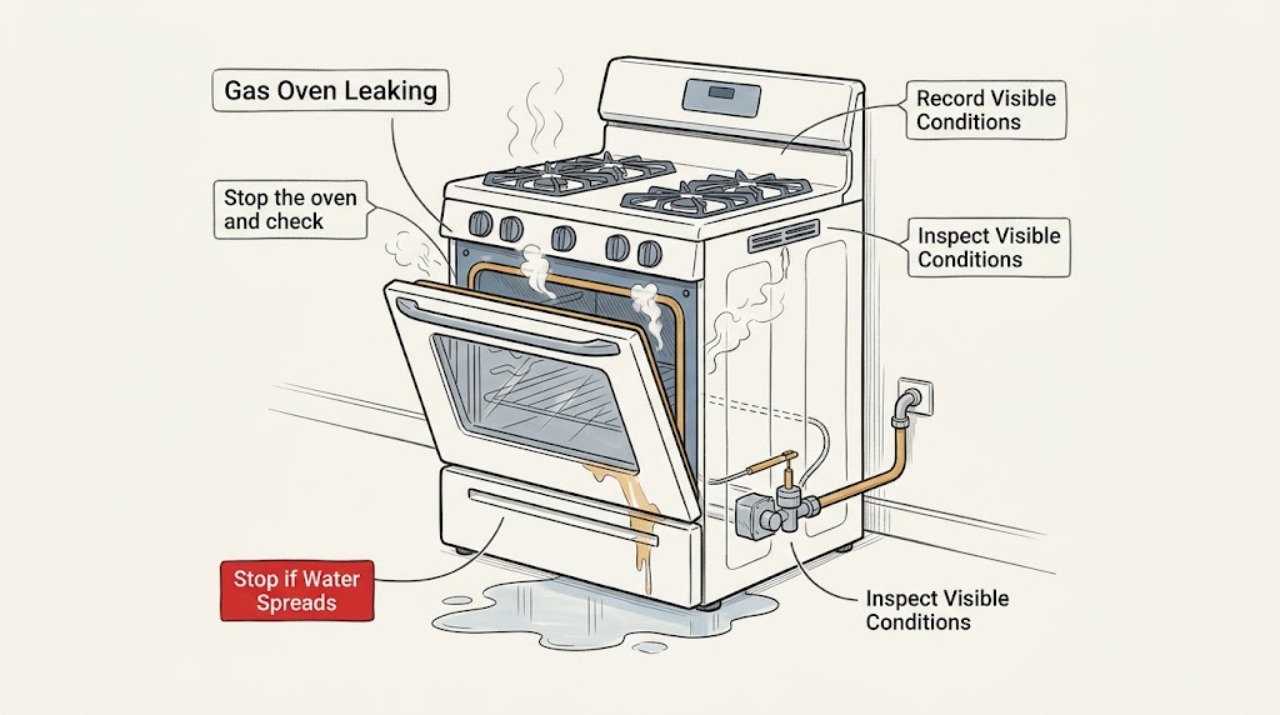
Maytag Gas Oven Leaking: Tell Liquid, Steam, Condensation, and Gas Apart
First identify what is leaking and where: clear liquid in the cavity or on the floor, steam or droplets on cool door glass, or a sulfur-like gas odor/hissing. Maytag explains that moisture on the door of a gas oven can be normal condensation from combustion steam, and that high-moisture food or a model-specific Steam Bake feature can add moisture.
-
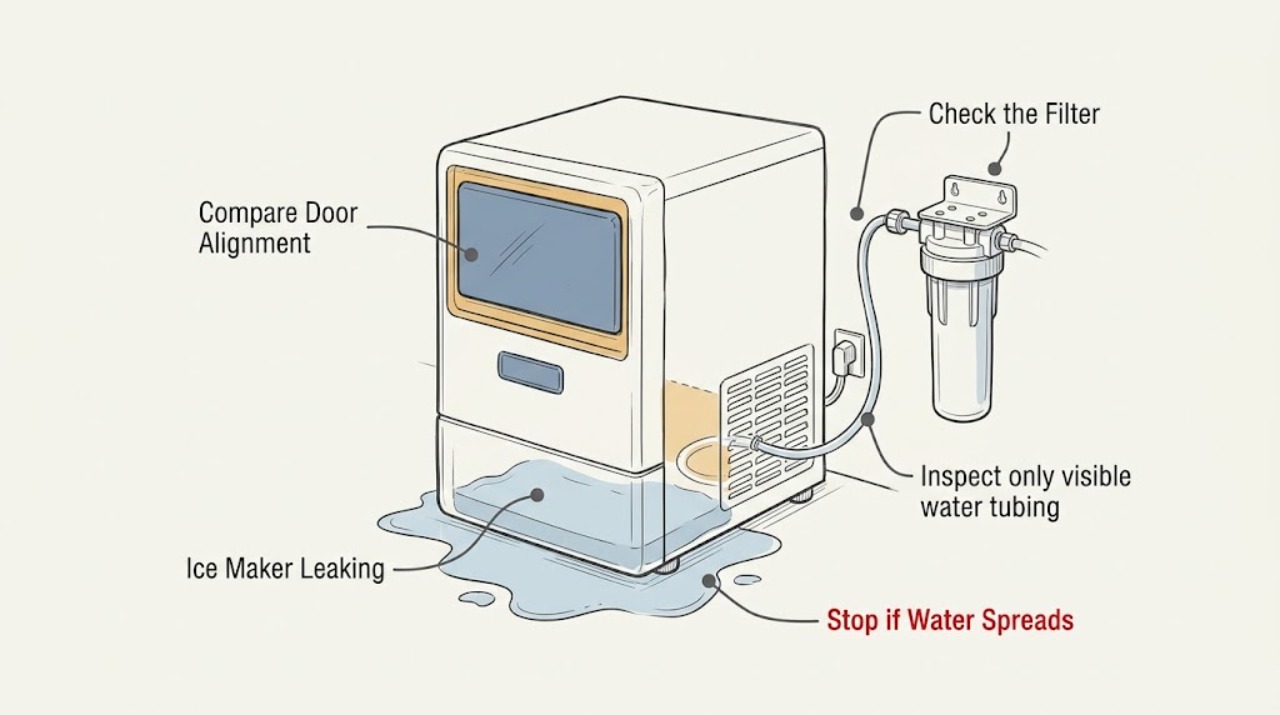
Maytag Ice Maker Leaking: Trace the Filter and Water Connections
For a built-in Maytag refrigerator ice maker that is leaking, first note whether water appears at the filter, hinge/door area, rear household connection, or inside the ice-maker compartment. Check that the filter is fully seated and undamaged and that visible water connections are not loose. Shut off the water supply if a leak is active or damaging cabinets; do not open the ice-maker housing or guess at a valve part without the model.
-
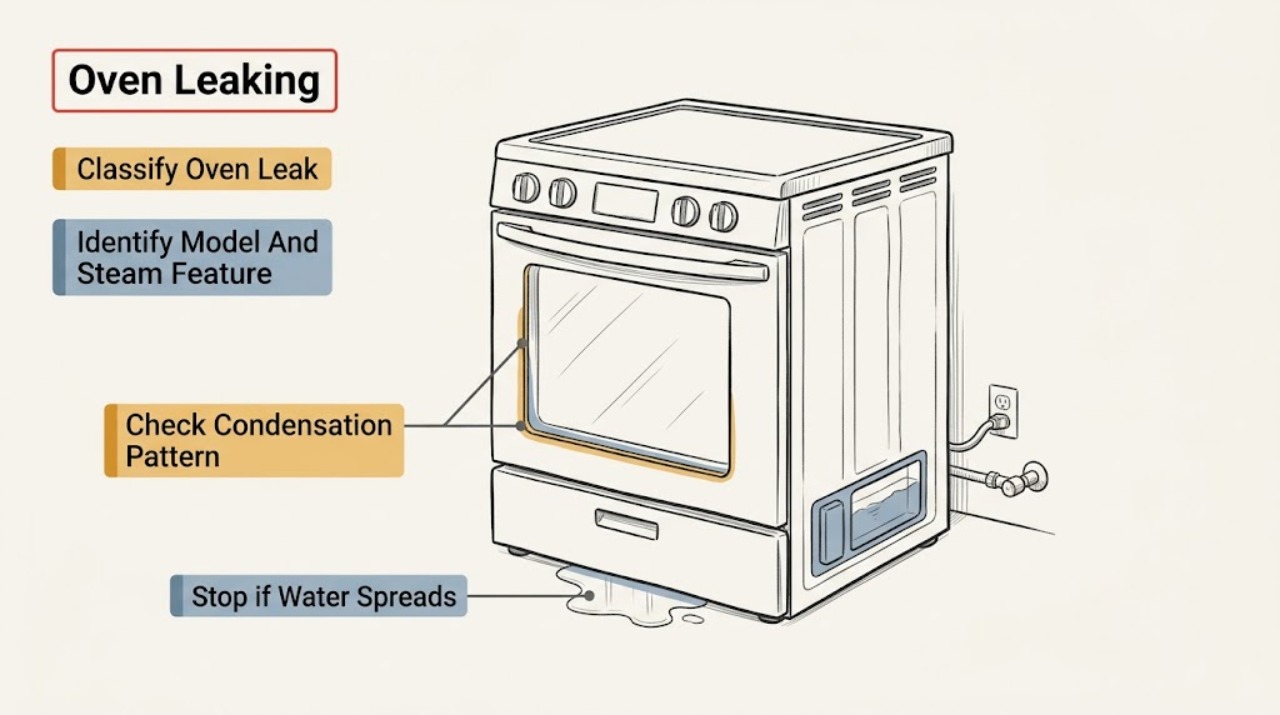
Maytag Oven Leaking: Separate Condensation, Steam Water, and a Real Leak
A Maytag oven that appears to be leaking may be showing condensation from moist food or gas combustion, water left by a steam feature, or a true spill from the cavity, door, reservoir, hose, or a nearby plumbing connection. Do not treat a gas odor as a liquid leak: stop using the appliance, avoid flames and electrical switches, leave, and contact the gas utility or emergency service from a safe location.
-
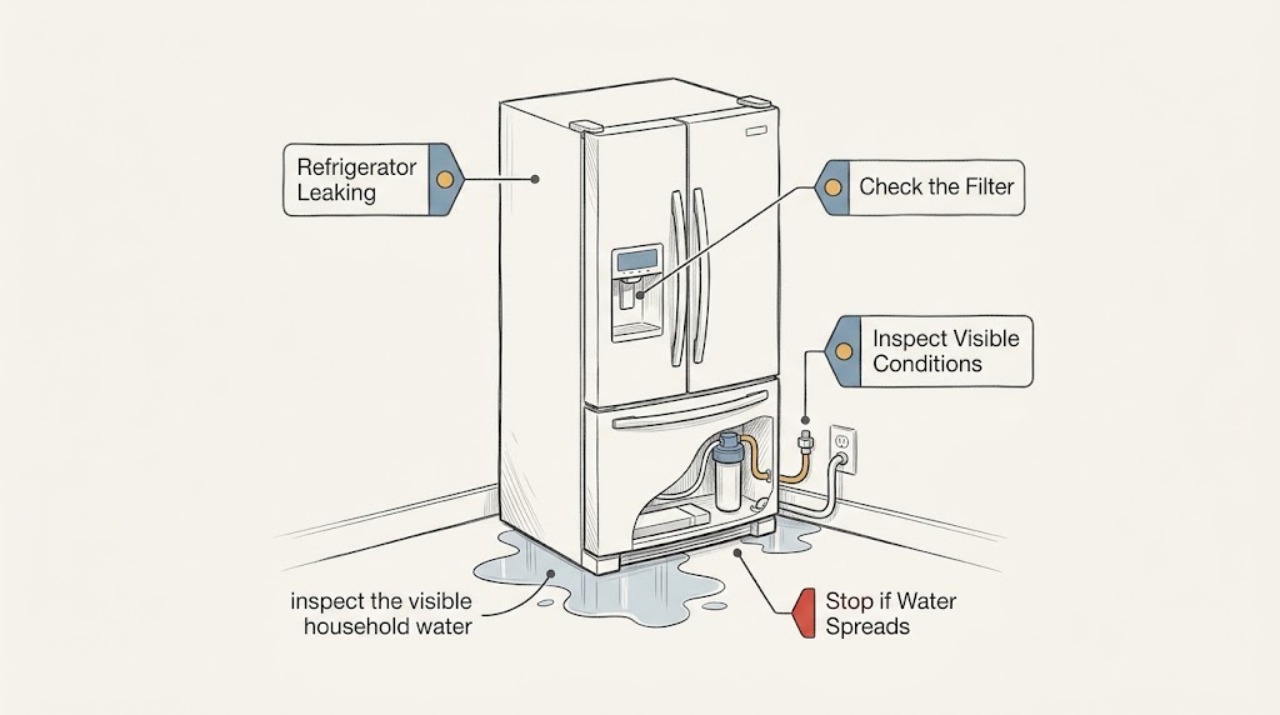
Maytag Refrigerator Leaking: Trace the Water Before Calling for Service
If a Maytag refrigerator is leaking, first dry the floor and identify whether water is coming from the filter area, a rear supply connection, the dispenser area, or inside the cabinet. Check only visible tubing, fittings, filter seating, and door sealing. Shut off the household water supply if a pressurized line is actively leaking; water near electrical parts or a leak that continues after the supply is isolated needs qualified service.
-
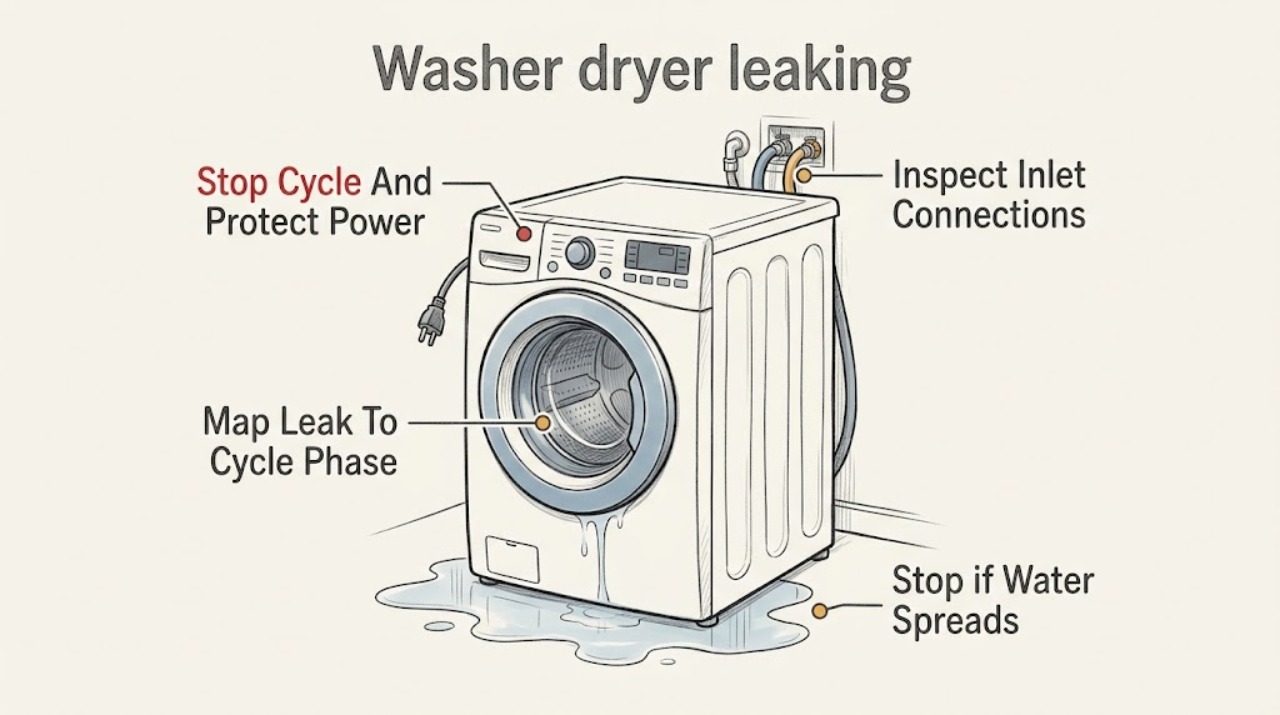
Maytag washer dryer leaking: What to check and what to do next
First stop the Maytag washer-dryer and identify when the water appears: during fill or wash, during drain or spin, while the unit is idle, or only during drying or a steam option. From a dry, safe position, turn off the cycle and water supply if it can be done without touching a wet plugged-in appliance.
-
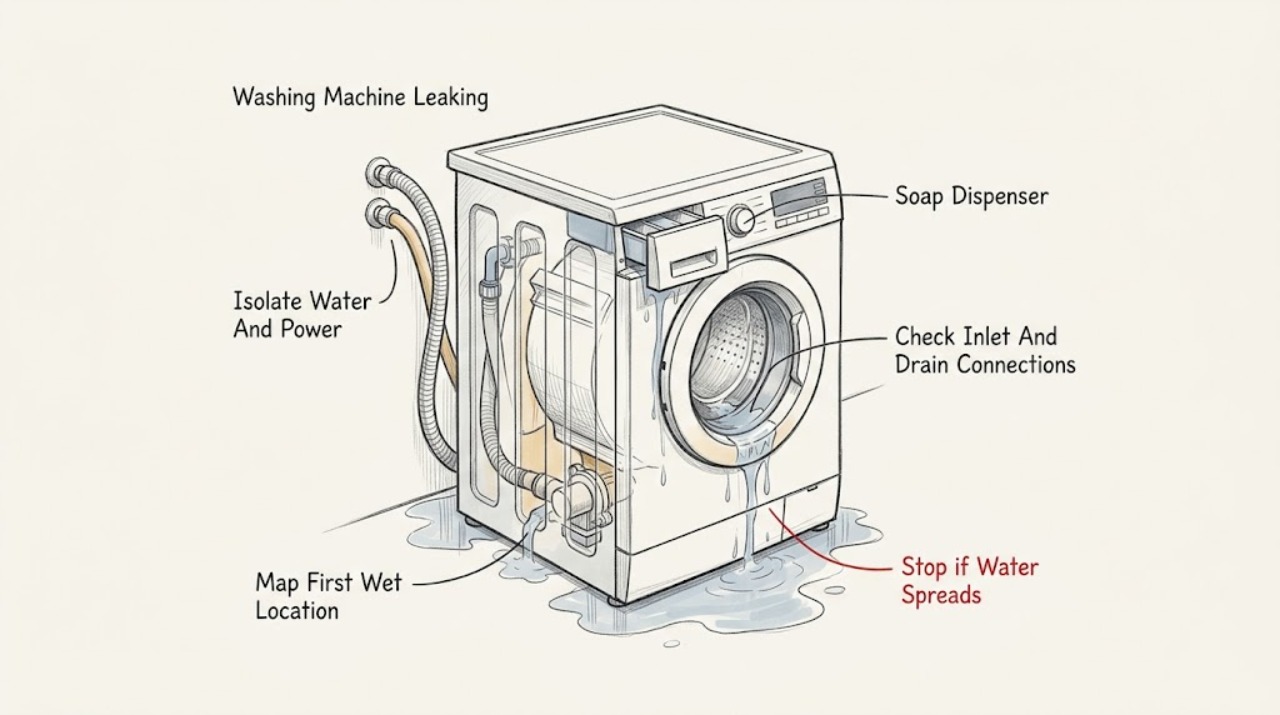
Maytag Washing Machine Leaking: Isolate the Water Safely and Find the Source
Stop the cycle and keep water away from the plug, outlet, controls, and wiring. If it is safe to do so, close the household water valves and isolate power only from a dry, reachable connection; do not reach into standing water, tilt the washer, or pull a wet plug.
-
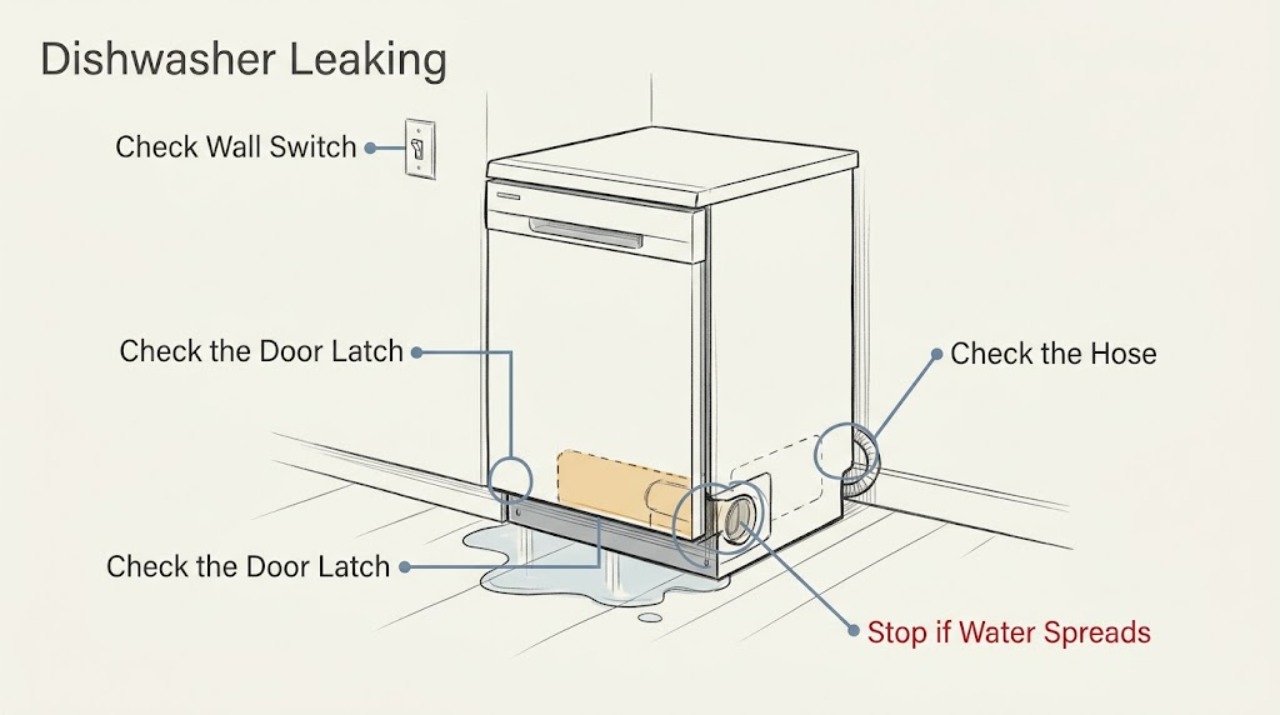
Miele Dishwasher Leaking: Find the Leak Point Before Restarting
Stop a Miele dishwasher leak before troubleshooting. Dry the floor and identify whether water appears at the door, underneath, or near a drain connection. A door that cannot close or a pump cover that does not engage can leak for different reasons. Do not run the machine with water near electrical parts; arrange service for a damaged hose, recurring leak, or any leak whose source is hidden.
-
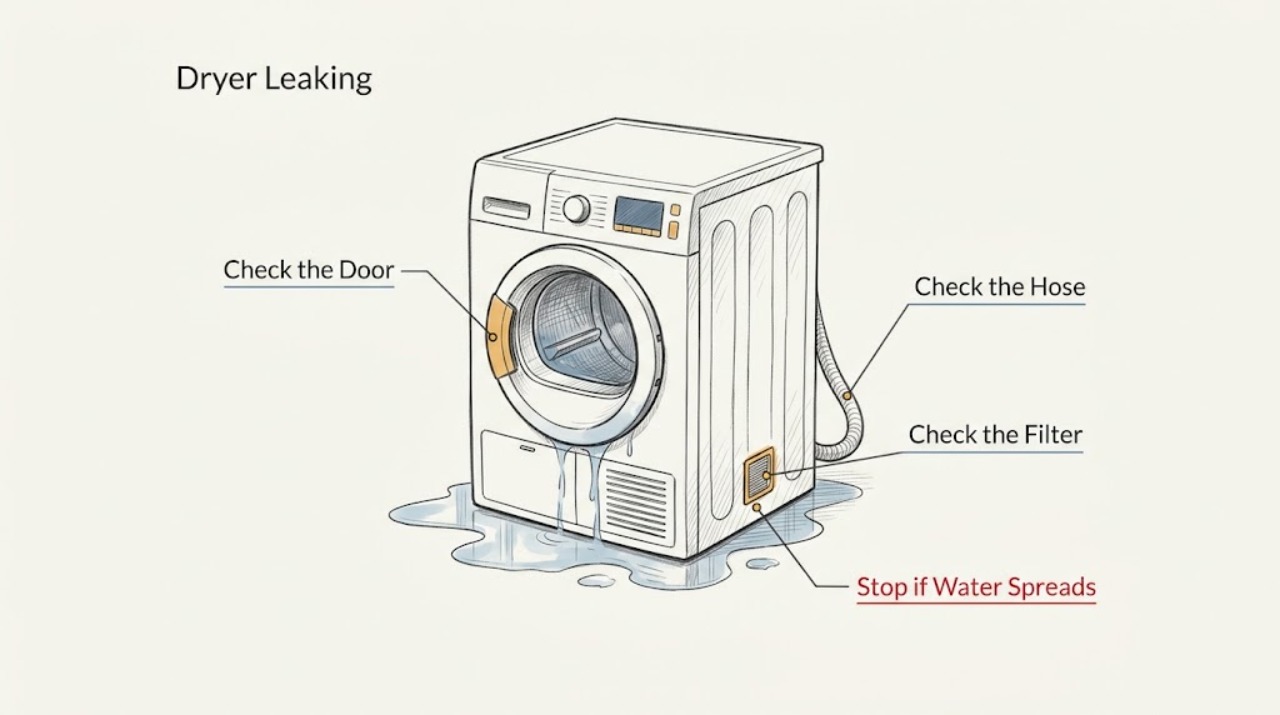
Miele Dryer Leaking: Trace the Condensate Safely
Stop the Miele dryer and identify where water first appears before changing anything. Miele's support identifies an incorrectly connected drain hose, a missing, clogged, or incorrectly fitted non-return valve, and back-flow from a drain shared with a washing machine as leak paths.
-
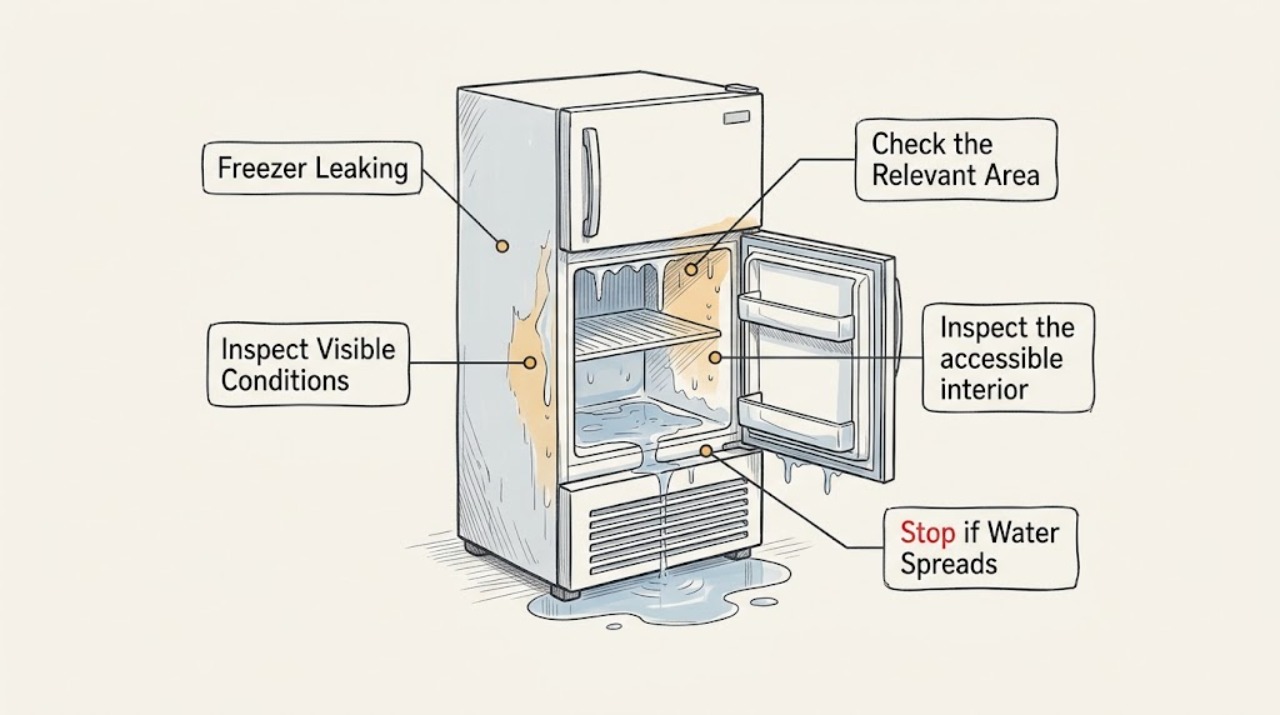
Miele Freezer Leaking: Find the Water Source Safely
Unplug or switch off the Miele freezer before water can reach plugs, wiring, lights, or electronic controls, and protect the food while the door stays closed as much as possible. First identify whether the water is meltwater from frost, a blocked or misdirected drain, a damaged door seal, or—only if the appliance has one—an external ice-maker or water connection.
-
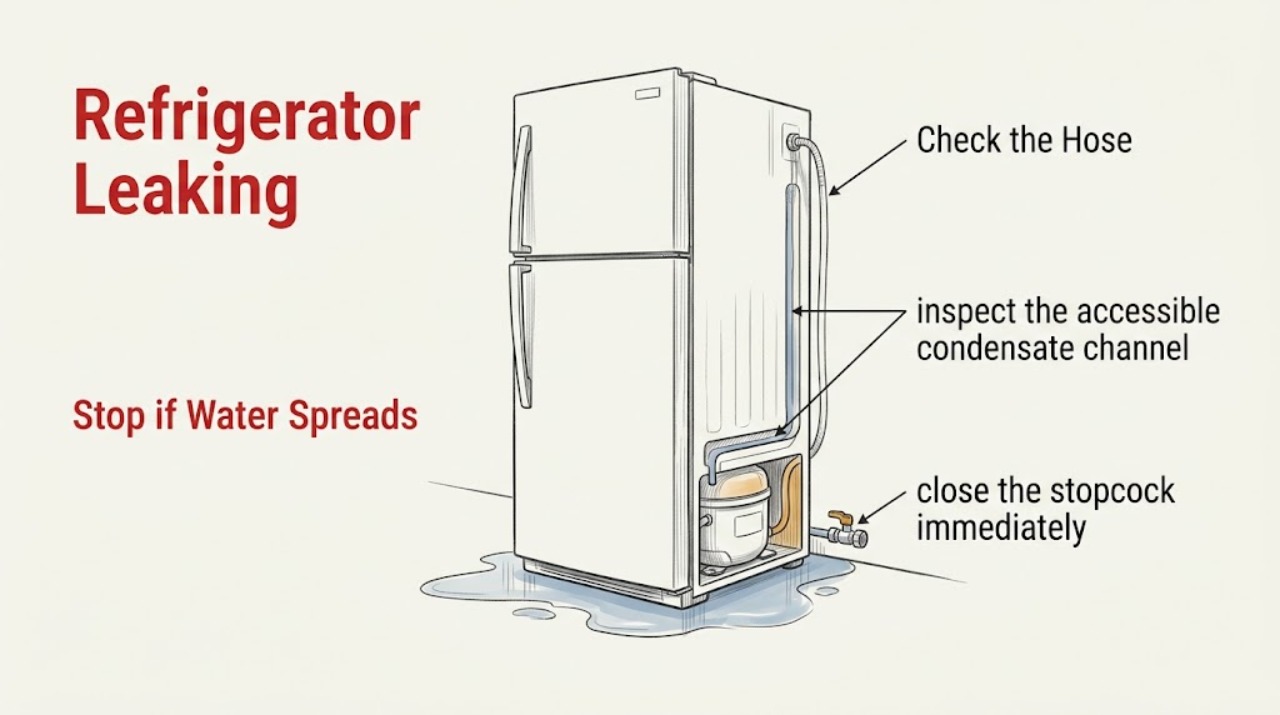
Miele Refrigerator Leaking: Trace the Water Before It Spreads
First identify whether water is inside the fridge compartment or flowing from a plumbed water connection. A wet fridge floor commonly points to a blocked condensate drain, while water actively flowing from a water-connected appliance requires the stopcock to be closed immediately. Do not remove sealed panels or continue using a pressurized connection that is leaking.
-
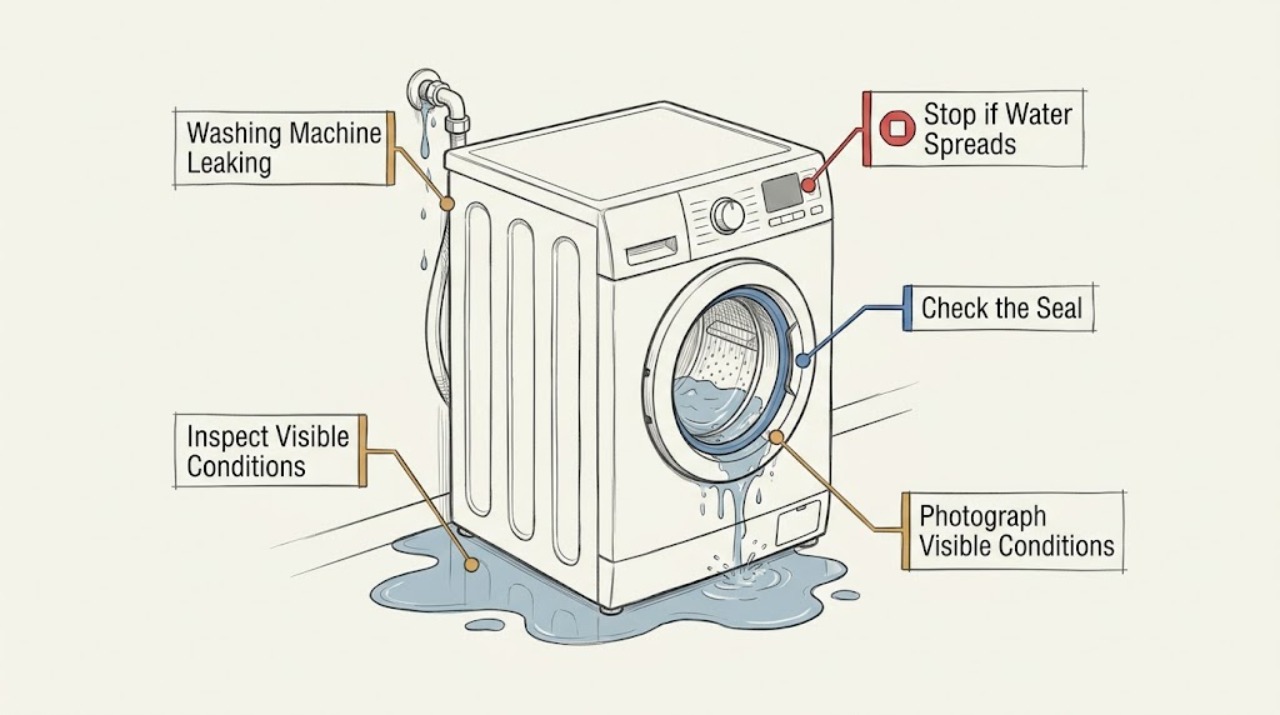
Miele Washing Machine Leaking: Stop the Water and Locate the Safe External Source
Treat a leaking Miele washing machine as a water-and-electricity problem first. Stop the cycle, close the water inlet if water is still entering, and disconnect power only when it can be done safely without touching wet electrical parts.
-
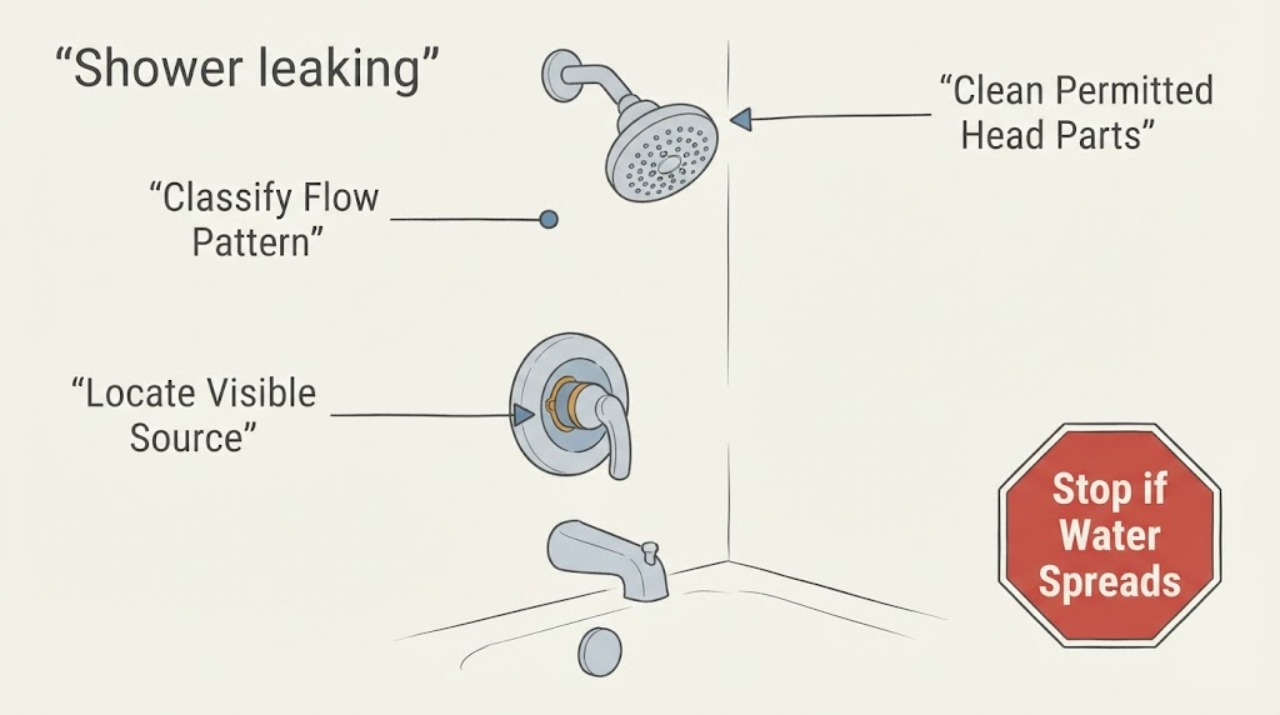
Moen shower leaking: What to Check and What to Do Next
First locate the leak and distinguish separated residual drops from continuous flow. With the shower control off, dry and watch the showerhead, head-to-arm joint, handle or escutcheon, tub spout, and visible wall or ceiling.
-
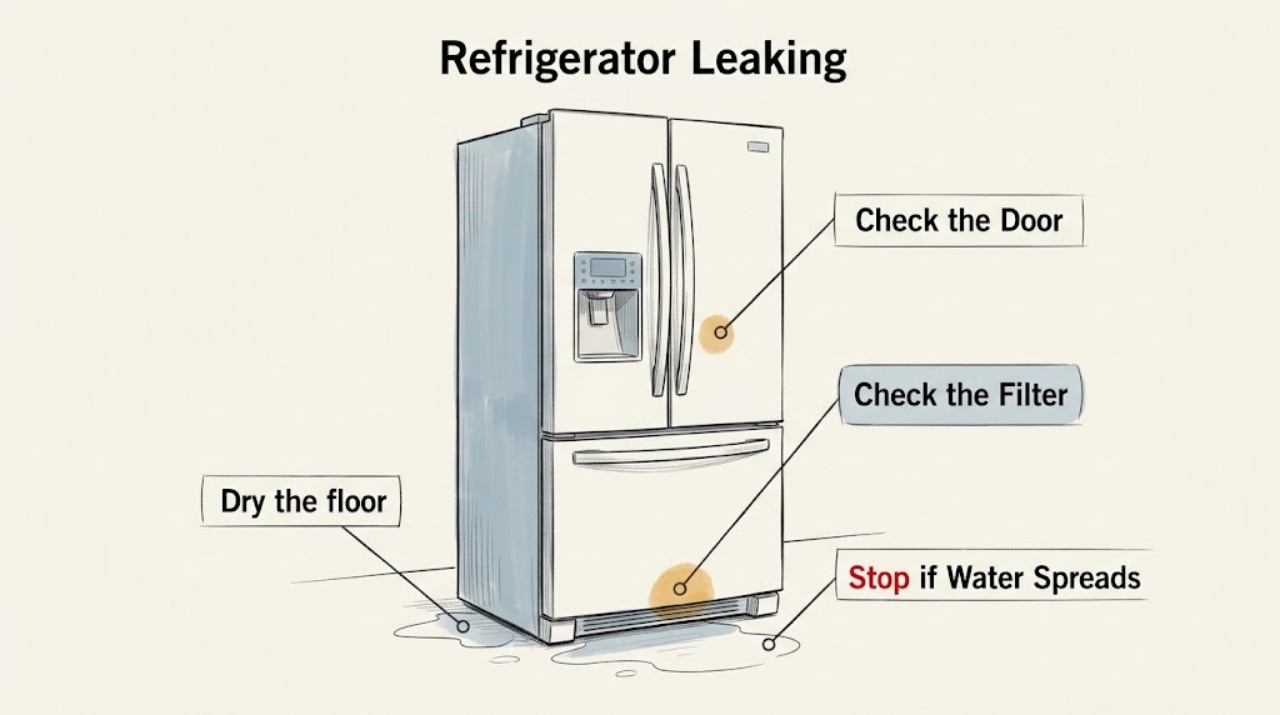
Moffat Refrigerator Leaking
Find where the water starts before choosing a repair. On a Moffat refrigerator, water may be defrost water under a drawer, an external supply or fill line if the model has ice or water features, or a valve or drain problem. Keep water away from electricity, shut off an accessible refrigerator water supply if a pressurized line is leaking, and arrange service for a recurring leak or an inaccessible drain.
-
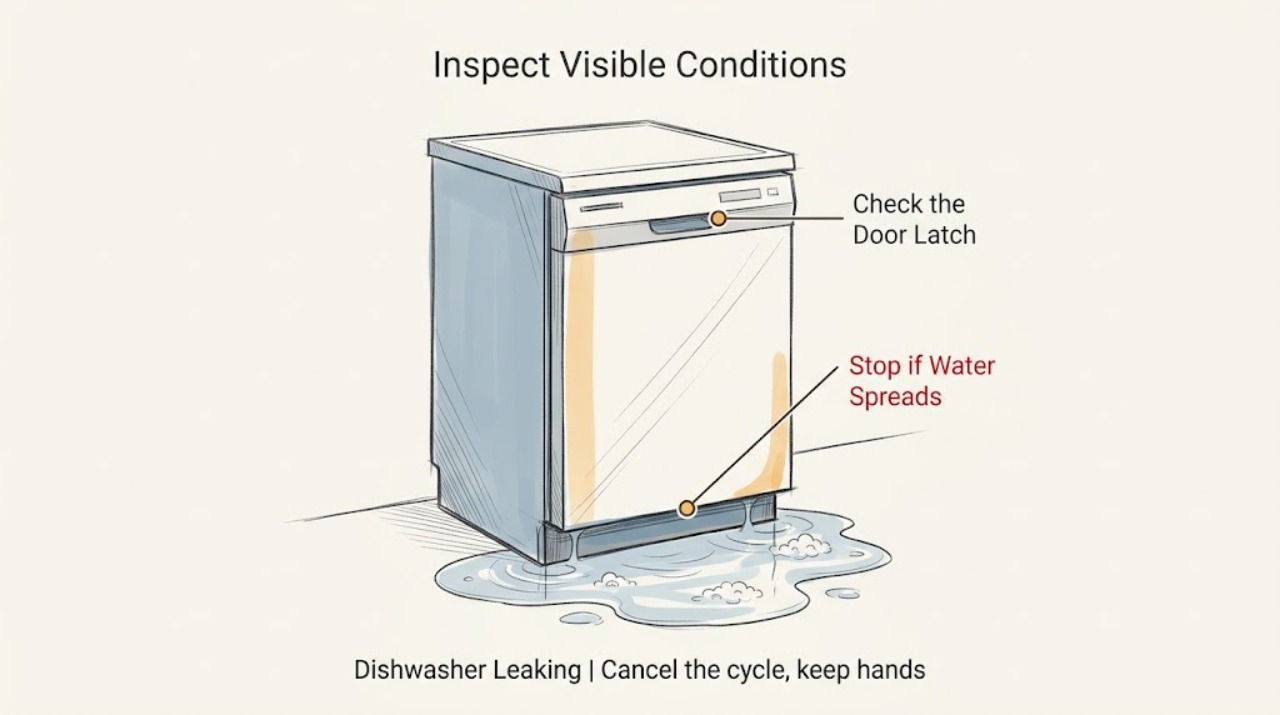
Monogram Dishwasher Leaking: Stop the Water Before Testing the Cause
Stop the cycle and water supply if water is actively escaping. Dry the area, then identify whether the leak starts at the door, underneath, or during draining. Monogram support covers leaking, over-suds, and floods; check only accessible gasket, detergent, drain, and air-gap conditions, and leave hose, pump, and electrical repairs to service.
-
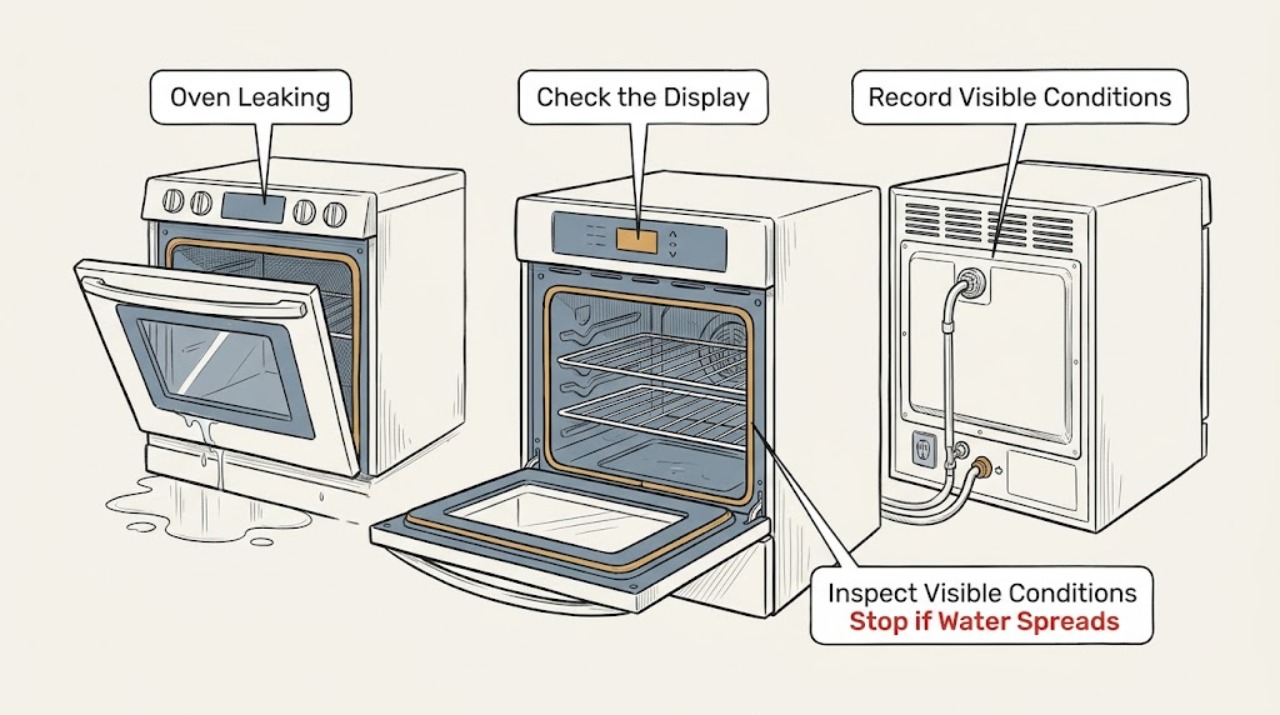
Monogram Oven Leaking: Tell Steam, Condensation, and Real Water Leaks Apart
First identify what is escaping and where it lands. Steam or a small amount of condensation around the vent or door can be normal during moist cooking, while water that pools outside the cavity, returns after the oven is dry, reaches controls or electrical equipment, or comes from a damaged door or seal needs the oven taken out of service.
-
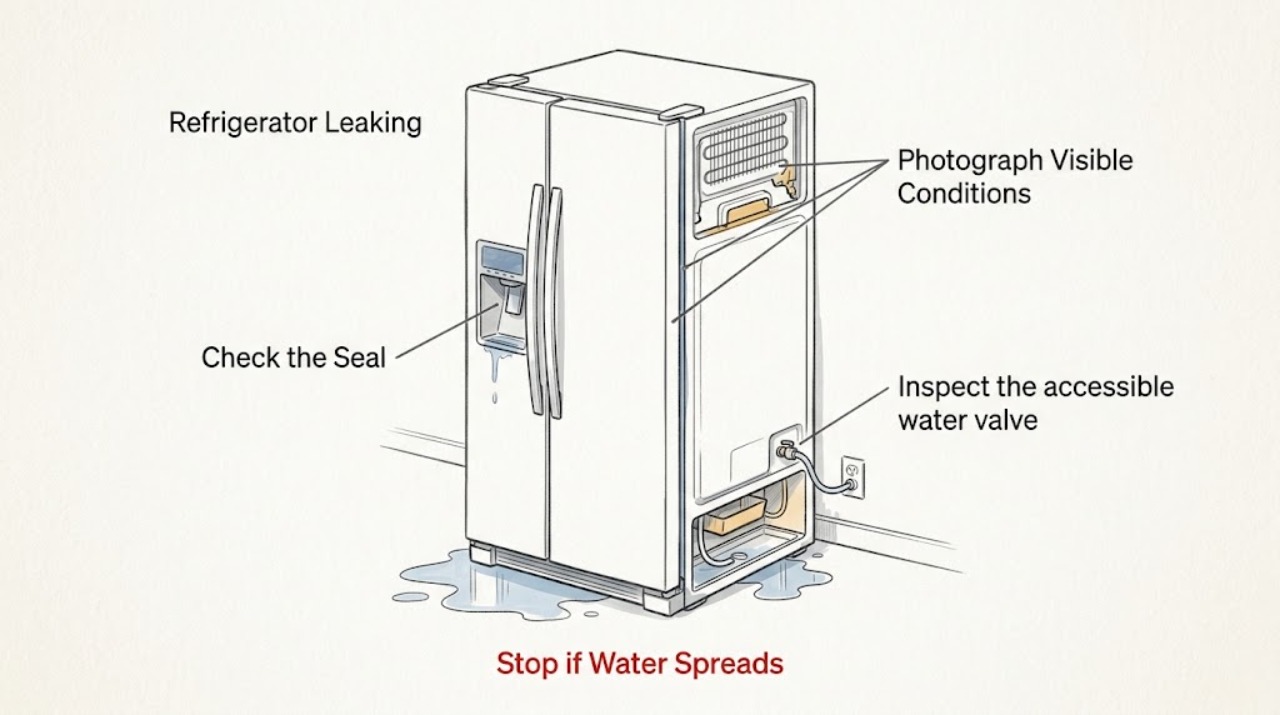
Monogram Refrigerator Leaking: Trace the Water Before It Spreads
Protect the floor first, then identify whether water is coming from the external supply, dispenser area, door, or inside the cabinet. Turn off the refrigerator's water supply if a valve or line is wet, and do not remove sealed panels to chase an internal leak. A continuously running leak, damaged line, or water near electrical parts needs Monogram service.
-
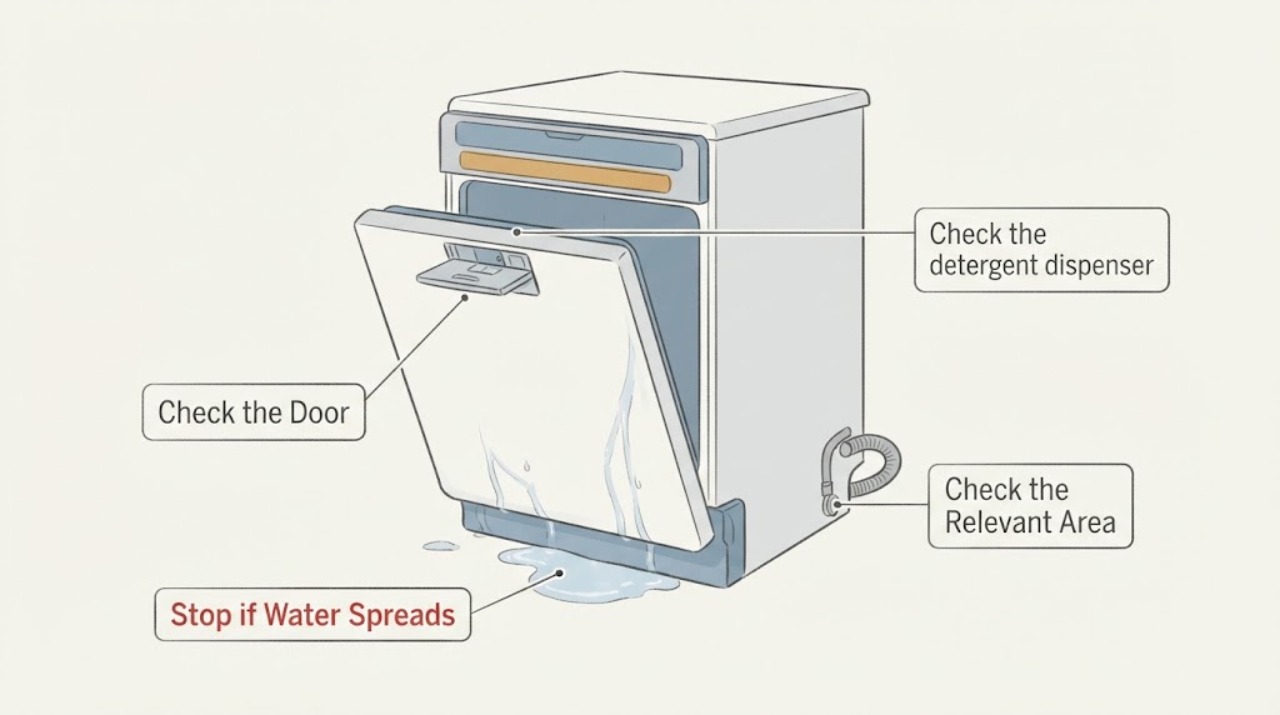
Neff Dishwasher Leaking: Locate the Leak Before Choosing a Check
If a Neff dishwasher leaks, stop the cycle, protect the floor, and note whether water appears at the door, dispenser, hose area, or underneath. Check only accessible door closure, gasket cleanliness, detergent loading, and visible hose connections; do not remove panels or loosen pressurised fittings. Neff's official assistant separates dispenser leaks from other faults and directs model-specific repair to the manual or service.
-
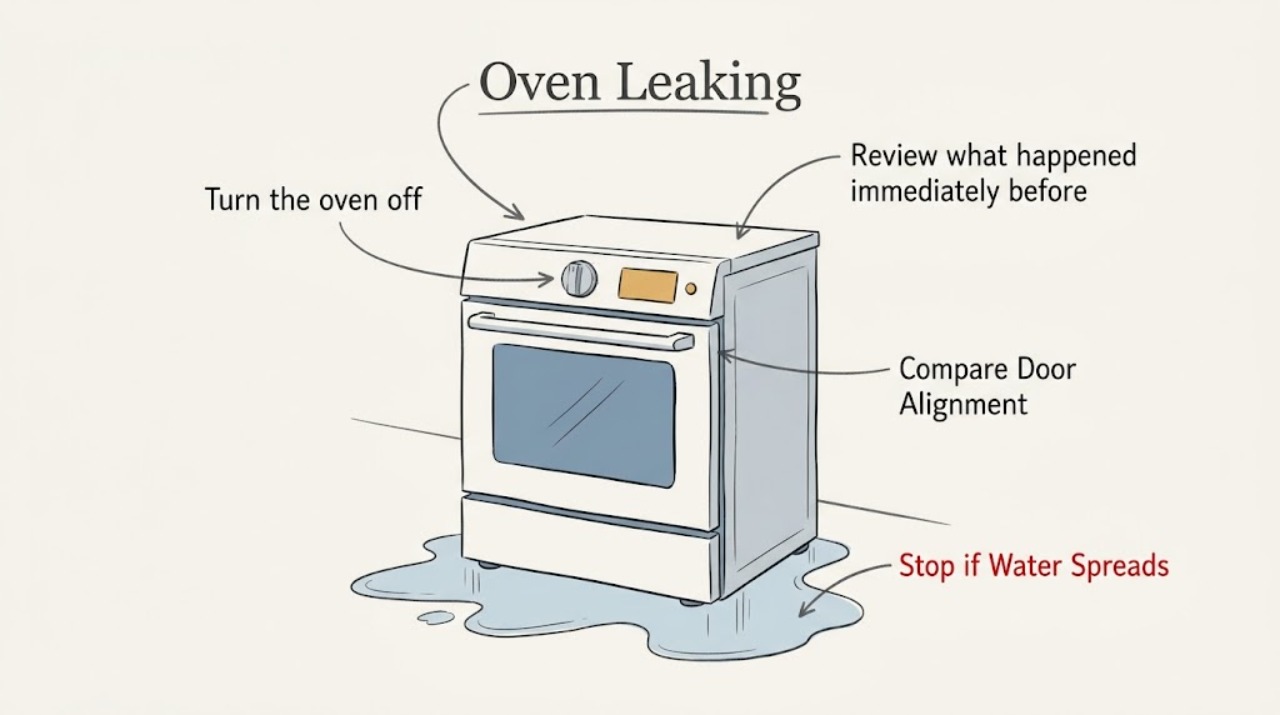
Oven Leaking: Tell Condensation, Spills, and Gas Odor Apart
An oven that appears to be leaking may be releasing food liquid, steam condensation, water from a model-specific steam or cleaning function, or a true leak from a door, reservoir, or internal component. Let the oven cool, identify the first wet point, and check whether the moisture appeared after high-moisture food, steam use, or cleaning.
-
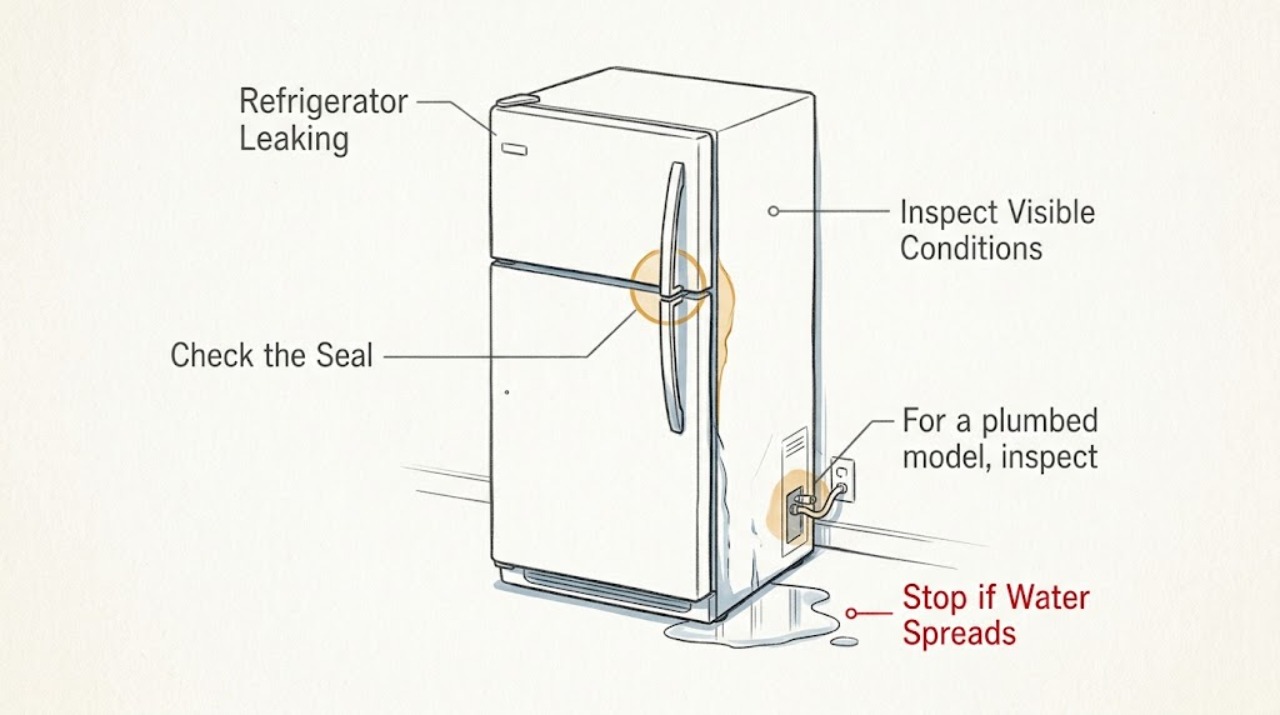
Panasonic Refrigerator Leaking: Trace the Source Before It Reaches Electricity
Find where water starts: inside under drawers, at the door, from the bottom cover, or behind the refrigerator. Dry the area and keep water away from electrical connections. Check only visible gasket, drainage, and supply conditions described by the model manual. If the leak is continuous, reaches electricity, or comes from a damaged line or cabinet, stop the water supply if safe and arrange Panasonic service.
-
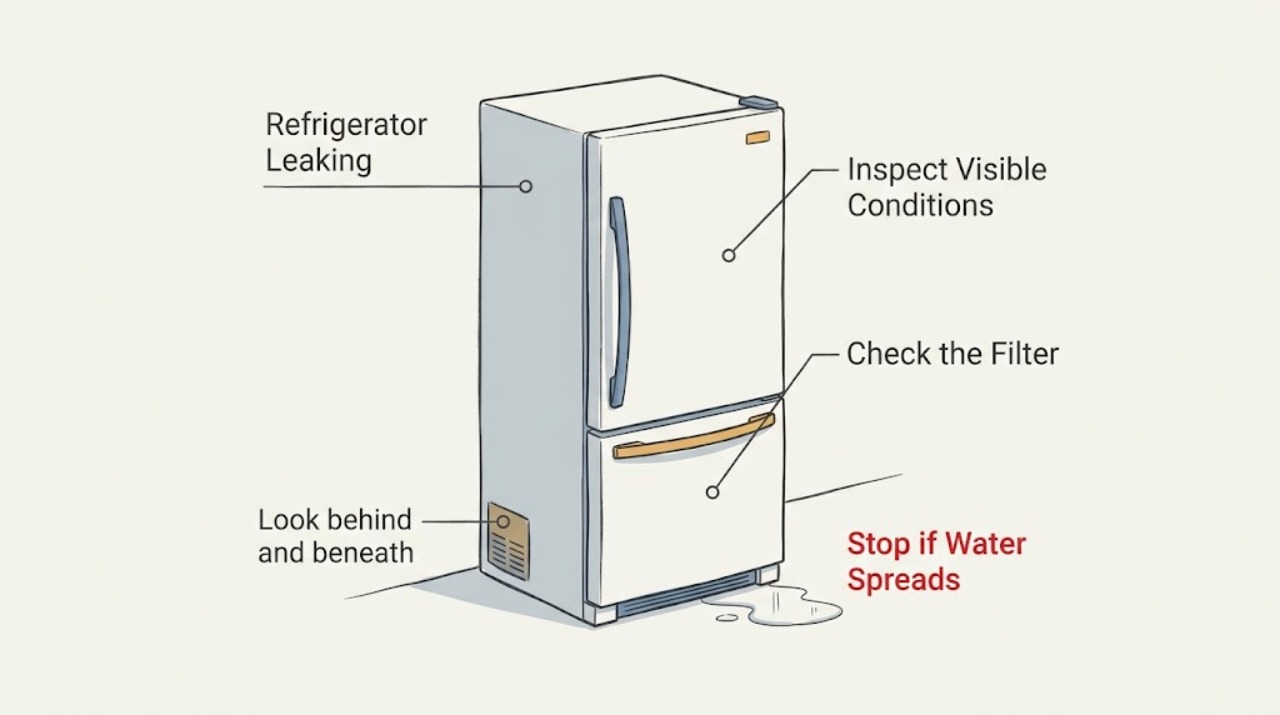
Performa Refrigerator Leaking
Find where a Performa refrigerator leak starts before moving anything: dispenser, filter area, rear water line, or inside/bottom cabinet. Empty a catch tray, keep water away from electricity, and check only accessible fittings and ice buildup. A leak from an internal cabinet, damaged line, or recurring water path needs qualified service.
-
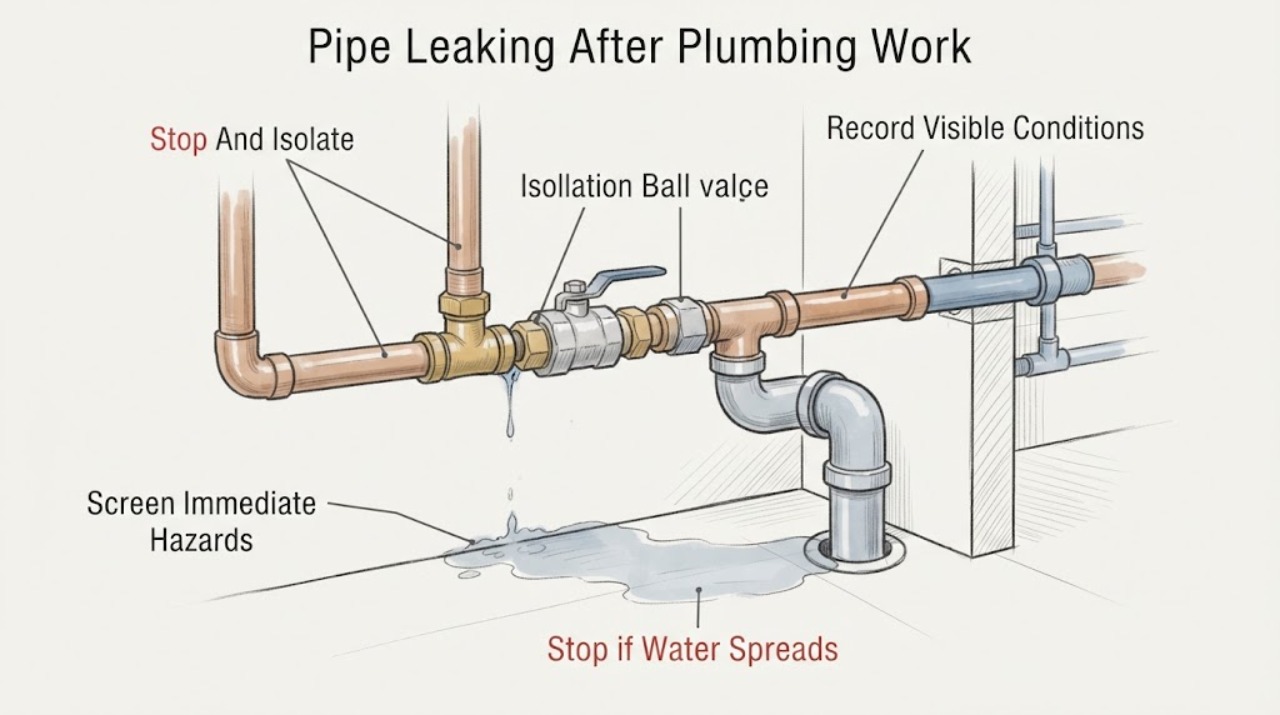
Pipe Leaking After Plumbing Work: Isolate the Water and Trace the First Wet Point
A pipe that leaks after plumbing work should be treated as an active repair-site leak until the water source is isolated. Stop using the affected fixture, close the nearest safe shut-off or the main house valve if needed, and keep water away from electrical equipment.
-
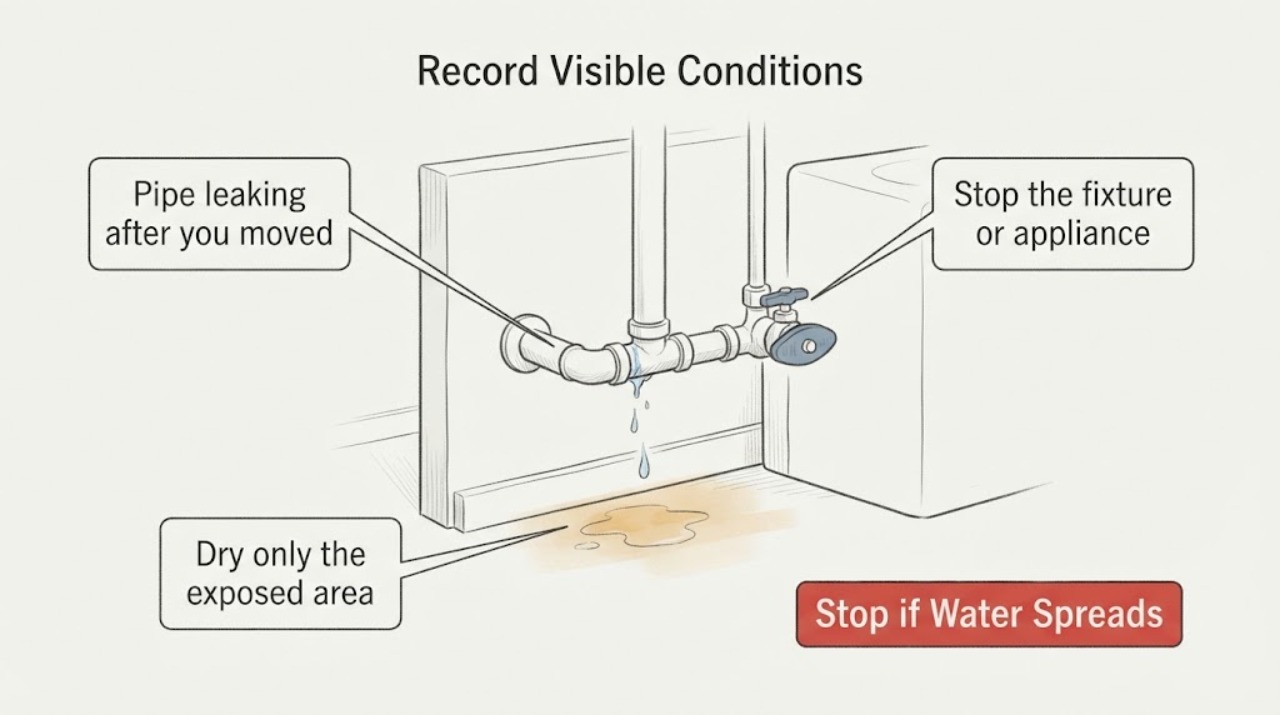
Pipe leaking after you moved it: safe repair options
Stop using the affected pipe, close the nearest safe shutoff or the main water valve if needed, and keep the area away from wet electrics. Dry the accessible area and find the first wet point: a shifted coupling, stressed supply joint, drain connection that leaks only during use, or water emerging from a wall or floor.
-
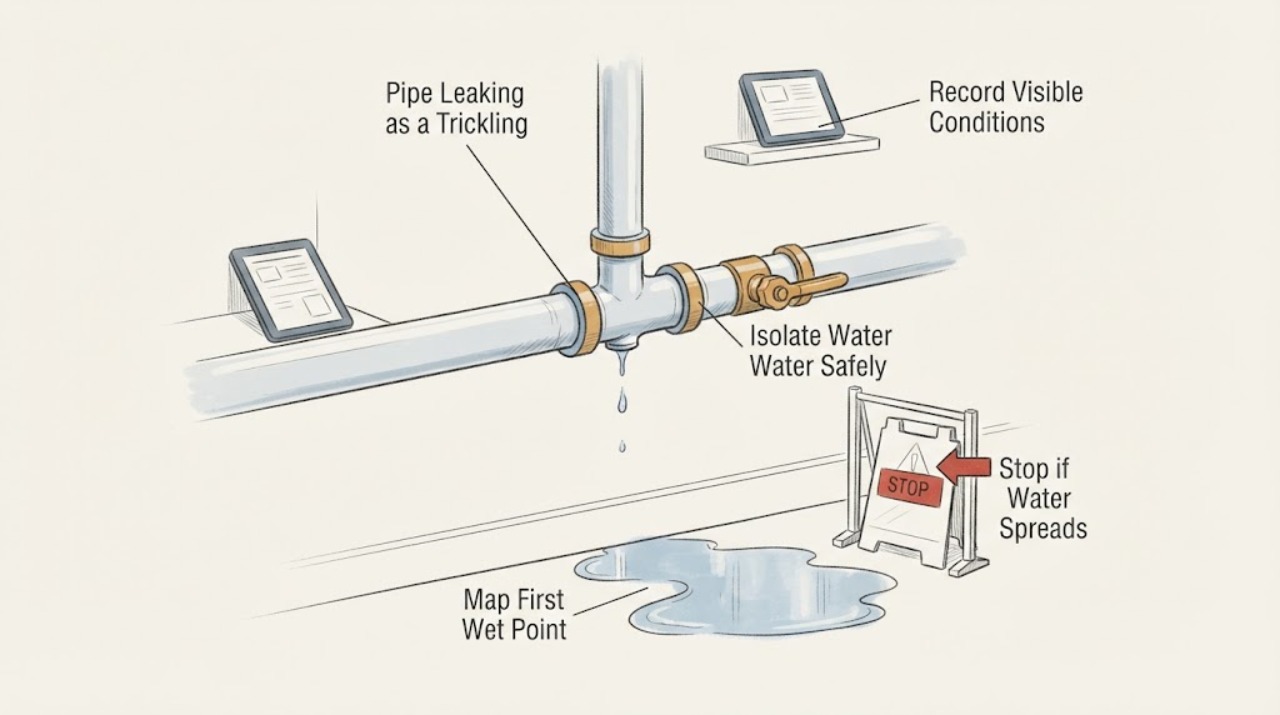
Pipe Leaking as a Trickling Drip: Find the Source Before It Grows
A slow trickle is still an active leak, not proof that the problem is harmless. First avoid using the nearby fixture and watch the first wet point from a dry, safe position.
-
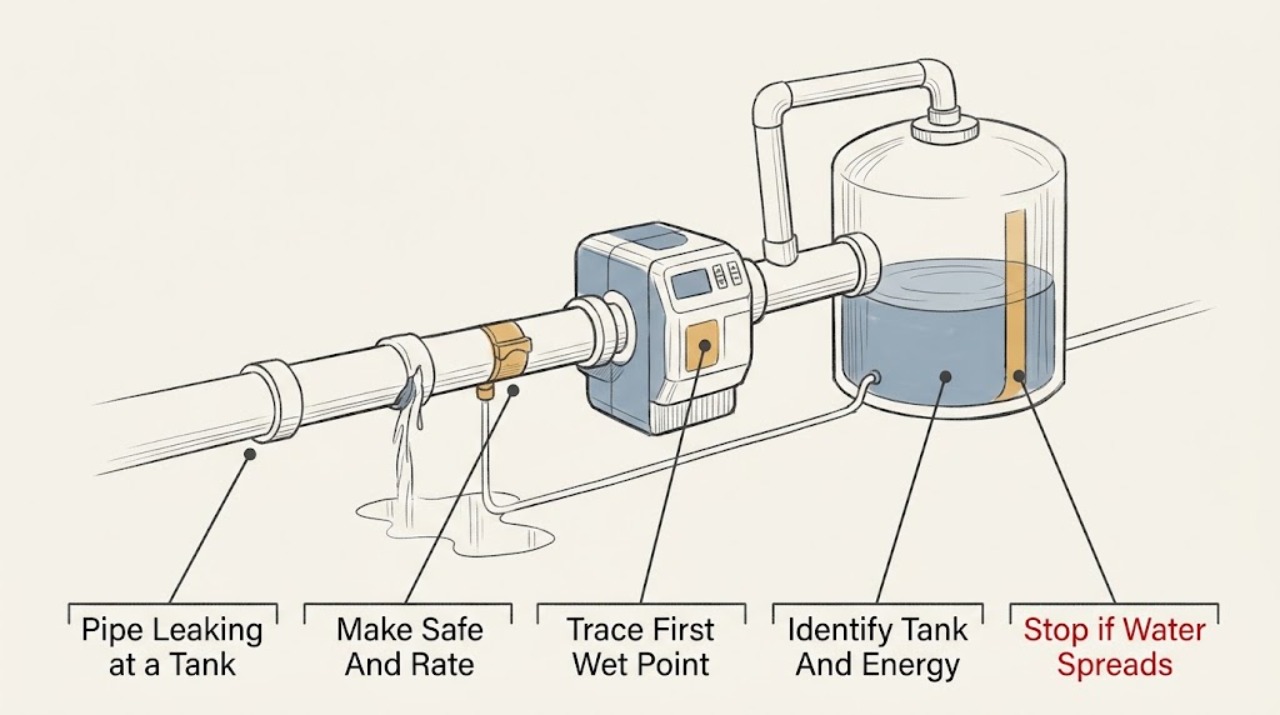
Pipe Leaking at a Tank: Trace the First Wet Point Safely
A leak reported at a tank may come from the tank wall or base, an inlet or outlet connection, a drain or overflow path, a temperature-and-pressure relief discharge, condensation, or water running down from above. If water is hot, flowing quickly, reaching electrical equipment, or accompanied by a gas odor, smoke, or a carbon-monoxide alarm, stop and use the appropriate emergency path.
-
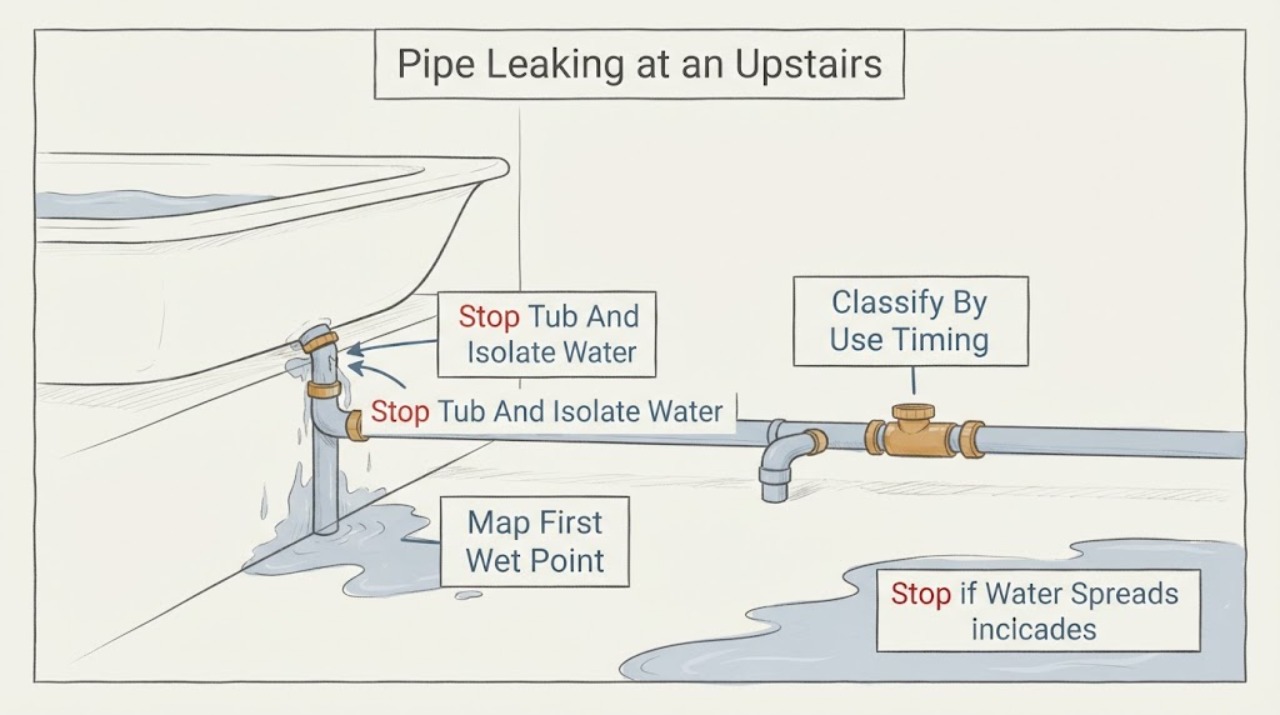
Pipe Leaking at an Upstairs Tub: Find the First Wet Point Safely
Stop using the upstairs tub first. A leak that appears below the tub can come from the pressurized supply while the faucet or shower is running, the tub waste or overflow only when water drains, the overflow opening when the tub is too full, or the tub enclosure, door, curtain, or seal letting spray reach the floor.
-
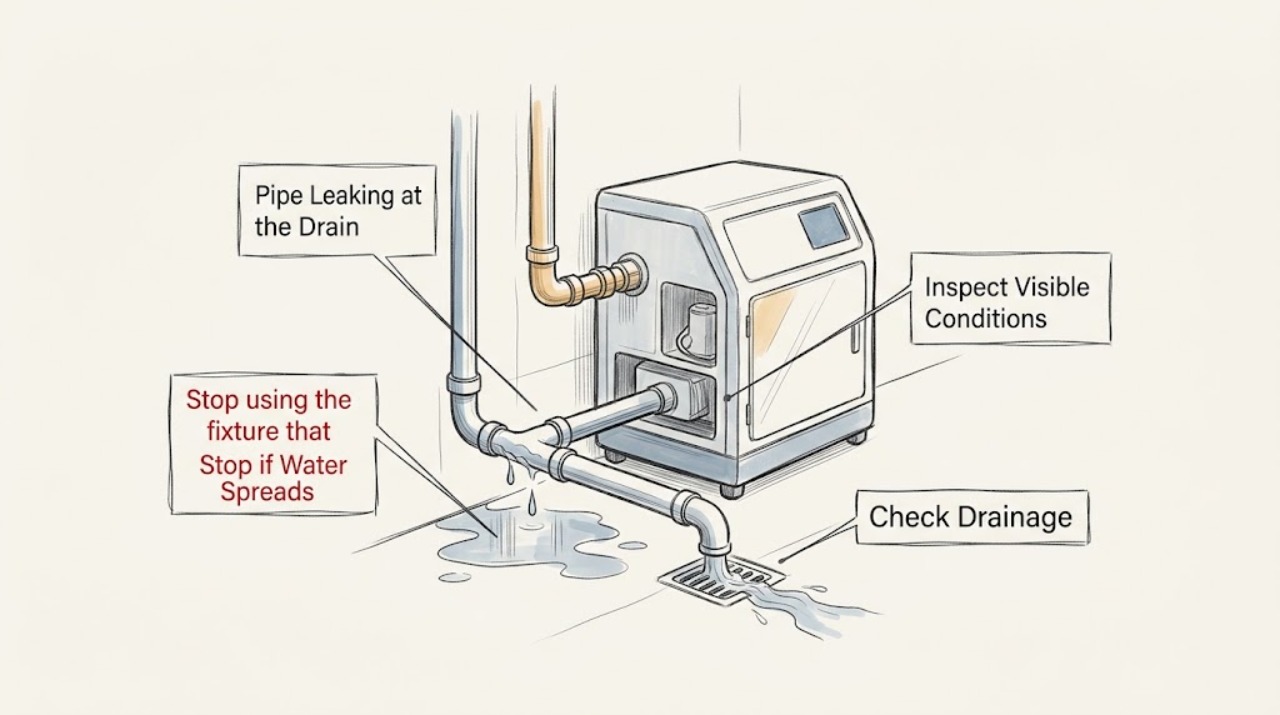
Pipe Leaking at the Drain Line: Find the First Wet Point Safely
Stop using the fixture served by the leaking drain line and identify the first wet point before tightening or replacing anything. A joint or trap that leaks only while water discharges is different from a supply-side leak, a continuous leak, an upstream fixture, or wastewater backing up through the line.
-
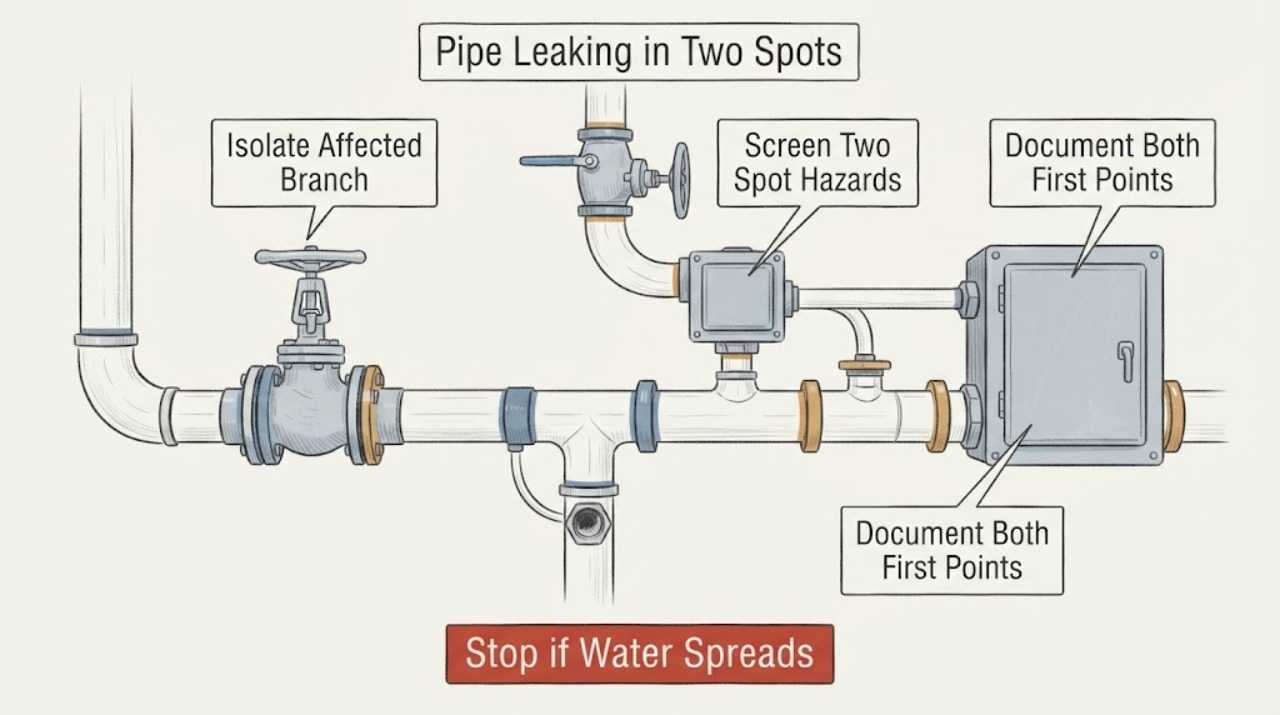
Pipe Leaking in Two Spots After Repair: Isolate Both Points Before Retesting
Two wet spots after a pipe repair are not proof of two unrelated faults: water can travel from one pressurized joint, or the repair may involve two leaking connections. Stop using the affected branch, close the nearest safe shut-off or the house main if needed, and keep water away from electrical equipment.
-
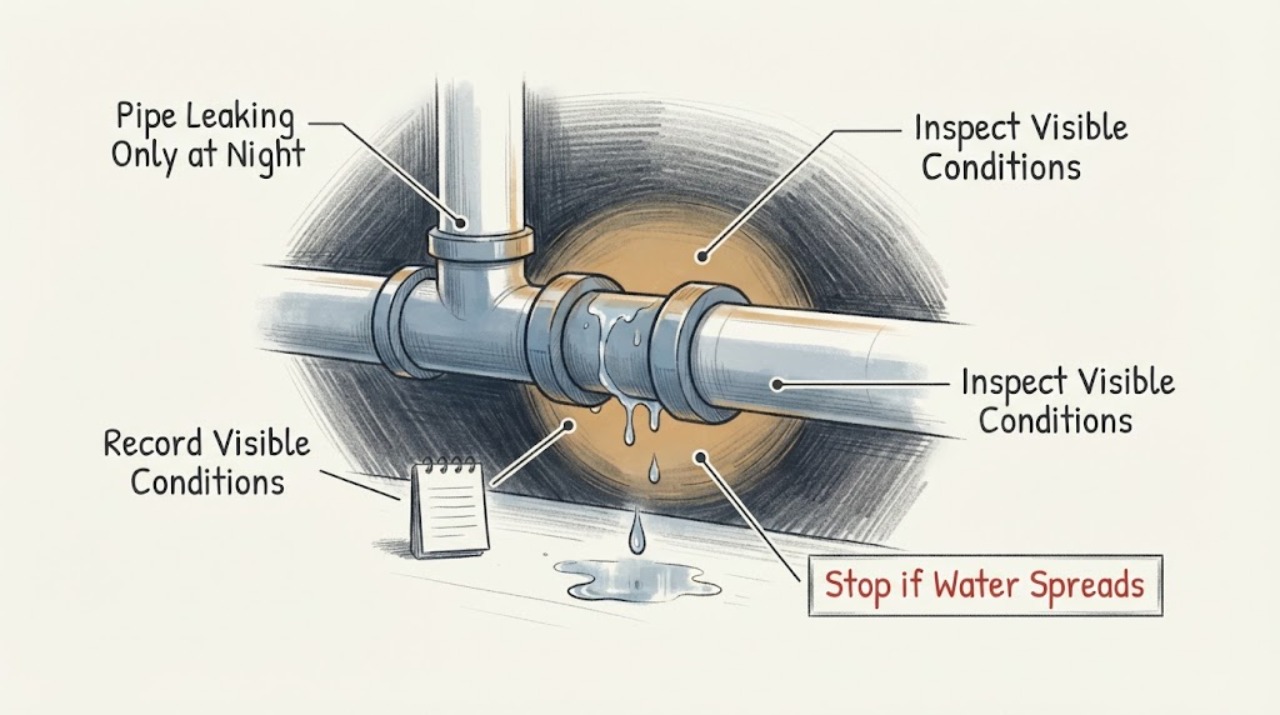
Pipe Leaking Only at Night: About Five Drops of Water
Five drops at night still deserve a controlled diagnosis because the water may be a pressurized pipe leak, condensation, a drain or appliance event after evening use, or a slow leak hidden behind a wall. Do not loosen a fitting or open a pipe under pressure.
-
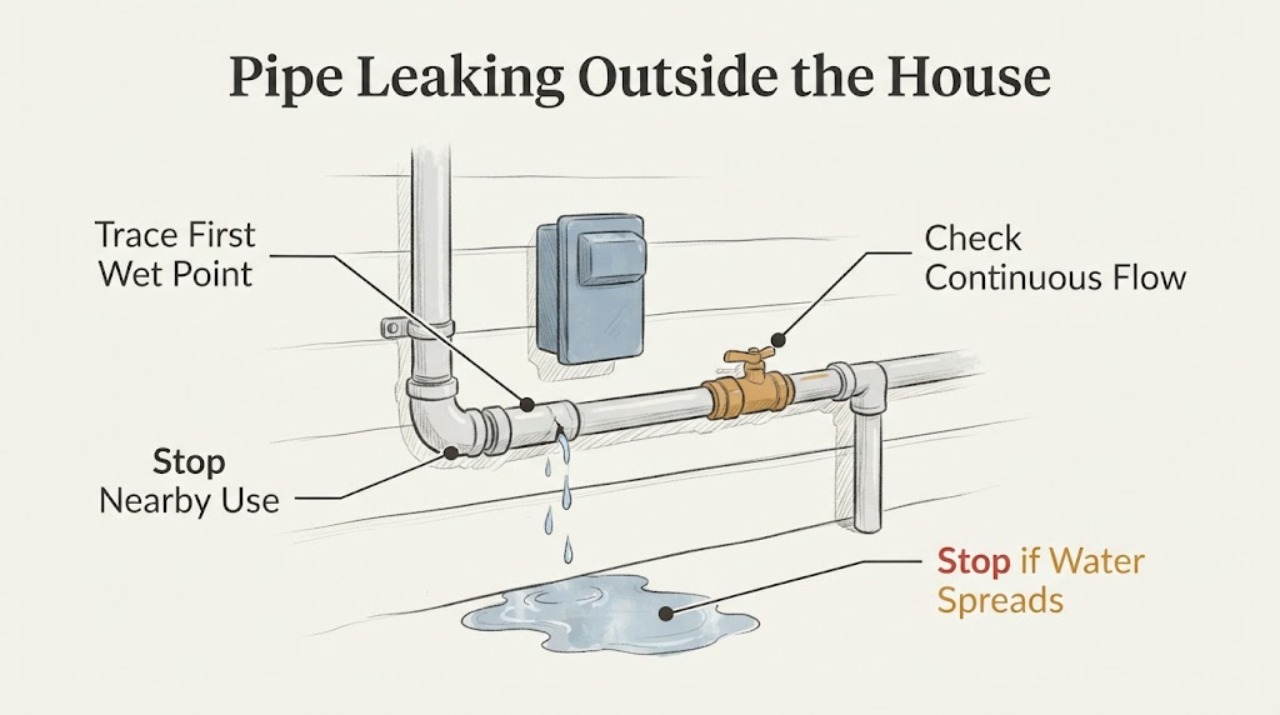
Pipe Leaking Outside the House: Identify the Source Without Digging Blind
An outdoor pipe leak may be a pressurized water service line, an irrigation or hose-bib connection, a drain that leaks only when a fixture is used, rainwater, groundwater, or a public-utility problem. First stop the nearby fixture or irrigation run and observe the water from a safe, stable, dry position.
-
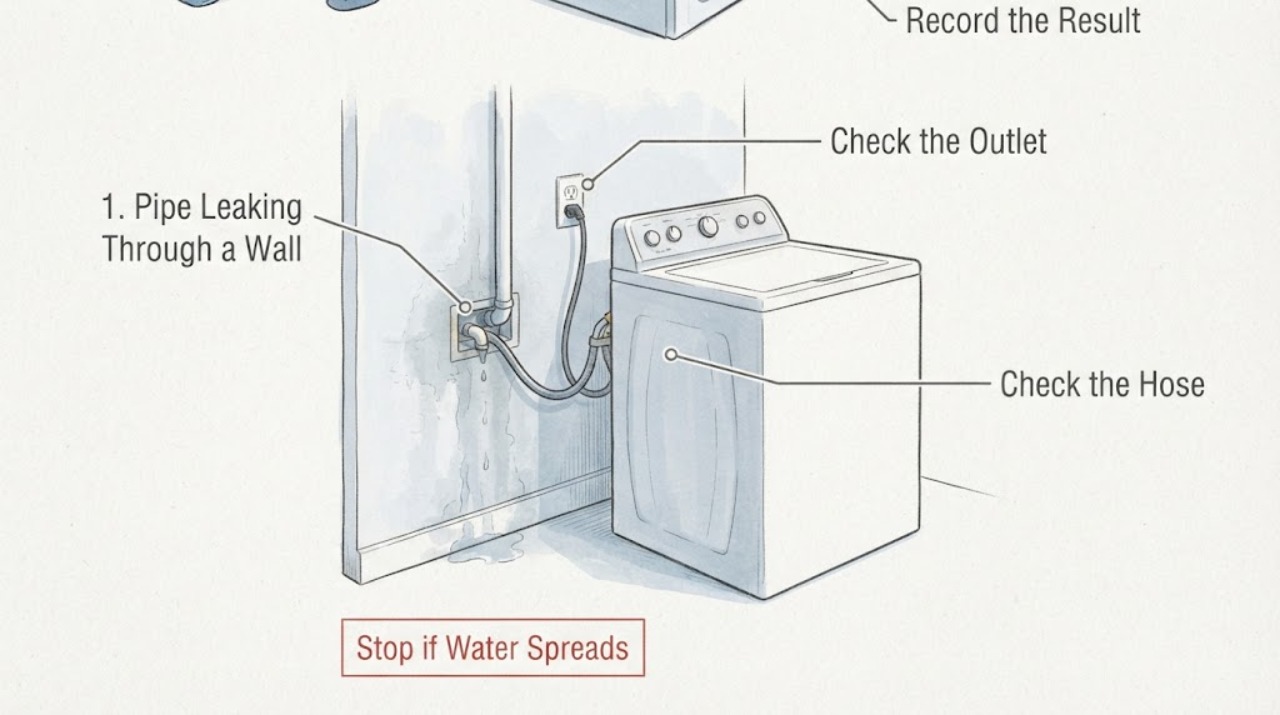
Pipe Leaking Through a Wall When a Downstairs Washer Drains
Stop the downstairs washer immediately and do not run another drain test. Close the washer's water supply valves if they are dry and safely reachable, and keep people away from wet electrical areas.
-
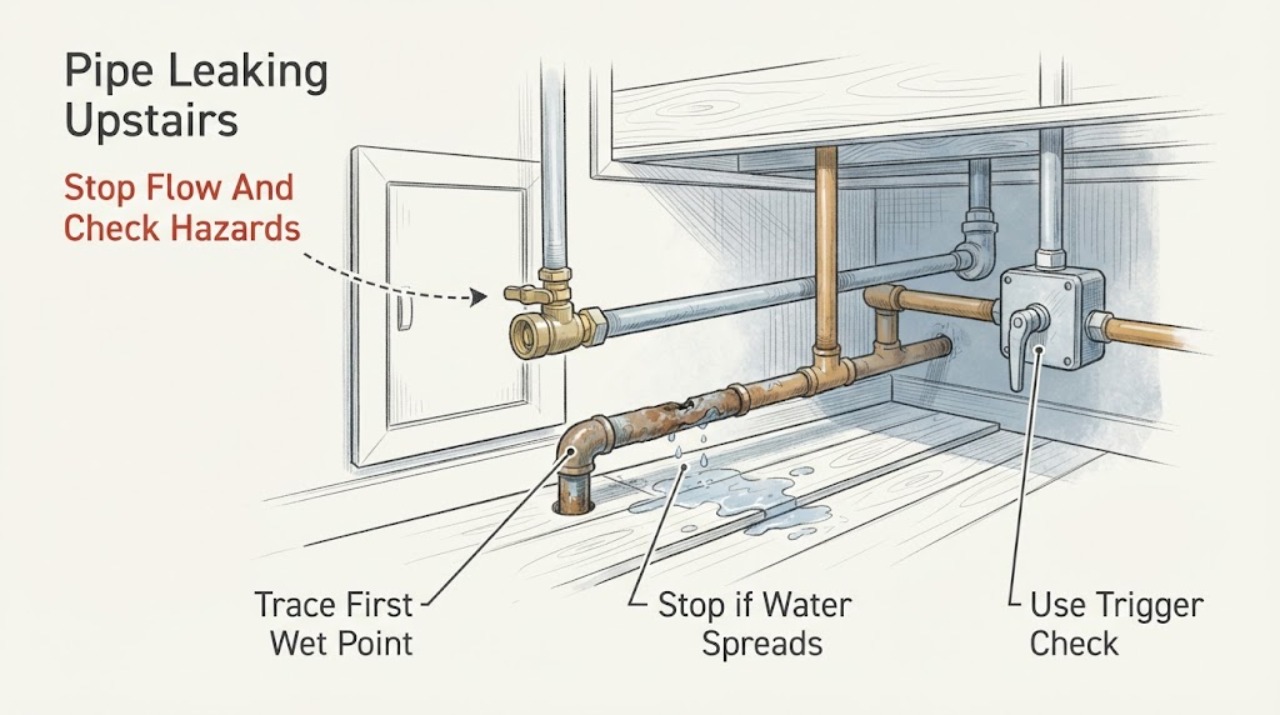
Pipe Leaking Upstairs in an Old House: Find the First Wet Point Safely
An upstairs leak in an old house may be a pressurized supply pipe that leaks continuously, a drain that leaks only when a fixture runs, a bathroom or heating line, a roof or wall leak, or water traveling from another level. Stop using the affected fixture and close the nearest clearly labeled water shutoff from a dry, safe position if the flow is active.
-
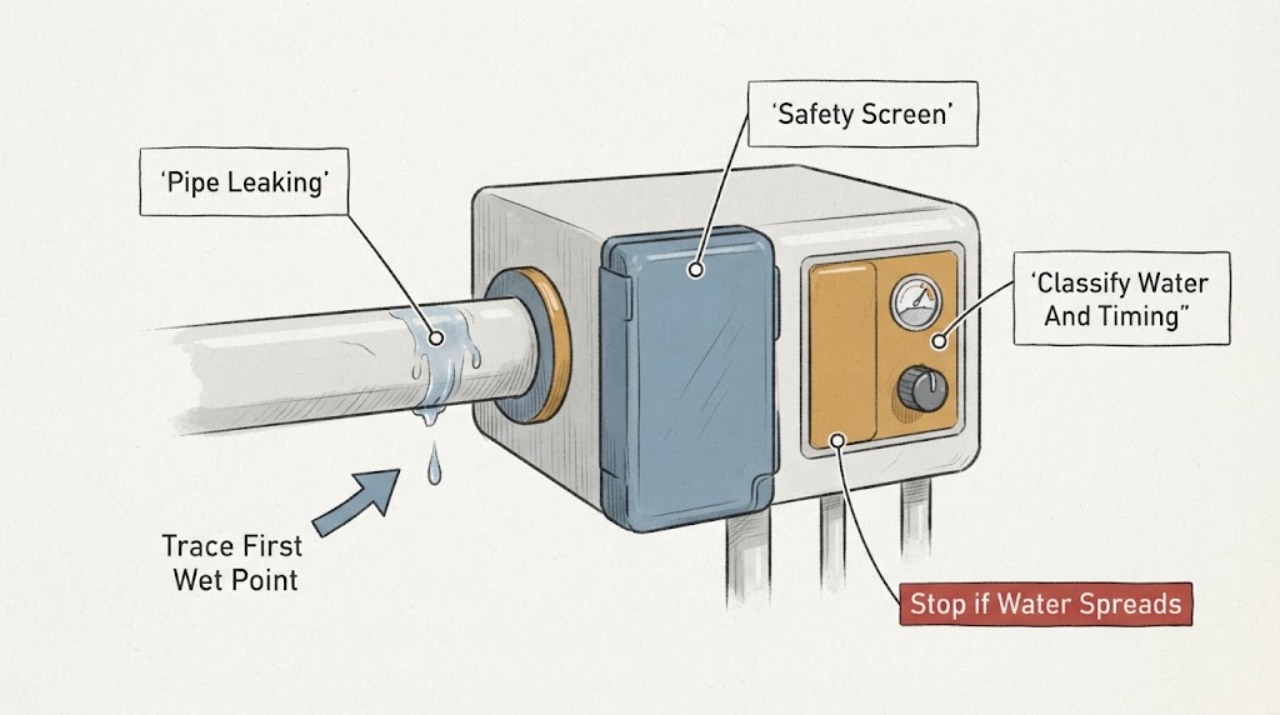
Pipe Leaking
A leaking pipe seal is not identified by the seal alone: first find the highest or first wet point, stop the water source, and determine whether the pipe carries pressurized supply water, drain water, or a nearby source. Close the nearest safe shutoff, or the main valve if the leak is active or the local valve is inaccessible.
-
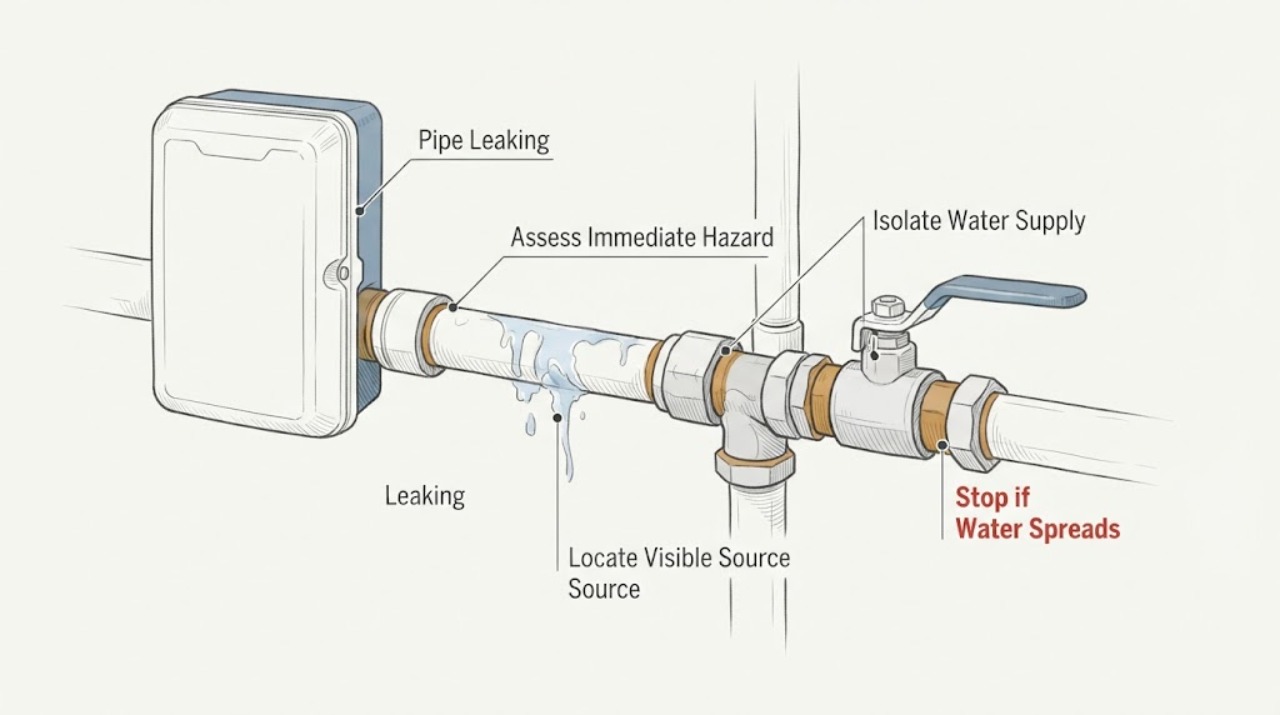
Pipe Leaking: Safe Checks and What to Do Next
For a leaking household pipe, first stop using nearby fixtures and determine whether water is actively spraying, pooling near electricity, coming from a hot-water line, or carrying sewage. If the valve is clearly accessible and turns by hand, close the local or main water shutoff slowly; do not force a corroded valve or open a wall.
-
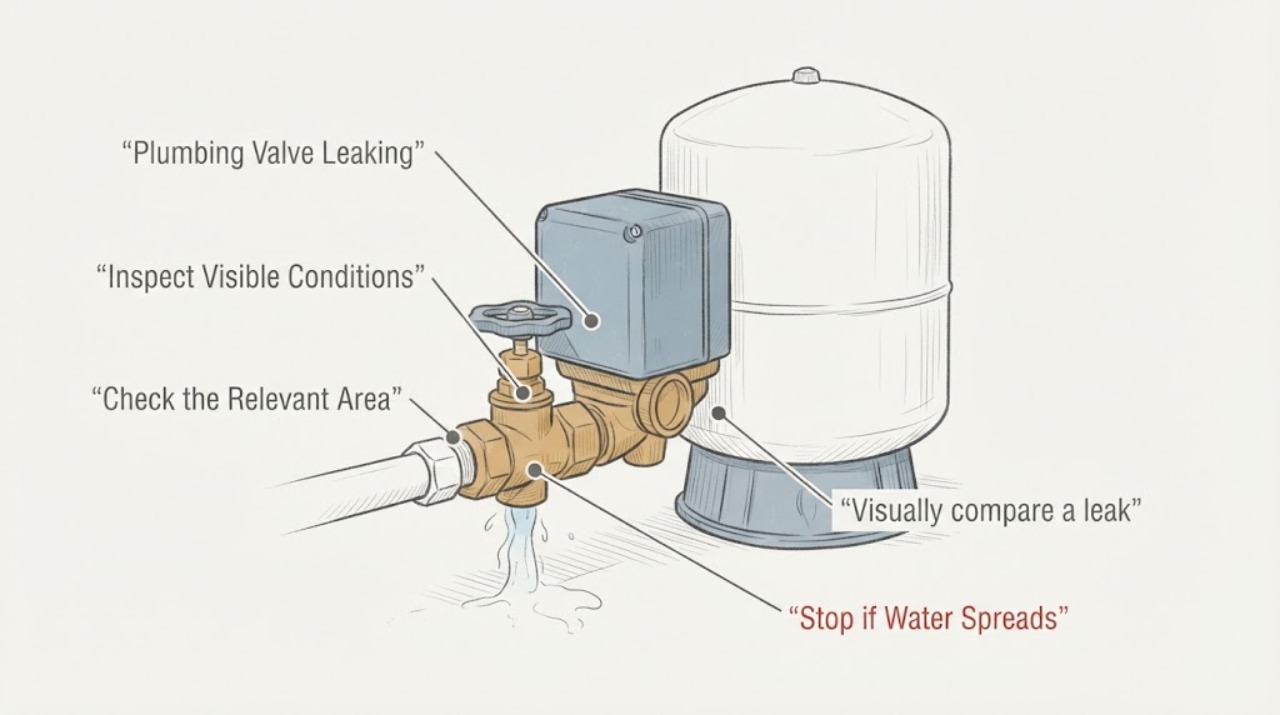
Plumbing Valve Leaking: Tell a Pressure-Valve Leak From a Tank Leak
First identify where the water begins: the outlet or discharge pipe of a temperature-and-pressure relief valve, the valve threads where it enters the tank, another fitting or drain valve, or the tank shell, seam, or welded connection. Intermittent dripping from a relief-valve discharge can be related to pressure or thermal expansion; a continuous or forceful hot discharge can indicate an unsafe temperature or pressure condition.
-
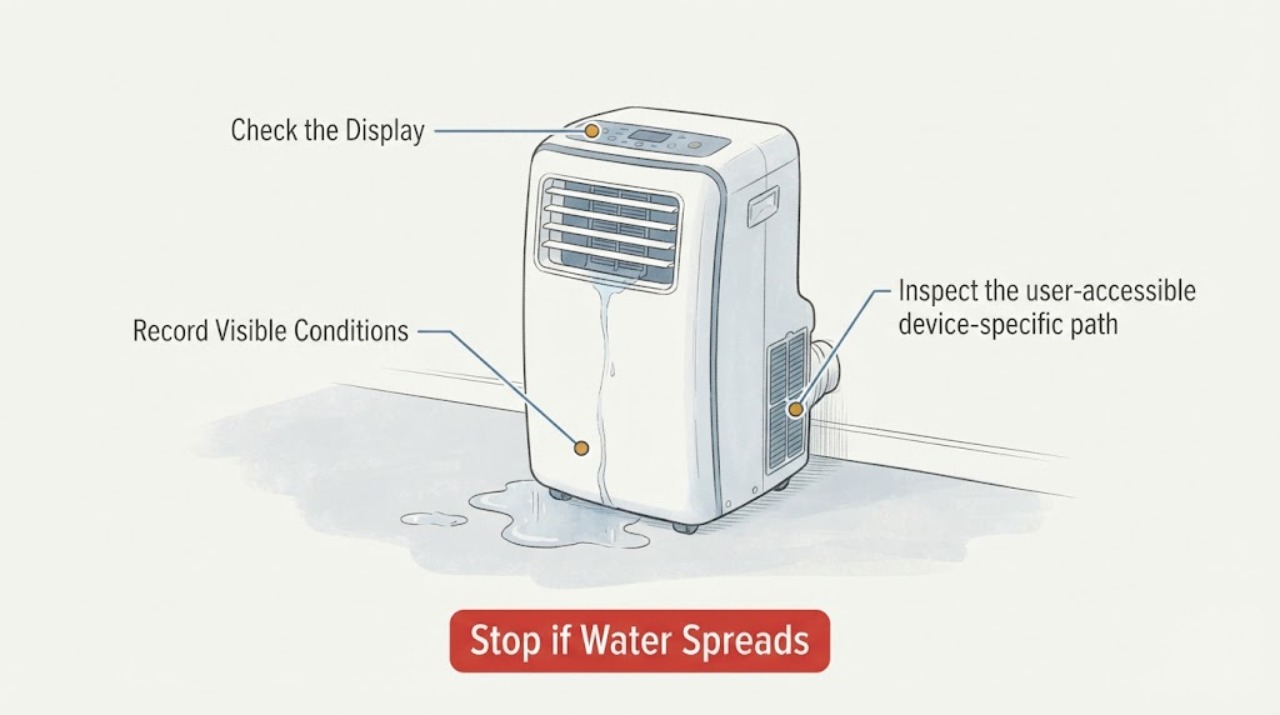
Portable Air Conditioner Leaking
For a portable air conditioner leaking, turn it off, wait before draining, and check the drain plug, bucket, hose, slope, and kink-free downward route. Toshiba's manual says P1 indicates a full bottom tray and continuous drainage needs a secure hose below the outlet. Water near electrics requires shutdown and service.
-
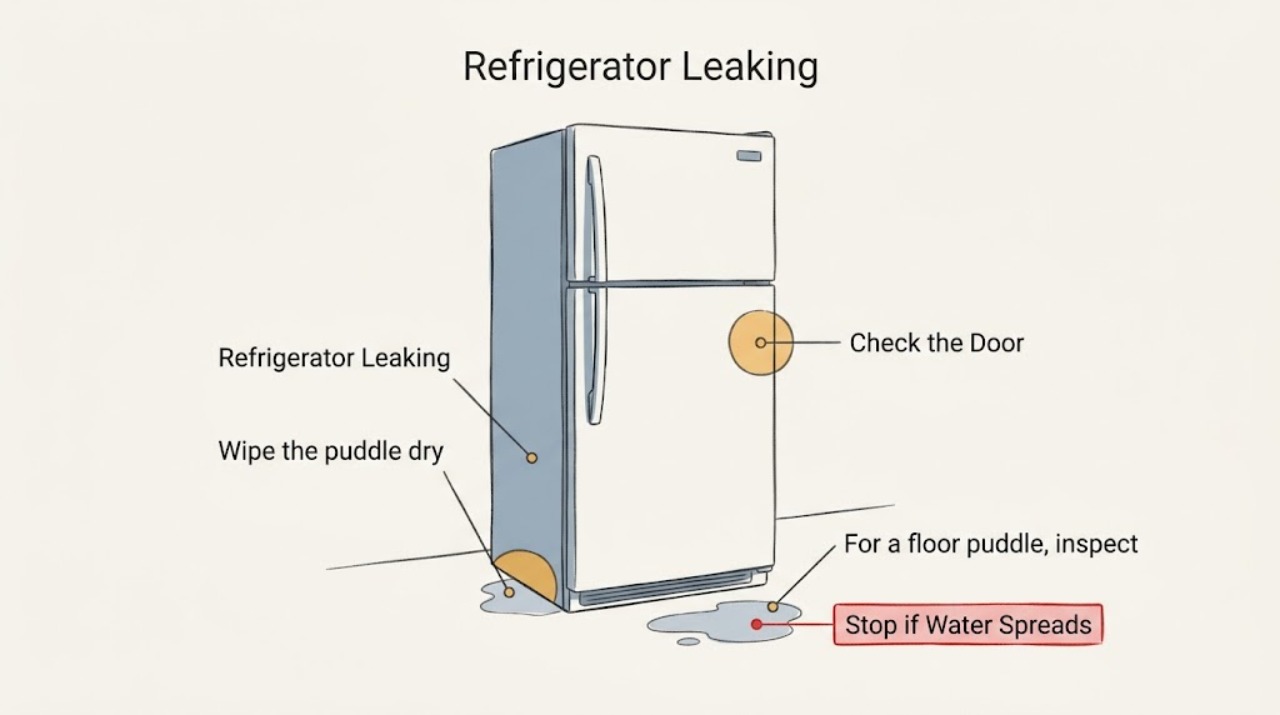
Profile Refrigerator Leaking: Trace the Water Before It Spreads
Protect the floor and identify where the water starts: under the fresh-food drawers, at the dispenser, inside the freezer, or behind the refrigerator. For a floor puddle, turn off the ice maker and water supply if it is safe to reach, and unplug before cleaning or maintenance. A leaking valve, tank, tubing, or inaccessible drain needs service; a leak in the home's plumbing line needs a plumber.
-
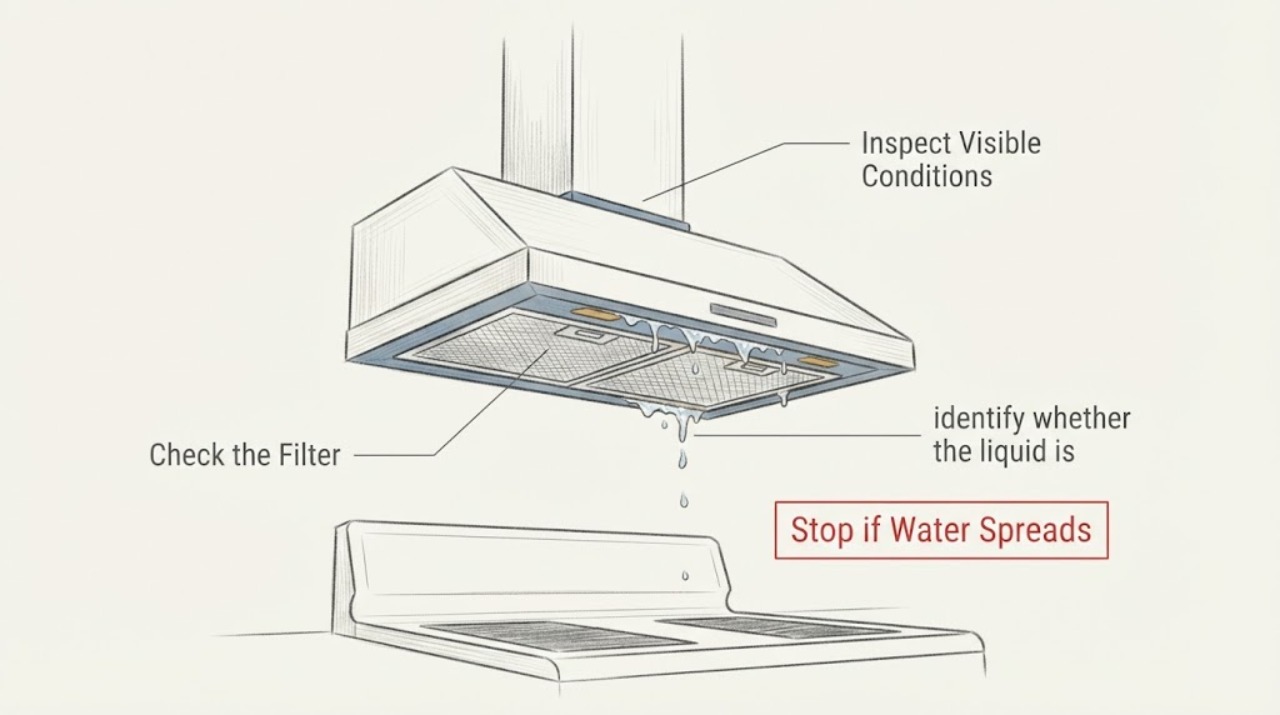
Range Hood Leaking
A range hood that drips should first be classified as water condensation or grease, then checked for filter condition, recirculation/ducting, and steam capture. Turn the hood off and isolate power before cleaning accessible filters. Cover pots, lower heat, use the hood before and during cooking, and arrange service for water inside the housing, electrical damage, an external roof/wall leak, or a leak that persists with normal ventilation.
-
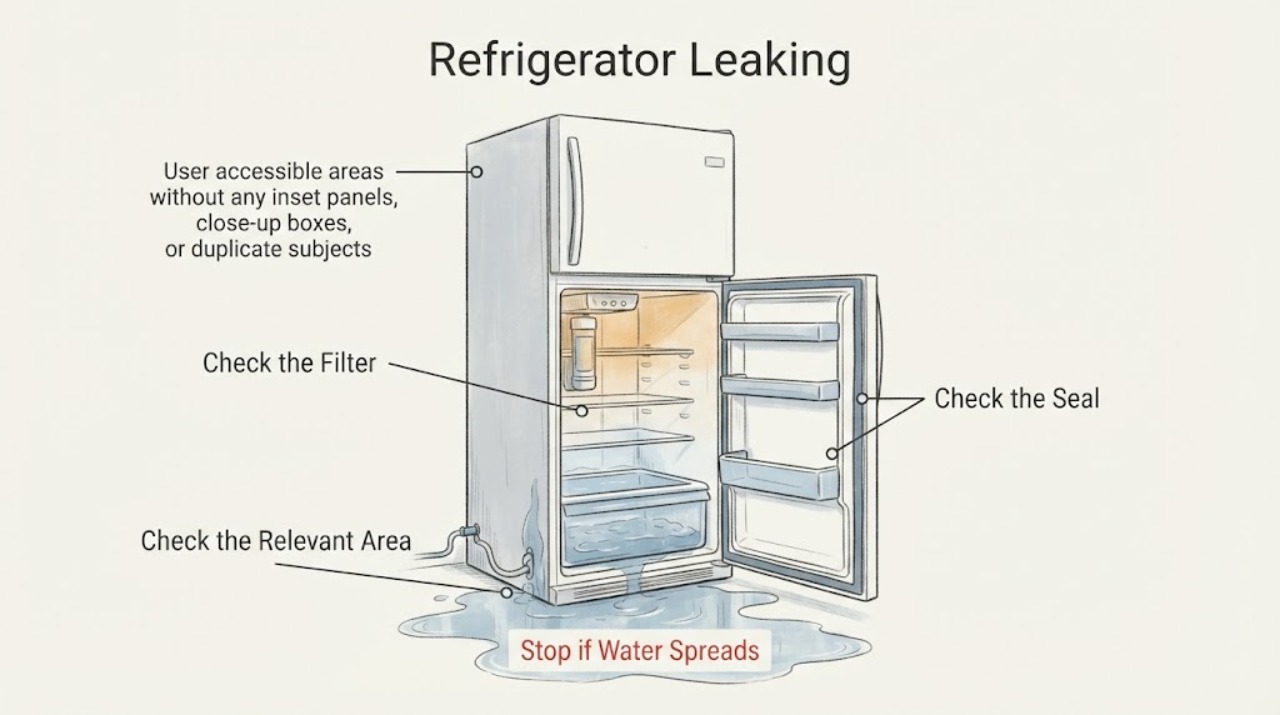
Refrigerator Leaking
Find where refrigerator water starts before trying to fix it: inside the fresh-food area, under the front, at the dispenser/filter, or behind the cabinet. Unplug and close the water supply before inspecting a visible line or filter, clean only accessible drain areas as the manual permits, and check level and door closure. Arrange service for an internal drain, valve, sealed line, repeated leak, or water near electrical parts.
-
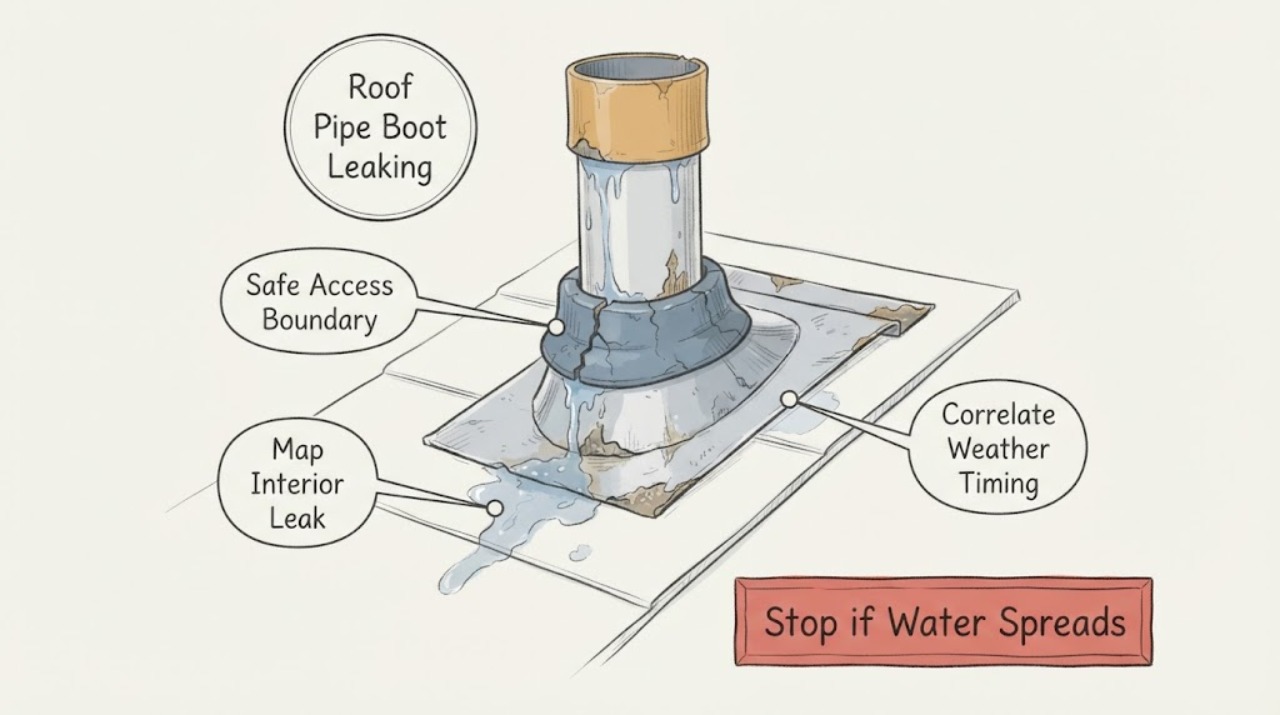
Roof Pipe Boot Leaking: Cracked Rubber Collar Flashing Repair & Perma-Boot
A cracked rubber collar on a plumbing vent pipe boot is a likely leak path, but water at the ceiling is not proof that the collar is the only failed layer. From the ground or another stable, dry location, document the pipe location, leak timing, and visible collar, flange, shingle, and interior ceiling clues.
-
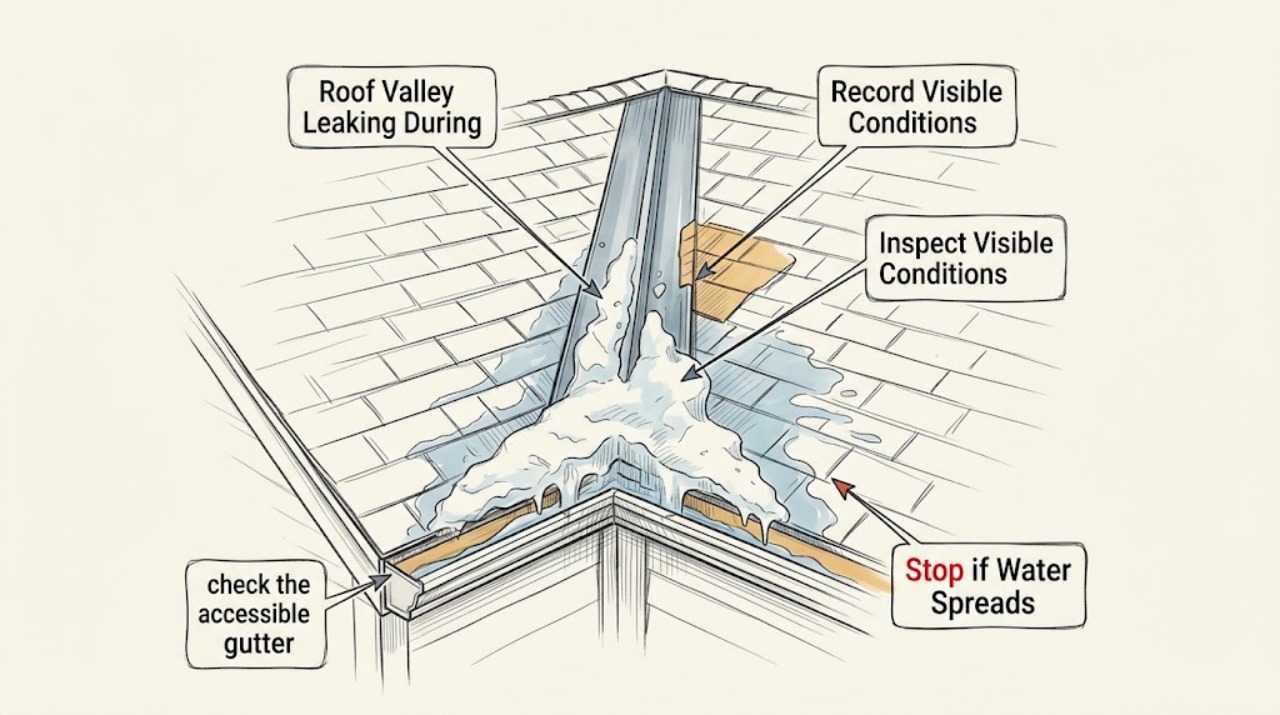
Roof Valley Leaking During an Ice Dam: Check the Metal Flashing
A roof valley that leaks during an ice dam is usually experiencing meltwater backup under the roofing, a damaged or open metal valley-flashing detail, or both. Do not assume the visible metal is the only failure: first establish whether the leak follows a freeze-thaw event, then have a qualified roofer inspect the valley lining, laps, fasteners, adjacent shingles, and underlayment after the roof is safe to access.