
Repair problem
Leaking Troubleshooting Guides – Page 4
Published FixGraph guidance for diagnosing and responding to leaking.
Matching published guides
Choose a guide that matches the service, equipment, and conditions you are seeing.
-
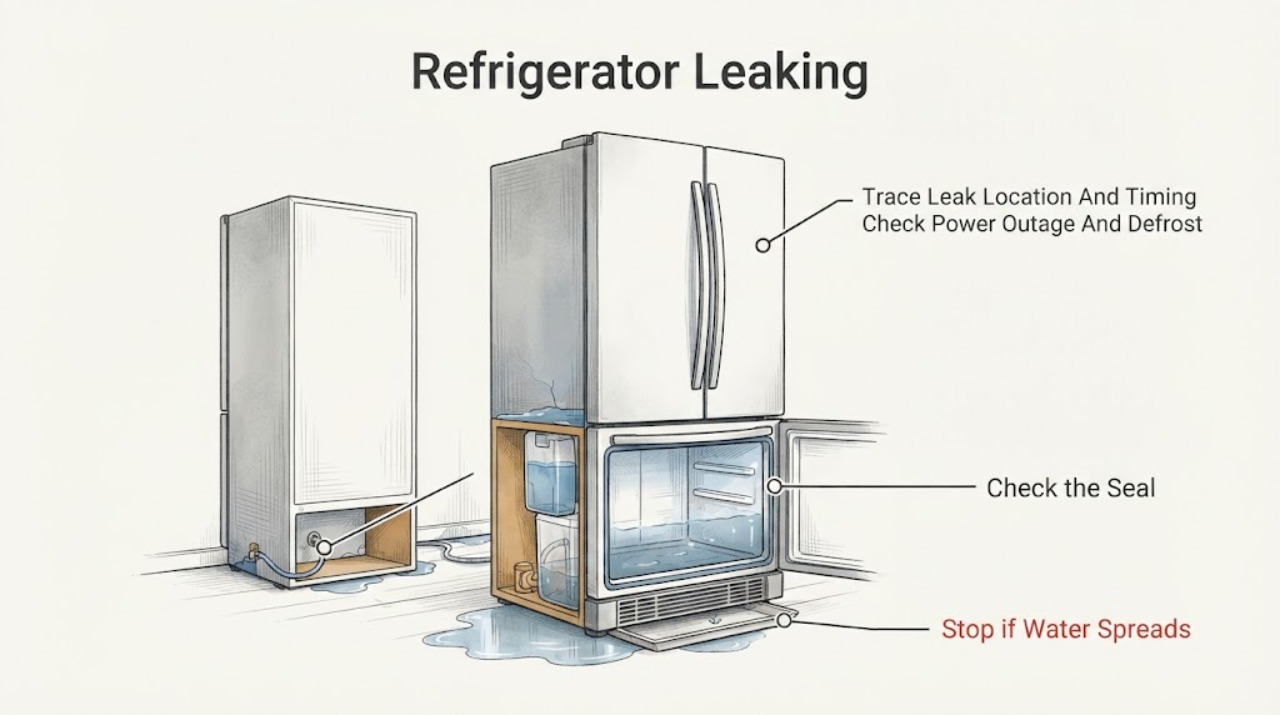
Hitachi Refrigerator Leaking: Trace the Water to the Door, Tank, Ice Maker, or Drain
First dry the area and trace where water appears: floor or rear, under the internal water tank, from the ice-making compartment, inside the vegetable drawer, or at a dispenser or external line. Hitachi says a power interruption can melt stored frost or ice into the rear drain pan, and a small amount of water in that pan during defrost can be normal.
-
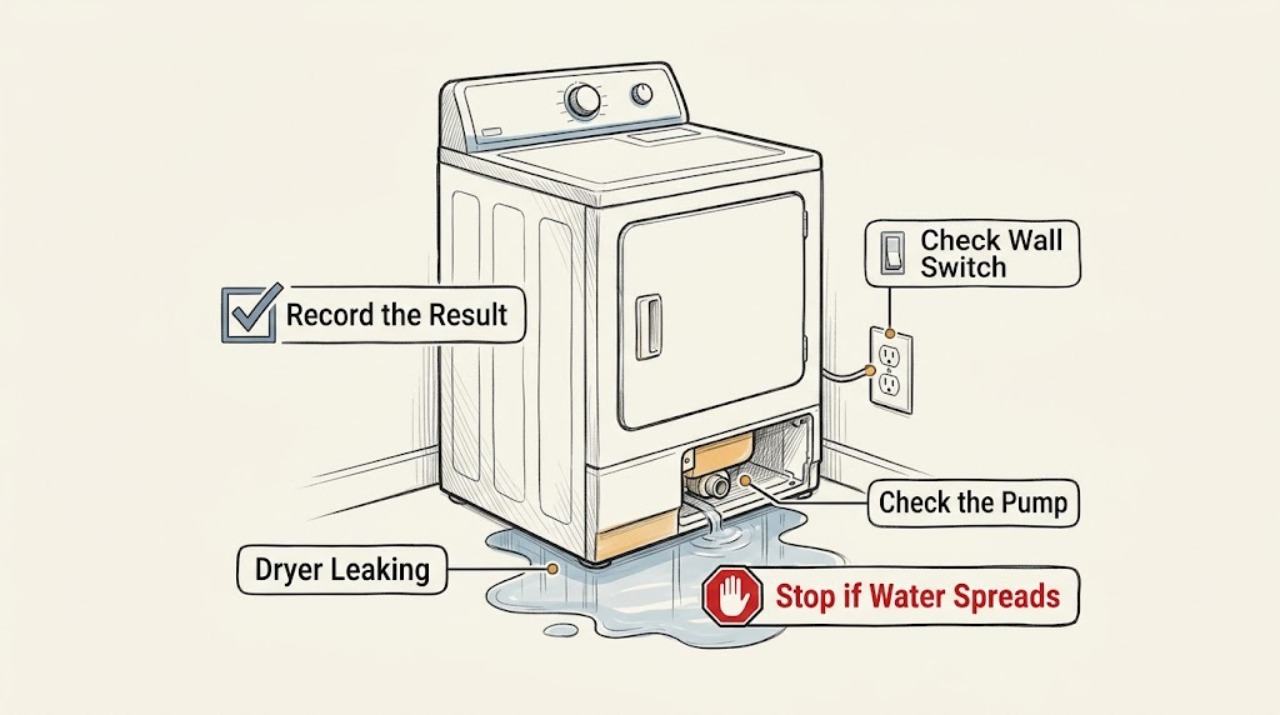
Hoover Dryer Leaking: Trace the Water Path Before Booking Service
First unplug the Hoover dryer and identify whether it is vented, condenser, or heat-pump. Condenser and heat-pump models route water to a container or an optional drain hose, so empty and firmly refit the container, then inspect the drain hose and clean the condenser only as the model manual allows.
-
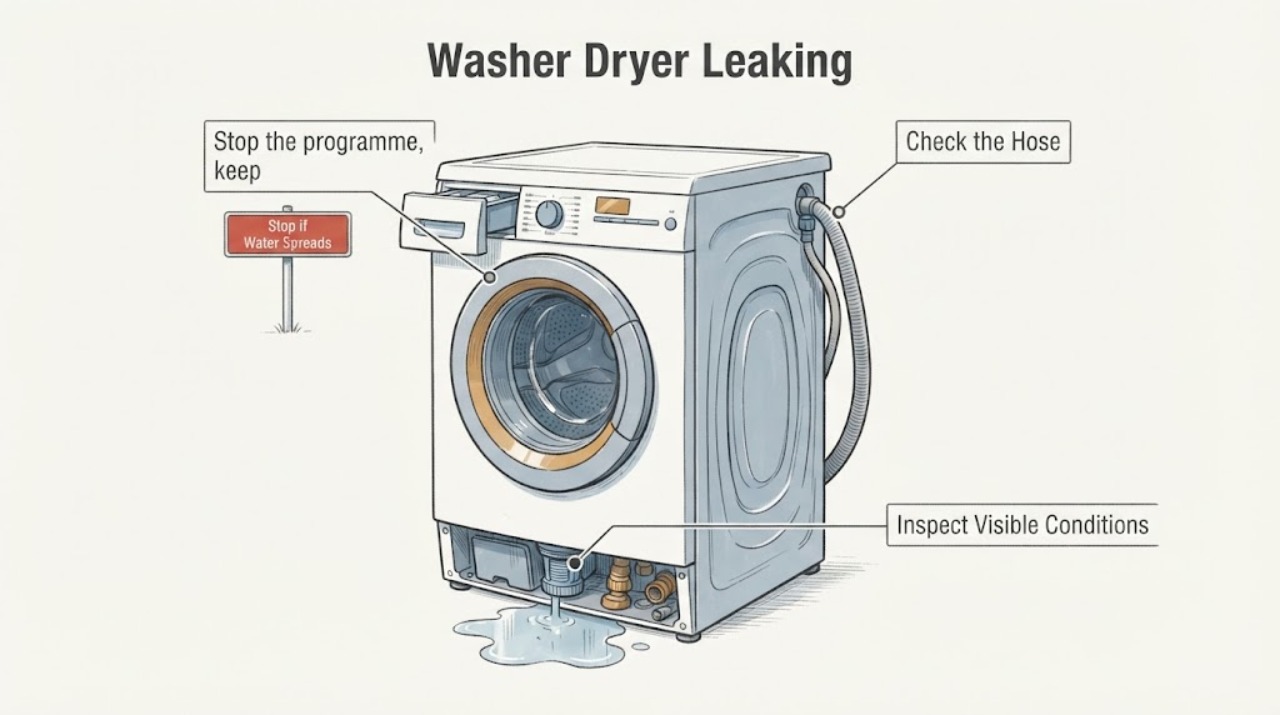
Hoover Washer Dryer Leaking
If a Hoover washer dryer is leaking, stop the programme, keep hands and the floor dry, and disconnect power from a safe dry position before examining anything. Close the water tap, then identify whether water is coming from the rear inlet connection, door glass or seal, detergent drawer, drain hose, or pump-filter area.
-
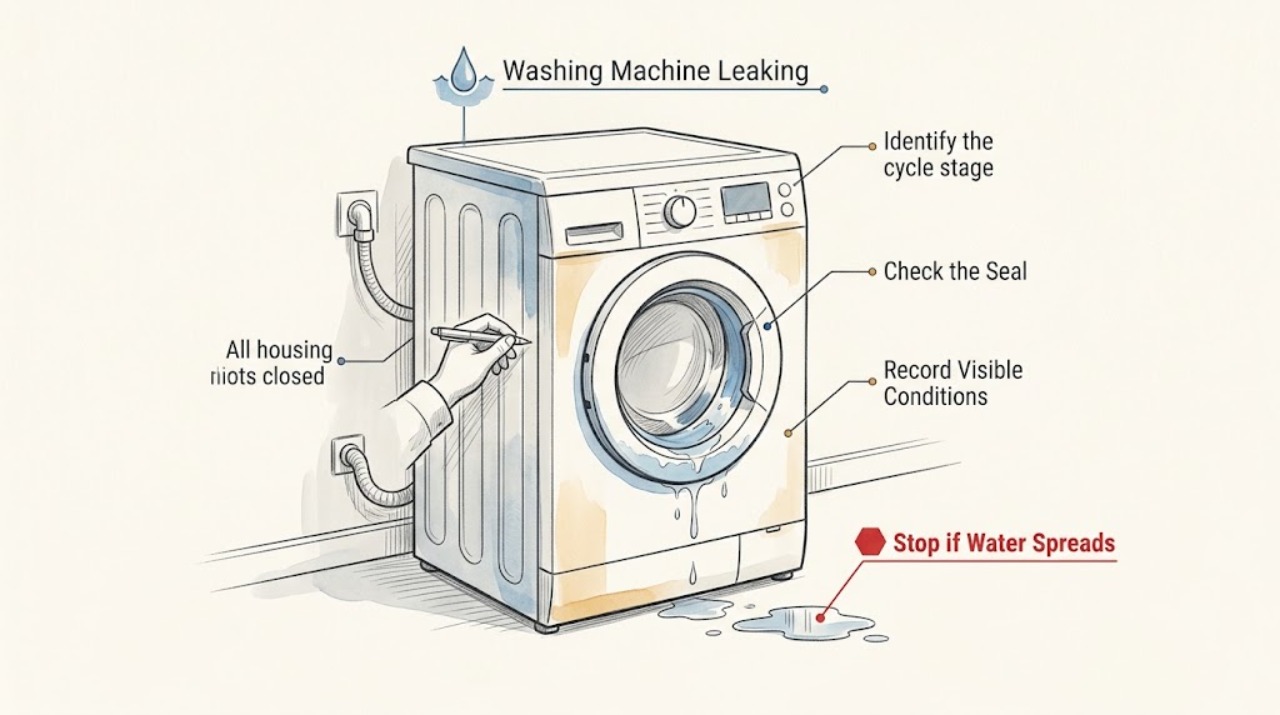
Hoover Washing Machine Leaking
Stop the cycle, close the water tap, and disconnect the machine from the mains only from a dry position if water is near the appliance. Do not touch a plug, socket, or controls while standing in water.
-
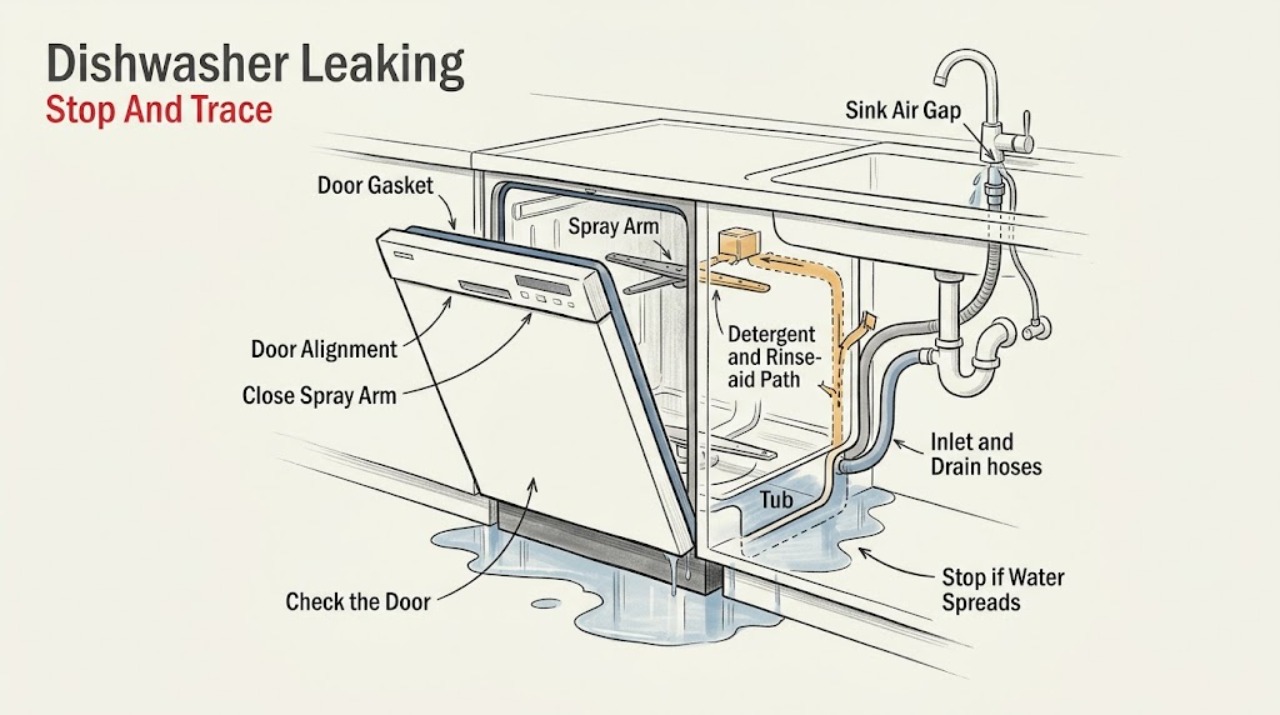
Hotpoint Dishwasher Leaking: Trace the Water Before Checking the Door, Hoses, or Suds
If a Hotpoint dishwasher is leaking or flooding, stop the cycle and keep people away from the water. If water is near the plug, wiring, outlet, or other electrical equipment, disconnect power only from a safe, dry, accessible point; do not touch a wet connection or pull a built-in dishwasher out.
-
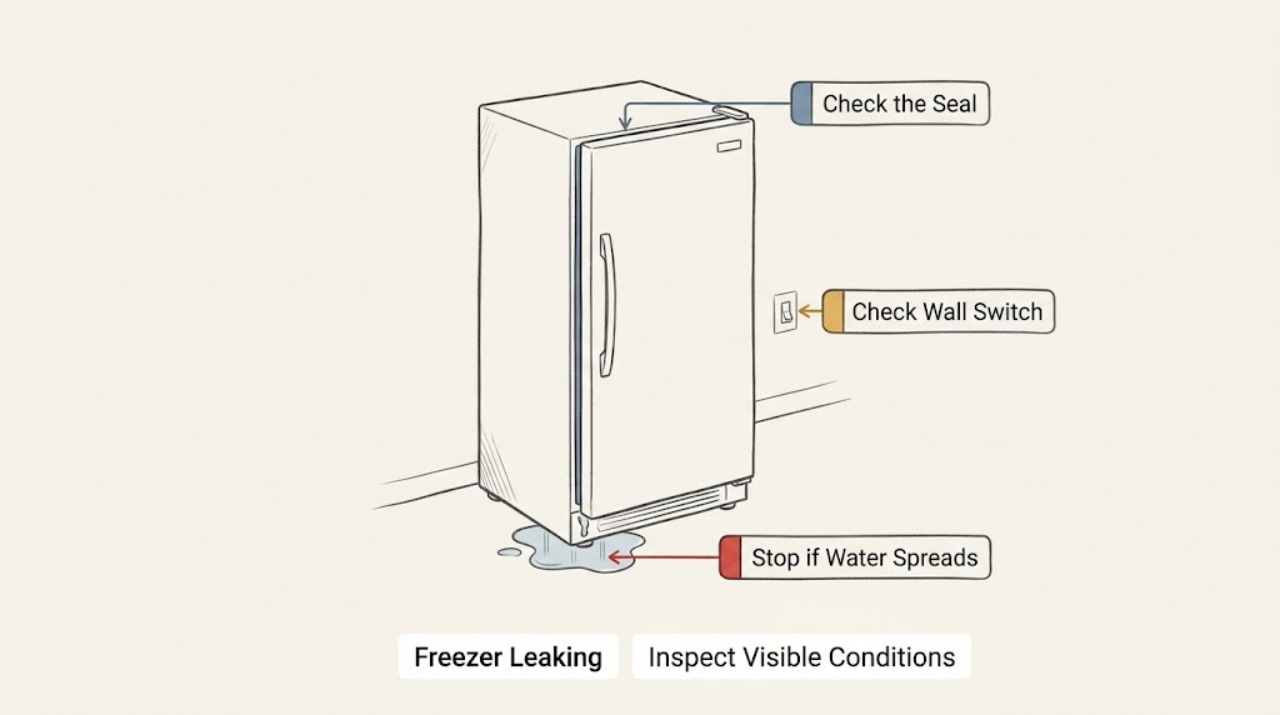
Hotpoint Freezer Leaking
A Hotpoint freezer that is leaking usually needs the water source separated first: moisture on the inner base commonly points to a blocked gutter outlet or food touching the rear wall, while water at the rear can involve the defrost collection point. Switch the appliance off and disconnect power only when it is safe before repair or part work.
-
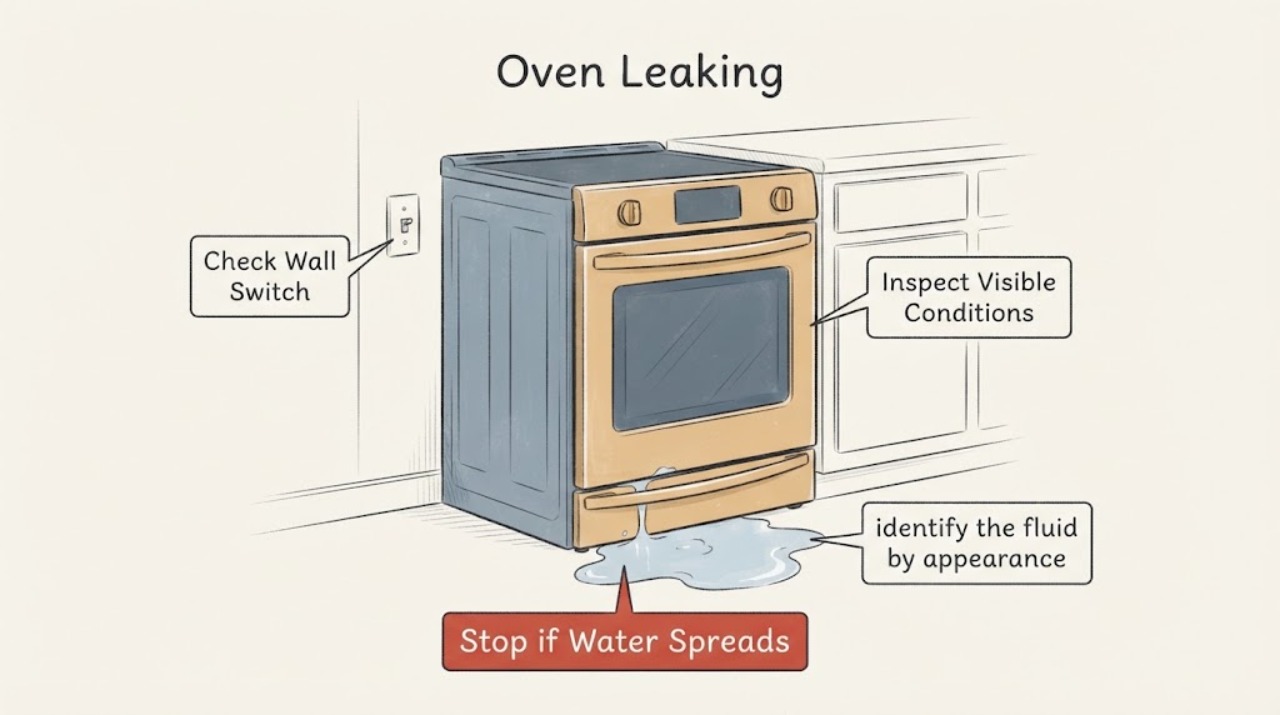
Hotpoint Oven Leaking: Identify Condensation, Spills, and Unsafe Leaks
First identify what is leaking and where it starts. A small amount of clear moisture after steam cooking or a Hotpoint steam-clean programme may be condensation or water used by that function; food, grease, or a cleaning solution can also run from the cavity or door.
-
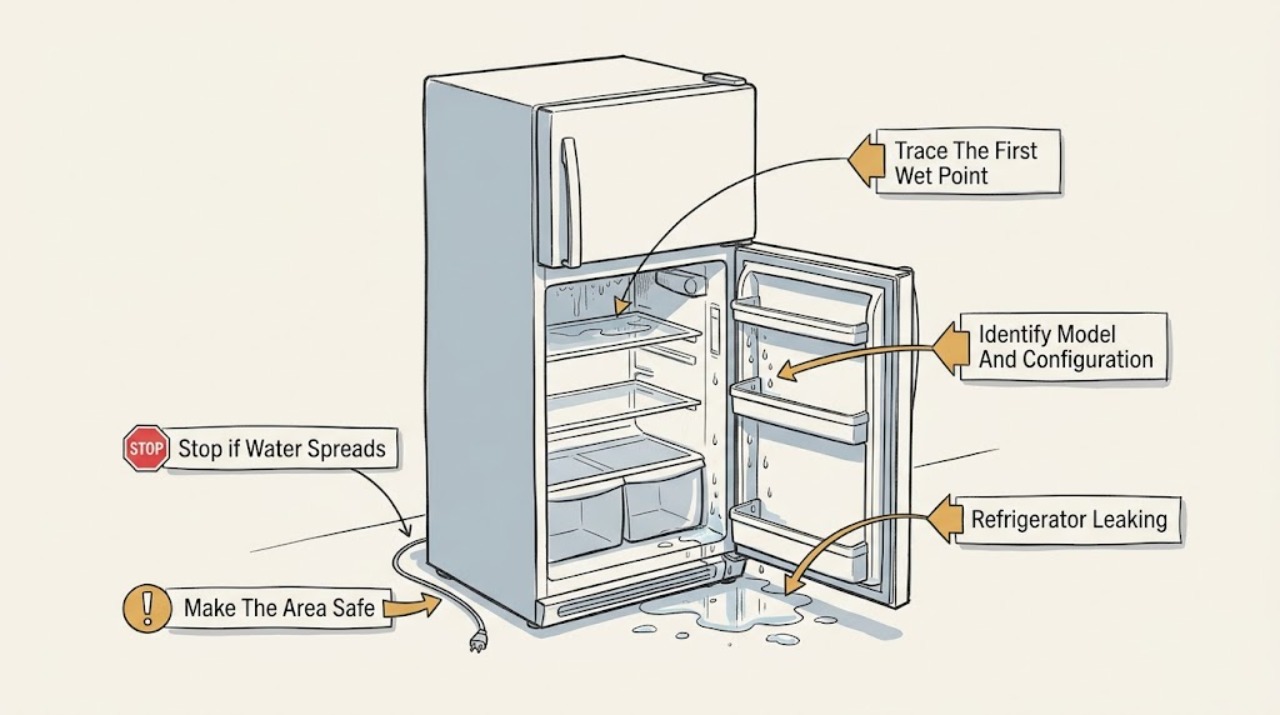
Hotpoint Refrigerator Leaking: Trace the First Wet Point Safely
Do not start by replacing a water part. First identify whether the appliance is a refrigerator or fridge-freezer and record the exact model/industrial code.
-
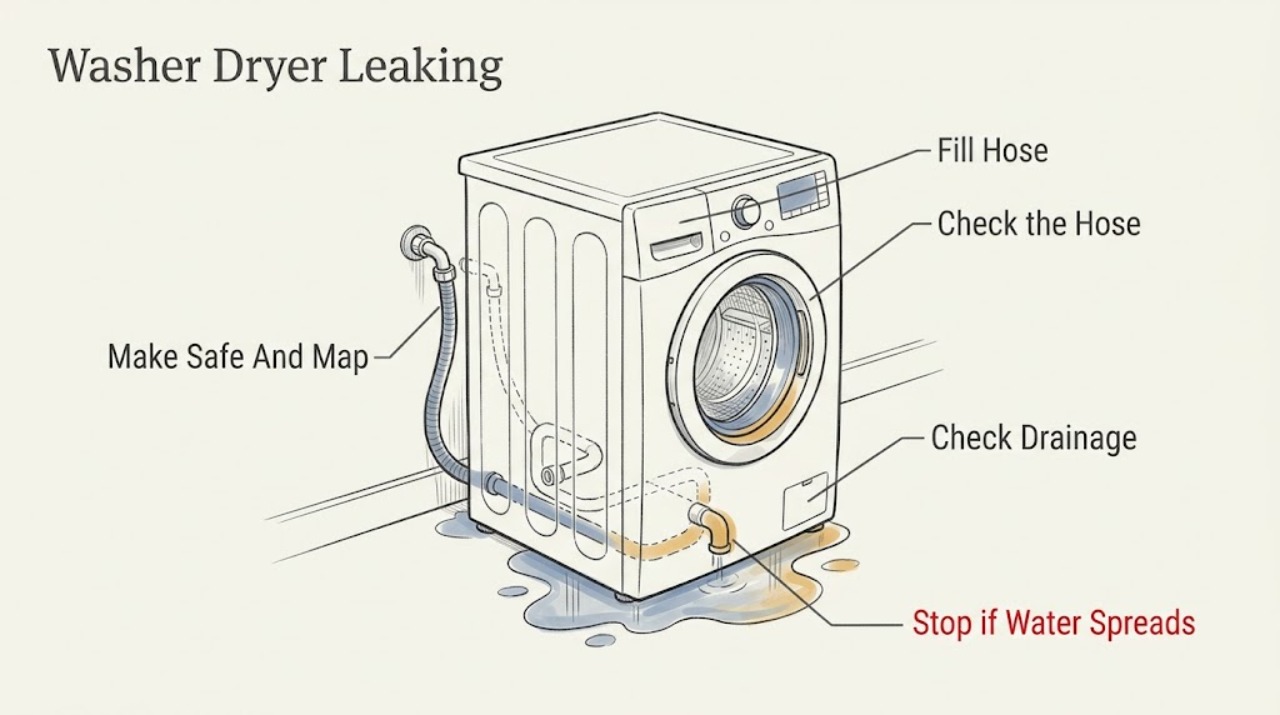
Hotpoint Washer Dryer Leaking: Trace the Water Safely Before Service
Stop the cycle and keep the appliance out of use until you know where the water is coming from. From a dry, stable position, close the washer dryer's water supply taps and disconnect power only if the plug and floor are dry and it is safe to do so; if water is near an outlet, cable, or electrical equipment, do not touch the plug or water and isolate power from a dry location or call a qualified professional.
-
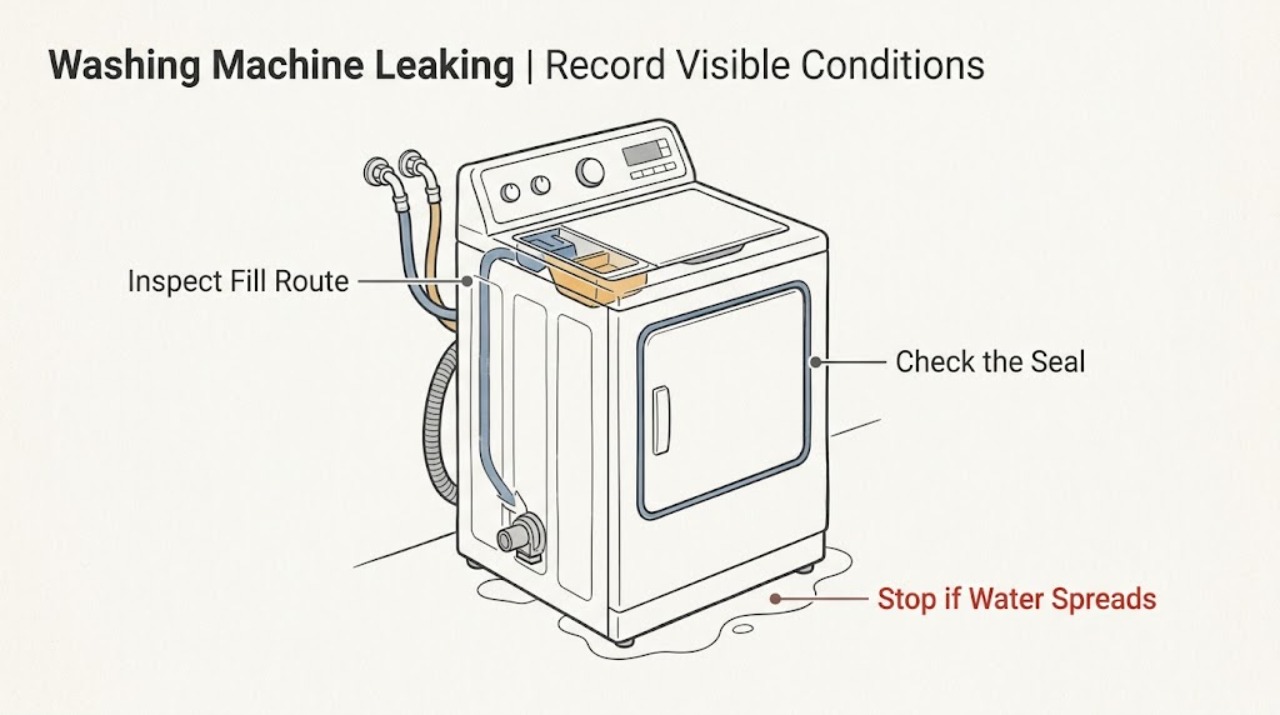
Hotpoint Washing Machine Leaking: Find the Leak by When It Appears
Stop the cycle, close the water supply taps, and disconnect power only if you can do so without standing in water. Note when the leak starts and where the first wet spot appears: at filling, during washing, while draining or spinning, or only after the machine stops.
-
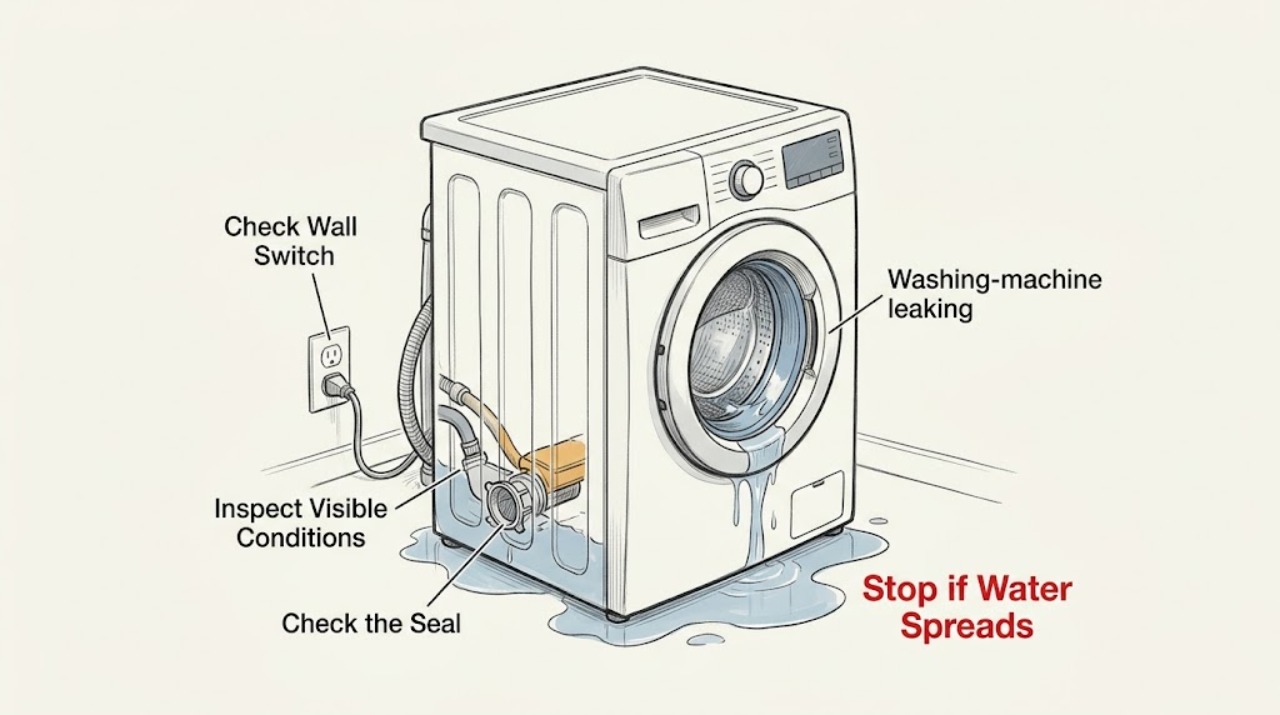
How to Find and Stop a Leaking Candy Washing Machine
Stop the cycle as soon as a Candy washing machine leaks, keep water away from electrical connections, and close the water supply if the leak continues. Then identify whether water is coming from the front, rear, or underneath and when it appears.
-
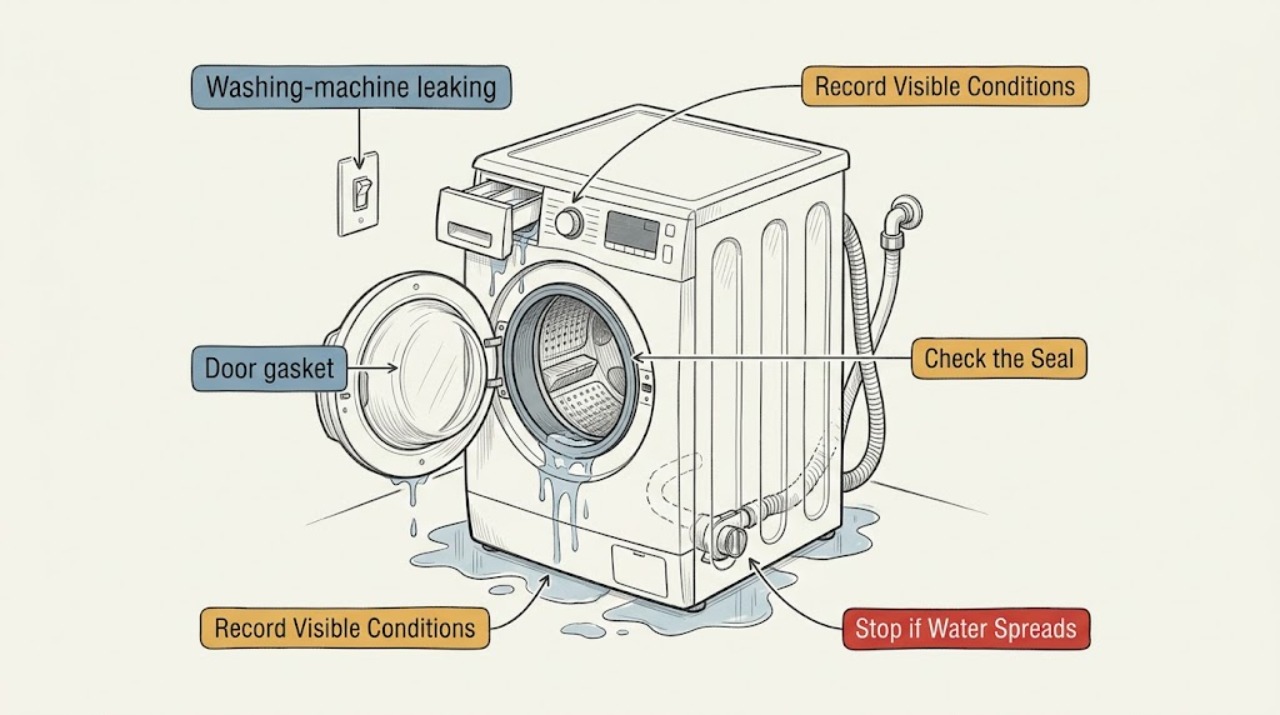
How to Find and Stop a Leaking Crosley Washing Machine
Stop a Crosley washer as soon as a puddle forms, keep water away from the plug and controls, and close the water supply if the flow continues. Identify whether the first wet point is at the door, dispenser, rear hose, drain connection, or underneath, and note whether it occurs during filling, washing, or draining.
-
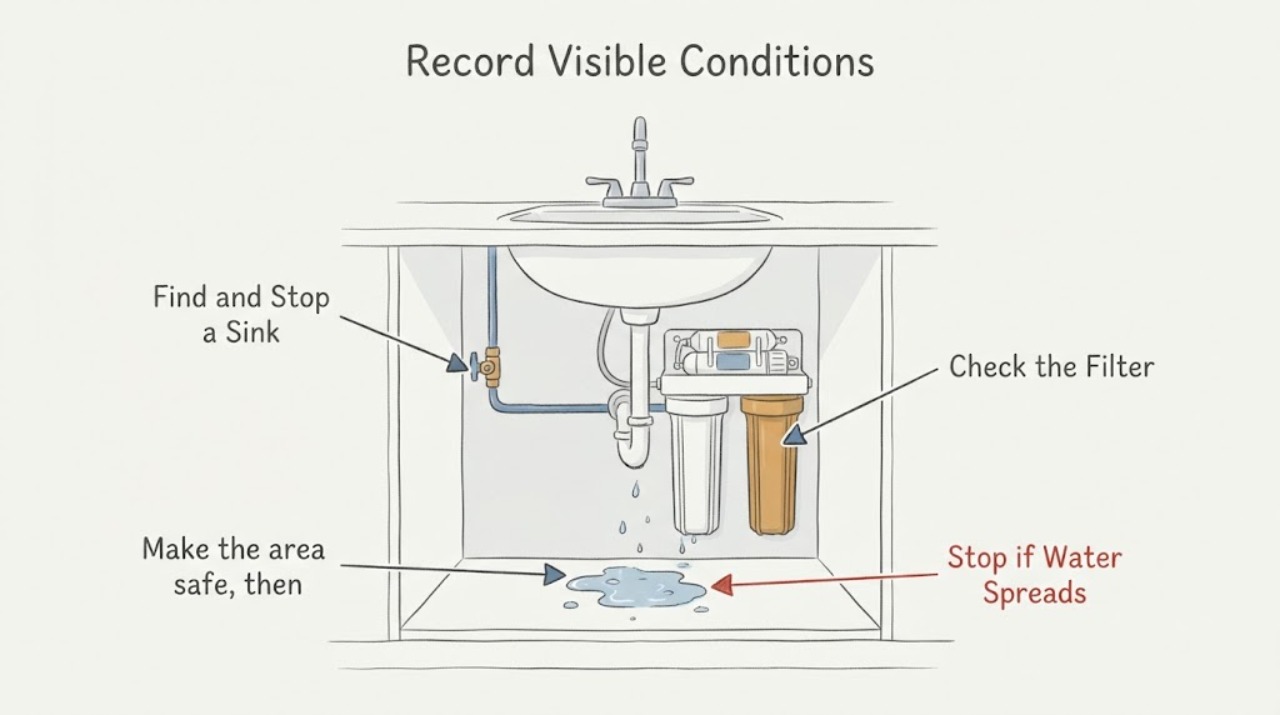
How to Find and Stop a Sink Leak Around a Filter
Turn off the sink's local water supply if it is safe, dry the area, and identify the first wet point. A leak at a filtered faucet or aerator, an under-sink filter housing or connection, and a drain joint need different repairs.
-
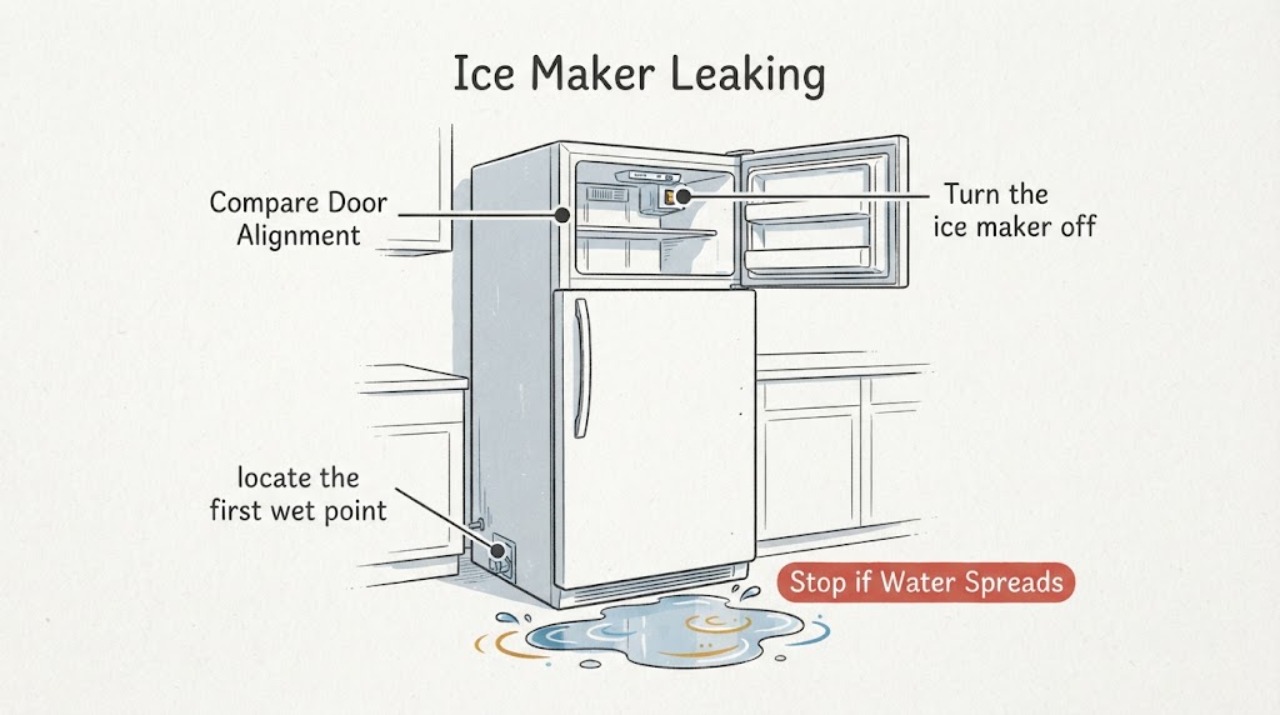
Ice Maker Leaking
When an ice maker leaks, turn it off and keep water away from electricity, then locate the first wet point: reservoir or drain, hose connection, or fill/ice area. GE and Whirlpool identify loose drain parts, misaligned or damaged hoses, an unlevel unit, and a blocked household drain as distinct possibilities, so the source location determines the next safe check.
-
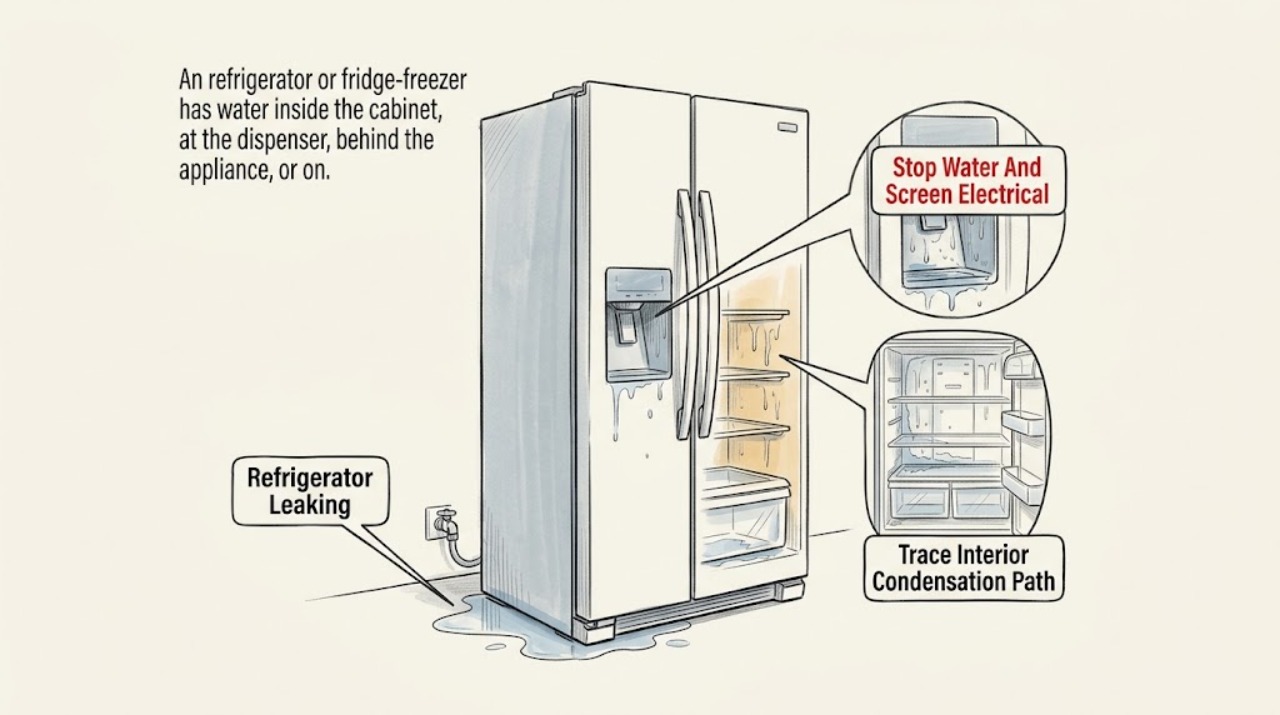
IKEA Refrigerator Leaking: Trace the Water by Location and Match the Exact OEM Manual
First stop dispensing and close the refrigerator's accessible water shutoff valve if water is actively flowing. If water is near an outlet, plug, cord, or other electrical part, keep the area dry, isolate power only from a safe location, and do not touch wet equipment.
-
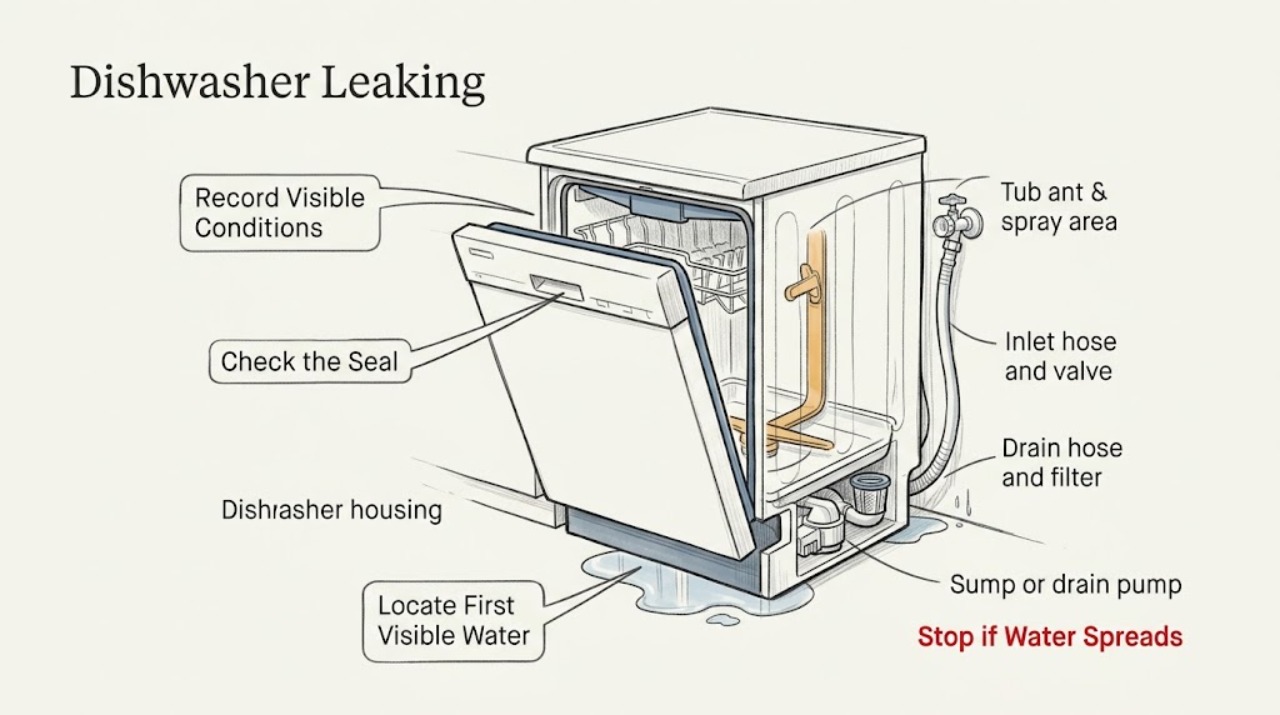
Indesit Dishwasher Leaking: Locate the Water Before Checking the Seal or Hoses
Stop the cycle, keep people away from wet electrical areas, close the dishwasher's water tap if it can be reached safely, and disconnect power only from a dry, safe position.
-
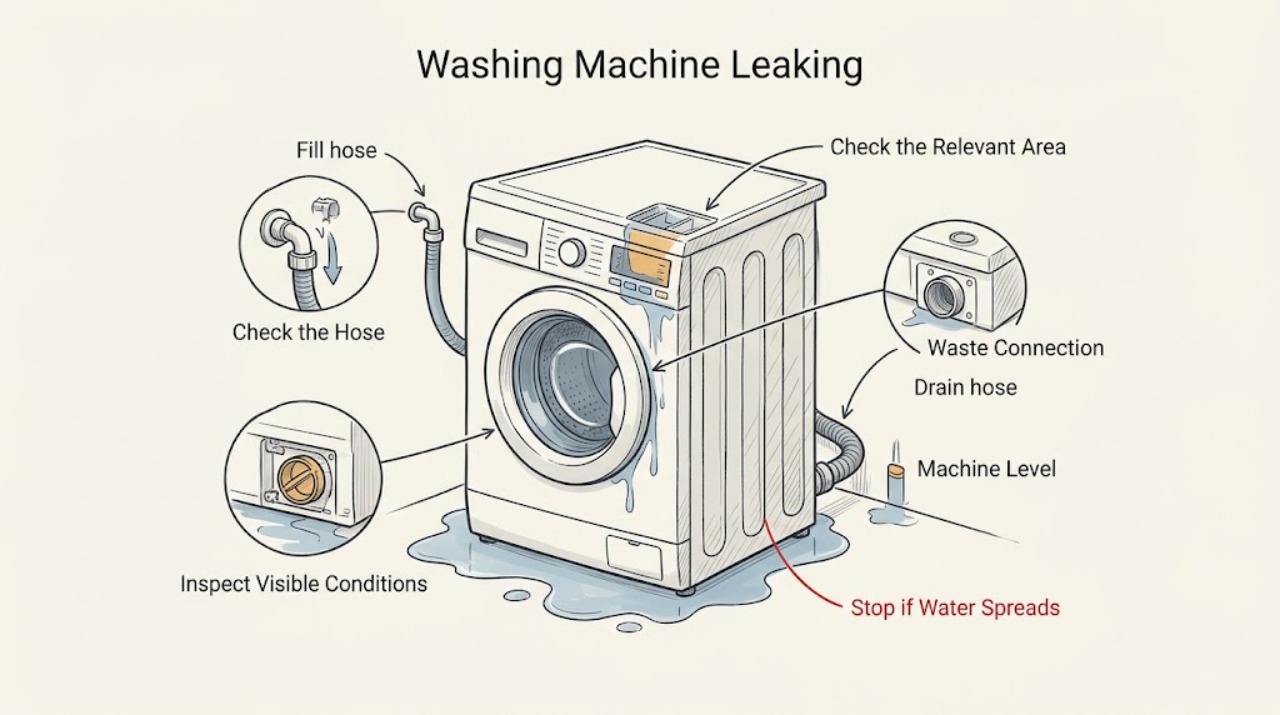
Indesit Washing Machine Leaking: Find the Leak by Timing and Location
Stop the cycle, keep people away from the water, and turn off the water tap. Unplug the machine only from a dry, safe position and never reach through standing water or touch wet electrical parts.
-
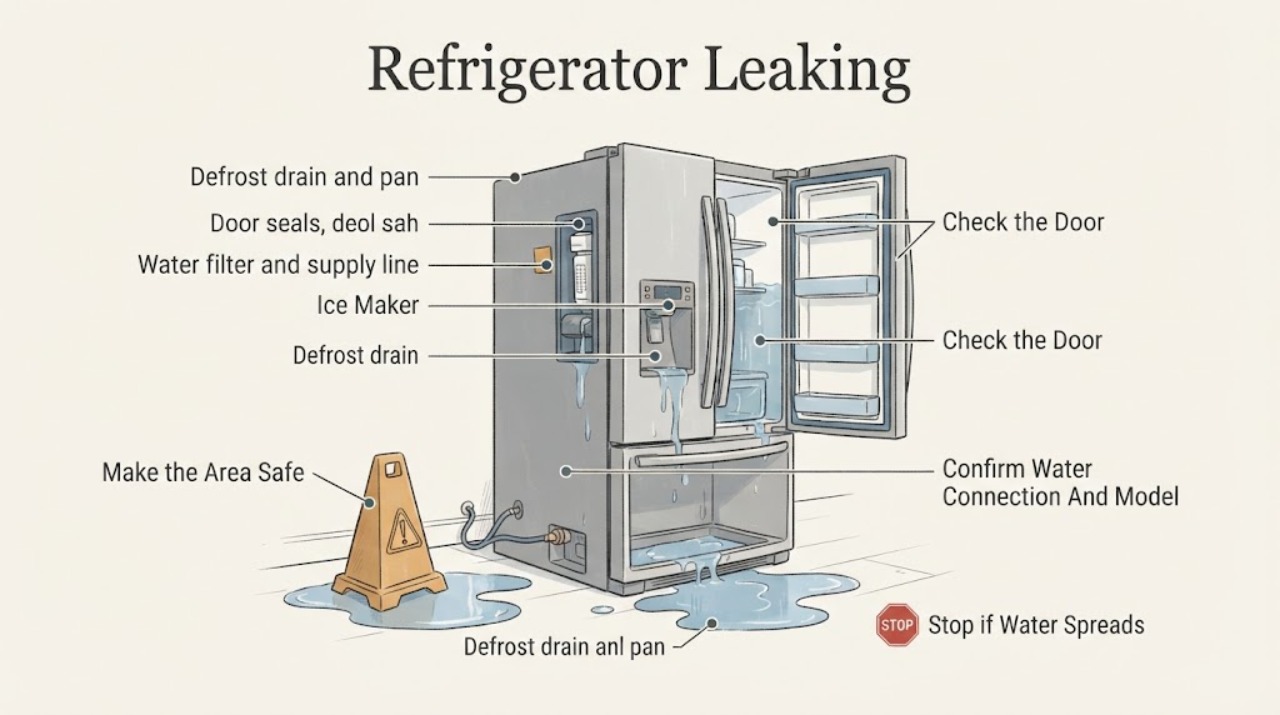
Inglis Refrigerator Leaking
First stop water from spreading and determine whether this Inglis refrigerator has a household water connection, ice maker, or dispenser; many models have none, so do not assume a supply line exists. Identify whether the water is inside under drawers, in a defrost pan, at the dispenser/filter, behind the cabinet, or on the floor, and whether it appears only during defrost or after using ice/water.
-
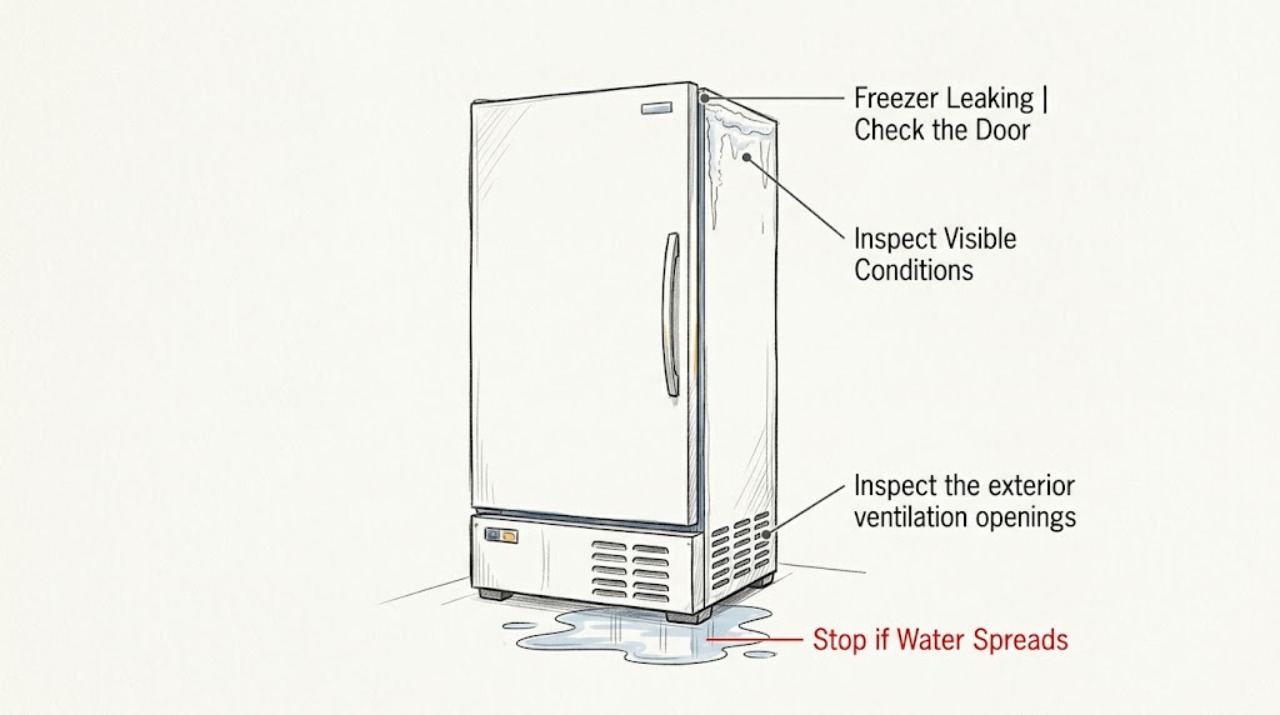
Insignia Freezer Leaking
For an Insignia freezer that appears to be leaking, first identify whether the liquid is water, melted ice, or another substance and whether it is inside the cabinet, at the door, or on the floor. Protect the food and floor, then check that the door closes without an obstruction, the freezer is level, and the seal has no visible gap.
-
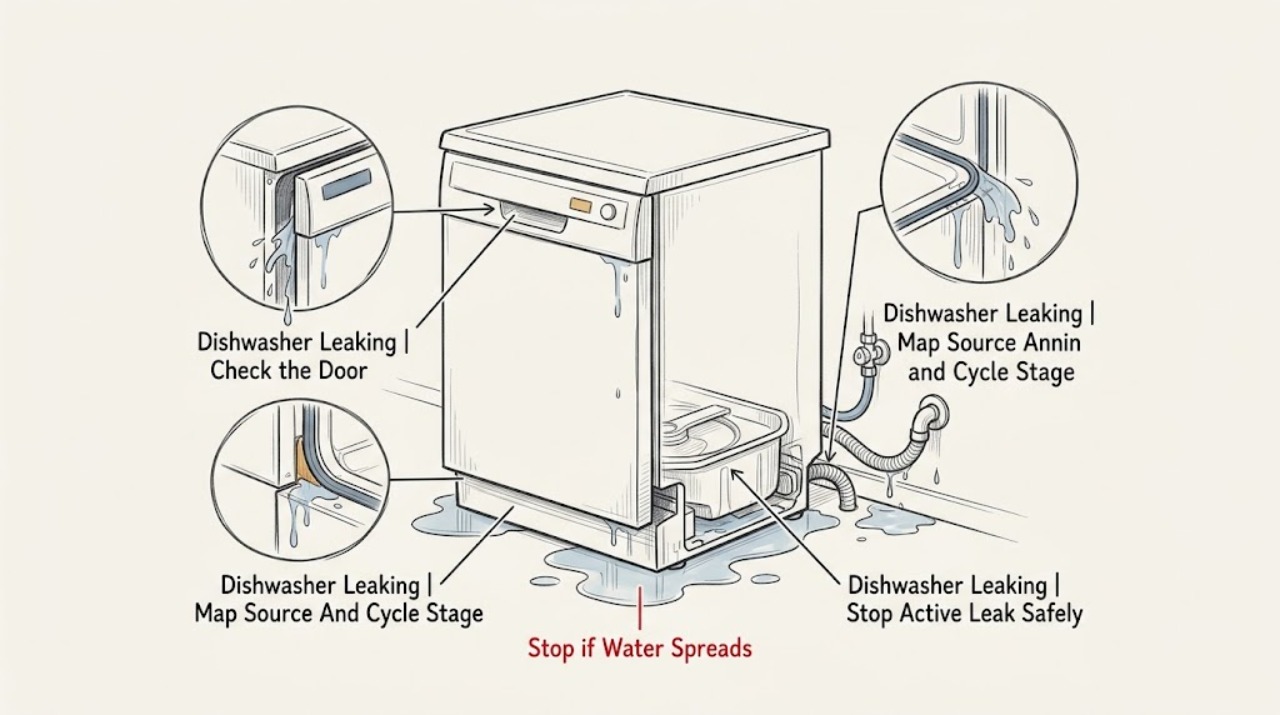
Jennair Dishwasher Leaking: Find the Source Safely
Stop the JennAir dishwasher if water is actively escaping, pooling under the cabinet, reaching an electrical connection, or producing foam; switch off power and the water supply only from a safe, dry position, and do not keep running cycles to find the leak.
-
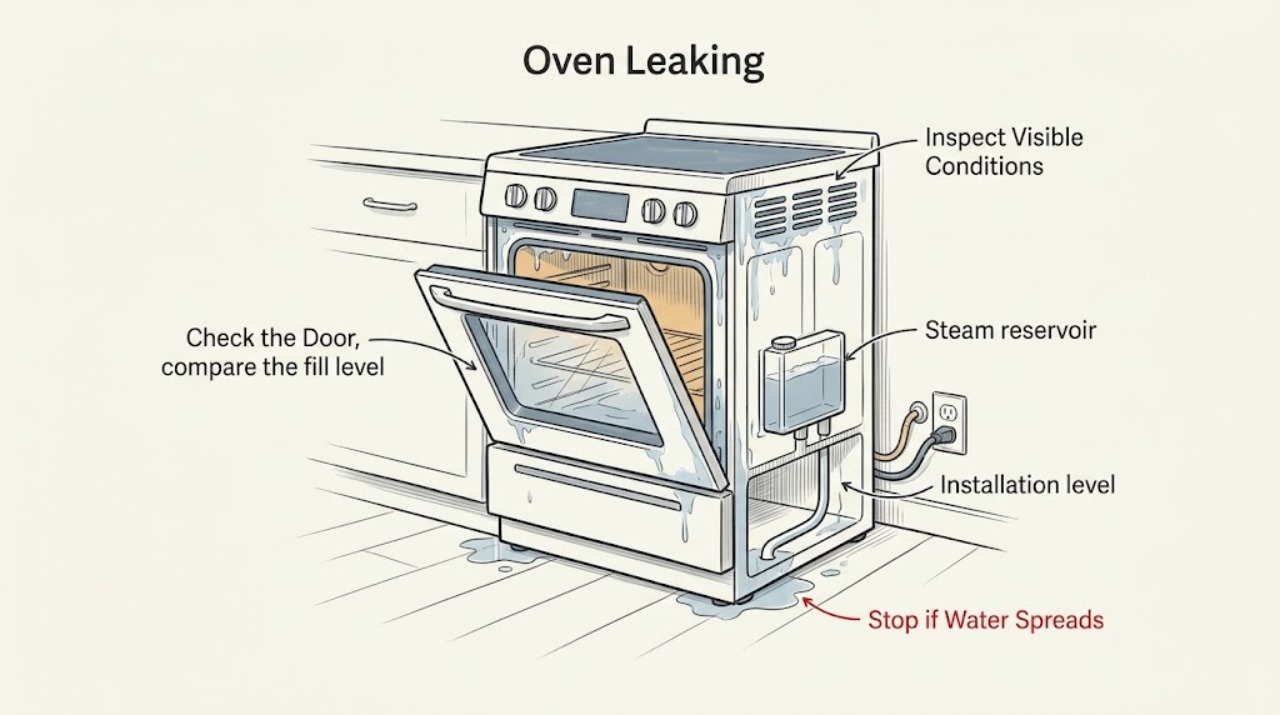
JennAir Oven Leaking: Separate Condensation, Steam Water, and a Real Leak
First decide whether you are seeing normal condensation or active liquid escaping. Stop using the JennAir oven immediately for gas odor, smoke, sparks, burning smell, abnormal heat, water near electrical parts, or a breaker that trips again; leave a fire or gas danger and use appropriate emergency help.
-
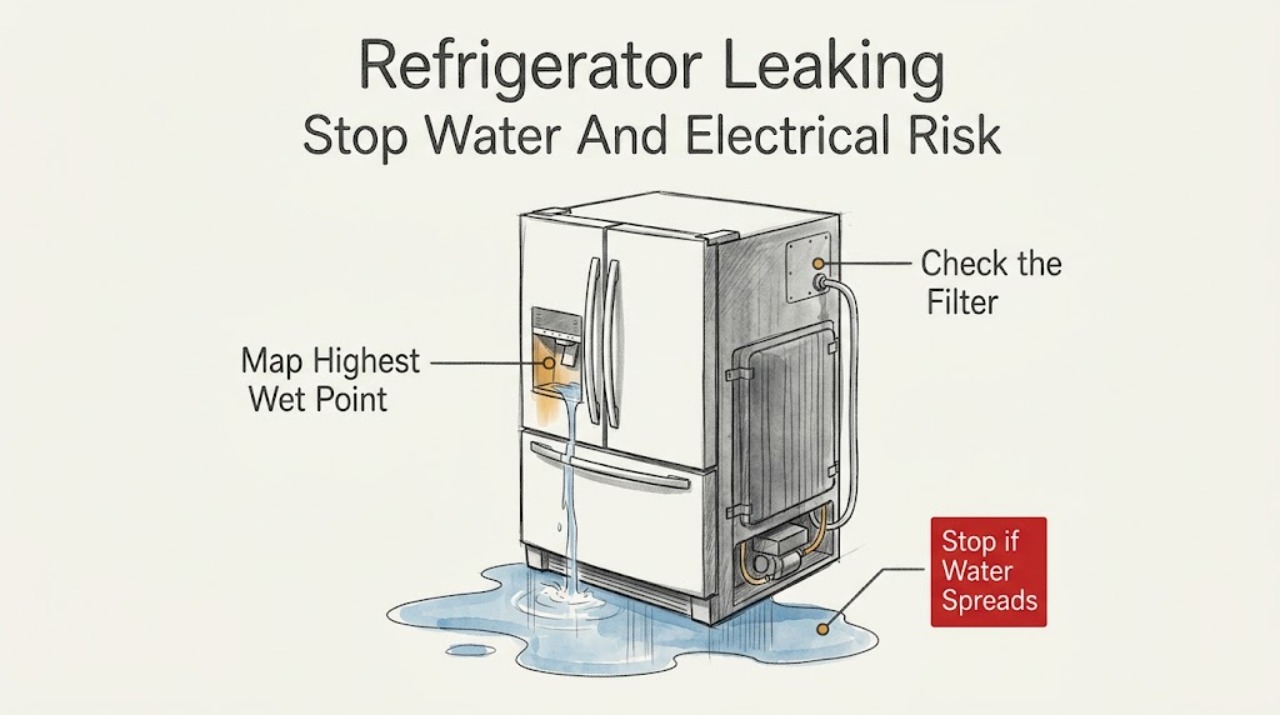
Jennair Refrigerator Leaking: Trace the Source Safely
First protect the room and electrical area: stop dispensing or making ice, keep the refrigerator and nearby electrical hardware dry, and close the household water shutoff only if it is clearly accessible and safe.
-
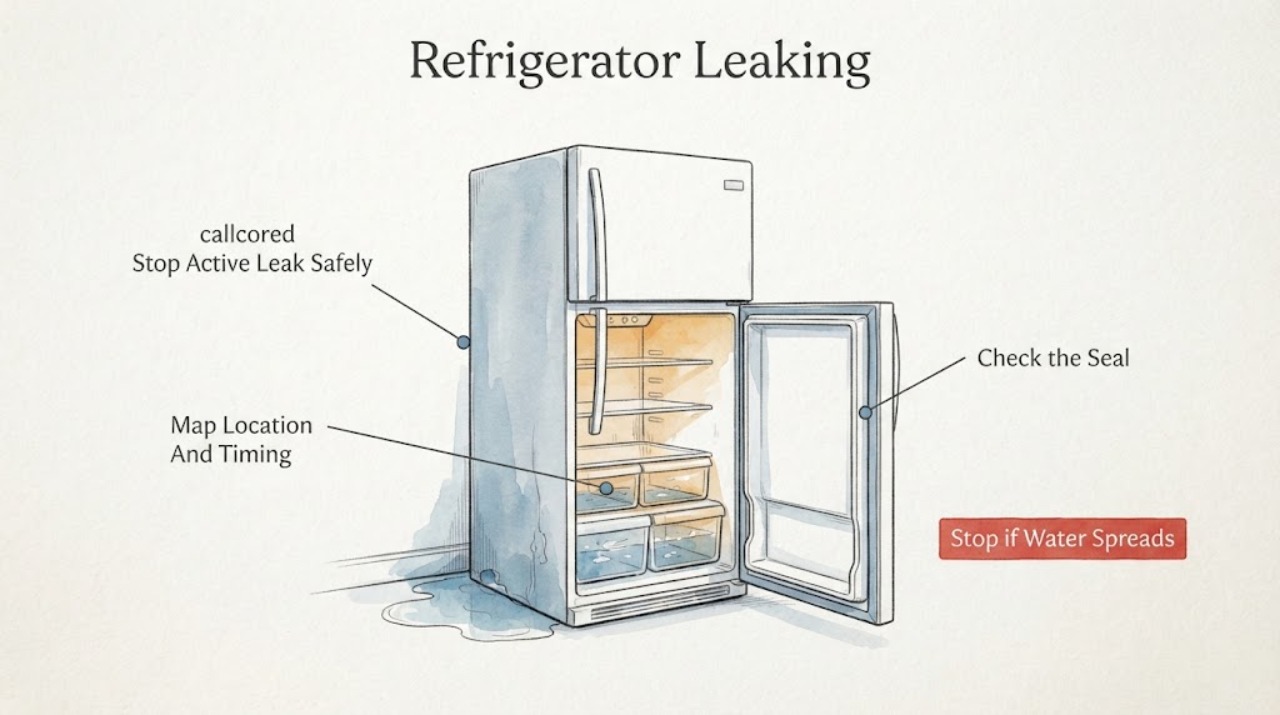
Kelvinator Refrigerator Leaking: Trace the Source Safely
Do not start by buying a valve or drain part: first locate the highest wet point and note when the water appears. Kelvinator Australia’s official troubleshooter says moisture on the refrigerator floor or under crispers can occur in very humid conditions, water on a crisper cover or at the front can be a spill, and water running down the back of the food compartment can indicate a blocked drain trough.
-
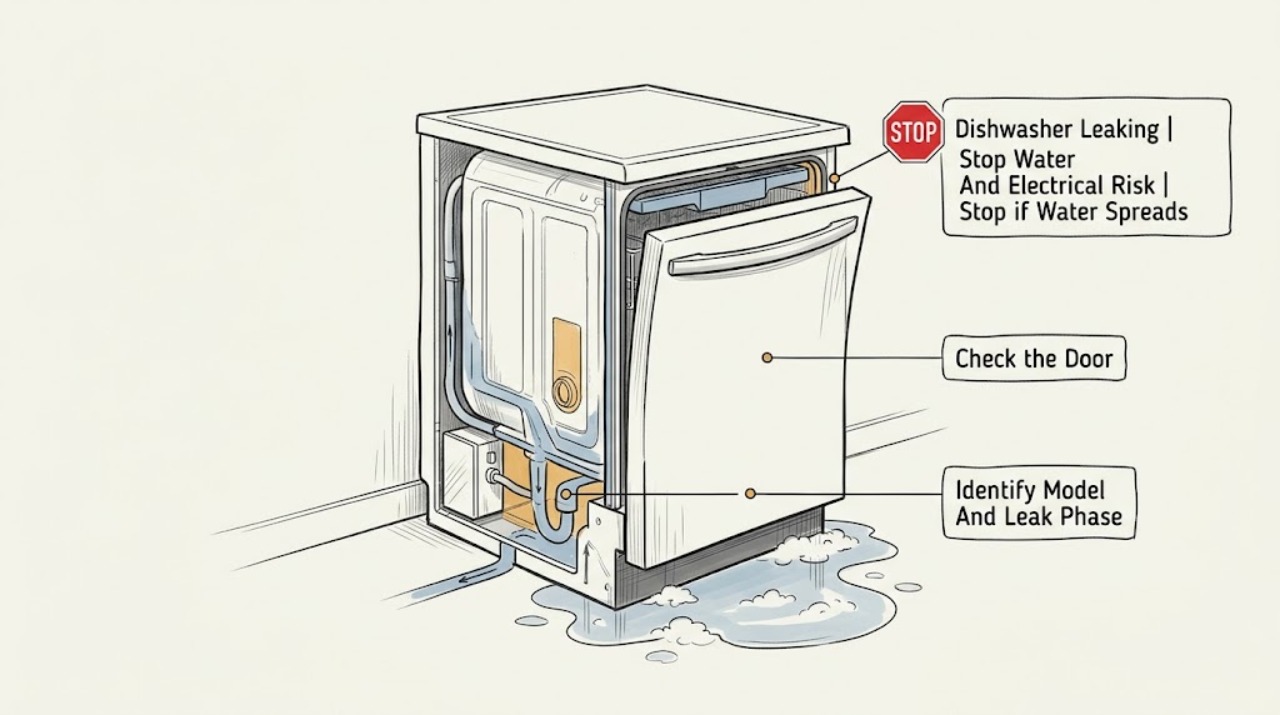
Kenmore Dishwasher Leaking: Find the Safe Next Step
Stop the cycle and do not run another cycle just to reproduce a leak. If water is still entering, close the accessible dishwasher water shutoff.
-
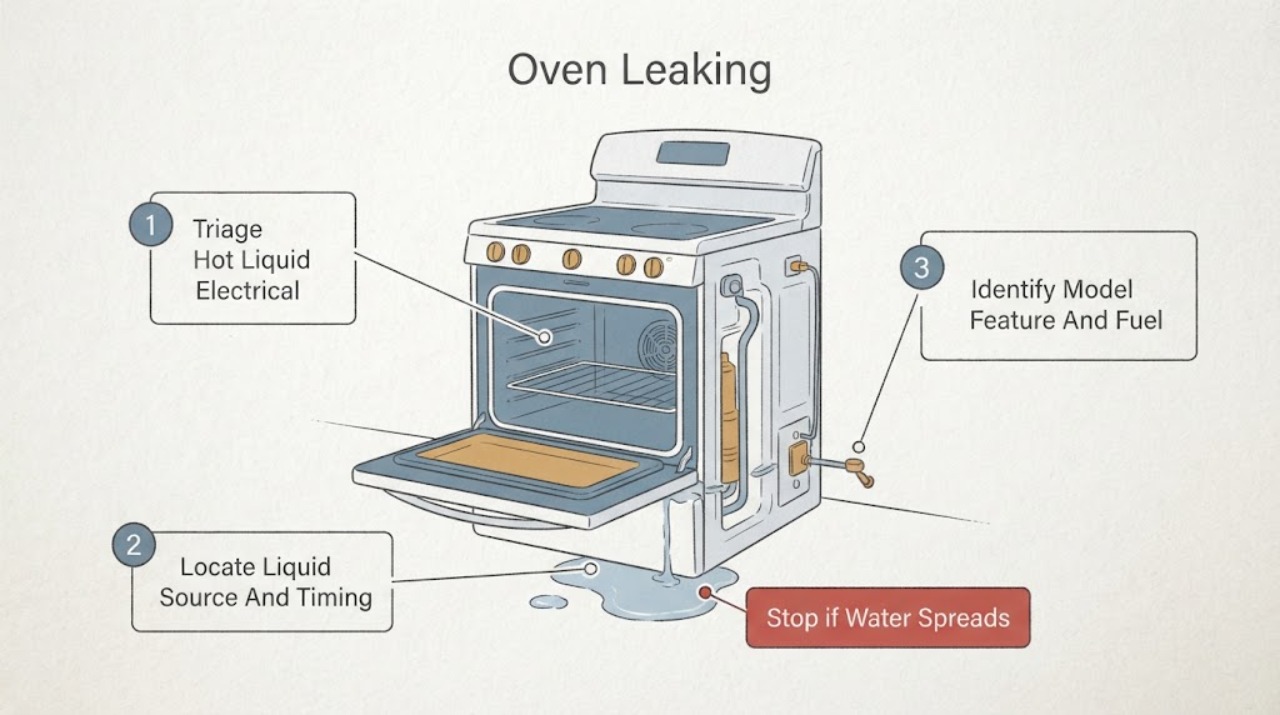
Kenmore Oven Leaking: Tell Steam, Cleaning Water, and Real Leaks Apart
First keep hands away from hot liquid and isolate any electrical or gas danger. A Kenmore oven may leave moisture from steam, condensation, or a model-specific steam-clean or steam-bake feature, while food, cleaner, or a damaged door can make liquid appear to leak.
-
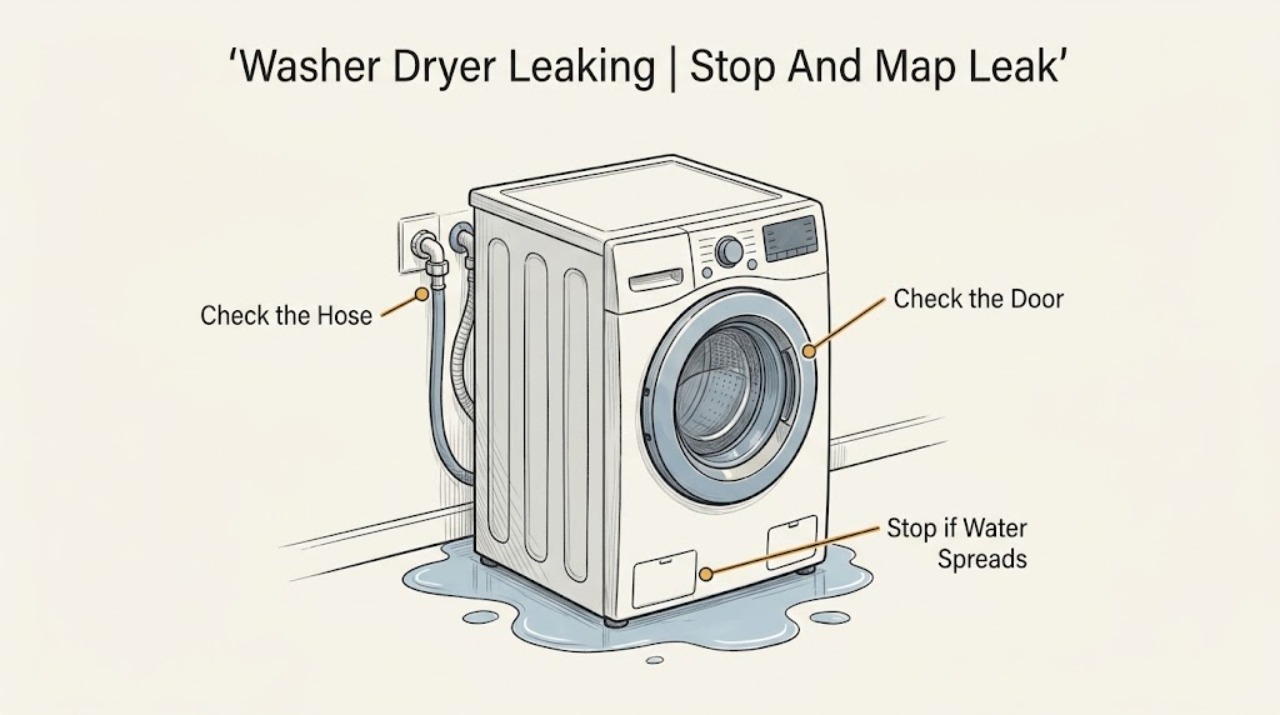
Kenmore Washer Dryer Leaking
If a Kenmore washer-dryer is leaking, stop the cycle, keep people away from the wet floor, and turn off the water supply. Unplug the appliance only when the plug and surrounding area are dry and it is safe to do so.
-
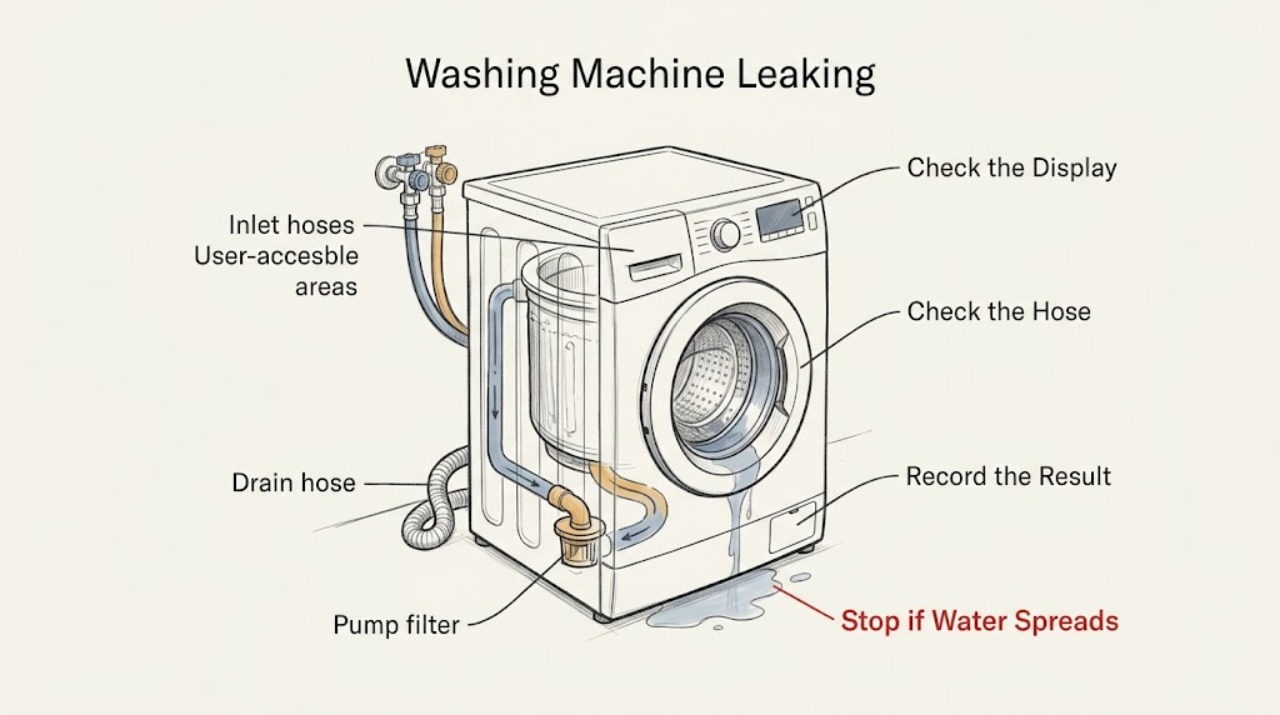
Kenmore Washing Machine Leaking: Find the Source Before It Spreads
A Kenmore washer leak is easiest to diagnose by when and where the water first appears: during filling at an inlet hose or dispenser, during washing at a door or lid seal or oversudsing condition, during draining at the drain hose or household drain, or underneath from an internal hose or pump area.
-
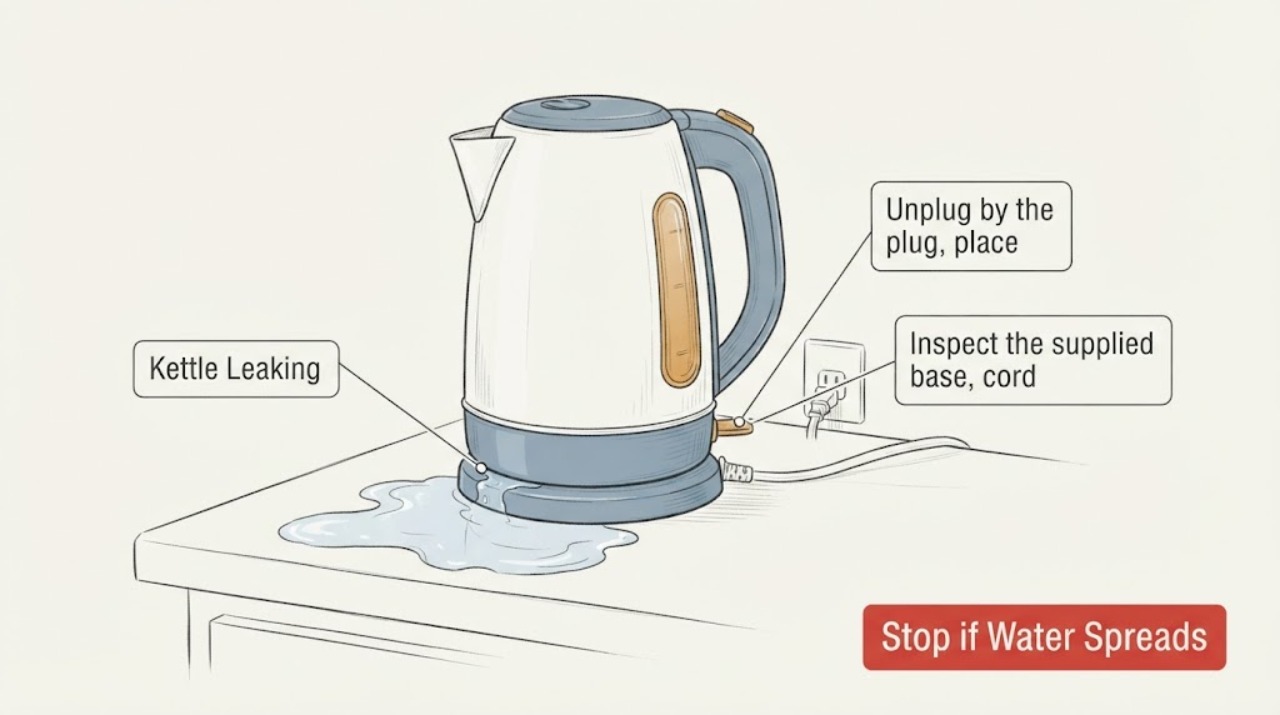
Kettle Leaking
Unplug a leaking kettle, let it cool, and locate whether water escapes from the lid or spout, the body, or the base and connector. Do not use a kettle with a damaged cord, plug, base, housing, or water on its connector; overfilling can also spill boiling water.
-
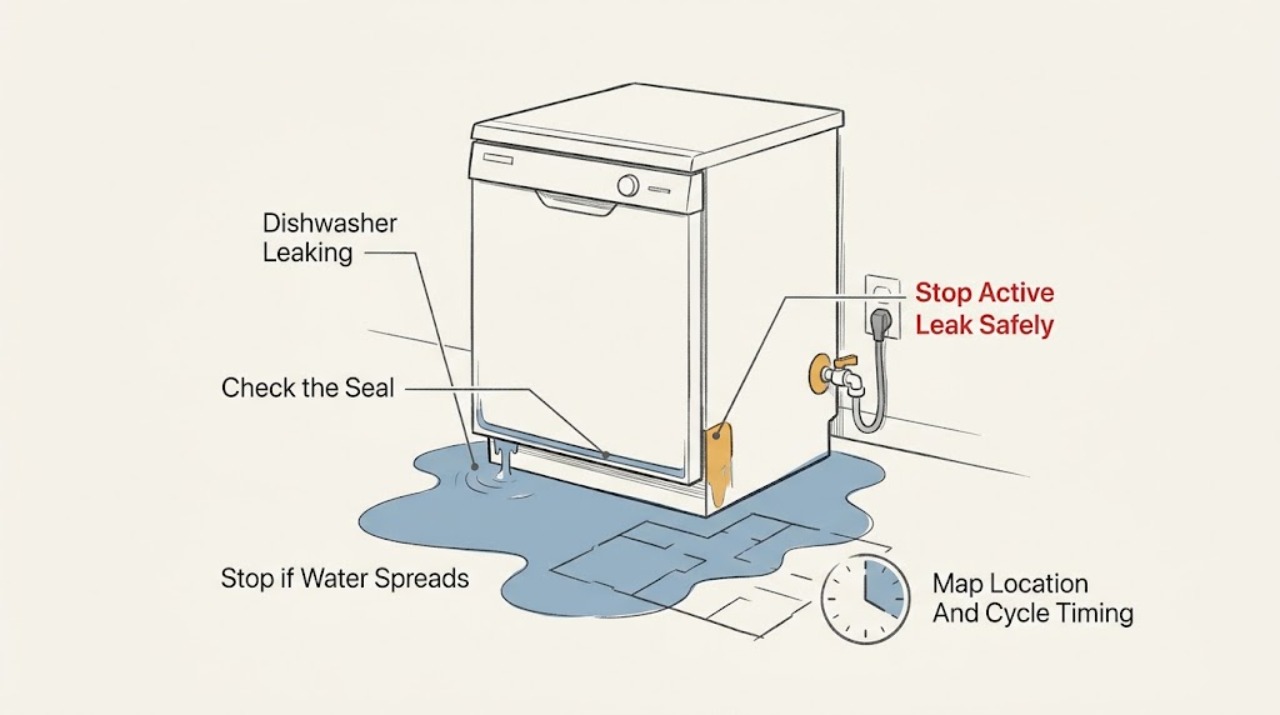
KitchenAid Dishwasher Leaking: Locate the Water Before Choosing a Fix
If a KitchenAid dishwasher is actively leaking, stop the cycle, keep people away from the water, switch off power at the breaker if it is safe to do so, and close the dishwasher's water supply. Do not run another cycle to reproduce the leak.
-
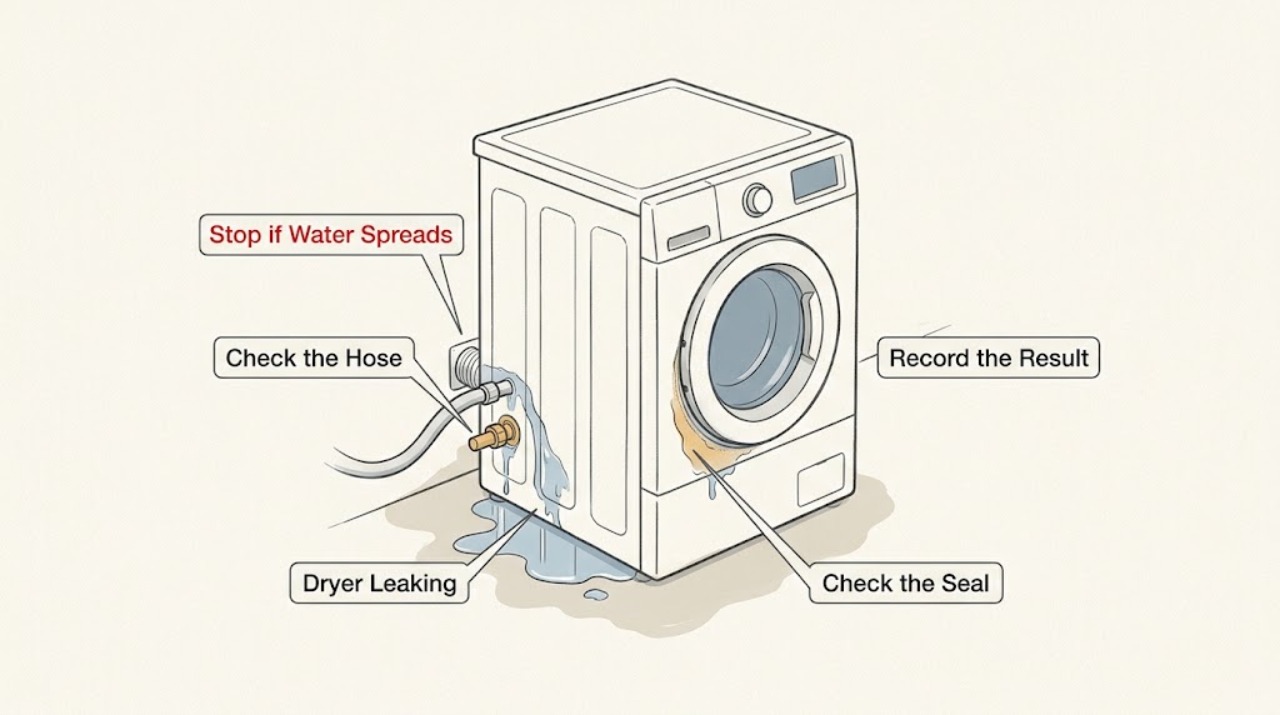
KitchenAid Dryer Leaking: Safe Checks Before Service
First determine whether the KitchenAid dryer is a Steam model and where the water appears. A Steam model has a cold-water inlet, Y connector, hoses, and rubber washers that can leak at the rear; turn off the dryer's water faucet before inspecting those visible connections.
-
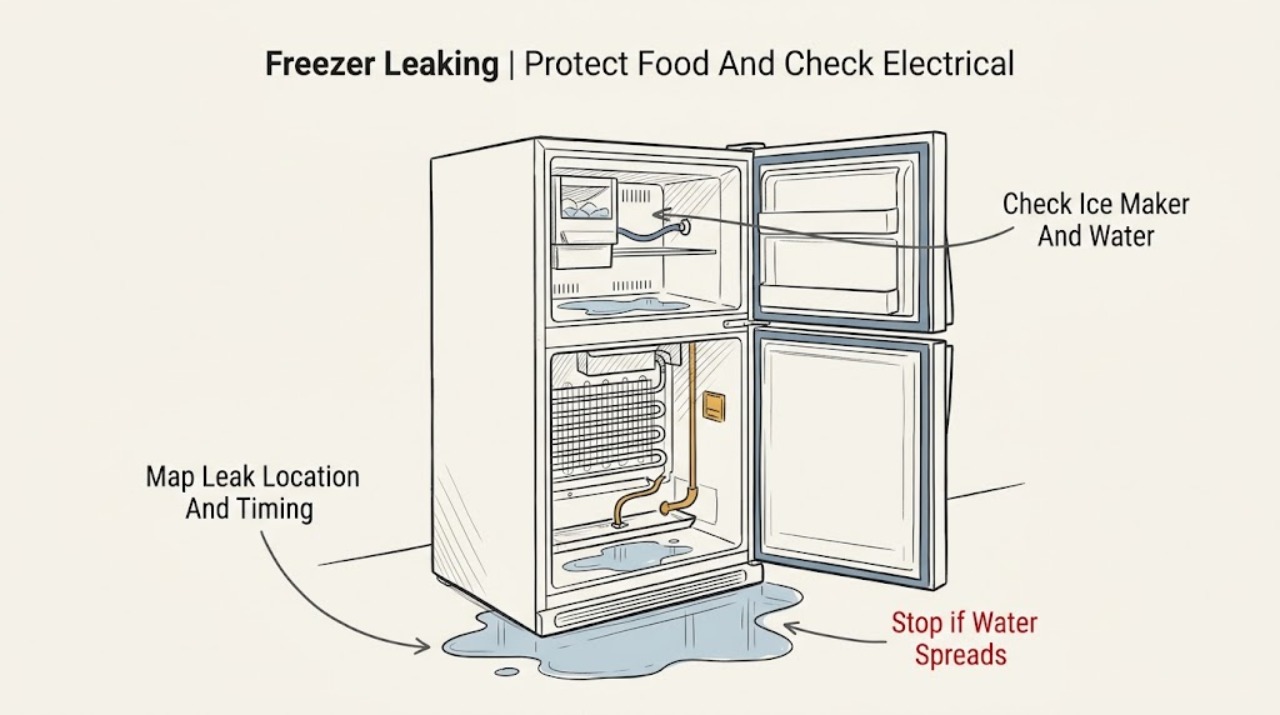
KitchenAid Freezer Leaking
A KitchenAid freezer can produce water during normal automatic defrost, but water inside the compartment or on the floor needs its source identified. Protect frozen food first.
-
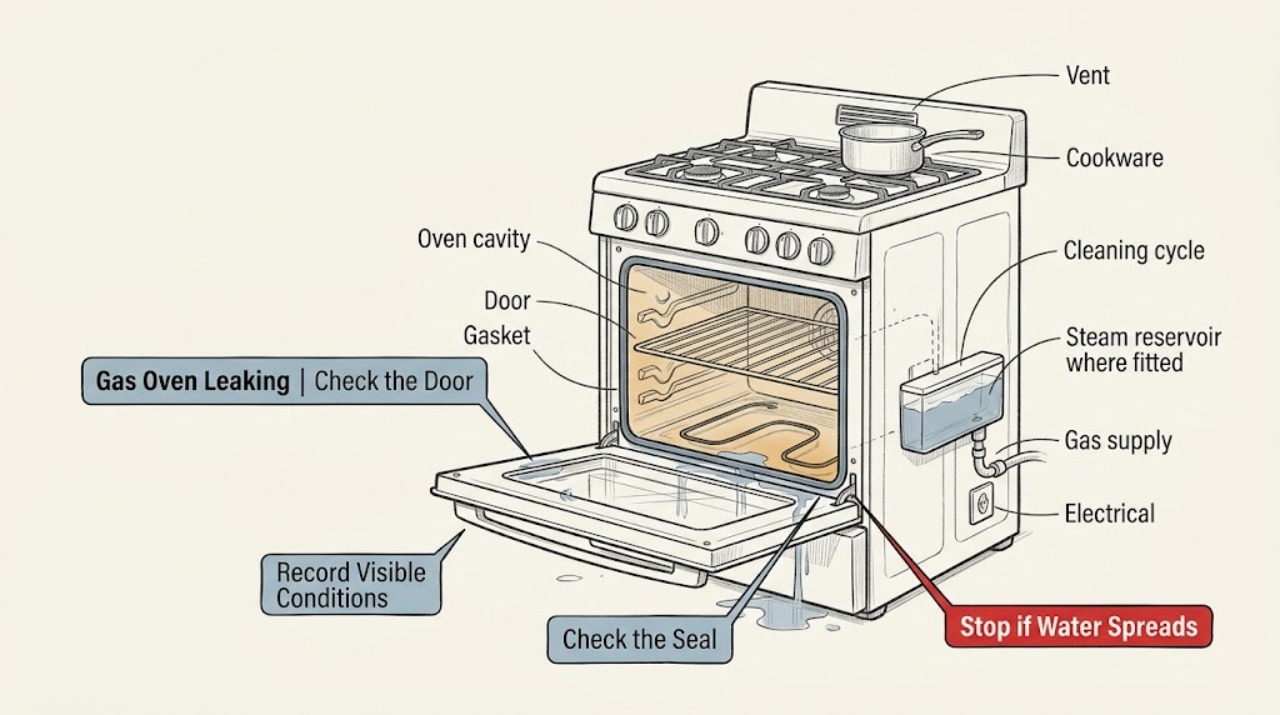
KitchenAid Gas Oven Leaking: Separate Condensation, Spills, and Gas Hazards
First identify what is actually leaking and when: steam or condensation on the door, food liquid, water left by a model-specific steam or cleaning function, or liquid outside the cavity. A standard gas oven does not automatically have a plumbed water line, so do not assume a hidden tank or drain.
-
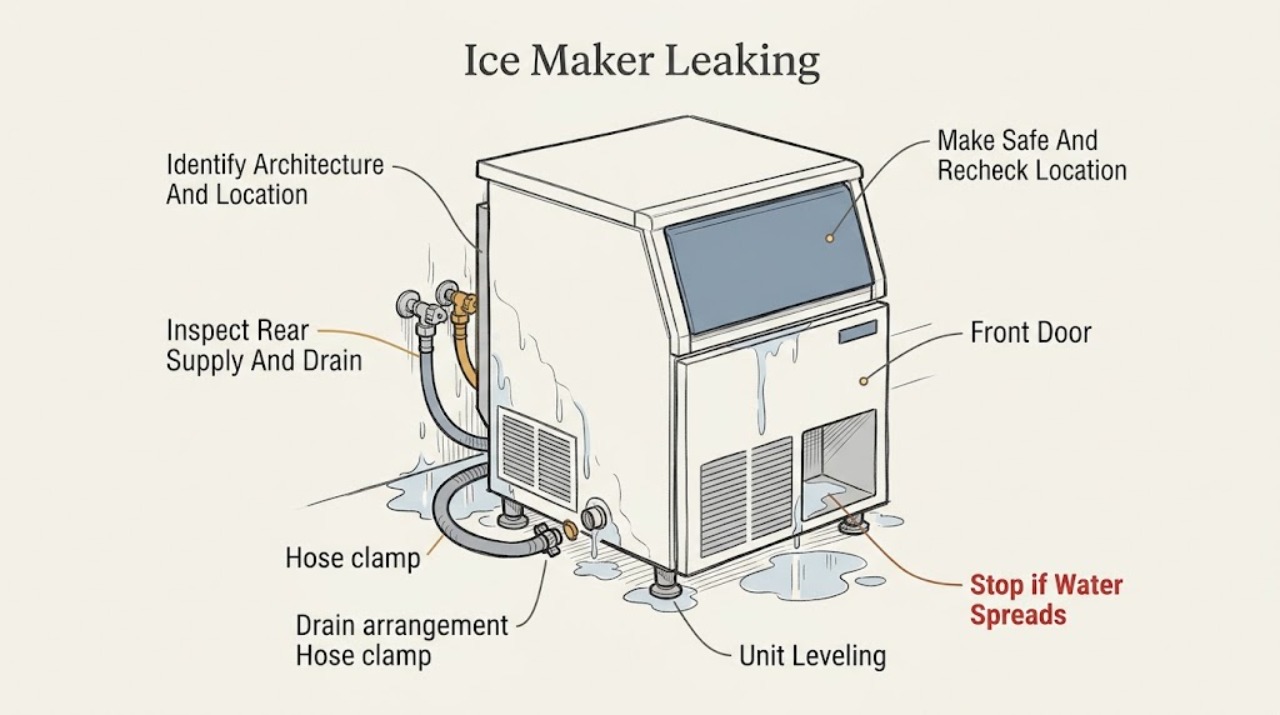
KitchenAid Ice Maker Leaking: Identify the Machine and Leak Location First
First confirm whether this is a KitchenAid freestanding or undercounter ice maker, rather than a refrigerator's built-in ice maker, and note whether water is at the rear, bottom front, inside the bin or door, or only at the drain.
-
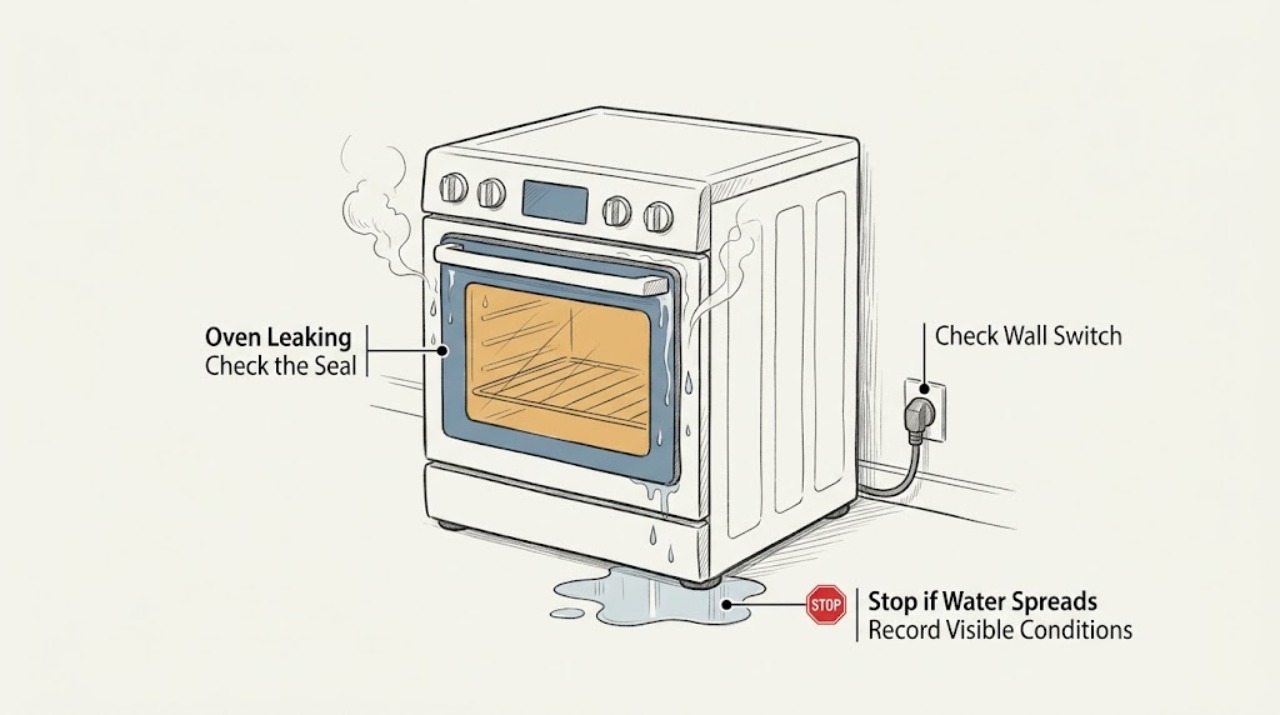
KitchenAid Oven Leaking: Separate Steam, Spills, and Real Leaks Safely
First decide whether the KitchenAid oven is producing steam or liquid water, and whether the liquid came from cooking, Steam Bake or Steam Clean, or an external connection. Moisture on the door glass and a small amount of condensation on the floor or cabinet can be normal with high-moisture food because steam condenses on cool surfaces and can leave through the vent.
-
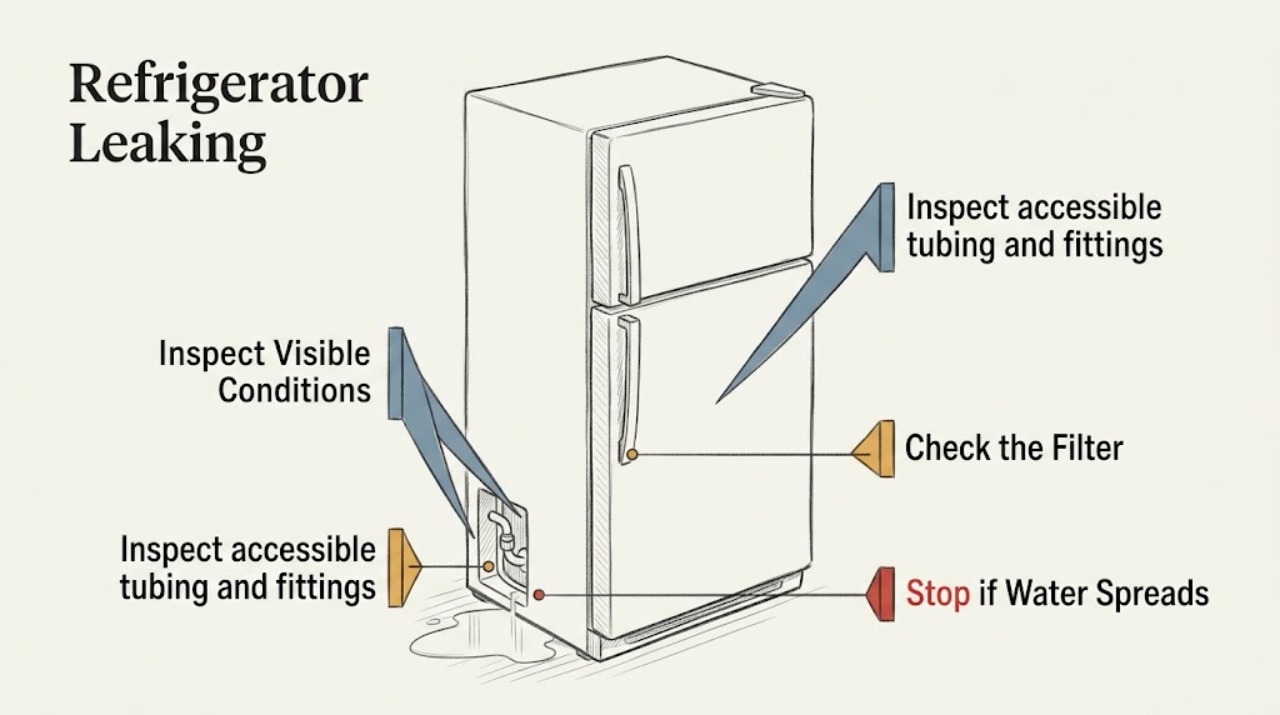
KitchenAid Refrigerator Leaking
Protect the floor, close the refrigerator water shutoff, and find the first wet point. Check the accessible supply line, filter seating, and dispenser area. A cracked line, concealed leak, or water near electrical parts needs the appliance kept off and service.
-
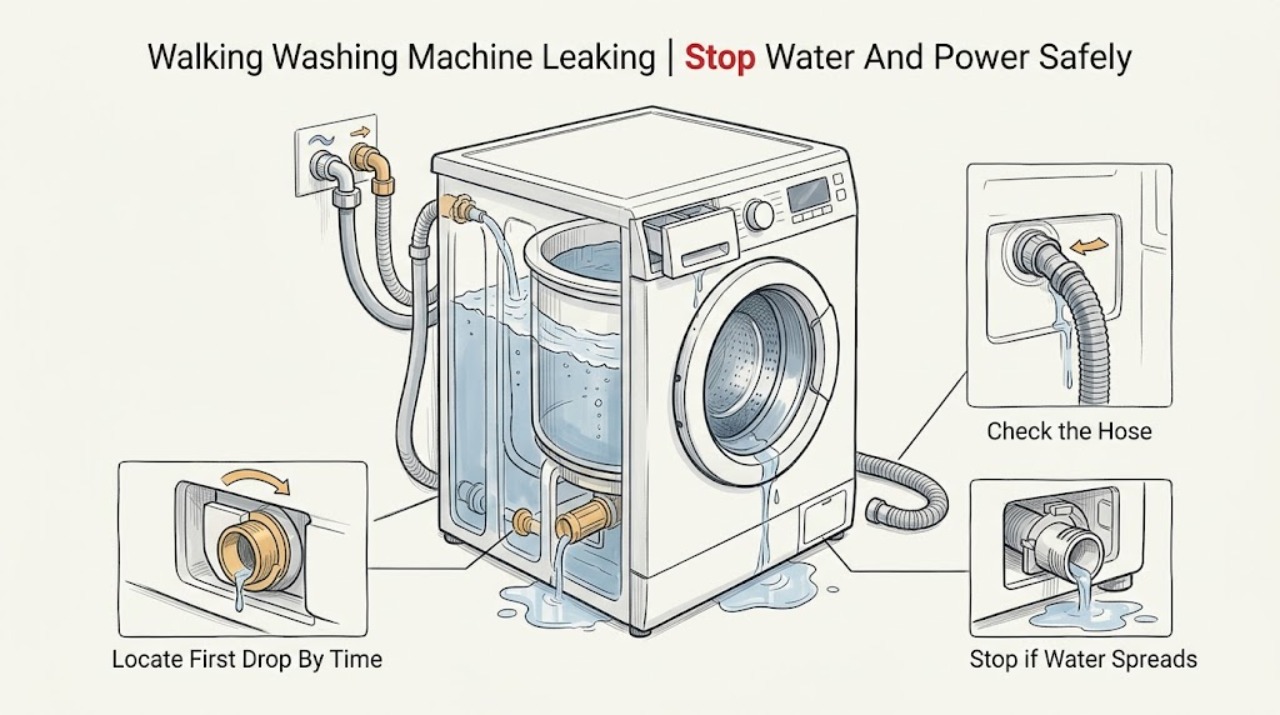
KitchenAid Washing Machine Leaking
Stop the cycle and contain the water first. From a dry, safe position, turn off the washer's water supply; disconnect power only if the plug or breaker can be reached without touching water.
-
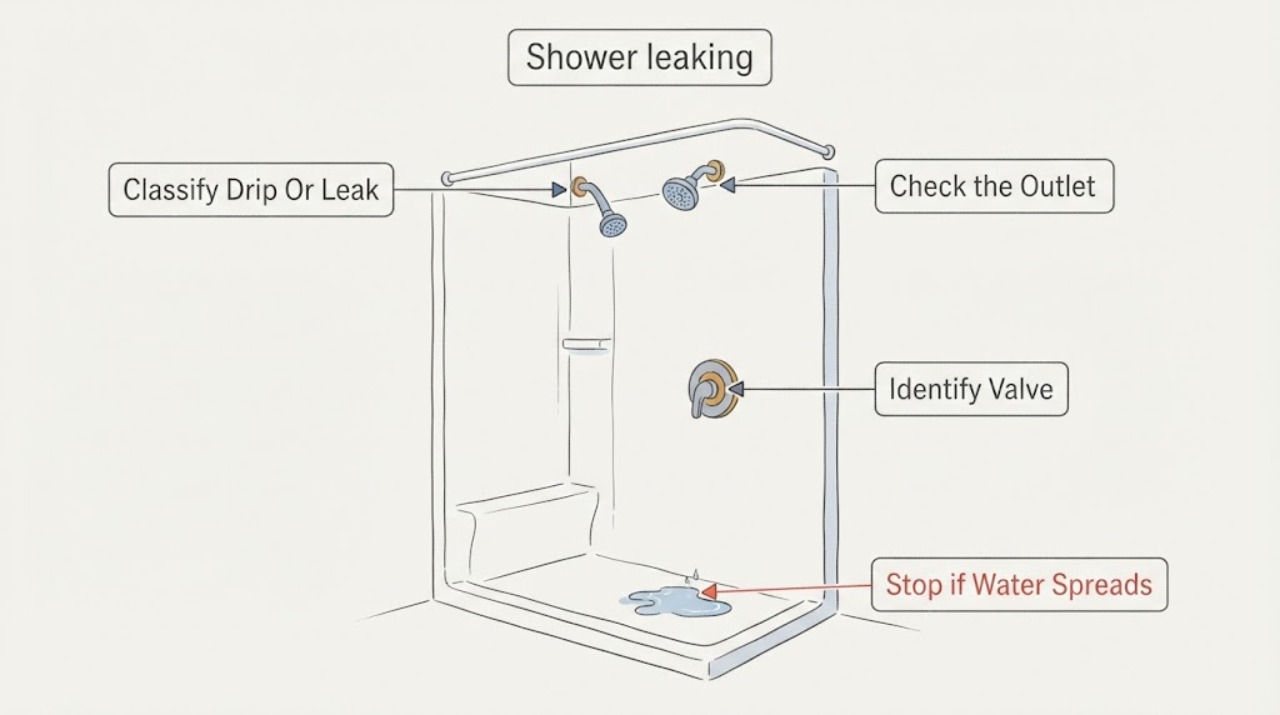
Kohler shower leaking: What to Check and What to Do Next
A leaking Kohler shower needs a source-and-pattern check before any part is replaced. Water that tapers off briefly from the showerhead after use can be residual water, while a continuous flow with the control closed points more toward a valve seal, pressure-balancing unit, diverter, or another internal component.
-
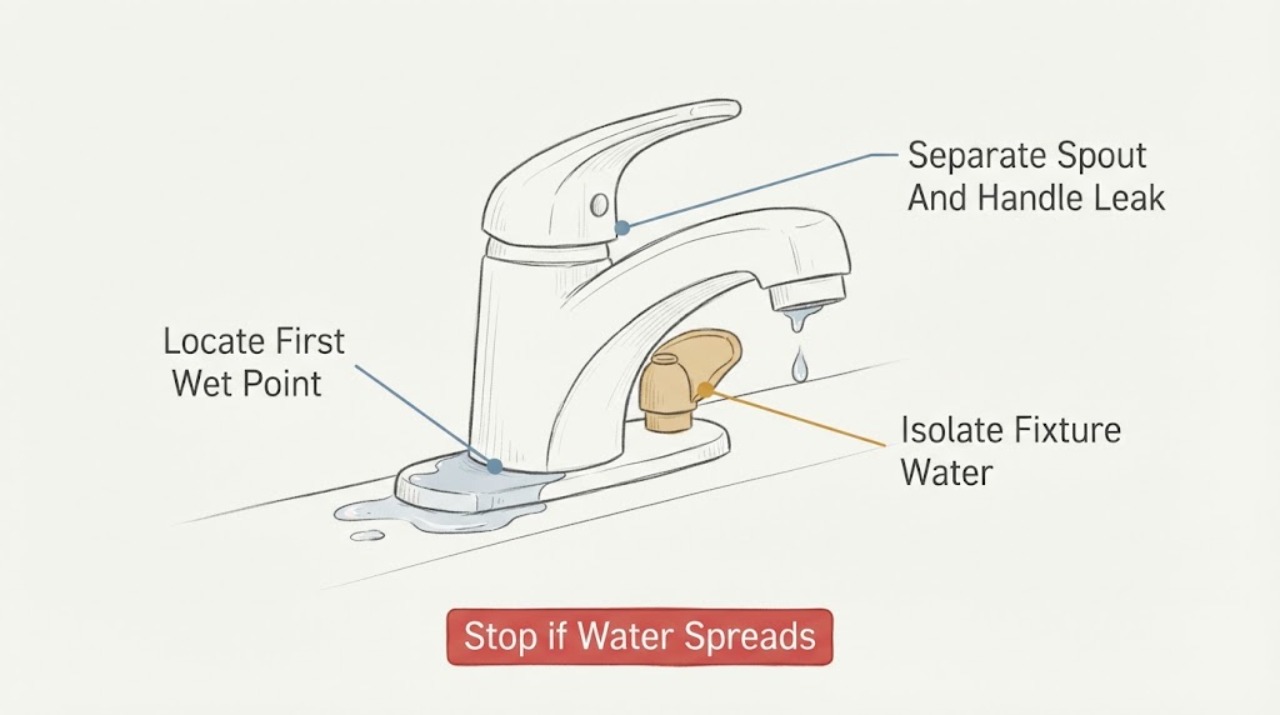
Leaking faucet: find the leak and choose the right next step
First dry the faucet and observe where water returns: the spout with the handles off, around a handle or base, at an under-sink supply connection, or from the faucet body and hose.
-
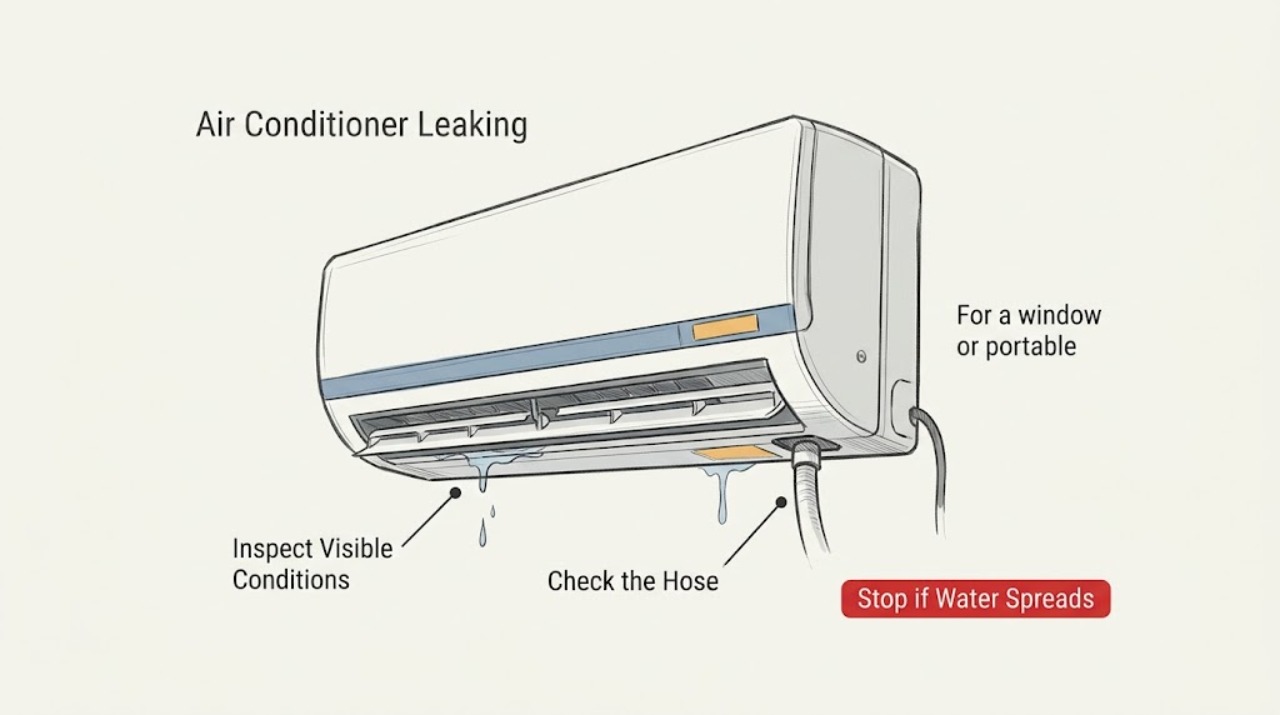
LG Air Conditioner Leaking
First identify whether the water is normal condensation at the outlet, a drain-hose or drain-pan overflow, or water entering after rain. Turn the unit off if water reaches electrical parts, then check the accessible filter, drain path, drain plug, hose routing, and installation level for the model type.
-
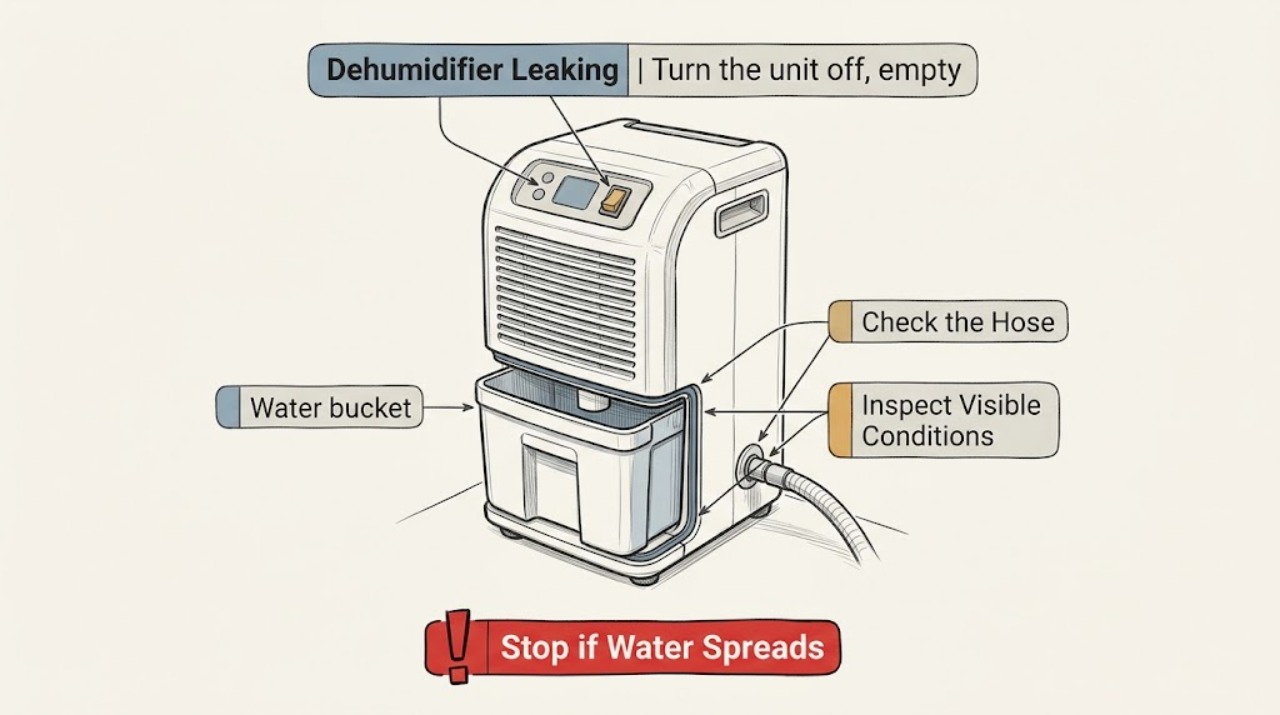
LG Dehumidifier Leaking
Stop the unit if water reaches its cord or controls. Otherwise check whether the bucket is full or misseated, whether a continuous-drain hose is correctly attached and unkinked, and whether the bucket or cabinet is damaged.
-
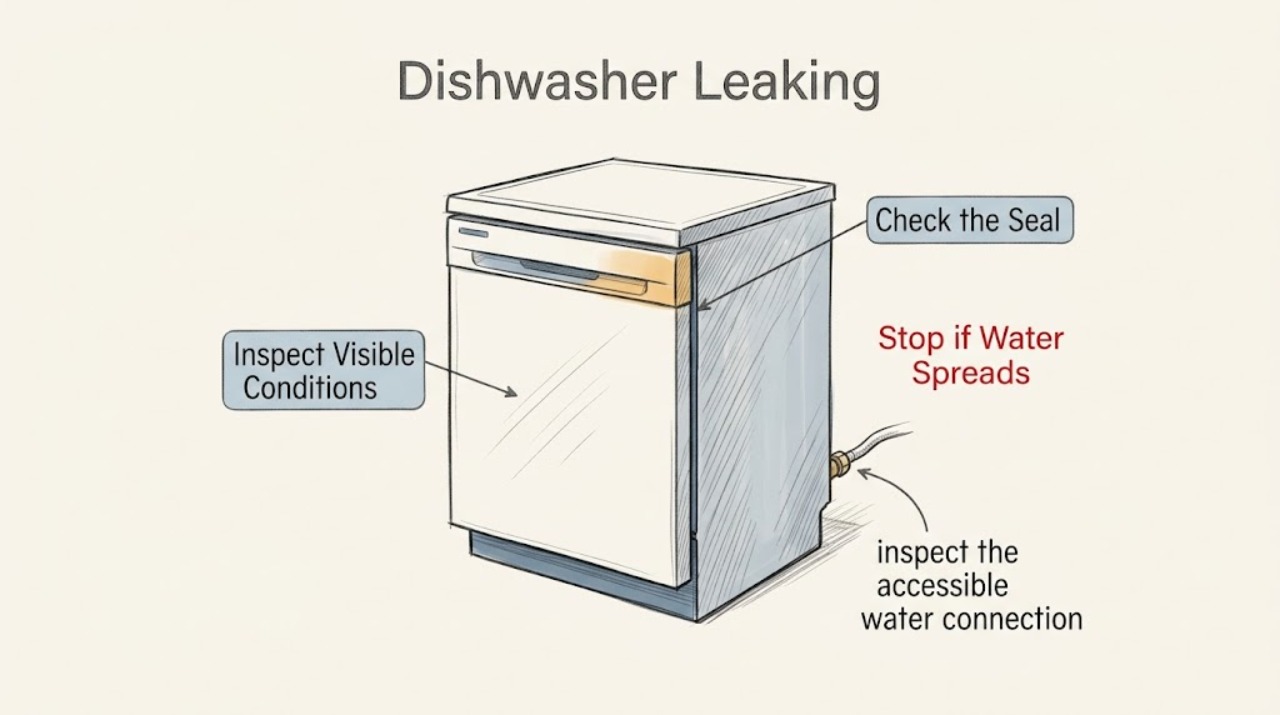
LG Dishwasher Leaking
Turn off the dishwasher and its water supply, dry the floor, then identify whether water starts at the door, a hose connection, or from oversudsing. Check level, accessible connections, and detergent choice; persistent or concealed leaks need service.
-
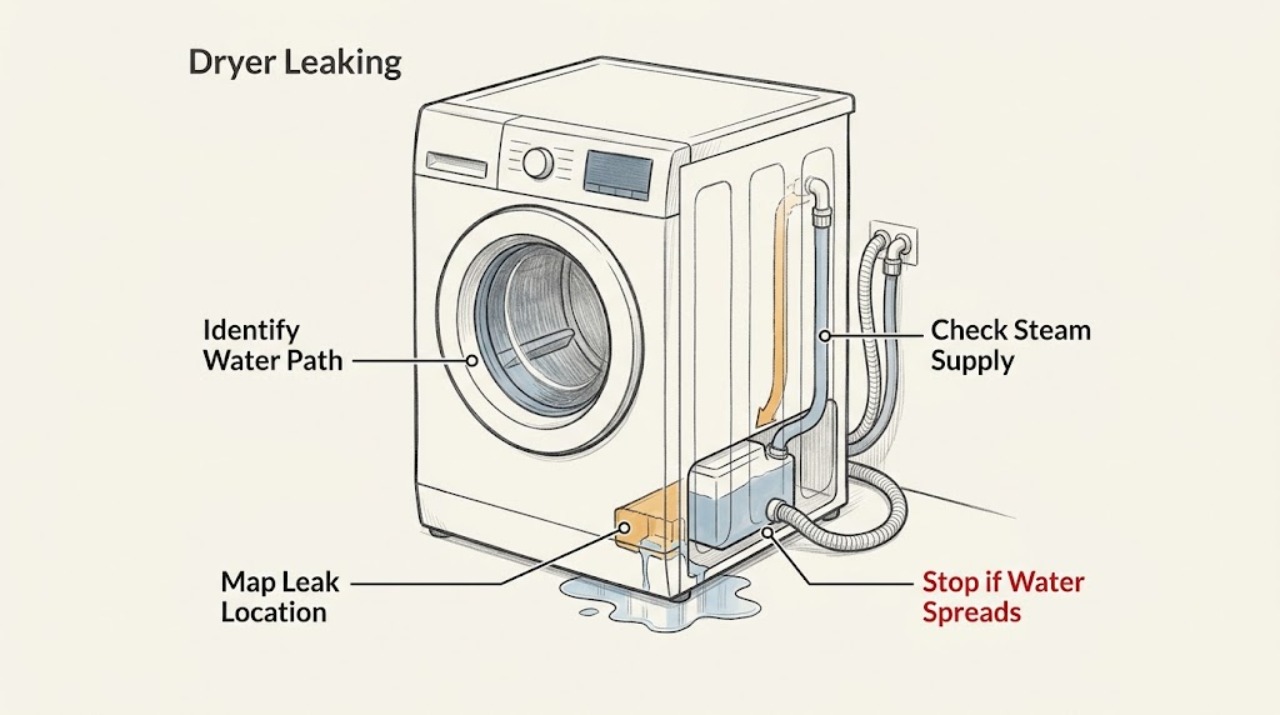
LG Dryer Leaking: Trace the Water Source Before Reuse
An LG dryer can leak from different water paths depending on the model: a steam dryer may have a water-supply hose, while condenser or heat-pump models may collect condensed water in a container or send it through a drain hose. Stop the cycle and, from a dry safe position, locate whether water is at the supply connection, container, drain hose, door, drum, or floor.
-
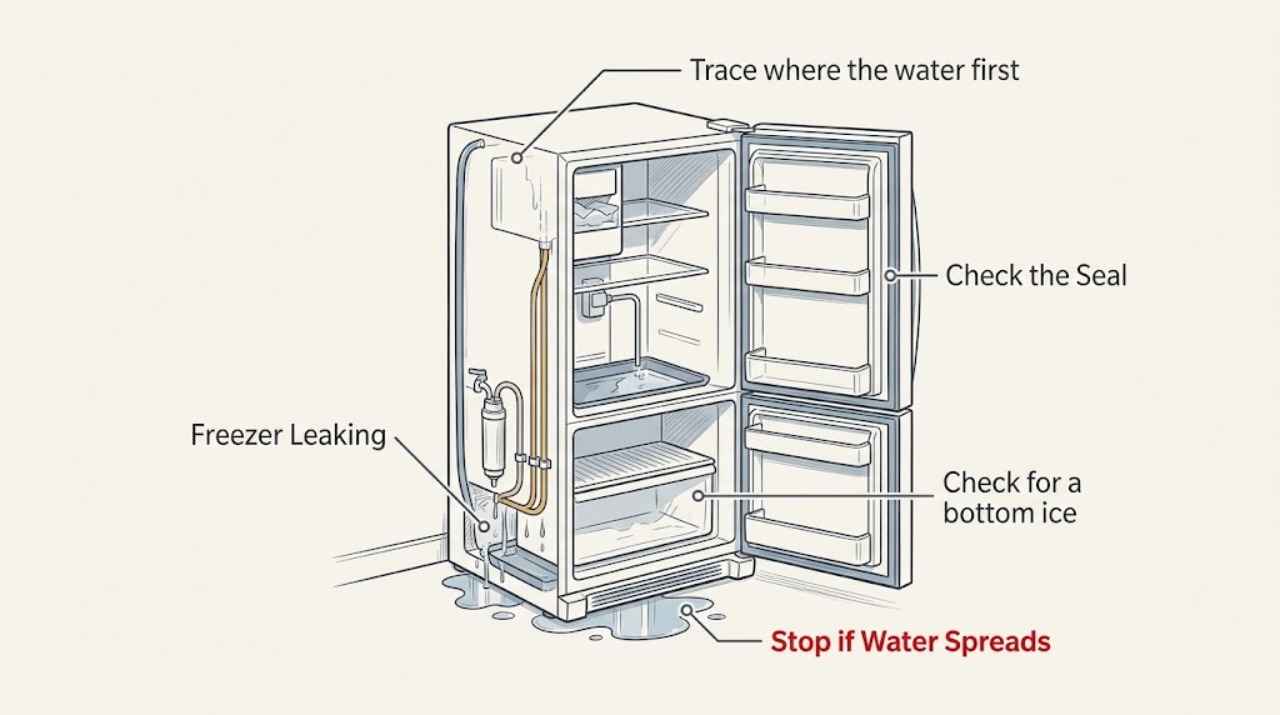
LG Freezer Leaking
First locate the water: inside the freezer, beneath the freezer door, in the refrigerator compartment, around the cabinet, or near the ice maker. A hard ice sheet on the freezer floor or water returning after defrost usually points to a blocked defrost drain.
-
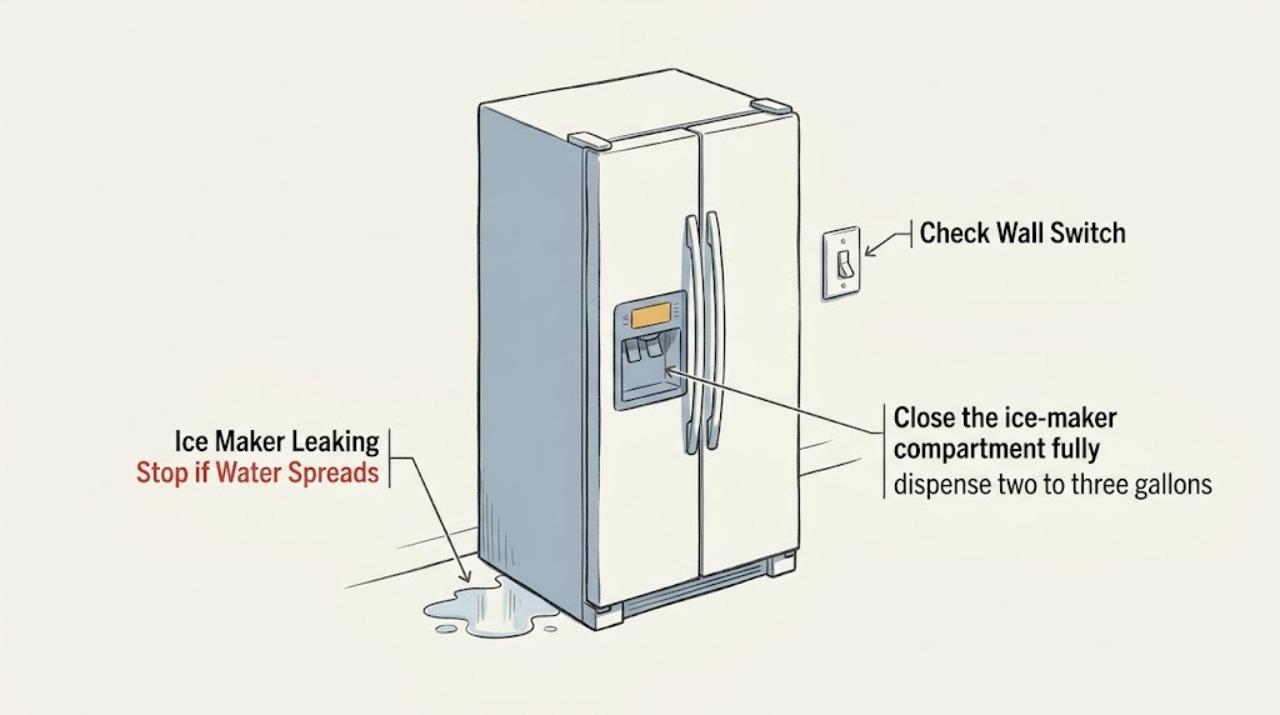
LG Ice Maker Leaking
First identify whether the water is from melting ice, an air-filled water line, the fill path, or a connection. Turn the ice maker on if it was switched off, close and reseat the ice compartment, flush a recently serviced water line, and stop if the leak continues.
-
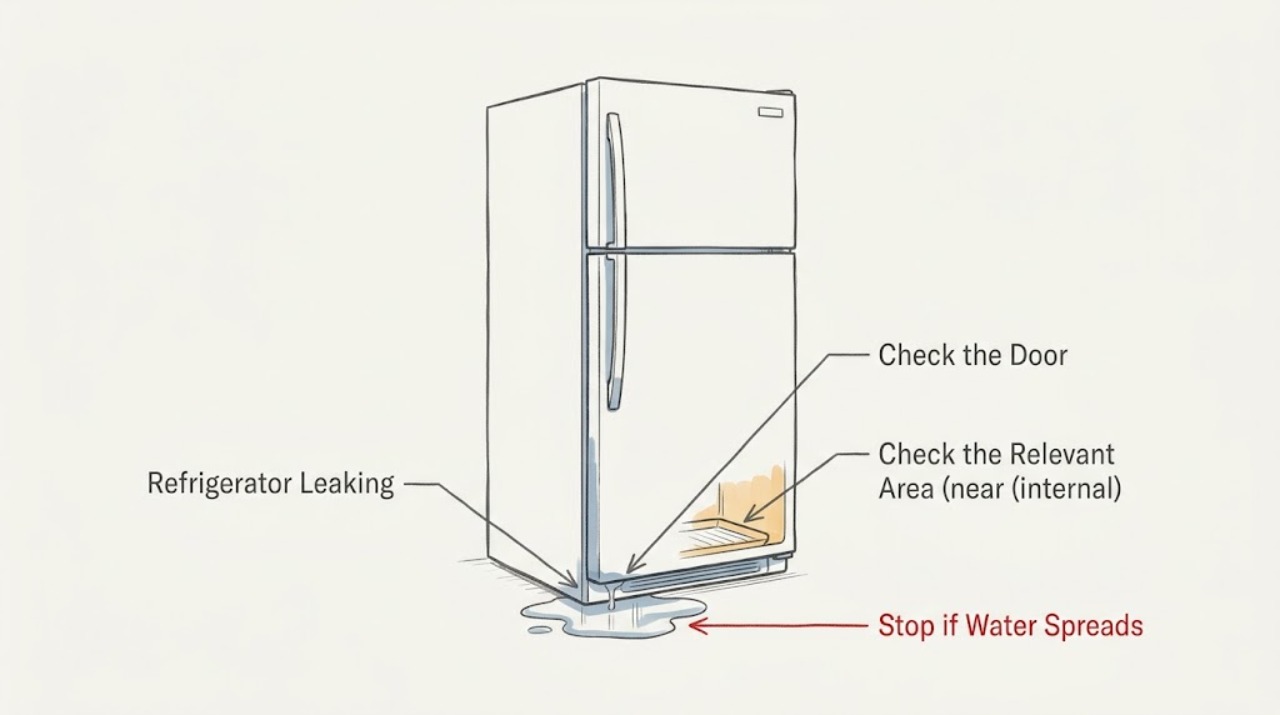
LG Refrigerator Leaking: Identify the Drain, Door, or Supply Source
Protect food and the floor, then locate the first wet point inside the LG refrigerator, under the cabinet, at a water connection, or near the door. A blocked freezer defrost drain can overflow into the compartment; an obstructed door or dirty gasket can add condensation. Disconnect power before safe external cleaning, never remove sealed panels, and request service for a supply-line leak, repeated overflow, or water near electrical parts.
-
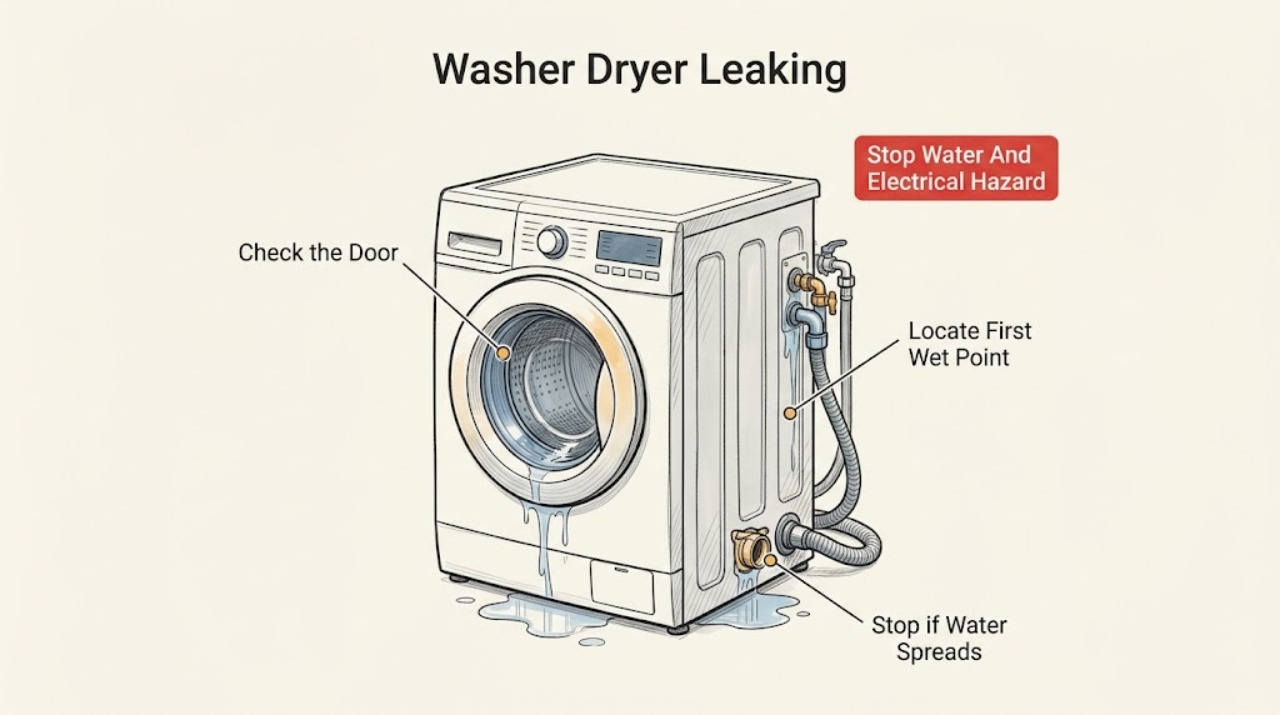
LG Washer Dryer Leaking: Find the Source Before It Spreads
Stop the cycle and find where the water first appears: door, dispenser, rear inlet connection, drain hose or household drain, lower access panel, or underneath. If water is near the plug or outlet, there is smoke, a burning smell, a damaged cord, or active flooding, keep the washer dryer off and isolate water or power only from a safe dry position.
-
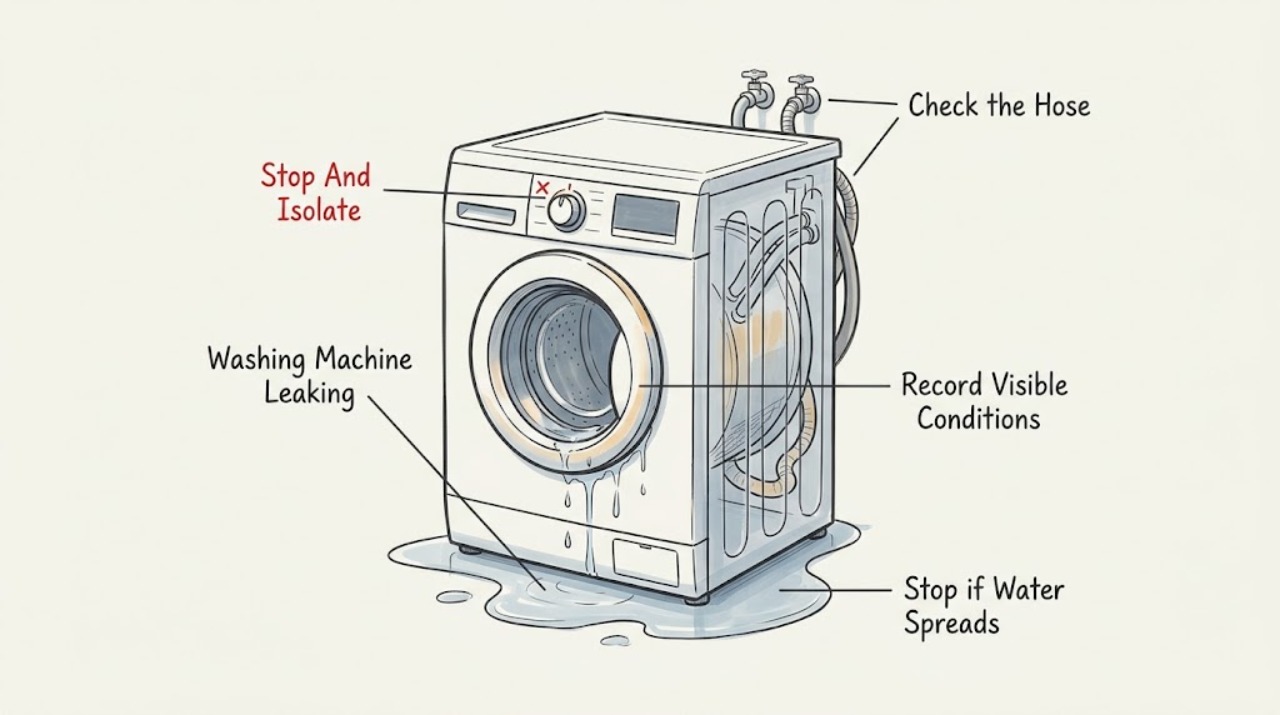
LG Washing Machine Leaking: Find the Source by Fill, Wash, and Drain Stage
First stop the LG washer safely and note whether the leak starts while filling, during wash or spin, while draining, or after the machine stops. Close the water valves and isolate power from a dry safe position when water is near the cord, plug, outlet, or control.
-
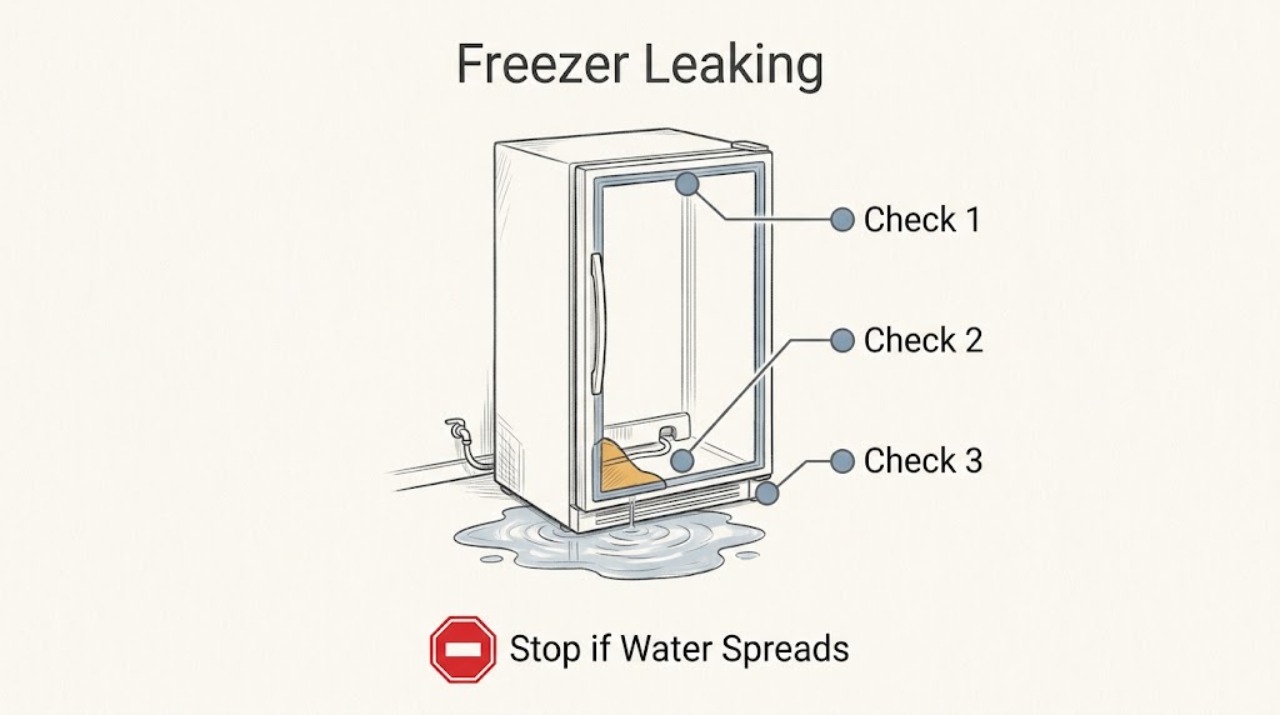
Liebherr Freezer Leaking: Find the Water Source Safely
A leaking Liebherr freezer can be producing normal defrost water, overflowing because a drain path is blocked, admitting moisture through a door seal, or leaking from an IceMaker/water connection on models that have one. First protect the floor and keep water away from the plug and electrical parts, then trace the water to the rear wall or drain, door edge, interior ice, or rear water connection.